
Creality Ender 3 Max Neo
Creality Ender 3 Max Neo PEI Sheet 310x320mm Bed Upgrade Instruction Manual
Model: Ender 3 Max Neo PEI Sheet (3D-PEI-320x310)
Brand: Creality
1. Introduction
This manual provides detailed instructions for the installation, operation, maintenance, and troubleshooting of your Creality Ender 3 Max Neo PEI Sheet 310x320mm bed upgrade. This high-quality PEI (Polyetherimide) build surface is designed to enhance your 3D printing experience by offering superior adhesion during printing and effortless model removal once cooled.
The PEI sheet is a flexible, magnetic, and textured surface that replaces traditional glass or other build plates, providing a durable and reliable printing foundation.
2. Compatible Printers
The Creality 310x320mm PEI spring steel sheet is compatible with a range of 3D printers that utilize a heated bed of the same dimensions. This includes, but is not limited to, the following models:
- CR-10S PRO
- CR-10 V2
- CR-10 V3
- CR-X
- CR-X Pro
- CR-10S PRO V2
- Ender-3 Max
- Ender-3 Max Neo
Ensure your printer's heated bed dimensions match 310x320mm for proper fit and function.
3. Key Features
- High-Quality PEI Surface: Made from 100% official Creality PEI material, offering strong high-temperature stability, flame retardancy, heat resistance, high strength, and wear resistance for consistent printing.
- Optimal Adhesion: The frosted texture surface provides excellent adhesion for various filaments including PLA, PETG, PEEK, ABS, and others, eliminating the need for tape or glue.
- Easy Model Removal: The flexible spring steel sheet allows for easy removal of printed models by simply bending the plate after it cools, preventing damage to prints.
- Strong Magnetic Force: Features a soft magnetic platform sticker that ensures the PEI plate remains securely bonded to the heated bed, maintaining printing stability even at high temperatures.
- Durable Construction: The genuine PEI powder coating on hardened steel spring plate resists deformation up to 200°C.
- Two-in-One Kit: Includes both the gold frosted PEI printing plate and the soft magnet platform sticker for a complete upgrade solution.
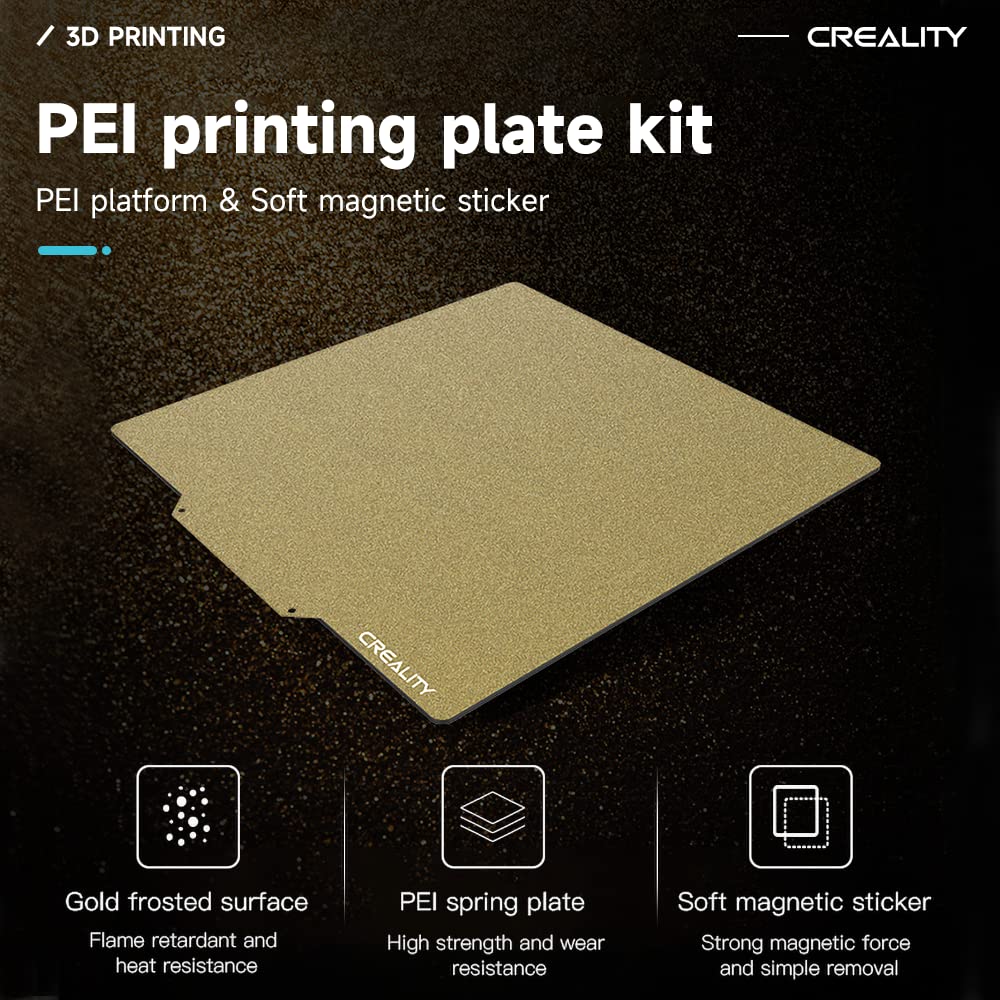
Image: The Creality PEI printing plate kit, highlighting its three main components: a gold frosted surface for strong high-temperature stability, a PEI spring plate for high strength and wear resistance, and a soft magnetic sticker for strong magnetic force and simple removal.
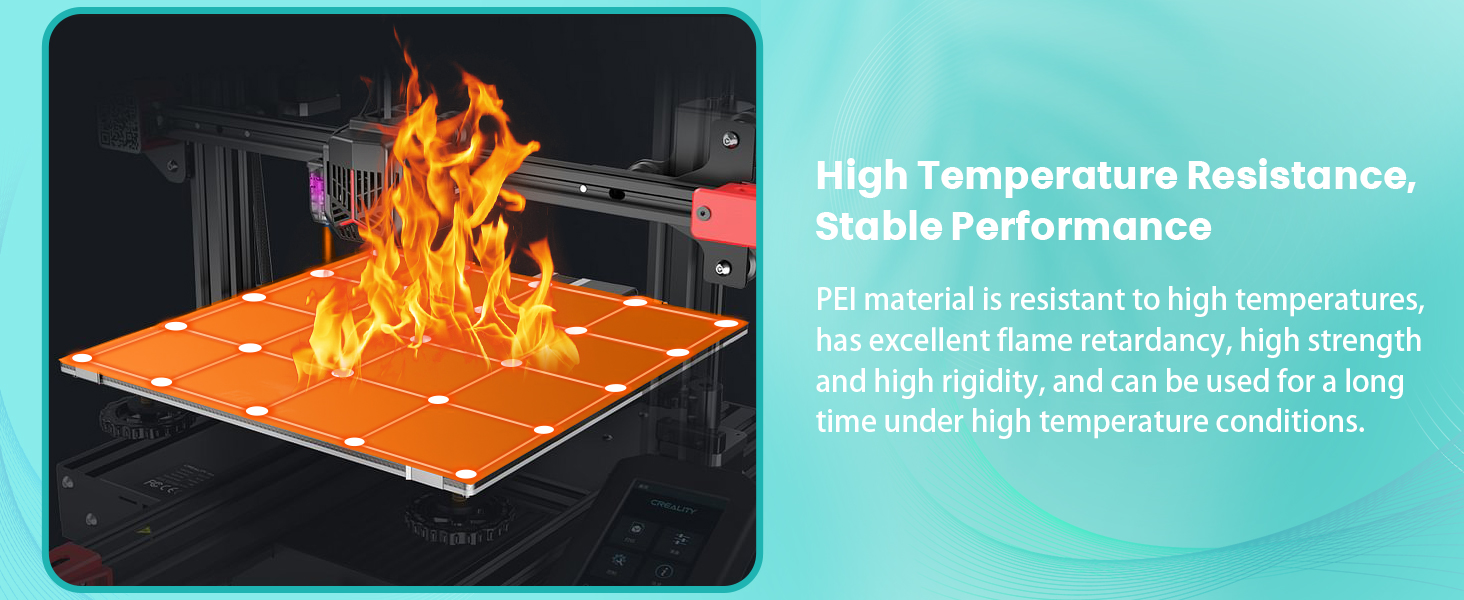
Image: A visual representation of the PEI plate's high temperature resistance, indicating stable performance and no deformation at 200°C, suitable for various filament types.
Video: This official Creality video provides a comprehensive guide on how to choose the right 3D printing bed plate, comparing different types and highlighting the advantages of PEI surfaces.
4. Installation Guide
Follow these steps to properly install your Creality PEI bed upgrade:
- Prepare the Printer Bed: Ensure your 3D printer's heated bed is clean and free from any debris or old adhesive. If you have a glass bed, remove it along with any clips.
- Apply the Magnetic Sticker:
- Carefully peel off the backing from the soft magnetic platform sticker.
- Align the magnetic sticker precisely onto your printer's heated bed. Start from one corner and slowly press it down, smoothing out any air bubbles as you go. Ensure it is firmly adhered across the entire surface.
- Place the PEI Spring Steel Plate:
- Once the magnetic sticker is securely in place, simply lay the PEI spring steel plate on top of it. The magnetic force will hold it firmly.
- Ensure the plate is correctly oriented and centered on the magnetic base.
- Adjust Z-Offset: Since the PEI plate might have a different thickness than your previous build surface, it is crucial to adjust your printer's Z-offset. Perform a bed leveling procedure (manual or auto-leveling, depending on your printer model) to ensure the nozzle is at the correct height above the new PEI surface.
Video: Official Creality installation guide for the Ender 3 Max Neo PEI Sheet, demonstrating how to apply the magnetic base and place the PEI plate onto the printer's heated bed.

Image: A close-up of the magnetic base being applied to the heated bed, showing the strong magnetic attraction that prevents displacement and ensures printing stability.
5. Operating Instructions
5.1 Printing
The PEI surface provides excellent adhesion when heated. Ensure your bed temperature is set appropriately for your chosen filament. For optimal first layer adhesion, a slightly higher bed temperature (e.g., 5-10°C above standard recommendations) might be beneficial, especially for filaments like PETG or ABS. Always ensure your bed is properly leveled before starting a print.
5.2 Model Removal
One of the primary advantages of the PEI spring steel sheet is the ease of model removal. After your print is complete, allow the heated bed to cool down completely. As the plate cools, the printed model will naturally release from the surface. If a model remains stuck, gently flex the PEI sheet to pop the print off. Avoid using sharp tools to pry off prints, as this can damage the PEI surface.
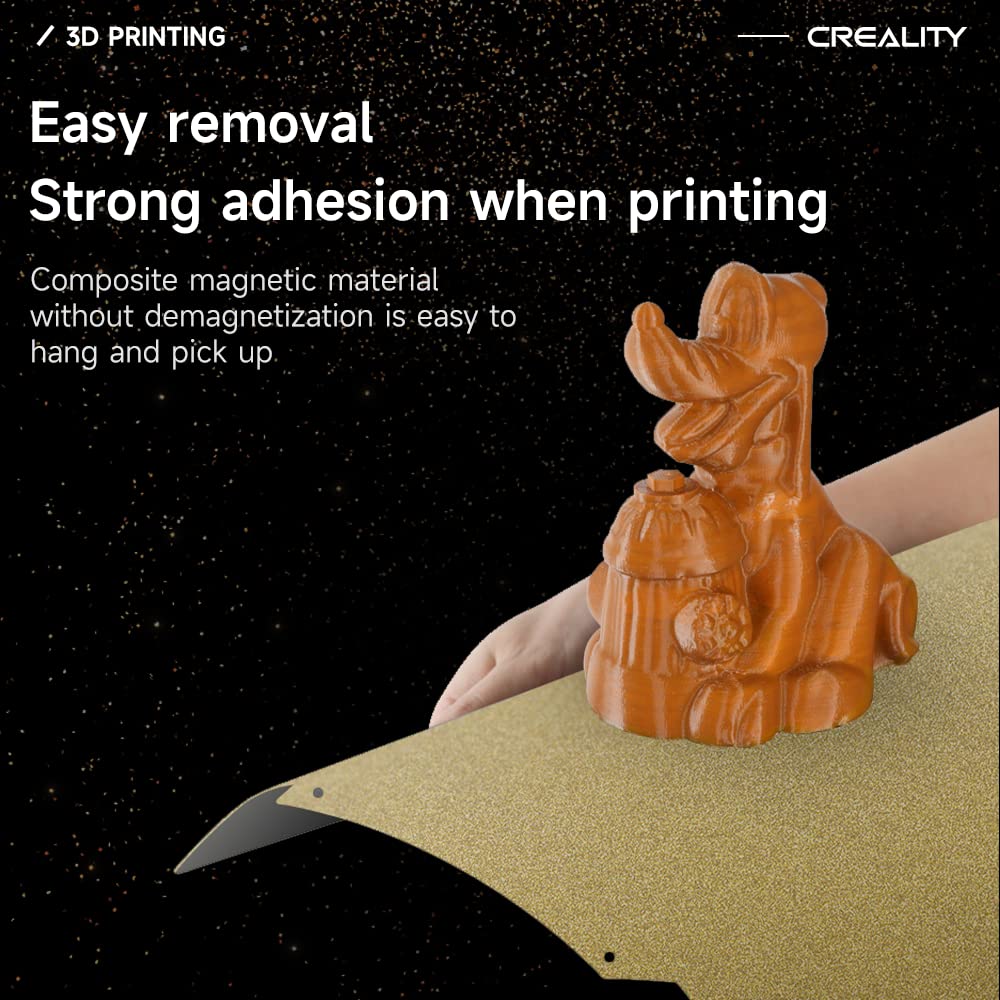
Image: A hand demonstrating the flexibility of the PEI plate, bending it to effortlessly remove a 3D printed dog model, showcasing the "Great Adhesion & Easy Take Mold" feature.
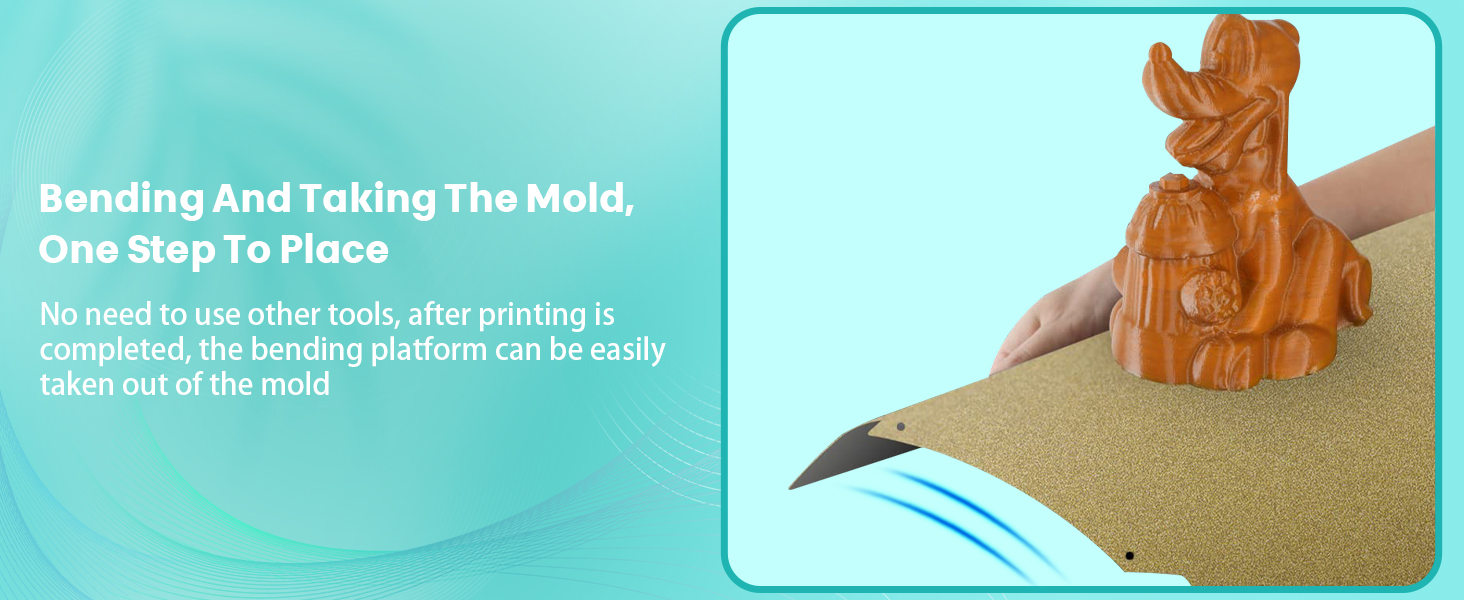
Image: This image visually explains the process of bending the platform to remove a finished print, emphasizing that no additional tools are needed for detachment.
6. Maintenance
- Cleaning: Regularly clean the PEI surface with isopropyl alcohol (IPA) to remove any oils, fingerprints, or residue that can affect adhesion. Avoid using acetone or harsh chemicals, as these can damage the PEI coating.
- Inspection: Periodically inspect the PEI surface for any signs of wear, scratches, or damage. While durable, excessive force or improper removal techniques can cause damage over time.
- Storage: When not in use, store the PEI sheet flat to prevent warping.
7. Troubleshooting
- Poor First Layer Adhesion:
- Ensure the bed is clean. Wipe with IPA before each print.
- Verify correct Z-offset. The nozzle should be close enough to slightly squish the first layer onto the bed.
- Increase bed temperature slightly (5-10°C) for better adhesion, especially for certain filaments.
- Check for drafts around the printer, which can cause warping and poor adhesion.
- Prints Sticking Too Strongly:
- Allow the bed to cool down completely. Prints should release easily when the bed is cold.
- If still stuck, gently flex the PEI sheet.
- Avoid printing certain materials (e.g., PETG) directly on a smooth PEI surface without a release agent if excessive adhesion is a persistent issue. The textured surface typically mitigates this.
- Scratches or Damage to PEI Surface:
- Avoid using metal scrapers or excessive force when removing prints.
- Ensure Z-offset is not too low, as the nozzle can drag and scratch the surface.
8. Specifications
| Attribute | Detail |
|---|---|
| Product Name | Creality Ender 3 Max Neo PEI Sheet Bed Upgrade |
| Model Number | 3D-PEI-320x310 |
| Dimensions | 310 x 320mm |
| Material | PEI (Polyetherimide) coated Spring Steel Plate with Magnetic Base |
| Surface Type | Frosted Texture (Gold PEI) |
| Max Temperature Resistance | Up to 200°C (for PEI spring plate) |
| Compatibility | CR-10S PRO, CR-10 V2, CR-10 V3, CR-X, CR-X Pro, CR-10S PRO V2, Ender-3 Max, Ender-3 Max Neo, and other same-sized beds. |
| Package Dimensions | 14.65 x 13.58 x 1.93 inches |
| Item Weight | 2.38 pounds |
9. Warranty and Support
For warranty information and technical support, please refer to the official Creality website or contact your retailer. Keep your purchase receipt for any warranty claims.
For further assistance or inquiries, visit the Creality Store on Amazon.
Related documentsEnder 3 Max Neo




Ask a question about this manual
Ask about setup, troubleshooting, compatibility, parts, safety, or missing instructions. Manuals+ will review the question and use this page’s manual context to help answer it.