
1. Introduction and Overview
The Nextion HMI Display 2.4″ Discovery Series NX3224F024 is a cost-effective Human Machine Interface (HMI) solution featuring an LCD-TFT resistive touch screen with a resolution of 320x240 pixels. Designed to simplify HMI project development, this display is suitable for a wide range of applications including racing dashboards, 3D printers, medical devices, beauty devices, and production lines.
The Discovery series was developed to provide a high cost-effective HMI product, balancing cost and benefit with a low learning curve. It is supported by the free Nextion Editor software, which offers easy drag-and-drop components and simple ASCII text-based instructions to significantly reduce development workloads.
NEXTION guarantees product availability for a minimum of 5 years for all series and ensures compliance with CE and RoHS standards. Technical support is available across all time zones.

Figure 1.1: Nextion HMI Display 2.4″ Discovery Series NX3224F024.
2. What's in the Box
Upon opening the package, verify that all components are present and in good condition. The standard package for the NX3224F024 model includes the following items:
- 1 x Nextion HMI Display (NX3224F024)
- 1 x XH2.54 4P Wire
- 1 x Power Supply Test Board

Figure 2.1: Contents included with the Nextion HMI Display. This includes the display unit, a 4-pin wire, and a power supply test board.
Video 2.1: An overview of the Nextion HMI Display and its components, demonstrating its physical features and included accessories.
3. Features
The Nextion HMI Display offers a robust set of features designed to facilitate efficient and versatile HMI development:
- Cost-effective HMI Solution: Provides an optimal balance between cost and performance, with a reduced learning curve for developers.
- Wide Range of Applications: Adaptable for use in various sectors including Vehicle HMI, 3D Printers, Medical Devices, Beauty Devices, and Production Line automation.
- Free Programming Software: Utilizes the Nextion Editor software, which simplifies GUI project development through intuitive drag-and-drop components and ASCII text-based instructions.
- Quality and Safety Assurance: Guaranteed availability for a minimum of 5 years for all series products, with CE and RoHS compliance. Responsive technical support is provided across all time zones.

Figure 3.1: Visual representation of key features including 2.4-inch size, 320x240 resolution, RGB 65K colors, XY fine tuning, onboard MCU, TTL serial interface, 4MB Flash memory, and 3584 Byte SRAM.
4. Setup
Setting up your Nextion HMI Display involves connecting it to your host device and preparing your graphical user interface (GUI) using the Nextion Editor software. Follow these general steps:
- Software Installation: Download and install the latest version of the Nextion Editor software from the official NEXTION website. This software is essential for designing and uploading your HMI projects to the display.
- Hardware Connection: Connect the Nextion display to your microcontroller (e.g., Arduino, ESP32, Raspberry Pi) or other host device using the provided XH2.54 4P wire. Ensure correct connections for +5V, TX (Transmit), RX (Receive), and GND (Ground) to the corresponding pins on your host device.
- Power Supply: Provide a stable 5V power supply to the display. The included Power Supply Test Board can be used for initial testing.
- Project Creation: Open the Nextion Editor and begin designing your HMI project. Utilize the drag-and-drop components to create buttons, text fields, progress bars, and other interactive elements.
- Upload Project: Once your project is complete, compile it within the Nextion Editor and upload it to the display. This can typically be done via the TTL serial interface or by loading the compiled .tft file onto an SD card and inserting it into the display's SD card slot.
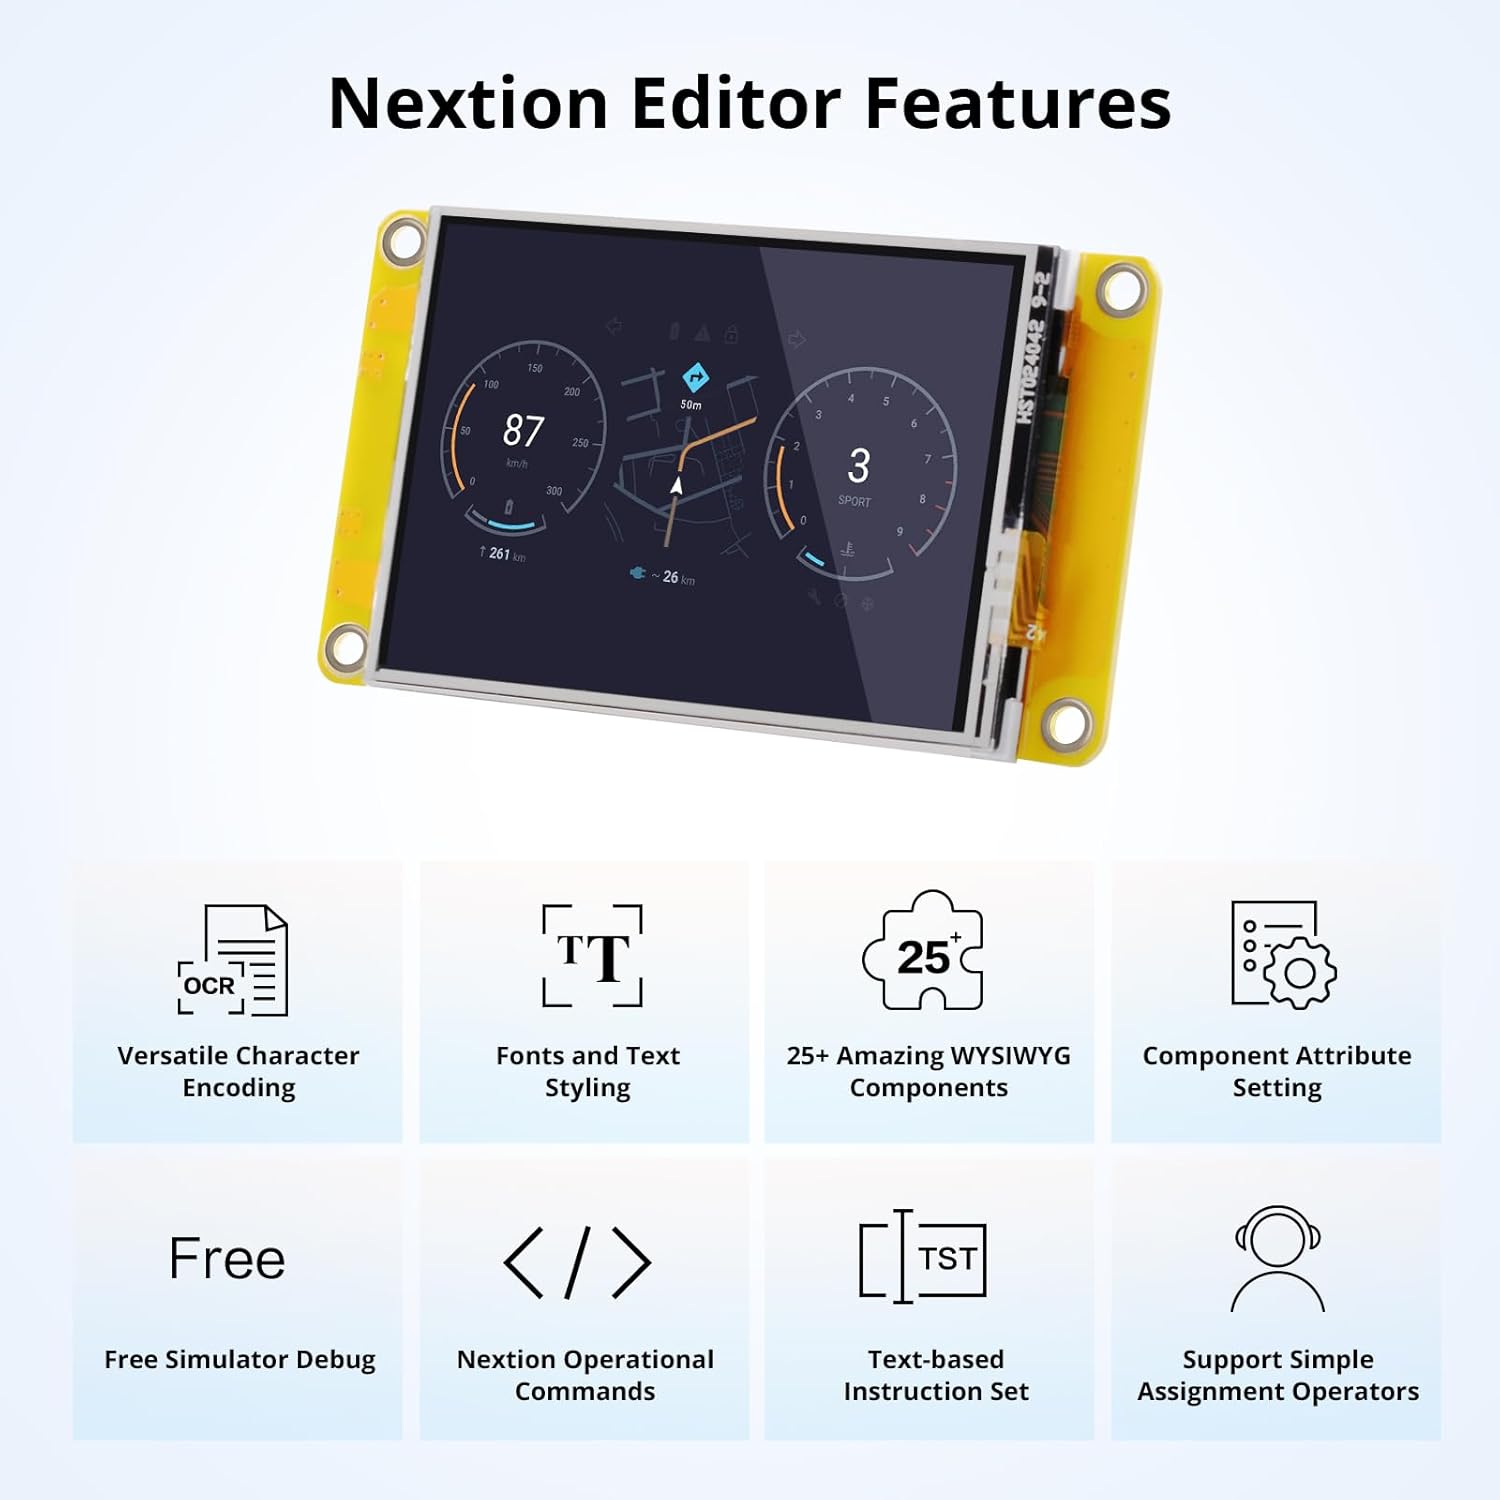
Figure 4.1: Key features of the Nextion Editor software, including versatile character encoding, font and text styling, WYSIWYG components, component attribute settings, free simulator debug, operational commands, text-based instruction set, and simple assignment operators.
5. Operating the Display
The Nextion HMI Display operates based on the HMI project loaded onto it. Interaction is primarily through its resistive touch screen and communication with a host microcontroller via the TTL serial interface. The display acts as a visual and interactive front-end, offloading GUI processing from the main controller.
5.1. Basic Interaction
- Touch Input: The resistive touch screen responds to pressure. Users interact with on-screen elements (buttons, sliders, text fields) by pressing them.
- Data Display: The display shows information sent from the host microcontroller or data generated by the HMI project itself.
5.2. Communication Protocol
Communication between the Nextion display and your host microcontroller is handled via a simple serial protocol. The Nextion Editor allows you to define events (e.g., button press, slider change) that trigger commands to be sent to the host, and conversely, the host can send commands to update elements on the display.
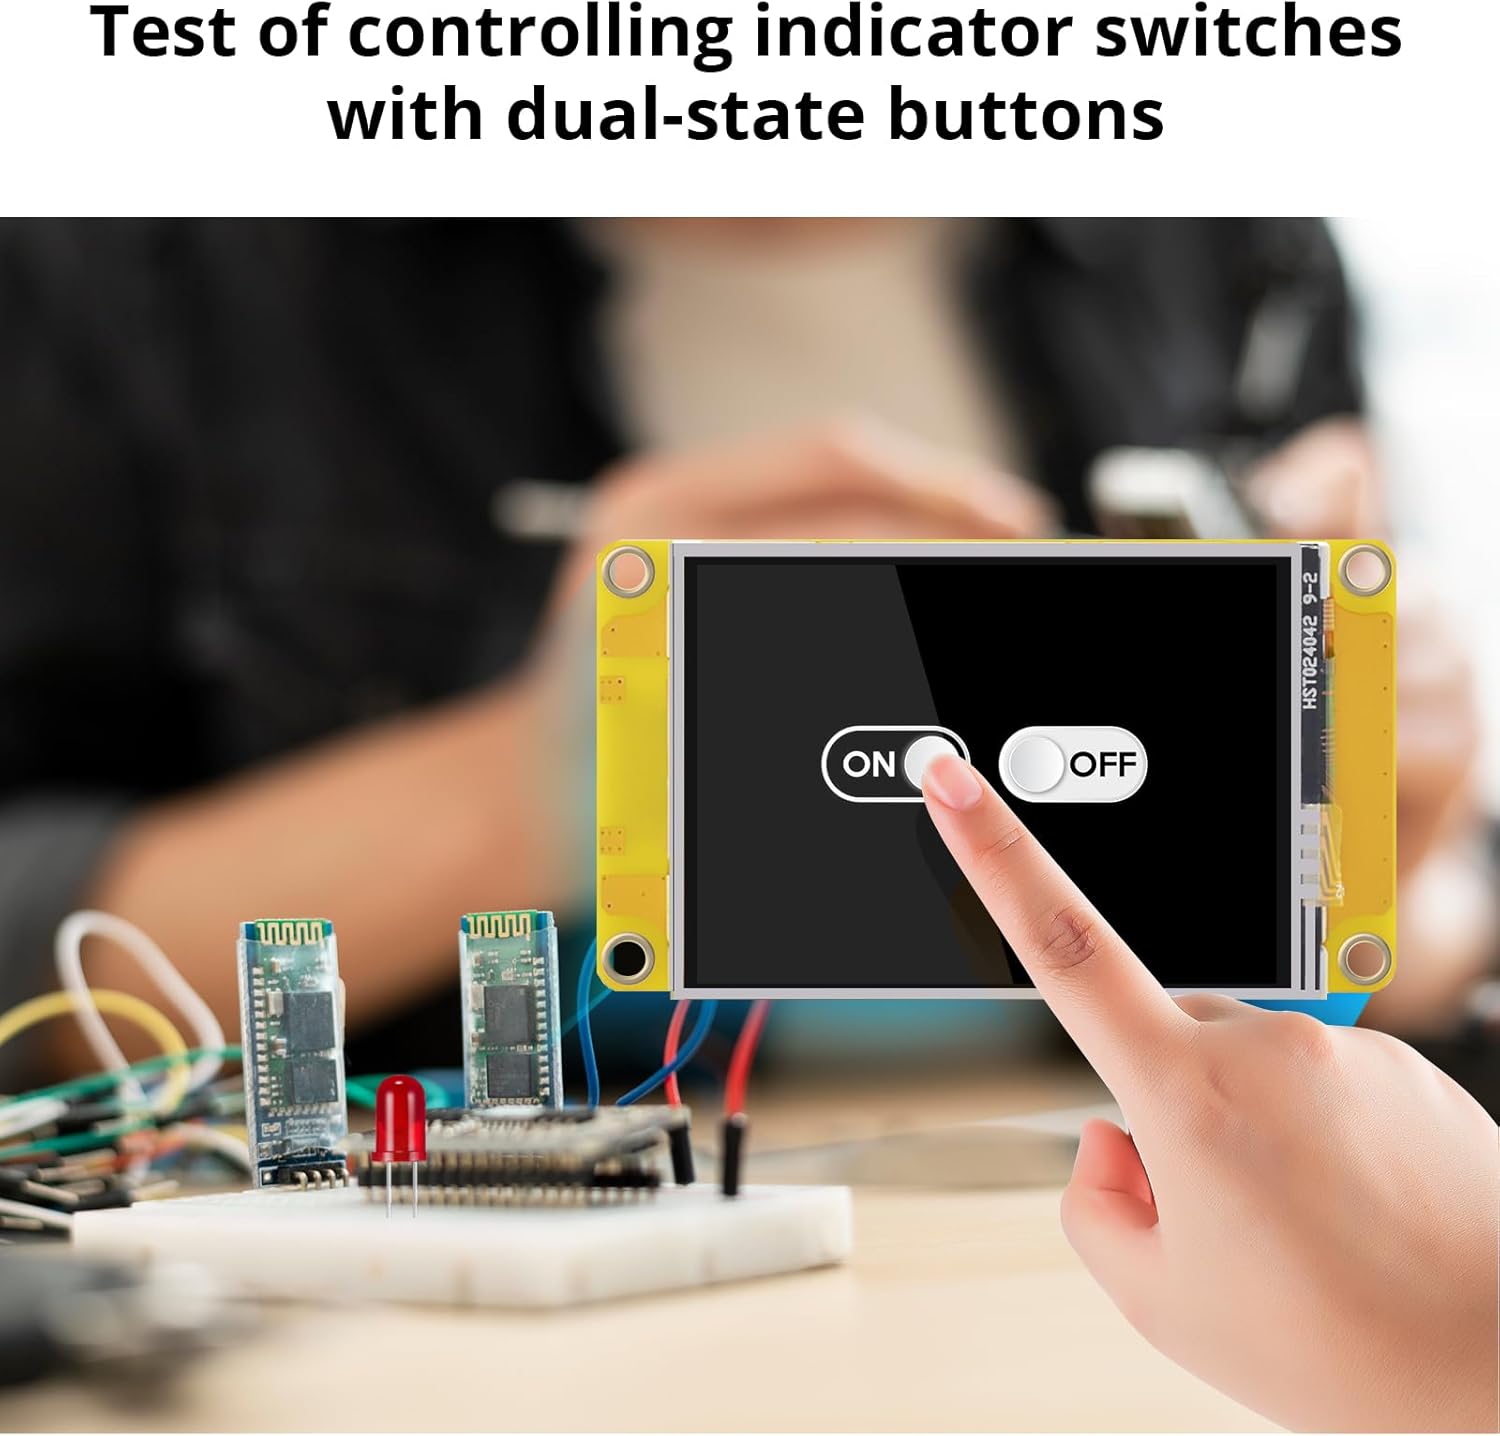
Figure 5.1: Demonstration of controlling indicator switches using dual-state buttons on the Nextion HMI Display, showcasing interactive functionality.
6. Applications
The Nextion HMI Display is highly versatile and can be integrated into a wide array of projects and products:
- Vehicle HMI: Ideal for custom racing dashboards or in-car entertainment systems.
- 3D Printers: Provides an intuitive control panel for managing print jobs and printer settings.
- Medical Devices: Can be used for displaying patient data, controlling medical equipment, and improving diagnostic interfaces.
- Beauty Devices: Suitable for user interfaces on cosmetic or aesthetic equipment.
- Production Lines: Enhances control panels for industrial machinery, improving efficiency and user interaction.
- IoT Smart Devices: Can serve as a user interface for smart home appliances and other connected devices.

Figure 6.1: Examples of Nextion Display integration in various applications, including medical devices for better diagnoses, beauty devices, and production line efficiency improvements.

Figure 6.2: The Nextion Display serving as a control interface for a 3D printer, demonstrating its utility in additive manufacturing.
7. Specifications
Detailed technical specifications for the Nextion HMI Display NX3224F024 are provided below:
| Feature | Specification |
|---|---|
| Model Name | NX3224F024 |
| Display Size | 2.4 inch |
| Resolution | 320x240 |
| Touch Panel | Resistive Touch Panel (RTP) |
| MCU | 64MHz core_m |
| Flash Memory | 4 MB |
| SRAM | 3584 Bytes |
| RAM | DDR4 |
| Wireless Type | Infrared |
| Operating System | Custom RTOS |
| Item Weight | 1.01 ounces |
| Product Dimensions | 1.69 x 2.91 x 0.43 inches |
8. Maintenance
To ensure the longevity and optimal performance of your Nextion HMI Display, follow these maintenance guidelines:
- Cleaning: Use a soft, dry, lint-free cloth to clean the display surface. For stubborn marks, slightly dampen the cloth with water. Avoid using harsh chemicals, abrasive cleaners, or solvents, as these can damage the screen or casing.
- Environmental Conditions: Operate and store the display within recommended temperature and humidity ranges. Avoid exposure to extreme temperatures, direct sunlight, or high moisture environments.
- Power Supply: Always use a stable and regulated 5V power supply. Fluctuations or incorrect voltage can damage the internal components.
- Physical Handling: Handle the display carefully to prevent physical damage. Avoid dropping the device or applying excessive pressure to the screen.
- Firmware Updates: Periodically check the official NEXTION website for firmware updates for your display model. Keeping the firmware updated can improve performance, add new features, and resolve potential issues.
9. Troubleshooting
If you encounter issues with your Nextion HMI Display, refer to the following common troubleshooting steps:
- Display Not Powering On:
- Verify that the power supply is correctly connected and providing the required 5V.
- Check all wiring connections for looseness or incorrect pin assignments.
- Screen is Blank or White:
- Ensure that a valid HMI project has been successfully uploaded to the display.
- If using an SD card for upload, confirm the .tft file is correctly placed and the card is properly inserted.
- Check for any error messages during the project compilation or upload process in the Nextion Editor.
- Touch Screen Unresponsive:
- Ensure the display is receiving power and the project is running.
- Resistive touch screens require a slight press; ensure sufficient pressure is applied.
- If the issue persists, recalibration might be necessary (refer to Nextion Editor documentation for calibration procedures).
- Communication Issues with Host MCU:
- Double-check TX/RX connections between the display and your microcontroller. Ensure TX on one device connects to RX on the other, and vice-versa.
- Verify that the baud rates are matched between the display and the host microcontroller.
- Confirm that the serial commands sent from the host match the expected commands defined in your Nextion project.
- Project Upload Failure:
- Ensure the correct COM port is selected in the Nextion Editor.
- Close any other software that might be using the serial port.
- Try a different USB-to-TTL converter if you are using one.
For more detailed troubleshooting or specific error codes, consult the comprehensive documentation and community forums available on the official NEXTION website.
10. Warranty and Support
NEXTION is committed to providing reliable products and comprehensive support for its users.
- Product Availability: NEXTION guarantees the availability of all series products for a minimum of 5 years from the date of purchase.
- Compliance: All Nextion products, including the NX3224F024, are CE and RoHS compliant, ensuring adherence to European safety, health, and environmental protection standards.
- Technical Support: A dedicated technical support team is available to provide responsive basic hardware technical service across all time zones.
- Online Resources: For additional information, software downloads, tutorials, and community support, please visit the official NEXTION website or their Amazon Brand Store: NEXTION Brand Store.


