
1. Introduction
The EPOMAKER EP75 is a compact 75% layout mechanical gaming keyboard designed for versatility and performance. It features multiple connectivity options, hot-swappable switches, and a durable build, making it suitable for both gaming and professional use across various operating systems.
This manual provides detailed instructions for setting up, operating, maintaining, and troubleshooting your EPOMAKER EP75 keyboard. Please read it thoroughly to ensure optimal use and longevity of your device.
2. Package Contents
Please check the package for the following items:
- EPOMAKER EP75 Mechanical Keyboard
- USB-C Cable
- Keycap Puller
- User Manual

Image: All items included in the EPOMAKER EP75 product package: the mechanical keyboard, a USB-C cable for wired connection and charging, a keycap puller for switch and keycap removal, and the instruction manual.
3. Product Overview
3.1. Design and Layout
The EPOMAKER EP75 features a 75% layout with 82 keys, offering a balance between compactness and full functionality. This design provides essential keys while saving desk space, making it ideal for various setups.
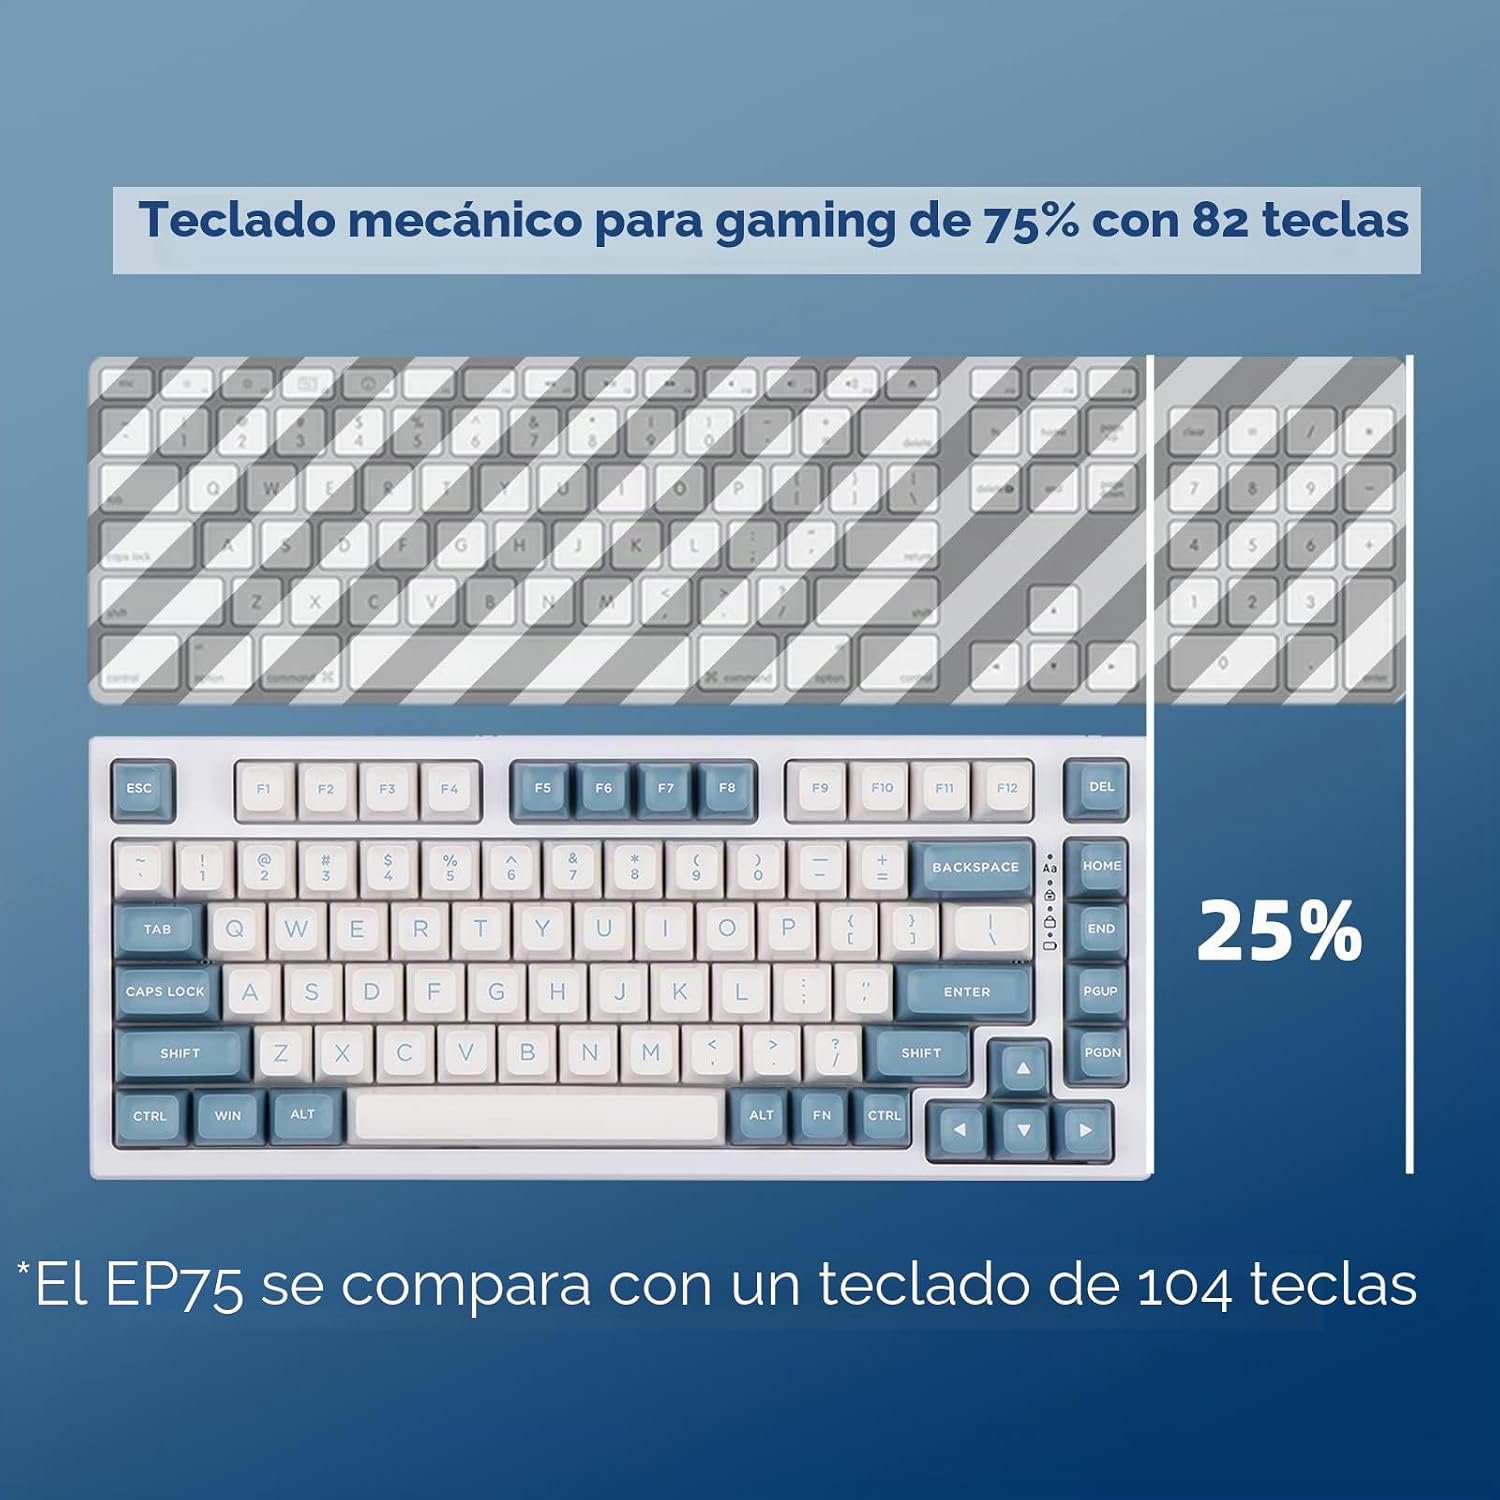
Image: This image illustrates the compact 75% layout of the EPOMAKER EP75 keyboard, showing it is 25% smaller than a standard 104-key keyboard while retaining essential keys.
3.2. Key Features
- Three Connectivity Modes: Supports Bluetooth 5.0, 2.4G wireless, and USB-C wired connections.
- Hot-Swappable PCB: Compatible with 3-pin and 5-pin mechanical switches, allowing for easy switch customization without soldering.
- Long-lasting Battery: Equipped with a 10,000 mAh battery, providing extended usage times.
- RGB Backlighting: Customizable RGB lighting for enhanced aesthetics.
- Durable Keycaps: Features EPOMAKER Pampas PBT Double Shot keycaps for durability and a unique feel.
- Cross-Platform Compatibility: Works with Windows and Mac operating systems.
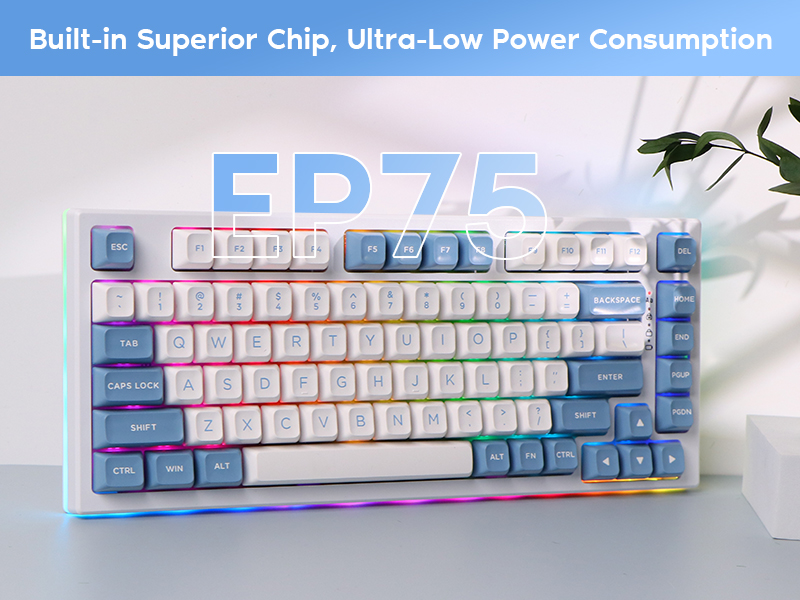
Image: A vibrant image of the EPOMAKER EP75 mechanical keyboard, featuring its RGB backlighting and the model designation 'EP75' prominently displayed.
4. Setup
4.1. Initial Charging
Before first use, it is recommended to fully charge the keyboard. Connect the provided USB-C cable to the keyboard's USB-C port and the other end to a power source (e.g., computer USB port or wall adapter).
4.2. Connectivity Options
The EPOMAKER EP75 supports three connection modes:
- USB-C Wired Mode: Connect the keyboard directly to your computer using the USB-C cable. This mode also charges the keyboard.
- 2.4G Wireless Mode: Insert the 2.4G USB dongle into an available USB port on your computer. The keyboard will automatically connect. The dongle can be stored in a dedicated slot on the keyboard when not in use.
- Bluetooth 5.0 Mode: Enable Bluetooth on your device. On the keyboard, switch to Bluetooth mode (refer to Section 5.1 for mode switching). Search for 'EPOMAKER EP75' in your device's Bluetooth settings and pair.

Image: This image highlights the convenient storage compartment for the 2.4G wireless dongle located on the side of the EPOMAKER EP75 keyboard, ensuring it is not lost when not in use.
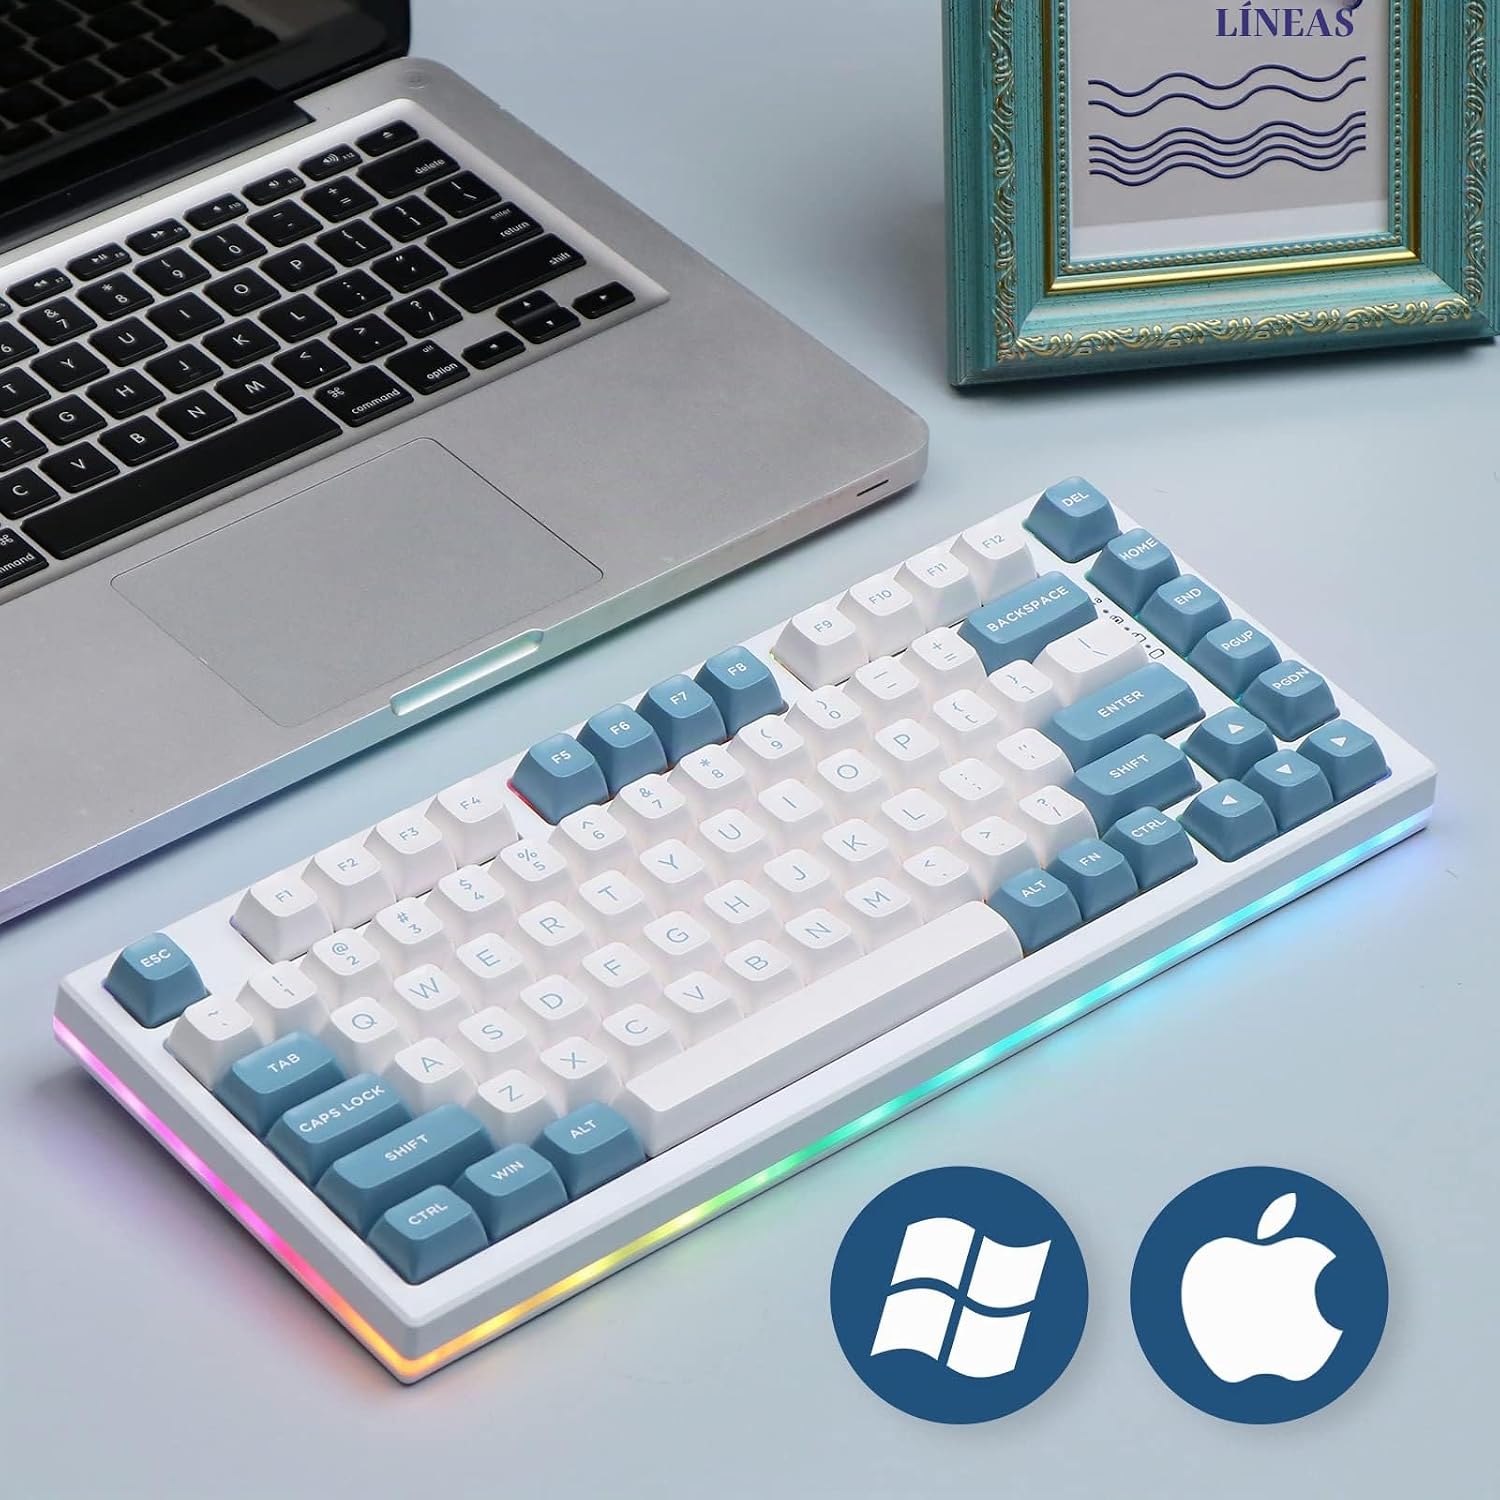
Image: The EPOMAKER EP75 keyboard is shown alongside Windows and Mac logos, signifying its compatibility with both operating systems for broad user accessibility.
5. Operating Instructions
5.1. Switching Connectivity Modes
To switch between the different connectivity modes, use the following key combinations:
- FN + 1/2/3: Switch to Bluetooth mode (up to 3 devices can be paired).
- FN + 4: Switch to 2.4G wireless mode.
- FN + 5: Switch to USB-C wired mode.
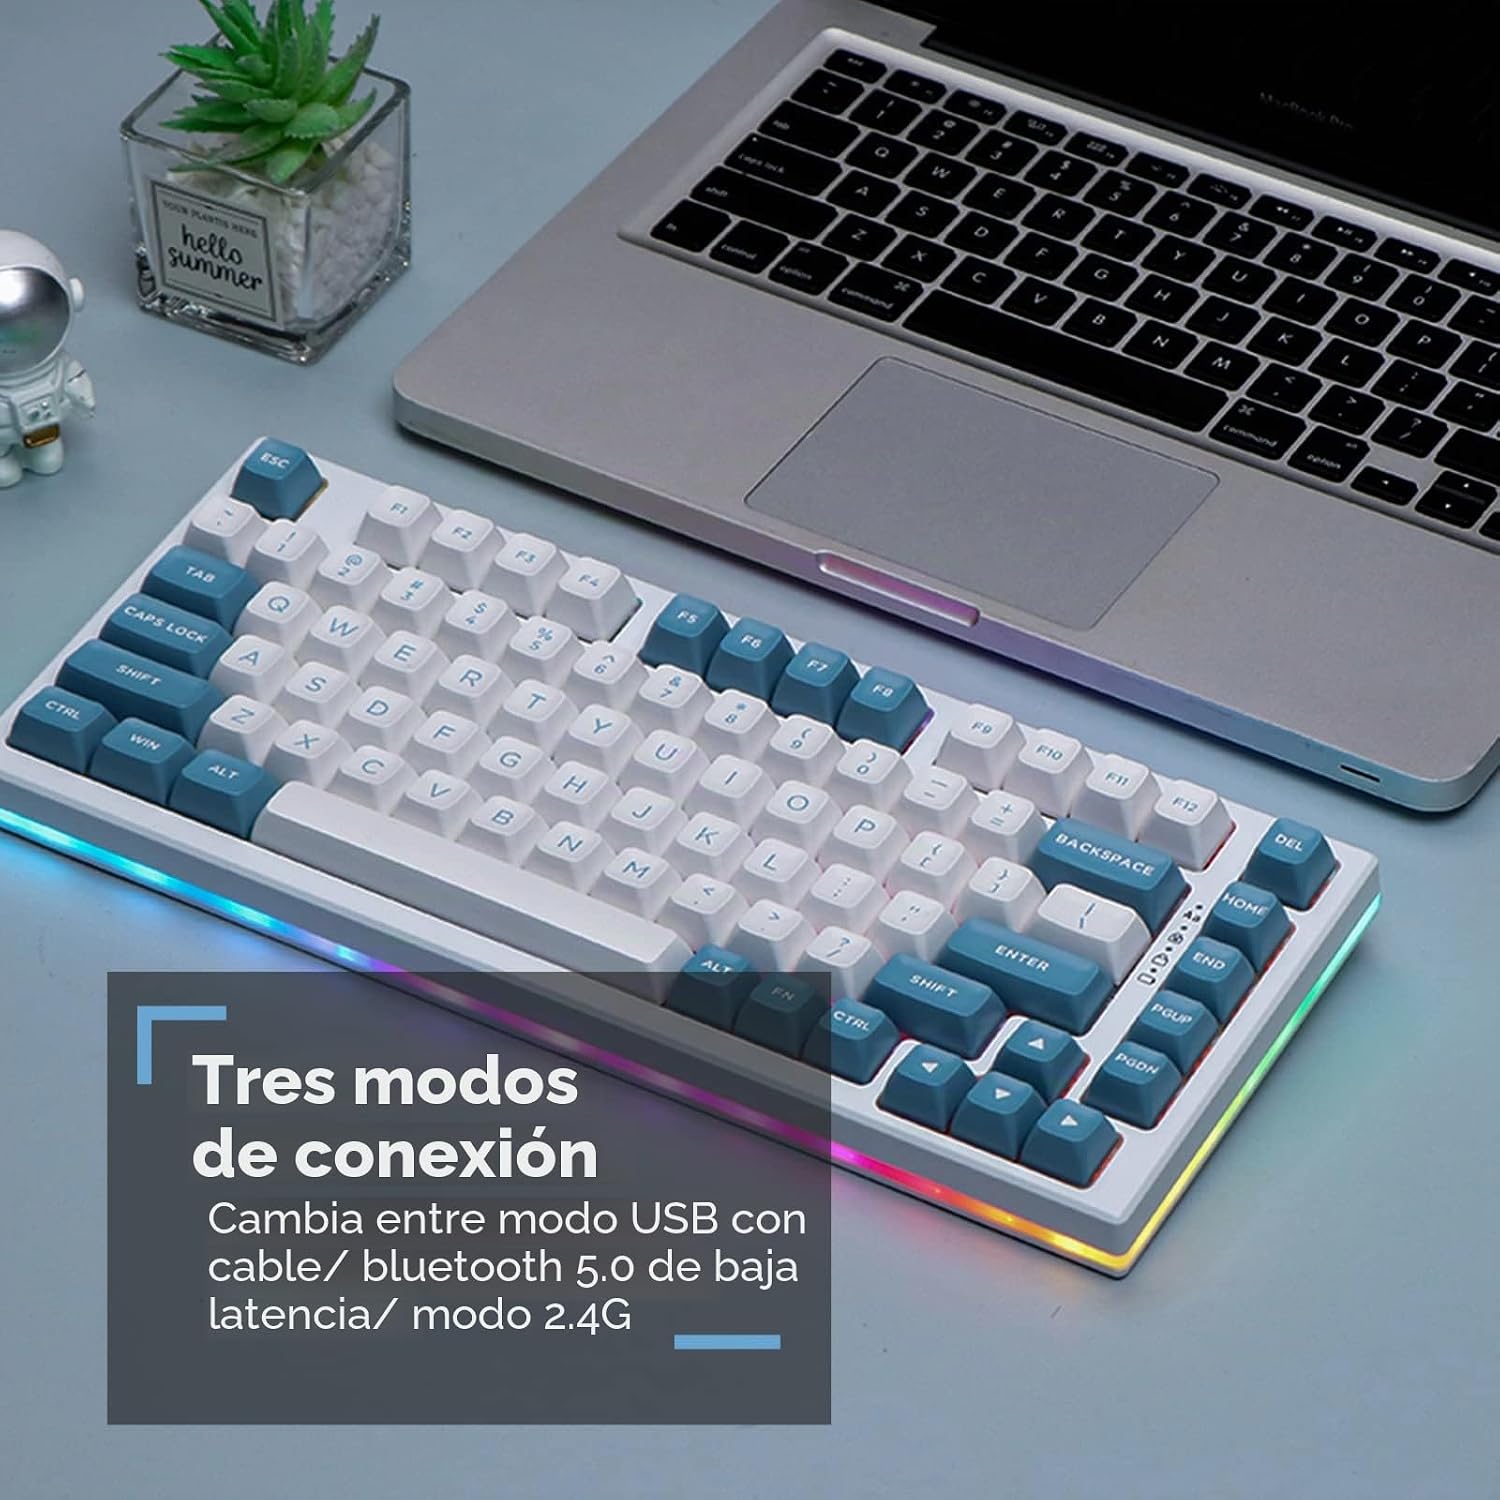
Image: The image displays the EPOMAKER EP75 keyboard in use with a laptop, emphasizing its versatile connectivity options including USB-C wired, Bluetooth 5.0, and 2.4G wireless modes.
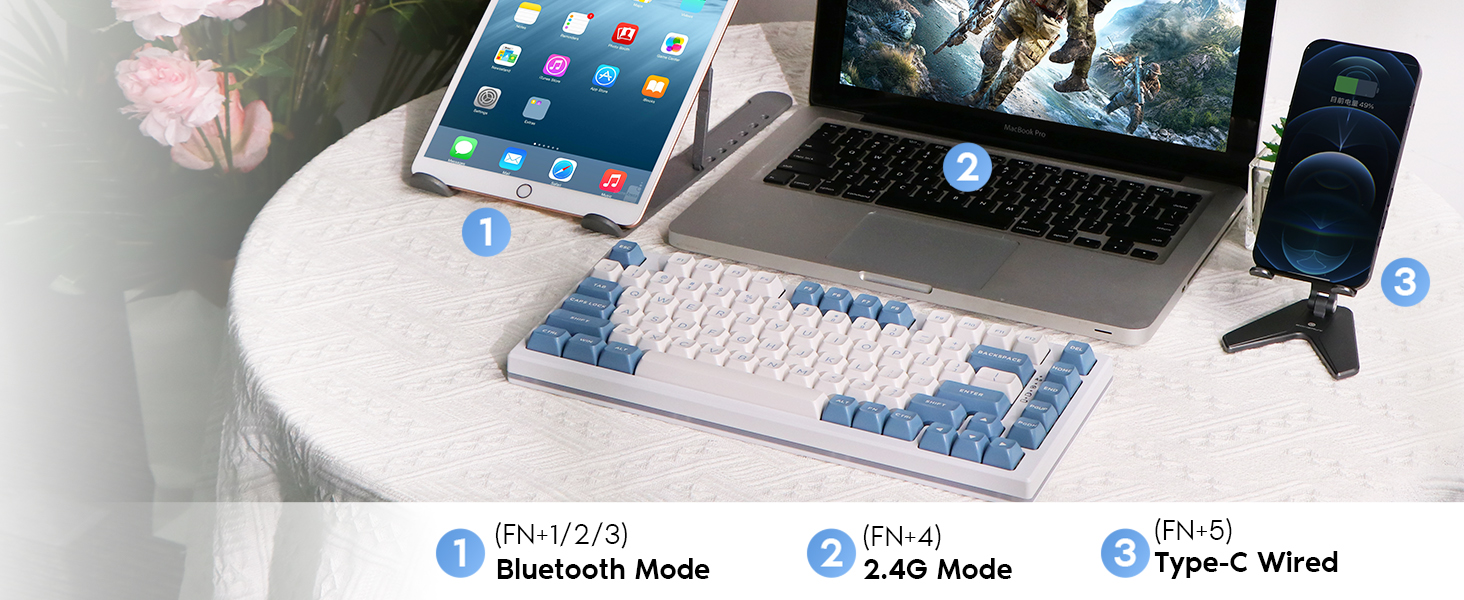
Image: This image demonstrates the EPOMAKER EP75 keyboard's ability to connect to multiple devices simultaneously, including a tablet (Bluetooth), laptop (2.4G), and smartphone (Type-C Wired), highlighting its versatility.
5.2. Battery Indicator
The keyboard is equipped with a battery indicator to show the current charge level. This indicator will alert you when the battery is low, allowing you to recharge it in time.
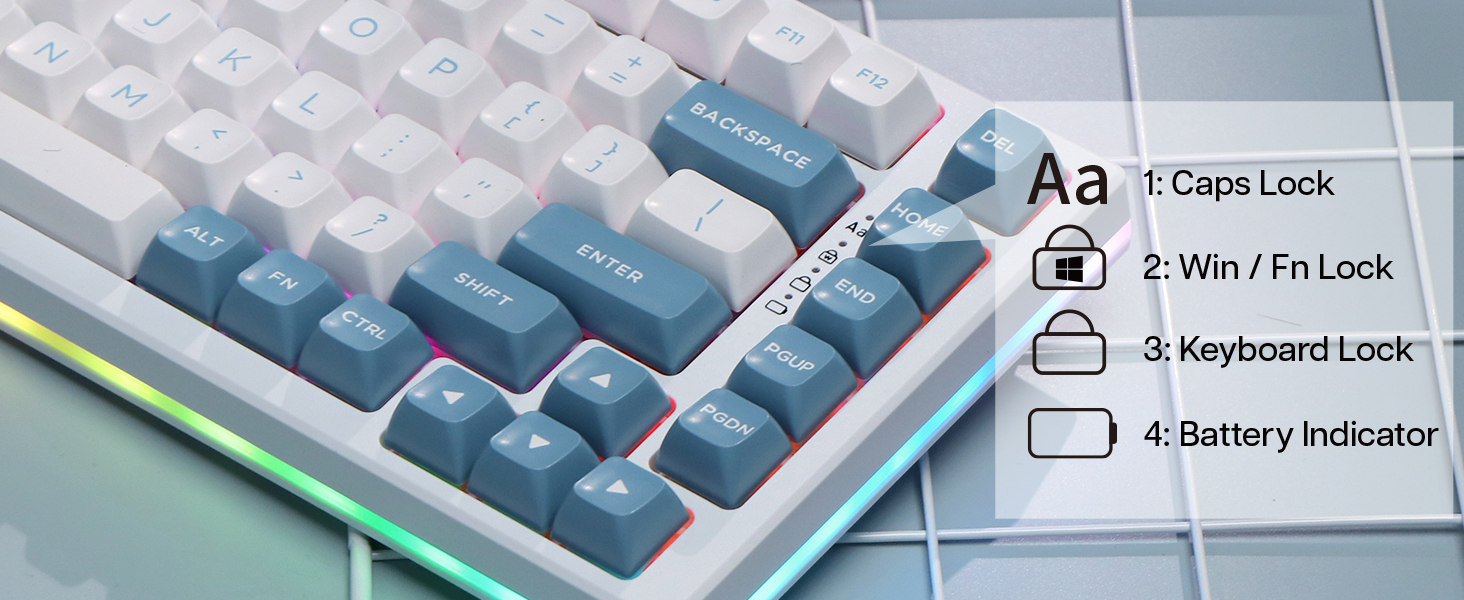
Image: A detailed shot of the EPOMAKER EP75 keyboard's key area, showing specific indicator icons for Caps Lock, Win/Fn Lock, Keyboard Lock, and a Battery Indicator, providing visual feedback on keyboard status.
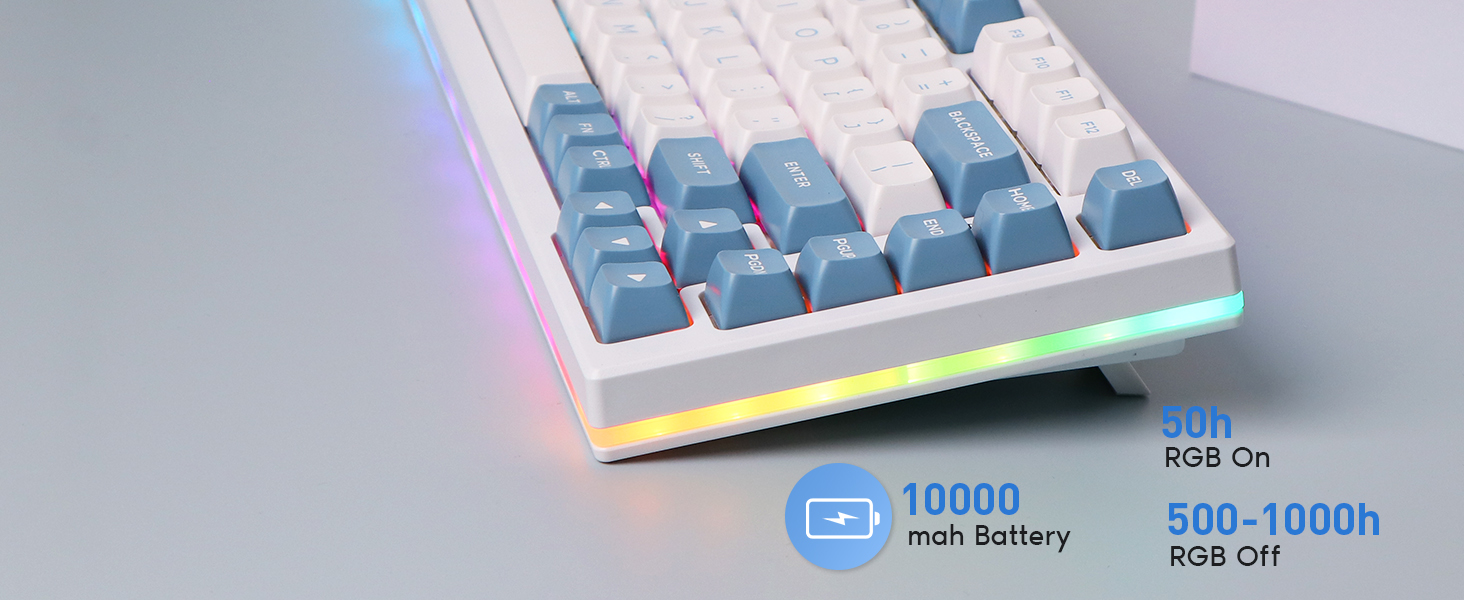
Image: This image highlights the impressive battery performance of the EPOMAKER EP75 keyboard, featuring a 10000 mAh battery that provides up to 50 hours of use with RGB lighting on, and 500-1000 hours with RGB off.
5.3. RGB Backlighting
The EP75 features customizable RGB backlighting. Specific key combinations for adjusting lighting effects, brightness, and color modes can be found in the quick start guide included in your package or on the official EPOMAKER website.
6. Maintenance
6.1. Cleaning
To clean your keyboard, gently wipe the keycaps and chassis with a soft, damp cloth. For deeper cleaning, you may remove the keycaps using the provided keycap puller. Avoid using harsh chemicals or abrasive materials.
6.2. Hot-Swappable Switches
The EP75's hot-swappable PCB allows you to change mechanical switches without soldering. Use a switch puller (not included, but often comes with switch sets) to carefully remove existing switches and insert new ones. Ensure the new switches are aligned correctly with the PCB pins to avoid damage.

Image: A detailed view showing the hot-swappable functionality of the EPOMAKER EP75 keyboard, where a switch is being easily removed with a switch puller, allowing for customization without soldering.

Image: The image shows a user easily removing a mechanical switch from the EPOMAKER EP75 keyboard, demonstrating its hot-swappable design which allows for switch customization without soldering.
6.3. Keycap Replacement
The EPOMAKER EP75 comes with durable PBT keycaps. If you wish to replace them, use the provided keycap puller to gently remove the existing keycaps. Ensure new keycaps are compatible with MX-style switches.

Image: This diagram visually compares various keycap profiles, such as ESA, Cherry, OEM, SA, and MDA, detailing the unique angled and spherical top surface of the EPOMAKER Pampas ESA profile.
7. Troubleshooting
- Keyboard not responding:
- Ensure the keyboard is charged.
- Check the connection mode (wired, 2.4G, or Bluetooth) and ensure it matches your device.
- For 2.4G, ensure the dongle is securely plugged in.
- For Bluetooth, ensure it's paired correctly and your device's Bluetooth is enabled.
- Try connecting via USB-C cable to rule out wireless issues.
- Keys not registering:
- Check if the specific switch is properly seated. If hot-swappable, try reseating or replacing the switch.
- Ensure no debris is under the keycap or switch.
- RGB lighting not working:
- Ensure the keyboard is sufficiently charged.
- Check the RGB control key combinations (refer to the quick start guide).
- Intermittent wireless connection:
- Move the keyboard closer to the receiver (dongle or Bluetooth device).
- Avoid interference from other wireless devices.
- Ensure the keyboard battery is not critically low.
8. Specifications
| Feature | Detail |
|---|---|
| Model Name | EP75 |
| Layout | 75% (82 Keys) |
| Connectivity | Bluetooth 5.0, 2.4G Wireless, USB-C Wired |
| Battery Capacity | 10,000 mAh |
| Backlight | RGB |
| Keycaps | PBT Double Shot (Pampas color) |
| Switches | Hot-swappable (3-pin/5-pin compatible) |
| Compatible OS | Windows, Mac OS, Linux |
| Dimensions (L x W x H) | 33 cm x 13.8 cm x 3.2 cm |
| Weight | 1.41 kg |
| Material | Polybutylene Terephthalate (PBT) for keycaps |
9. Warranty and Support
EPOMAKER products come with a standard manufacturer's warranty. For specific warranty details, please refer to the warranty card included in your package or visit the official EPOMAKER website. If you encounter any issues or require technical assistance, please contact EPOMAKER customer support through their official channels.
For the latest drivers, software, and FAQs, please visit the EPOMAKER support page.


