Product Overview
The ID-COOLING SE-207-XT Slim is a high-performance dual-tower CPU air cooler designed for efficient heat dissipation. It features 7 heat pipes and a 120mm PWM fan, ensuring optimal cooling for your CPU while maintaining a compact 135mm height for broad case compatibility.

Figure 1: The ID-COOLING SE-207-XT Slim CPU Cooler, showcasing its dual-tower design and all-black aesthetic.
Key features include:
- Dual Tower Design: Maximizes surface area for heat exchange.
- 7 Heat Pipes: Efficiently transfers heat away from the CPU.
- 120mm PWM Fan: Provides high airflow (76.16 CFM) with adjustable speed for optimal performance and low noise (max 35 dB).
- Compact Height: At 135mm, it fits most tower cases.
- Wide Compatibility: Supports Intel LGA1700/1200/1150/1151/1155/1156 and AMD AM5/AM4 sockets.
Package Contents
Verify that all components listed below are included in your package before proceeding with installation.

Figure 2: All components included with the SE-207-XT Slim CPU Cooler, including mounting hardware, thermal paste, and fan clips.
- SE-207-XT Slim Heatsink (Dual Tower)
- 120mm PWM Cooling Fan
- Mounting Hardware Kit (for Intel and AMD sockets)
- Thermal Paste
- Fan Clips (2 extra included for optional second fan)
- Screwdriver
Setup and Installation
Before beginning installation, ensure your system is powered off and unplugged. Refer to your motherboard manual for specific CPU socket and backplate information.
1. Prepare the Motherboard
Identify your CPU socket type (Intel LGA or AMD AM) and select the corresponding mounting brackets from the kit. Install the appropriate backplate behind the motherboard if required by your socket type.
2. Apply Thermal Paste
Clean the surface of your CPU and the cooler's base. Apply a small amount of thermal paste (included) to the center of the CPU's integrated heat spreader (IHS). A pea-sized dot is usually sufficient. Do not spread the paste; the pressure from the cooler will distribute it evenly.

Figure 3: The cooler's base featuring Direct Contact Technology, designed for efficient heat transfer from the CPU.
3. Mount the Heatsink
Carefully place the heatsink onto the CPU, aligning the mounting holes with the standoffs or backplate screws. Secure the heatsink using the provided screws, tightening them in a diagonal pattern to ensure even pressure. Use the included screwdriver for this step.
4. Install the Fan
Attach the 120mm PWM fan to the heatsink using the provided fan clips. Ensure the fan is oriented correctly to push air through the heatsink fins towards the rear of your PC case for optimal airflow.
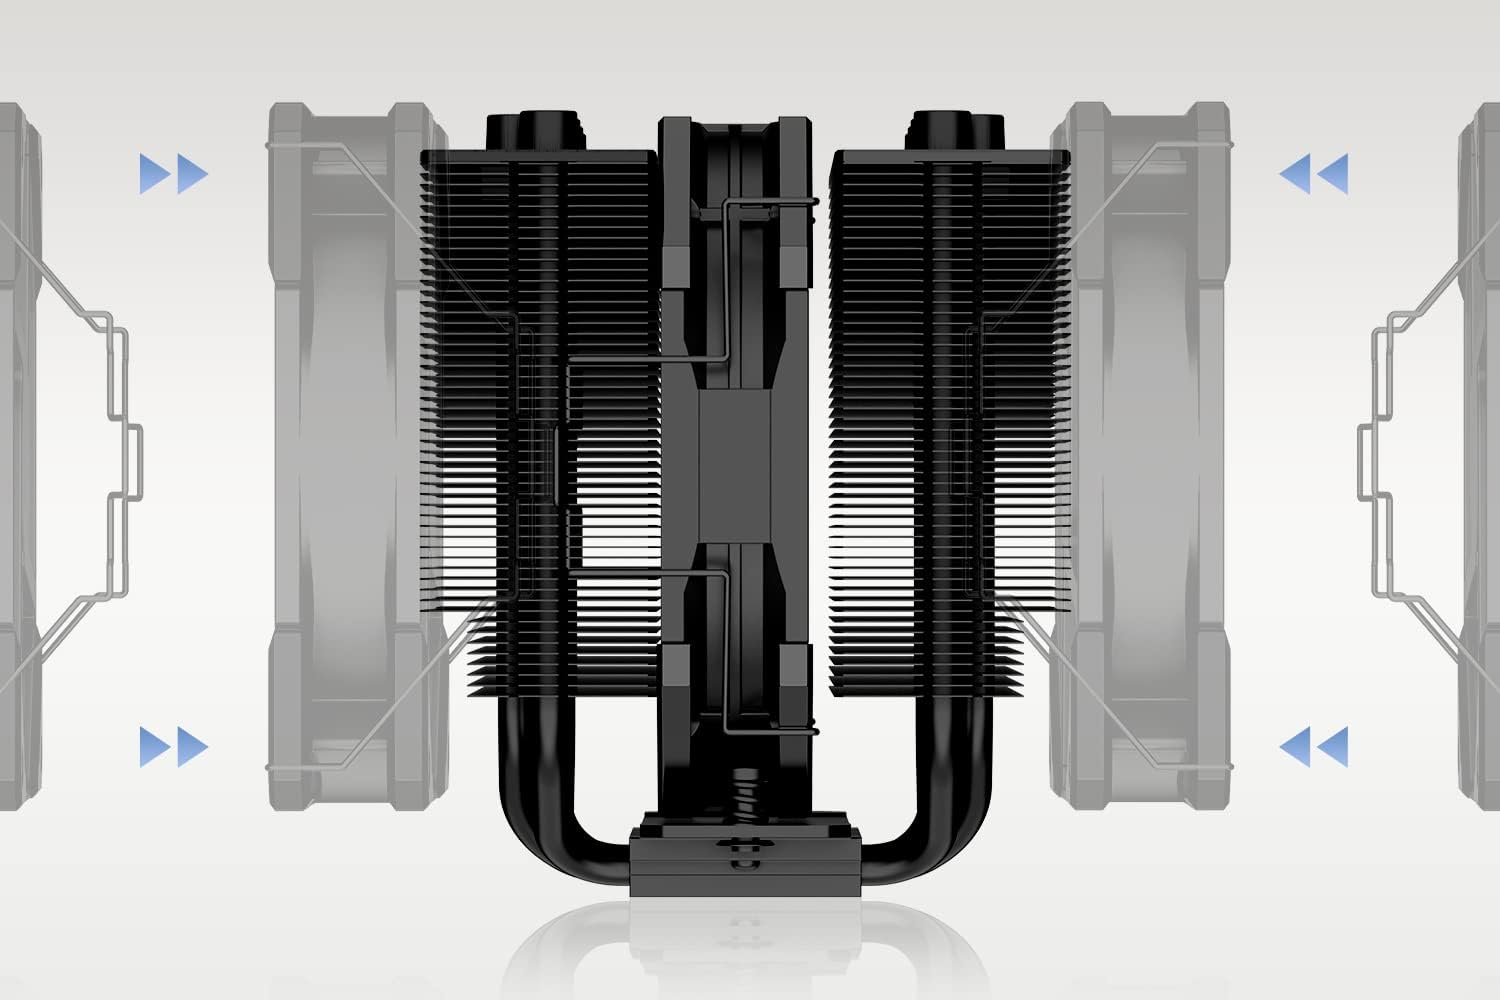
Figure 4: Illustration of how to attach the fan to the heatsink using the fan clips, ensuring proper airflow direction.
Connect the fan's 4-pin PWM cable to the CPU_FAN header on your motherboard. If installing an optional second fan, connect it to another available fan header (e.g., SYS_FAN) or use a fan splitter (not included).

Figure 5: A detailed view of the 120mm PWM fan, highlighting its design for efficient airflow and quiet operation.

Figure 6: The SE-207-XT Slim CPU Cooler installed within a PC case, viewed from above, demonstrating its fit and clearance.

Figure 7: The SE-207-XT Slim CPU Cooler installed in a PC case, viewed from the side, showing its compact height and RAM compatibility.
Operating Instructions
Once installed, the ID-COOLING SE-207-XT Slim CPU Cooler operates automatically, regulated by your motherboard's fan control settings. The PWM (Pulse Width Modulation) function allows the fan speed to adjust based on CPU temperature, providing efficient cooling when needed and quieter operation during lighter loads.
Fan Control Settings
You can typically adjust fan control settings through your motherboard's BIOS/UEFI or dedicated software provided by your motherboard manufacturer. Common settings include:
- Standard/Silent Mode: Prioritizes quiet operation, suitable for general use.
- Performance Mode: Increases fan speed at lower temperatures for maximum cooling, ideal for gaming or heavy workloads.
- Custom Curve: Allows you to define specific fan speeds at different temperature thresholds.

Figure 8: Visual representation of the fan's strong airflow and air pressure capabilities, indicating its performance range.
The fan operates within a speed range of 700-1800 RPM (PWM) and produces a noise level between 15.2-35.2 dB(A).
Maintenance
Regular maintenance ensures optimal performance and longevity of your CPU cooler.
Dust Cleaning
Over time, dust can accumulate on the heatsink fins and fan blades, reducing cooling efficiency. It is recommended to clean the cooler every 3-6 months, or more frequently in dusty environments.
- Power off your computer and unplug it from the wall outlet.
- Carefully remove the side panel of your PC case.
- Use compressed air to blow dust out of the heatsink fins. Hold the fan blades gently to prevent them from spinning excessively during cleaning, which can damage the fan bearings.
- Wipe down the fan blades and frame with a soft, dry cloth.
- Reassemble your PC.
Thermal Paste Reapplication
While not frequently required, reapplication of thermal paste may be considered every few years or if you notice a significant increase in CPU temperatures. This involves carefully removing the heatsink, cleaning off old thermal paste from both the CPU and cooler base, and applying new thermal paste before re-mounting.
Troubleshooting
| Problem | Possible Cause | Solution |
|---|---|---|
| CPU temperatures are too high. | Insufficient thermal paste, improper heatsink mounting pressure, dust accumulation, incorrect fan orientation, or fan not spinning. | Check thermal paste application and reapply if necessary. Ensure heatsink is securely mounted with even pressure. Clean dust from heatsink and fan. Verify fan is oriented to exhaust air from the heatsink. Check fan cable connection to motherboard. |
| Fan is not spinning. | Fan cable disconnected, faulty fan header on motherboard, or fan failure. | Ensure the 4-pin PWM fan cable is securely connected to the CPU_FAN header. Try connecting the fan to a different fan header on the motherboard. If the fan still does not spin, it may be faulty and require replacement. |
| Excessive fan noise. | Fan speed set too high, dust buildup on fan blades, or faulty fan bearing. | Adjust fan speed settings in BIOS/UEFI to a quieter profile (e.g., Silent Mode). Clean dust from fan blades. If noise persists, the fan bearing may be failing and require replacement. |
| Cooler does not fit in case. | Case height limitation. | The SE-207-XT Slim has a height of 135mm. Verify your PC case's CPU cooler clearance. If it does not fit, a different case or a smaller cooler may be required. |
Specifications
| Feature | Detail |
|---|---|
| Model Number | SE-207-XT SLIM |
| Dimensions (L x W x H) | 120 x 110 x 135 mm |
| Weight | 1 kg |
| Heat Pipes | 7 |
| Fan Size | 120mm x 120mm x 25mm |
| Fan Speed | 700-1800 RPM (PWM) |
| Max. Air Flow | 76.16 CFM |
| Noise Level | 15.2-35.2 dB(A) |
| Rated Voltage | 12V DC |
| Power Connector | 4-Pin PWM |
| TDP | 220W |
| Material | Aluminum |
| Bearing Type | Hydraulic Bearing |
| Compatible Sockets | Intel LGA1700/1200/115X, AMD AM5/AM4 |

Figure 9: Official specifications table for the SE-207-XT Slim, providing detailed technical data.
Warranty and Support
ID-COOLING products are designed for reliability and performance. For warranty information and technical support, please refer to the official ID-COOLING website or contact their customer service.
- Official Website: www.idcooling.com
- Support Email: support@idcooling.com
- YouTube Channel: youtube.com/c/idcooling
- Facebook: idcooling.global
Please retain your proof of purchase for warranty claims.


