
Product Overview
The Nilight 2 Gang Rocker Switch Panel is a multi-functional control unit designed for various 12V-24V DC vehicles and marine applications. It integrates two rocker switches, a 4.8A dual USB charger, and a voltmeter, providing convenient power control and monitoring.
Key Features
- Multi-function Design: Integrated with 2 rocker switches, a 4.8A dual USB charger, and a voltmeter.
- Efficient Charging: Dual USB charger provides 2.4A per port, totaling 4.8A, for fast charging of USB-powered devices.
- LED Voltage Display: Built-in voltmeter displays current voltage readings for vehicle battery monitoring.
- Durable Construction: Panel made of strengthened aluminum with well-conductive pins for long-lasting durability.
- Wide Compatibility: Suitable for most 12V-24V DC cars, UTVs/ATVs, trucks, trailers, RVs, caravans, buses, marine boats, and yachts.
Package Contents
Verify that all items are present in the package:
- 1x 2 Gang Switch Panel
- 4x Fixing Screws
- 2 sets of DIY Stickers (132PCS Night Glow Rocker Switch DIY Sticker and 50PCS universal Stickers)

Image: Contents of the Nilight 2 Gang Rocker Switch Panel package, showing the panel, mounting screws, and two sheets of DIY stickers for switch customization.
Product Specifications
| Specification | Value |
|---|---|
| Model Number | 90305G-C |
| Input Voltage | 12V-24V DC |
| USB Output | 5V 4.8A (2.4A per port) |
| Switch Type | Rocker, 5-way (ON-OFF) |
| Switch Current Rating | 20 Amps |
| Material | Plastic, Metal (Strengthened Aluminum Panel) |
| Product Dimensions (L x W x H) | 10.16 x 10.16 x 7.62 cm (4 x 4 x 3 inches) |
| Item Weight | 181 g |
| Mounting Type | Panel Mount |
| Color | Green Backlit |
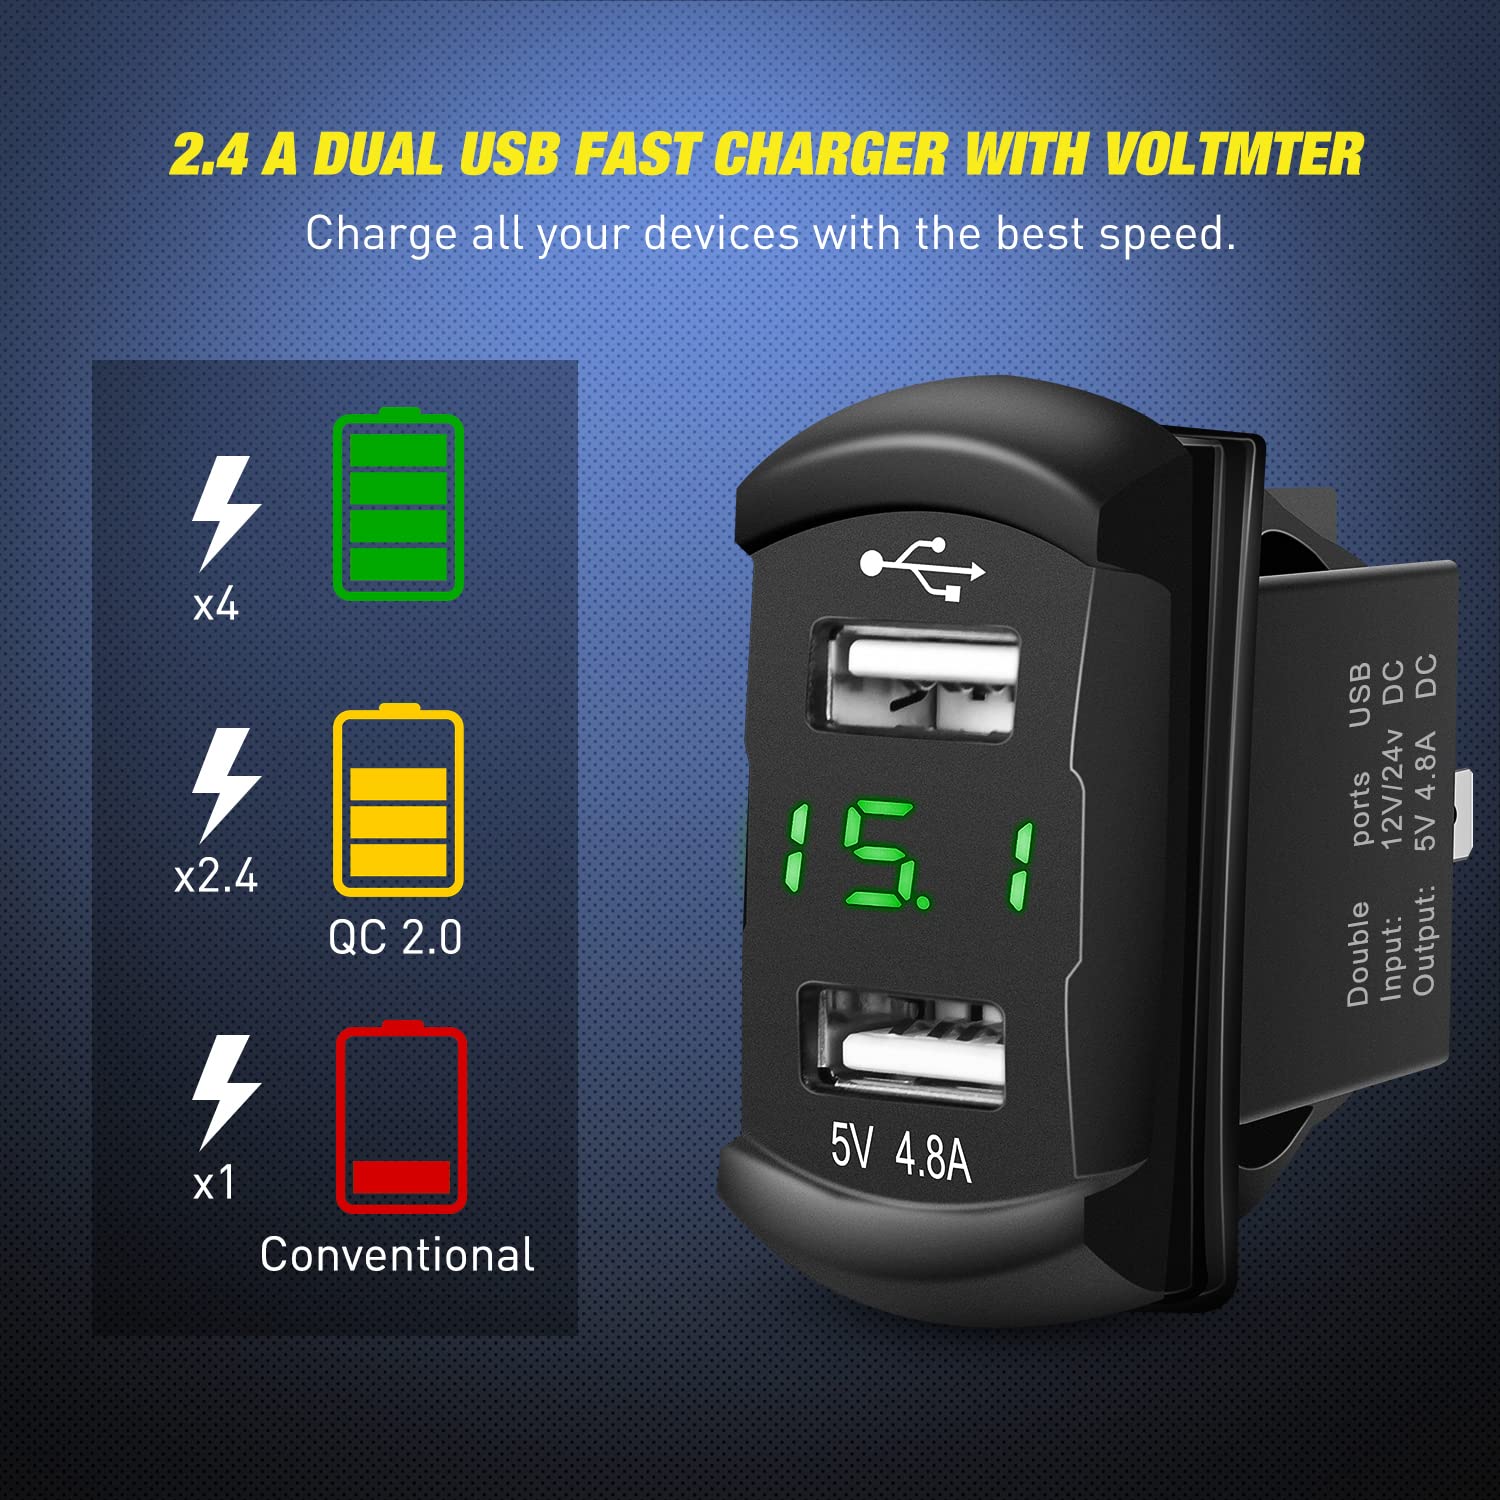
Image: Detailed dimensions of the Nilight 2 Gang Rocker Switch Panel, showing measurements for the panel face and the rear wiring assembly.
Installation Instructions
This switch panel features a pre-wired harness for simplified installation in both 12V and 24V vehicles. Ensure the vehicle's power is disconnected before beginning installation.
- Panel Mounting: Choose a suitable flat surface on your vehicle's dashboard or console. Cut an opening that matches the dimensions of the switch panel. Secure the panel using the provided fixing screws.
- Wiring Connections: The panel comes with a pre-wired harness. Connect the positive (+) wires (typically red) to your power source and the negative (-) wires (typically black) to a ground point. Connect the output wires from the switches to your desired accessories.
- Accessory Connection: For each rocker switch, connect the accessory's positive wire to the corresponding output terminal on the switch. Ensure all connections are secure.
- Power Connection: Connect the main positive and negative wires of the panel to your vehicle's 12V or 24V DC power supply. It is recommended to use an inline fuse for protection (not included).
- Terminal Disconnection (if needed): If you need to disconnect a terminal from a switch, press down on the clips to easily separate the terminal.

Image: An illustration demonstrating the easy installation process of the switch panel, highlighting the pre-wired harness and universal compatibility for 12V and 24V vehicles.

Image: A detailed view of the improved terminals, showing how to press down on the clips for easy and secure disconnection from the switch.
Installation Video Guide
Video: This video demonstrates the wiring and functionality of a similar multi-gang switch panel, including connecting accessories and using the USB charger and voltmeter. While it shows a 4-gang panel, the wiring principles apply to the 2-gang model.
Operating Instructions
- Rocker Switches: Each switch controls a connected accessory. Press the switch to the ON position to activate the accessory, and to the OFF position to deactivate it. The green backlight indicates the switch status.
- Dual USB Charger: Plug your USB-powered devices into the USB ports for charging. The dual ports provide up to 2.4A each for efficient charging.
- Voltmeter: The integrated voltmeter displays the current voltage of your vehicle's battery, allowing you to monitor its condition.

Image: A close-up view of the dual USB fast charger and the integrated voltmeter, showing the digital voltage display and charging capabilities.
Maintenance
- Regularly inspect all wiring connections for tightness and corrosion.
- Keep the panel clean and free from dust and debris. Use a soft, dry cloth for cleaning.
- Ensure the USB port covers are closed when not in use to protect against moisture and dust.
Troubleshooting
- No Power to Panel: Check the main power connection and ensure any inline fuses are intact. Verify the vehicle's battery voltage.
- Switch Not Activating Accessory: Ensure the accessory is properly wired to the switch output. Check the accessory's own power connection and functionality.
- USB Charger Not Working: Verify the panel has power. Try a different USB cable or device to rule out external issues.
- Inaccurate Voltmeter Reading: Ensure proper power connections. If readings are consistently off, contact customer support.
Warranty and Support
For warranty information or technical support, please refer to the official Nilight website or contact their customer service directly. Keep your purchase receipt for warranty claims.
Official Website: Nilight Store on Amazon

