
Midea KAP14H1CBL
Midea Arctic King KAP14H1CBL Portable Air Conditioner User Manual
Model: KAP14H1CBL
1. Introduction
Thank you for choosing the Midea Arctic King KAP14H1CBL Portable Air Conditioner. This manual provides essential information for the safe operation, installation, maintenance, and troubleshooting of your new appliance. Please read this manual thoroughly before using the product and retain it for future reference.
2. Safety Information
Your safety and the safety of others are very important. Please read and follow all safety instructions provided in this manual to prevent injury or damage.
- Always plug the unit into a grounded 120V AC outlet. Do not use extension cords or adapter plugs.
- Do not operate the unit with a damaged power cord or plug.
- Keep the unit away from heat sources and direct sunlight.
- Ensure proper ventilation around the unit. Do not block air inlets or outlets.
- Do not insert fingers or objects into the air outlet grille.
- Unplug the unit before cleaning or performing any maintenance.
- This appliance is not intended for use by persons (including children) with reduced physical, sensory or mental capabilities, or lack of experience and knowledge, unless they have been given supervision or instruction concerning use of the appliance by a person responsible for their safety.
3. Package Contents
Carefully unpack your portable air conditioner and check that all items are included:
- Midea Arctic King KAP14H1CBL Portable Air Conditioner Unit
- Exhaust Hose
- Window Venting Kit (Window Slider Kit, Exhaust Hose Adapter, Window Exhaust Adapter)
- Remote Control
- Drain Hose
- User Manual (this document)
4. Product Overview
Familiarize yourself with the main components of your portable air conditioner.
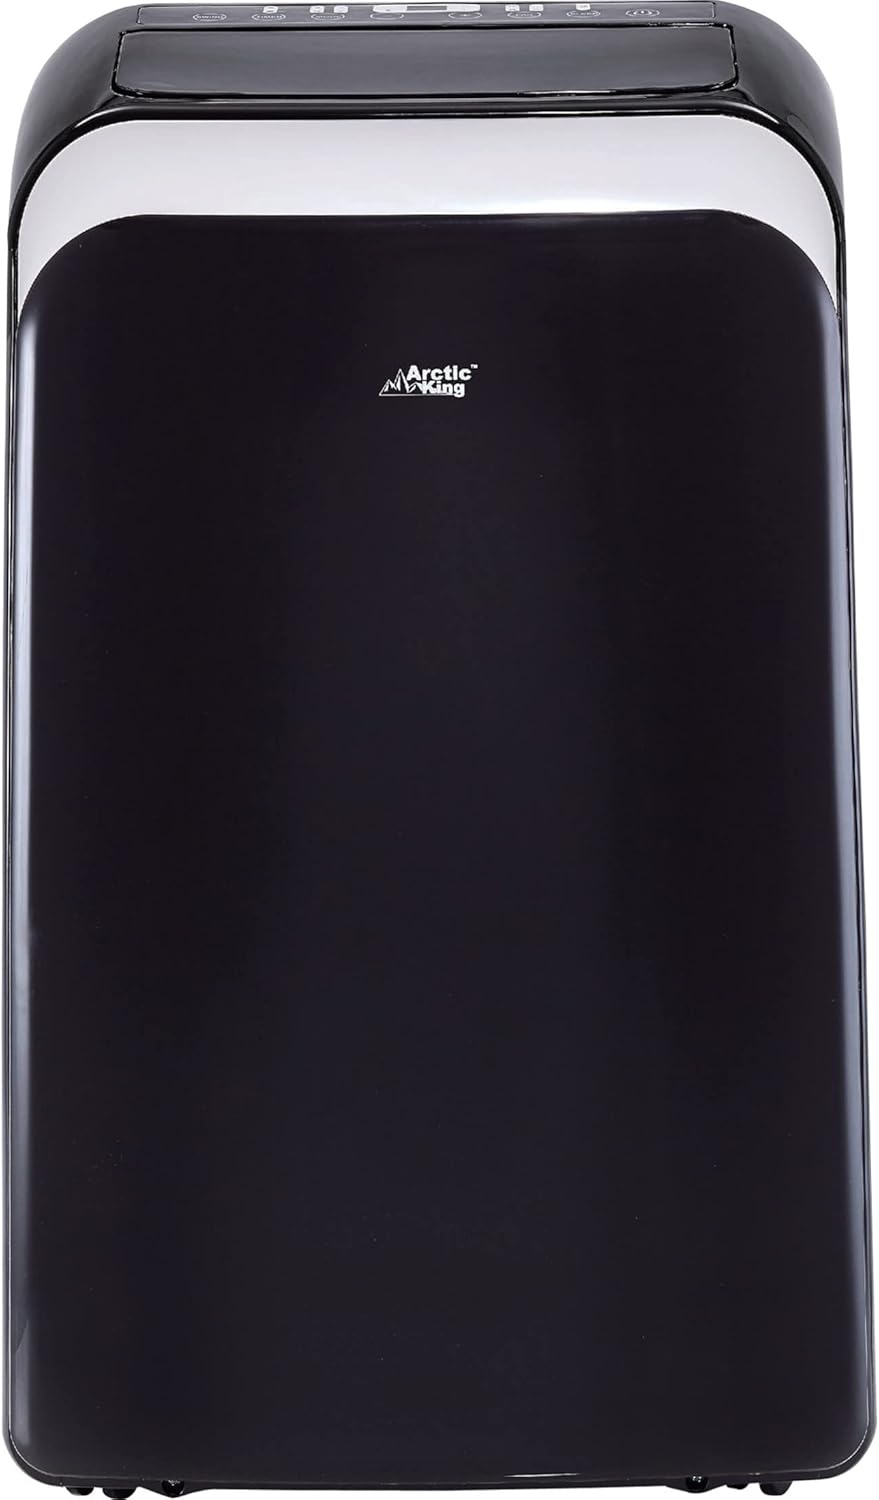
Figure 4.1: Front view of the Midea Arctic King KAP14H1CBL Portable Air Conditioner. This image shows the sleek black unit with its control panel located on the top surface.
Control Panel and Remote Control
The unit features an intuitive control panel on its top surface and comes with a remote control for convenient operation from a distance. Both allow you to adjust settings such as mode, temperature, fan speed, and timer.
5. Setup and Installation
The Midea Arctic King KAP14H1CBL is designed for easy installation without professional assistance. Simply follow these steps to set up your unit.
5.1 Unit Placement
- Place the unit on a flat, stable surface.
- Ensure there is at least 20 inches (50 cm) of space around the unit for proper airflow.
- Position the unit near a window for exhaust hose installation and a grounded electrical outlet.
5.2 Window Venting Kit Installation
- Assemble the window slider kit to fit your window opening.
- Insert the exhaust hose adapter into one end of the exhaust hose.
- Attach the window exhaust adapter to the other end of the exhaust hose.
- Connect the exhaust hose adapter to the exhaust outlet on the back of the portable air conditioner.
- Secure the window exhaust adapter into the opening of the window slider kit.
- Close the window securely against the window slider kit to seal the opening.

Figure 5.1: The portable air conditioner unit with its exhaust hose properly installed in a window. This setup ensures hot air is expelled outdoors, enhancing cooling efficiency.
5.3 Power Connection
Once the unit is positioned and the exhaust hose is installed, plug the power cord into a standard 120V AC grounded electrical outlet. The unit is now ready for operation.
6. Operating Instructions
This section details how to use the various functions of your portable air conditioner.
6.1 Power On/Off
Press the POWER button on the control panel or remote control to turn the unit on or off.
6.2 Mode Selection
Press the MODE button to cycle through the available operating modes:
- Cool Mode: For cooling the room. Set your desired temperature.
- Fan Mode: Circulates air without cooling. Fan speed can be adjusted.
- Dehumidify Mode: Reduces humidity in the room.
- Heat Mode: For heating the room. Set your desired temperature.
6.3 Temperature Adjustment
In Cool or Heat mode, use the UP and DOWN arrow buttons to set your desired temperature. The temperature range is typically between 62°F (17°C) and 88°F (30°C).
6.4 Fan Speed Control
Press the FAN SPEED button to select between Low, Medium, and High fan speeds. This function is available in Cool and Fan modes.
6.5 Timer Function
The timer allows you to set a specific time for the unit to turn on or off automatically. Refer to the remote control section for detailed timer programming instructions.
7. Maintenance
Regular maintenance ensures optimal performance and extends the lifespan of your portable air conditioner. Always unplug the unit before performing any maintenance.
7.1 Air Filter Cleaning
The air filter should be cleaned every two weeks, or more frequently depending on usage and air quality.
- Turn off and unplug the unit.
- Locate and remove the air filter from the back or side of the unit.
- Wash the filter with warm, soapy water. Rinse thoroughly.
- Allow the filter to air dry completely before reinstalling. Do not expose to direct sunlight.
7.2 Water Drainage
The unit has a self-evaporative system, but in high humidity conditions, the internal water tank may fill up. When this occurs, the unit will stop operating and display an error code (e.g., "FL" for full tank). Drain the water as follows:
- Turn off and unplug the unit.
- Place a shallow pan or tray under the drain port located at the bottom rear of the unit.
- Remove the drain plug to allow water to flow out.
- Once drained, replace the drain plug securely.
7.3 Storage
If storing the unit for an extended period:
- Drain all accumulated water.
- Clean the air filter.
- Store the unit in a cool, dry place, covered to protect from dust.
8. Troubleshooting
Before contacting customer support, please refer to the following table for common issues and their solutions.
| Problem | Possible Cause | Solution |
|---|---|---|
| Unit does not turn on. | No power; power cord unplugged; circuit breaker tripped. | Ensure unit is plugged in; check circuit breaker; try a different outlet. |
| Unit is running but not cooling. | Air filter dirty; exhaust hose not properly installed; room too large; windows/doors open. | Clean air filter; ensure exhaust hose is sealed; close windows/doors; check room size. |
| Unit displays "FL" error. | Internal water tank is full. | Drain the accumulated water from the unit. |
| Unit is noisy. | Unit not on a level surface; fan speed too high; internal components vibrating. | Place on a level surface; reduce fan speed; ensure no obstructions. |
9. Specifications
Key technical specifications for the Midea Arctic King KAP14H1CBL Portable Air Conditioner:
- Model Number: KAP14H1CBL
- Cooling Capacity: 13500 British Thermal Units (BTU) / 3956.46 W
- Heating Capacity: Not explicitly stated in specs, but description mentions "Heater". Assuming similar capacity.
- Power Source: Corded Electric
- Voltage: 120 Volts (AC)
- Wattage: 1365.0 watts
- Noise Level: 59.5 Decibels
- Refrigerant: R-32
- Product Dimensions (D x W x H): 20.2 x 17.4 x 34.7 inches
- Item Weight: 89 pounds
- Color: Black
- Special Features: Portable, Remote Controlled
10. Warranty and Support
This Midea Arctic King KAP14H1CBL Portable Air Conditioner comes with a 1-Year Limited Warranty from the date of purchase. This warranty covers defects in materials and workmanship under normal use.
For warranty claims, technical support, or service inquiries, please contact Midea customer support. Please have your model number (KAP14H1CBL) and proof of purchase readily available.
You can find contact information for Midea customer support by visiting the official Midea website or referring to the documentation included with your product.
Related documentsKAP14H1CBL


Ask a question about this manual
Ask about setup, troubleshooting, compatibility, parts, safety, or missing instructions. Manuals+ will review the question and use this page’s manual context to help answer it.