
Bestpriceic MC8
ToolkitRC MC8 Multi-Checker Instruction Manual
Model: MC8 | Brand: Bestpriceic
1. Introduction
The ToolkitRC MC8 is a compact and versatile multi-checker designed for RC enthusiasts and professionals. It integrates several essential functions into one device, including a precise battery cell checker, PWM/PPM/SBUS signal measurer, PWM/PPM/SBUS signal generator, and a USB-C fast charging output. This manual provides detailed instructions for the safe and effective use of your MC8 device.

Figure 1: The ToolkitRC MC8 Multi-Checker, a compact and versatile tool.
2. Safety Information
Please read and understand all safety warnings and instructions before using the MC8. Failure to do so may result in injury, damage to the device, or damage to connected equipment.
- Do not expose the device to water, moisture, or extreme temperatures.
- Use only appropriate power sources as specified in the 'Specifications' section.
- Ensure correct polarity when connecting batteries or other devices. Incorrect connections can cause damage.
- Keep the device away from children.
- Do not attempt to disassemble or modify the device.
- Always disconnect power before cleaning or performing maintenance.
3. Package Contents
Verify that all items are present in your package:
- ToolkitRC MC8 Battery Multi-Checker
- Instruction Manual (this document)
4. Product Features
The MC8 offers a range of features designed for convenience and precision:
- Battery Cell Checker: Accurate voltage measurement for LiPo, LiHV, LiFe, and LiIon batteries (2-8S).
- PWM/PPM/SBUS Readout: Measure signal pulse width and frequency for various RC protocols.
- PWM/PPM/SBUS Output: Generate signals for testing ESCs and servos.
- USB-C Fast Charging: Provides power output for charging mobile devices (PD3.0, QC3.0, AFC, SCP, FCP protocols).
- IPS 2.0-inch LCD: Clear and vibrant display for easy readability.
- Compact Design: Portable and easy to carry.
- High-Quality Controls: Features a metal roller and innovative slider for intuitive navigation.

Figure 2: The MC8's compact size offers significant functionality.
5. Specifications
Detailed technical specifications for the ToolkitRC MC8:
5.1. Checker Specifications
- Main Input Port: XT60, 7.0V - 35.0V
- Balance Input: 0.5V - 5.0V (Lixx 2-8S)
- Signal Port Input: <6.0V
- Balance Current: MAX 60mA @ 2-8S
- Balance Accuracy: <0.005V @ 4.2V
- USB-A Output: 5.0V @ 1.0A (for firmware upgrade)
- USB-C Output: 5.0V - 12.0V @ MAX 20W
- USB-C Protocol: PD3.0, QC3.0, AFC, SCP, FCP
5.2. Measurer Specifications
- PWM: 880-2200us @ 20-400Hz
- PPM: 880-2200us * 8CH @ 20-50Hz
- SBUS: 880-2200us * 16CH @ 20-100Hz
5.3. Output Specifications
- PWM: 1000-2000us @ 20-1000Hz
- PPM: 880-2200us * 8CH @ 20-50Hz
- SBUS: 880-2200us * 16CH @ 20-100Hz
5.4. General Specifications
- Product Size: 68 x 50 x 15 mm (2.68 x 1.97 x 0.59 inches)
- Product Weight: 50g (1.76 oz)
- LCD: IPS 2.0-inch LCD, 320 x 240 Pixel
- Color: Black
- Power Source: Battery Powered
- Min. Operating Voltage: 7 Volts
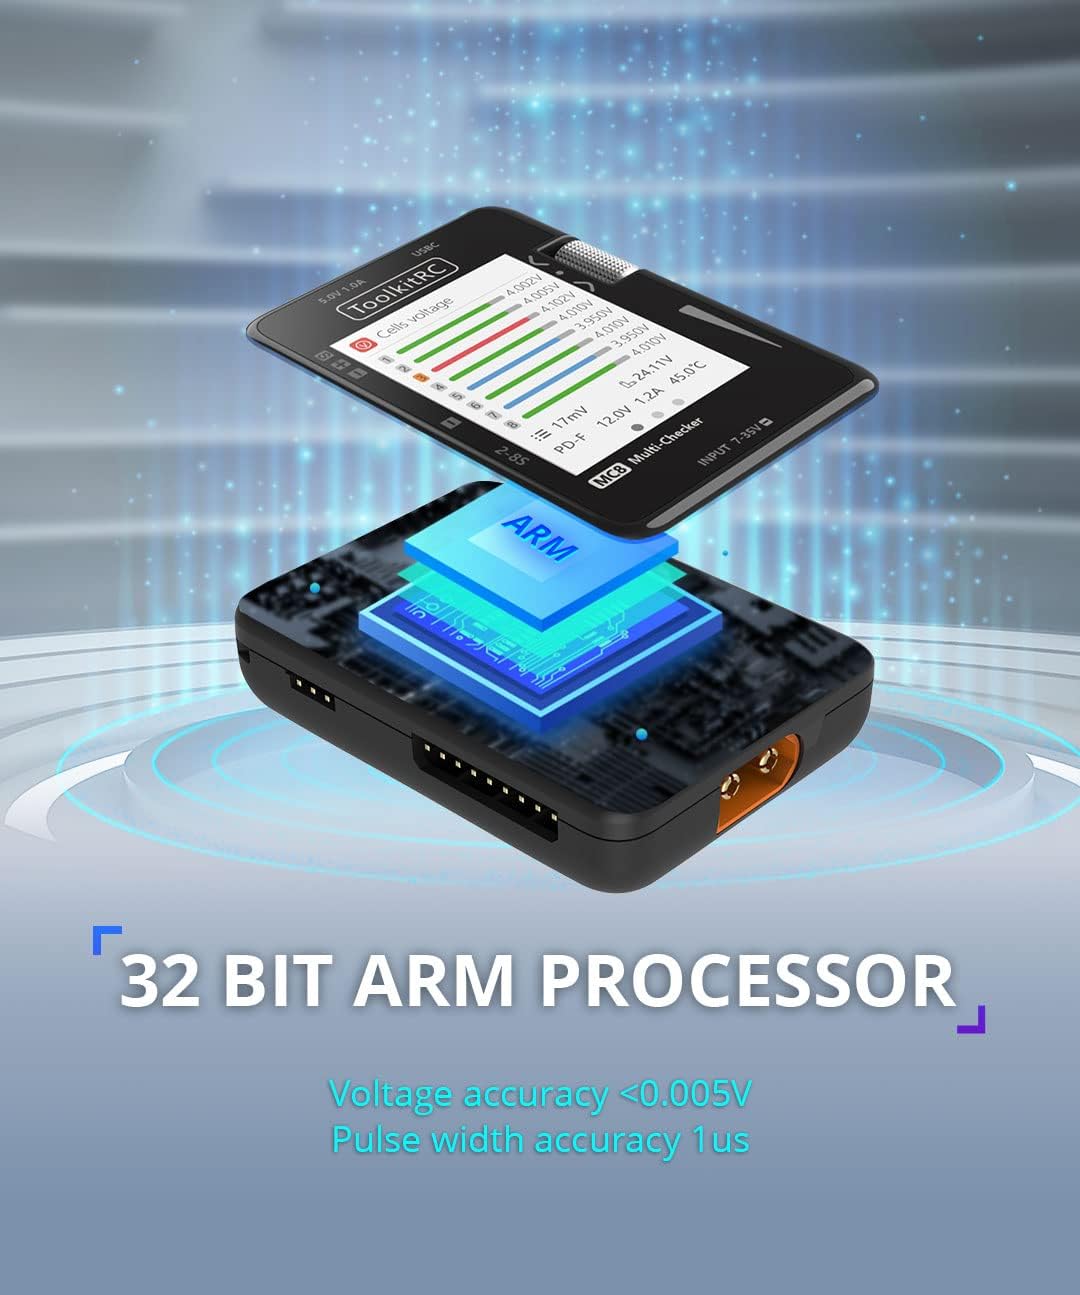
Figure 3: The MC8 is powered by a 32-bit ARM processor for high accuracy.
6. Setup
Follow these steps to set up your MC8 Multi-Checker:
- Initial Inspection: Unpack the MC8 and inspect it for any visible damage.
- Power Connection: Connect a compatible power source (7.0V-35.0V) to the XT60 main input port. Ensure the connection is secure and correct polarity is observed.
- Balance Lead Connection (for Battery Checking): For battery voltage and balancing functions, connect the balance lead of your LiPo/LiHV/LiFe/LiIon battery (2-8S) to the balance port on the side of the MC8.

Figure 4: Connect power to the XT60 input and balance leads to the side port.
7. Operating Instructions
The MC8 features intuitive controls for easy operation.
7.1. Navigation and Controls
The MC8 utilizes a metal roller and a slider for navigation and input:
- Metal Roller: Rotate to scroll through menus and adjust values. Press to select an option or confirm an action.
- Slider: Used for fine-tuning output values in certain modes (e.g., servo testing).

Figure 5: The metal roller and slider provide precise control.
7.2. Battery Cell Checker
To check battery voltage and balance cells:
- Connect the battery's balance lead to the MC8's balance port.
- The screen will automatically display individual cell voltages and total pack voltage.
- The MC8 can also balance cells if the voltage difference is significant, indicated on the display.

Figure 6: The display shows detailed cell voltage information.
7.3. PWM/PPM/SBUS Readout (Measurer)
To measure control signals:
- Navigate to the 'Measurer' mode using the roller.
- Connect the signal wire from your receiver or flight controller to the signal input port on the MC8.
- The screen will display the pulse width and frequency for PWM, PPM, or SBUS signals.
7.4. PWM/PPM/SBUS Output
To generate signals for testing:
- Navigate to the 'Output' mode.
- Connect your ESC or servo to the signal output port.
- Use the roller and slider to adjust the desired pulse width and frequency for testing.
7.5. USB Charging Output
The MC8 can act as a power bank for your devices:
- Ensure the MC8 is powered via its XT60 input.
- Connect your mobile device or other USB-powered gadget to the USB-C or USB-A output port.
- The MC8 supports various fast charging protocols via USB-C.

Figure 7: USB-A and USB-C ports for charging and firmware updates.
7.6. Firmware Upgrade
The USB-A port can be used for firmware upgrades. Refer to the official ToolkitRC website for the latest firmware and upgrade instructions.
8. Maintenance
Proper maintenance ensures the longevity and reliability of your MC8:
- Cleaning: Use a soft, dry cloth to clean the device. Do not use liquid cleaners or solvents.
- Storage: Store the device in a cool, dry place away from direct sunlight and extreme temperatures.
- Handling: Avoid dropping the device or subjecting it to strong impacts.
9. Troubleshooting
If you encounter issues with your MC8, refer to the following common problems and solutions:
| Problem | Possible Cause | Solution |
|---|---|---|
| Device does not power on. | No power connected or incorrect voltage. | Ensure XT60 input is connected to a power source within 7.0V-35.0V. Check cable connections. |
| Inaccurate voltage readings. | Poor balance lead connection or damaged lead. | Ensure balance lead is fully inserted and not damaged. Try with a different battery if possible. |
| USB charging not working. | MC8 not powered or device not compatible. | Ensure MC8 is powered via XT60. Check if your device supports the charging protocols (PD3.0, QC3.0, etc.). |
| Screen is blank or frozen. | Temporary software glitch. | Disconnect all power, wait a few seconds, then reconnect. |
10. Warranty and Support
For warranty information and technical support, please refer to the documentation provided with your purchase or contact the seller/manufacturer directly. Keep your proof of purchase for warranty claims.
Manufacturer: Bestpriceic
Ask a question about this manual
Ask about setup, troubleshooting, compatibility, parts, safety, or missing instructions. Manuals+ will review the question and use this page’s manual context to help answer it.