Introduction
This manual provides comprehensive instructions for the installation, setup, operation, and maintenance of your Lockly Smart Lock Model 7S. Please read this guide thoroughly before installation and use to ensure proper functionality and security.
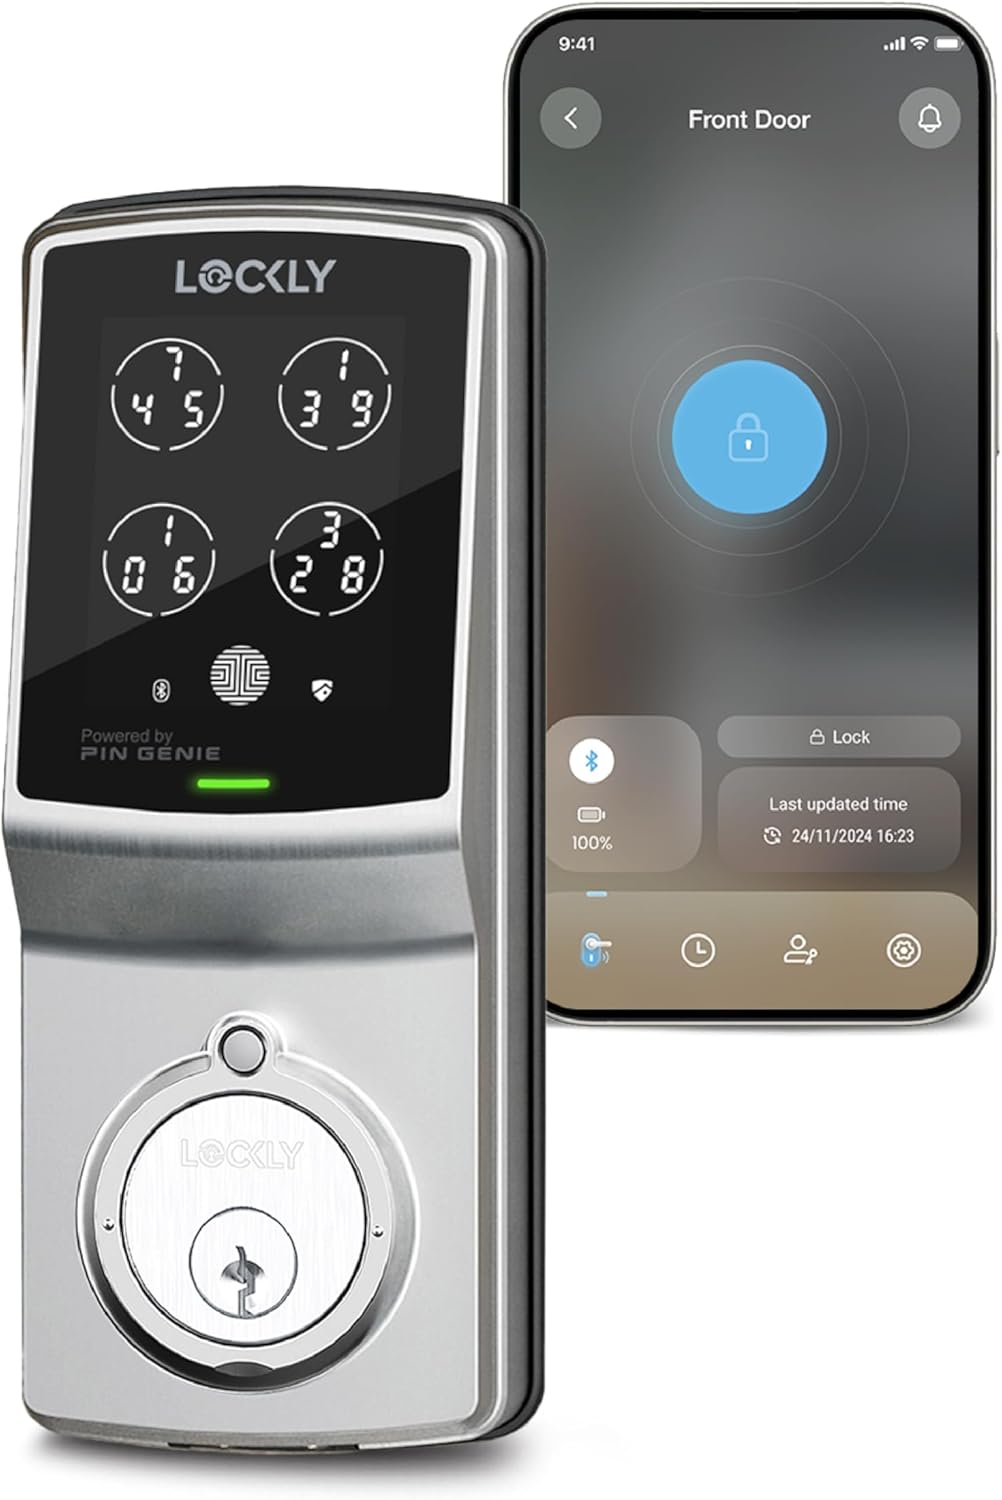
Figure 1: Lockly Smart Lock Model 7S and its smartphone application interface.
What's in the Box
Your Lockly Smart Lock Model 7S package includes the following components:
- Exterior Assembly with PIN Genie® Digital Keypad
- Interior Assembly with battery compartment and thumb turn
- Deadbolt Latch
- Mounting Plate
- Strike Plate and Strike Box
- Physical Keys (2)
- Installation Hardware (screws, spindle)
- AA Batteries (4)
Tools Required
For installation, you will need the following tools:
- Phillips Head Screwdriver
- Flathead Screwdriver
- Tape Measure or Ruler
Installation Guide
Follow these steps to install your Lockly Smart Lock Model 7S. For a visual guide, please refer to the installation video below.
Video 1: Official Lockly Model 7S Installation Guide. This video provides a step-by-step visual walkthrough of the installation process.
1. Prepare Your Door
- Remove any existing lock hardware from your door.
- Ensure your door thickness is between 1-3/8 inches (35mm) and 2 inches (50mm).
- Verify the cross-bore hole is 2-1/8 inches (54mm) in diameter and the edge-bore hole is 1 inch (25mm) in diameter.
- Confirm the backset is either 2-3/8 inches (60mm) or 2-3/4 inches (70mm).

Figure 2: Door compatibility diagram illustrating required measurements for installation.
2. Install the Deadbolt
- Adjust the deadbolt length if necessary to match your door's backset (default is 2-3/4 inches).
- Insert the deadbolt into the edge-bore hole, ensuring the slot aligns with the center of the cross-bore hole.
- Secure the deadbolt with the provided screws (K).
- Ensure the 'UP' marking on the deadbolt is facing upwards and the slot is in a vertical position.
3. Install the Exterior Assembly
- Insert the torque blade through the deadbolt slot.
- Guide the connection cables through the cross-bore hole, underneath the deadbolt.
- Align and secure the exterior assembly flush to the exterior door surface.
4. Install the Mounting Plate
- Remove the adhesive strips from the mounting plate.
- Align and secure the mounting plate (M) to the interior side of the door, ensuring the connection cable is guided through the lower left notched hole.
- Insert and hand-tighten the two screws (G) located on the left and right of the blade.
- Check alignment and fully tighten with a screwdriver.
5. Install the Interior Assembly
- Plug the connection cable from the mounting plate into the interior assembly. Ensure the red side of the plug matches the red side of the socket.
- Tuck the cable under the eyelet hooks and route it to the right on the interior assembly.
- Ensure the thumb turn on the interior assembly is in the vertical position.
- Place the interior assembly against the mounting plate, making sure the torque blade is inserted into the thumb turn shaft.
- Secure the interior assembly to the mounting plate with the two screws (I).
6. Install Batteries and Perform Self-Check
- With the door open and the deadbolt fully extended, insert three of the four AA batteries into the interior assembly.
- Press and hold the 'Program' button. While holding, insert the fourth battery.
- The lock will automatically begin a self-check. Release the 'Program' button once the check starts.
- If the lock is not properly installed, it will repeatedly open and close. Recheck installation steps if this occurs.
- Once the self-check completes, manually lock and unlock the door using the thumb turn to ensure smooth operation without binding or rubbing.
7. Install Battery Cover
- Install the battery cover (H) and secure it with the screw on top.
Setup and Configuration
To complete the setup and unlock the full potential of your Lockly Smart Lock, download the Lockly app.
- Download the Lockly app from the Apple App Store or Google Play Store.
- Register or log in to your account.
- Follow the on-screen instructions within the app to add your new Lockly Smart Lock.

Figure 3: The Lockly app provides remote control, notifications, and access history.
Operating Instructions
Your Lockly Smart Lock Model 7S offers multiple ways to secure and access your property.

Figure 4: Overview of the various methods to unlock your Lockly Smart Lock.
1. PIN Genie® Digital Keypad
- The patented PIN Genie® keypad features dynamic shuffling of digit locations after every use, preventing others from guessing your code based on finger smudges.
- To unlock, touch the keypad to activate, enter your 6-digit code, and press the Lockly button.

Figure 5: The PIN Genie® keypad's dynamic number display enhances security.
2. Smartphone App Control
- Use the Lockly app to lock and unlock your door remotely (requires optional Wi-Fi hub, sold separately).
- Receive real-time monitoring and alerts on your smartphone.
- Access a history log of door activity.
3. Voice Control
- Integrate with Amazon Alexa or Google Assistant for hands-free control (requires optional Wi-Fi hub, sold separately).
- Example command: "Hey Alexa, unlock the door."
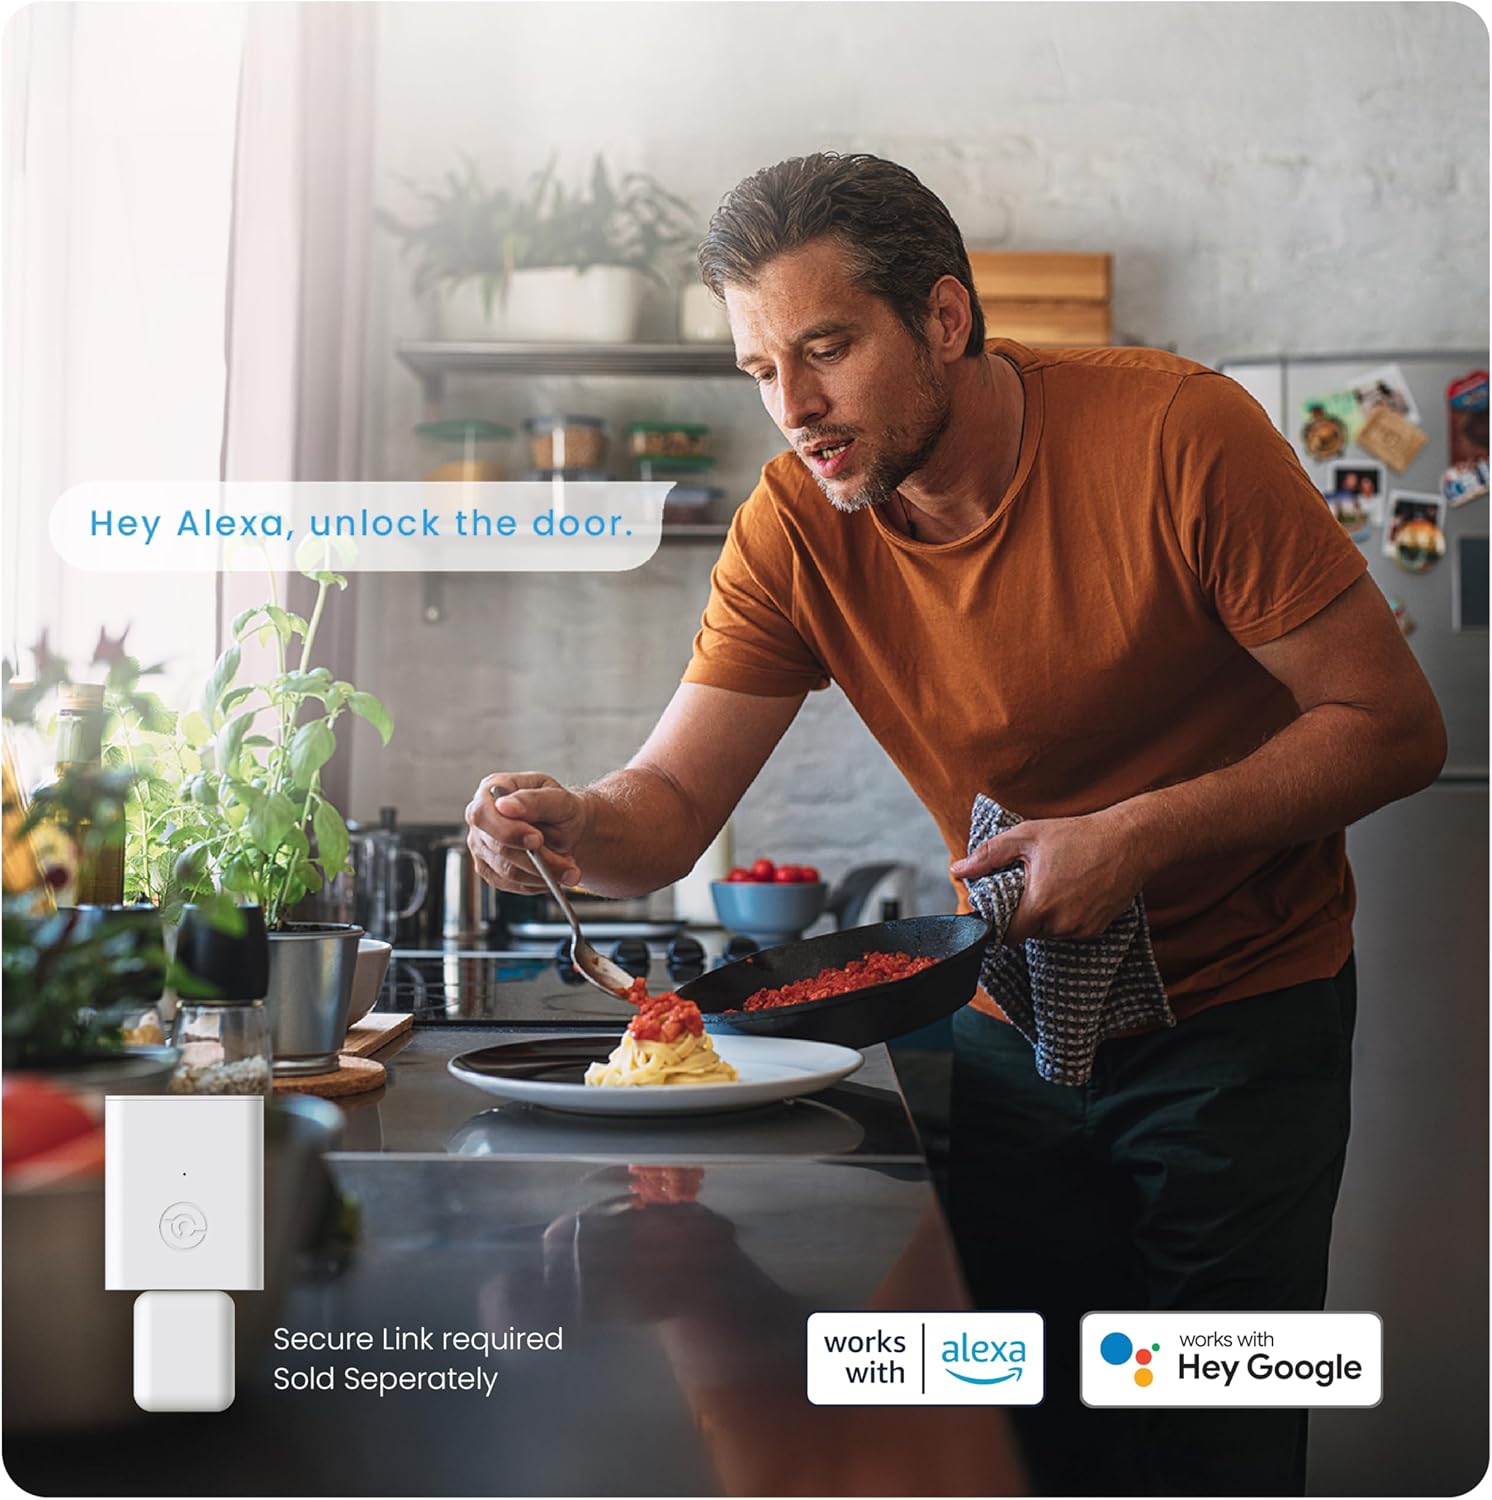
Figure 6: Voice control integration with smart home assistants for convenient access.
4. Physical Key
- A traditional physical key is provided for manual override in case of battery depletion or electronic malfunction.
5. Programmable Auto-Lock
- The auto-lock feature can be customized to automatically lock your door after a set period (5-300 seconds).

Figure 7: The programmable auto-lock feature provides peace of mind by automatically securing your door.
6. eKeys and eBadges
- Grant revocable access to family, friends, or visitors via the Lockly app.
- eKeys and eBadges allow users to unlock the door using their smartphone.

Figure 8: eKeys and eBadges offer flexible and secure access management for guests.
7. Offline Access Codes™
- Generate single-use or limited-use access codes that can be used offline, without Wi-Fi or internet connection.
- Three free Offline Access Codes are provided per month; subscribe to LocklyOS™ for more.

Figure 9: Offline Access Codes provide convenient entry for guests without requiring internet access.
Maintenance
Battery Replacement
- The Lockly Smart Lock Model 7S requires 4 AA alkaline batteries (included).
- Expected battery life is 9+ months under normal usage.
- Replace batteries when the low battery indicator appears on the keypad or in the app.
- To replace, remove the battery cover on the interior assembly, replace all four batteries, and reattach the cover.
Troubleshooting
If you encounter issues with your Lockly Smart Lock, consider the following:
- Lock not operating smoothly: Ensure the deadbolt and interior assembly are correctly aligned and tightened. Check for any binding or rubbing during manual operation.
- Keypad not responding: Check battery levels. If batteries are low or depleted, replace them. Use the physical key for immediate access.
- Lock repeatedly opening/closing after battery installation: This indicates an improper installation. Revisit the installation steps, particularly the self-check procedure.
- Remote access/voice control not working: Verify that the optional Lockly Secure Link Wi-Fi Hub is properly installed and connected to your home network.
Specifications
| Feature | Detail |
|---|---|
| Brand | Lockly |
| Model Name | Model 7S |
| Item Model Number | PGD7SSN |
| Lock Type | Smart Lock, Keypad Lock |
| Special Features | Touchscreen, Patented PIN Genie Technology, Bluetooth, Smartphone App Control, eKeys & eBadges, Offline Access Codes™ |
| Material | Zinc |
| Color | Satin Nickel |
| Item Dimensions (L x W x H) | 7.2 x 2 x 4 inches |
| Item Weight | 4 pounds |
| Batteries | 4 AA batteries required (included) |
| Connectivity Protocol | Bluetooth (Wi-Fi with optional hub) |
| Controller Type | Amazon Alexa (with optional hub) |
Warranty Information
The Lockly Smart Lock Model 7S comes with a limited 1-year mechanical, finish, and electronics warranty.
Customer Support
Lockly provides 24/7 technical support. If you have any questions or require assistance, please contact our professional customer service team via phone, email, or online chat.
For more information and support resources, visit: LOCKLY.com/support


