
1. Introduction
Thank you for choosing the EasySMX Wireless Switch Controller ESM-9124. This manual provides comprehensive instructions to help you get started and make the most of your new controller. Please read this manual carefully before use and keep it for future reference.
Package Contents

Image: The package contents, showing one EasySMX Gamepad, one USB data cable, and one user manual.
- 1 x EasySMX Wireless Controller (ESM-9124)
- 1 x USB Data Cable
- 1 x User Manual
2. Product Overview
Familiarize yourself with the buttons and features of your EasySMX Wireless Switch Controller.

Image: A detailed diagram illustrating the layout of all buttons and controls on the EasySMX Wireless Controller, including joysticks, D-pad, action buttons (A/B/X/Y), shoulder buttons (L/R), triggers (ZL/ZR), Home, Turbo, Back, Start, and charging indicator.
- Left Stick: Directional control.
- Right Stick: Camera or aiming control.
- Arrow Keys (D-pad): Directional input.
- A/B/X/Y Buttons: Action buttons.
- L/R Buttons: Shoulder buttons.
- ZL/ZR Buttons: Linear pressure triggers.
- HOME Button: Returns to system home screen.
- TURBO Button: Activates turbo function.
- BACK Button: System function button.
- START Button: System function button.
- Channel and Charging Indicator: Displays connection status and charging.
- Type-C Charging Port: For charging the controller.

Image: The rear side of the controller, clearly showing the four programmable M-buttons (M1, M2, M3, M4) located on the grips.
- M1, M2, M3, M4 Buttons: Programmable back buttons for custom macros.
3. Setup and Connection
3.1 Compatibility
The EasySMX Wireless Switch Controller is compatible with a wide range of platforms:
- Nintendo Switch, Switch Lite, Switch OLED
- PC (Windows XP/7/8/8.1/10)
- iOS devices
- Android devices (Android 4.0 or later with OTG function required)
- Vista, TV Box Steam
Note: This controller is NOT compatible with Mac, Xbox 360, Xbox One, PlayStation 4, Amazon Fire Stick, or Amazon Fire TV.

Image: A graphic illustrating the controller's compatibility with multiple platforms, including Nintendo Switch, PC, TV, iOS, Tablet, and Android devices.
3.2 Connecting to Nintendo Switch
- From the HOME Menu, select "Controllers" > "Change Grip/Order".
- Press and hold the HOME button on the EasySMX controller for 3 seconds until the LED indicators start flashing.
- Once connected, the corresponding player LED(s) on the controller will light up solid.
3.3 Connecting to PC (Wired/Bluetooth)
Wired Connection:
- Connect the controller to your PC using the provided USB data cable.
- The PC will automatically detect and install the necessary drivers.
- The controller is ready for use.
Bluetooth Connection:
- Ensure your PC has Bluetooth functionality.
- On your PC, go to Bluetooth settings and enable Bluetooth.
- Press and hold the HOME button on the EasySMX controller for 3 seconds until the LED indicators start flashing.
- Select "EasySMX Controller" from the list of available Bluetooth devices on your PC and pair.
- Once paired, the controller is ready for wireless use.
3.4 Connecting to Android/iOS Devices
- Ensure Bluetooth is enabled on your Android or iOS device.
- Press and hold the HOME button on the EasySMX controller for 3 seconds until the LED indicators start flashing.
- On your device, search for "EasySMX Controller" in the Bluetooth settings and pair.
- For iOS, you may need to download the "ShanWan MFI" app to access all compatible games.
4. Operating Instructions
4.1 Turbo Function
The Turbo function allows for continuous rapid input of a button press. This can be useful in action games.

Image: A visual representation of the Turbo function, demonstrating how a single button press can result in multiple rapid inputs, useful for arcade or action games.
- To activate Turbo: Press and hold the TURBO button, then press the desired action button (e.g., A, B, X, Y, L, R, ZL, ZR). The button will now continuously register input when held.
- To deactivate Turbo: Repeat the process (press TURBO + action button).
4.2 Programmable Back Buttons (M1-M4)
The four M-buttons on the back of the controller can be programmed to perform complex sequences or single button presses, enhancing gameplay efficiency.
- Programming a single button:
- Press and hold the M button you wish to program (e.g., M1).
- While holding M1, press the button you want to map to it (e.g., A button).
- Release both buttons. M1 is now mapped to the A button.
- Programming a macro (sequence of buttons):
- Press and hold the M button you wish to program.
- While holding the M button, press the sequence of buttons you want to record (e.g., X, Y, B).
- Release the M button. The macro is now saved.
- Clearing a programmed button/macro:
- Press and hold the M button you wish to clear.
- While holding the M button, press the HOME button.
- Release both buttons. The M button's programming is cleared.
4.3 Vibration Adjustment
The controller features dual vibration motors with adjustable intensity.
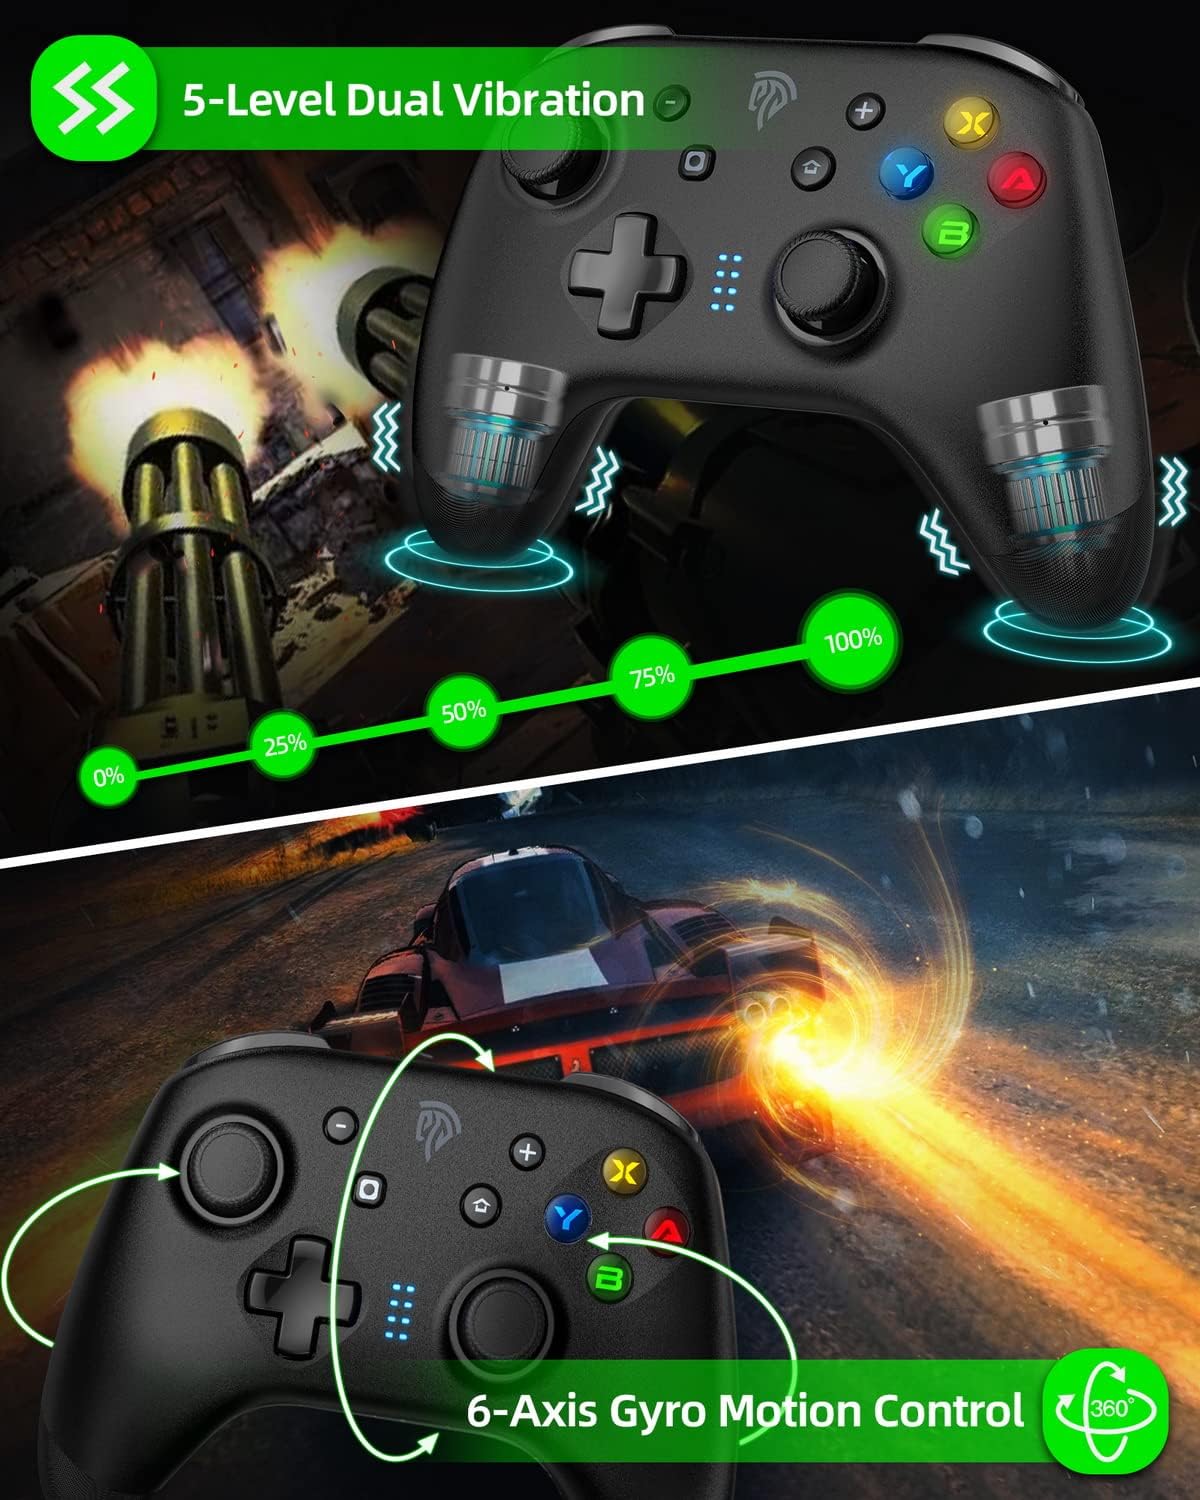
Image: A graphic illustrating the controller's 5-level dual vibration feedback, ranging from 0% to 100% intensity, and its 6-axis gyroscope motion control capabilities.
- To adjust vibration intensity: Press and hold the TURBO button, then press the D-pad Up or D-pad Down button. There are 5 levels of vibration intensity (0%, 25%, 50%, 75%, 100%).
4.4 LED Brightness Adjustment
You can adjust the brightness of the controller's LED lights.
- To adjust LED brightness: Press and hold ZL + ZR + R3 (press down on the Right Stick) + D-pad Up/Down. There are 5 levels of LED brightness.
- To toggle A/B/X/Y RGB lights: Press and hold LB + RB for 5 seconds to turn the RGB lights on/off.
4.5 Wake Function
The controller supports a wake function for connected devices.

Image: A graphic highlighting the Home button with a green glow, indicating the controller's wake function.
- To wake up a connected device (e.g., Nintendo Switch): Press the HOME button on the controller.
5. Maintenance
5.1 Charging the Controller
The controller has a built-in 600mAh lithium battery.

Image: The controller connected to a charging cable, with icons indicating a working time of 10-15 hours, charging time of 2-3 hours, and a 600mAh battery capacity.
- Connect the controller to a power source (e.g., PC, USB wall adapter) using the provided Type-C USB cable.
- The charging indicator LEDs will show the charging status.
- A full charge typically takes 2-3 hours and provides 10-15 hours of working time or over 15 hours of standby time.
5.2 Ergonomics and Care
The controller is designed for comfortable, long-term use.

Image: A close-up view of the controller's textured, non-slip grip, designed for enhanced comfort and stability during gameplay.
- The non-slip ergonomic design helps prevent hand fatigue and slipping during extended gaming sessions.
- Keep the controller away from water or other liquids.
- Clean the controller with a soft, dry cloth. Avoid harsh chemicals.
6. Troubleshooting
6.1 ZR and ZL Buttons Not Responding
If the ZR and ZL buttons stop working, a calibration might be necessary:
- Ensure the controller is powered off.
- Press and hold the "+" button, TURBO button, and HOME button simultaneously to enter calibration mode.
- The LED1+LED3 and LED2+LED4 indicators will flash alternately.
- Slowly rotate the Right Stick (R3D) and Left Stick (L3D) twice.
- Slowly press the ZL and ZR triggers all the way down.
- Press the "-" key to exit calibration mode.
6.2 Controller Powers Off After Pressing "+" Button in Game
This issue may occur if the "+" button is configured in your game's settings to turn off the controller. To resolve this:
- Access the game's button layout settings.
- Change the function assigned to the "+" button so it does not power off the controller.
6.3 Connection Issues
- Ensure the controller is fully charged.
- Verify that Bluetooth is enabled on your device and the controller is in pairing mode.
- Try restarting both the controller and the device you are connecting to.
- If using a wired connection, ensure the USB cable is securely connected and try a different USB port.
- For PC, ensure all necessary drivers are installed.
7. Specifications
| Feature | Detail |
|---|---|
| Model Number | ESM-9124 |
| Dimensions | 15 x 11 x 6 cm |
| Weight | 280 g |
| Battery Type | Lithium Polymer (included) |
| Battery Capacity | 600 mAh |
| Charging Time | 2-3 hours |
| Working Time | 10-15 hours |
| Standby Time | Over 15 hours |
| Compatibility | Nintendo Switch/Lite/OLED, PC (Windows XP/7/8/8.1/10), iOS, Android (4.0+ with OTG), Vista, TV Box Steam |
| Motion Control | 6-axis Gyroscope |
| Vibration | Dual Vibration, 5 adjustable levels |
| Programmable Buttons | 4 M-buttons (M1, M2, M3, M4) |
8. Warranty and Support
The EasySMX Wireless Switch Controller comes with a 1-year warranty from the date of purchase.
- During the warranty period, if any issues arise due to manufacturing defects, you may be eligible for a refund or exchange.
- Please retain your proof of purchase for warranty claims.
- For technical support, warranty claims, or any questions regarding your product, please contact EasySMX customer service through the retailer where you purchased the product or visit the official EasySMX website for contact information.


