
Introduction
This manual provides detailed instructions for the HAWK'S WORK FS-i6X 10-Channel 2.4GHz RC Transmitter and the FS-iA6B Receiver. It covers setup, operation, maintenance, and technical specifications to ensure safe and effective use of your remote control system with various models including drones, airplanes, helicopters, cars, tanks, and boats.

Figure 1: The HAWK'S WORK FS-i6X Transmitter and FS-iA6B Receiver.
The FS-i6X transmitter offers flexible channel selection (6-10 channels) and is compatible with a wide range of RC models. The FS-iA6B receiver supports iBUS/PPM/SBUS output, making it versatile for different applications.
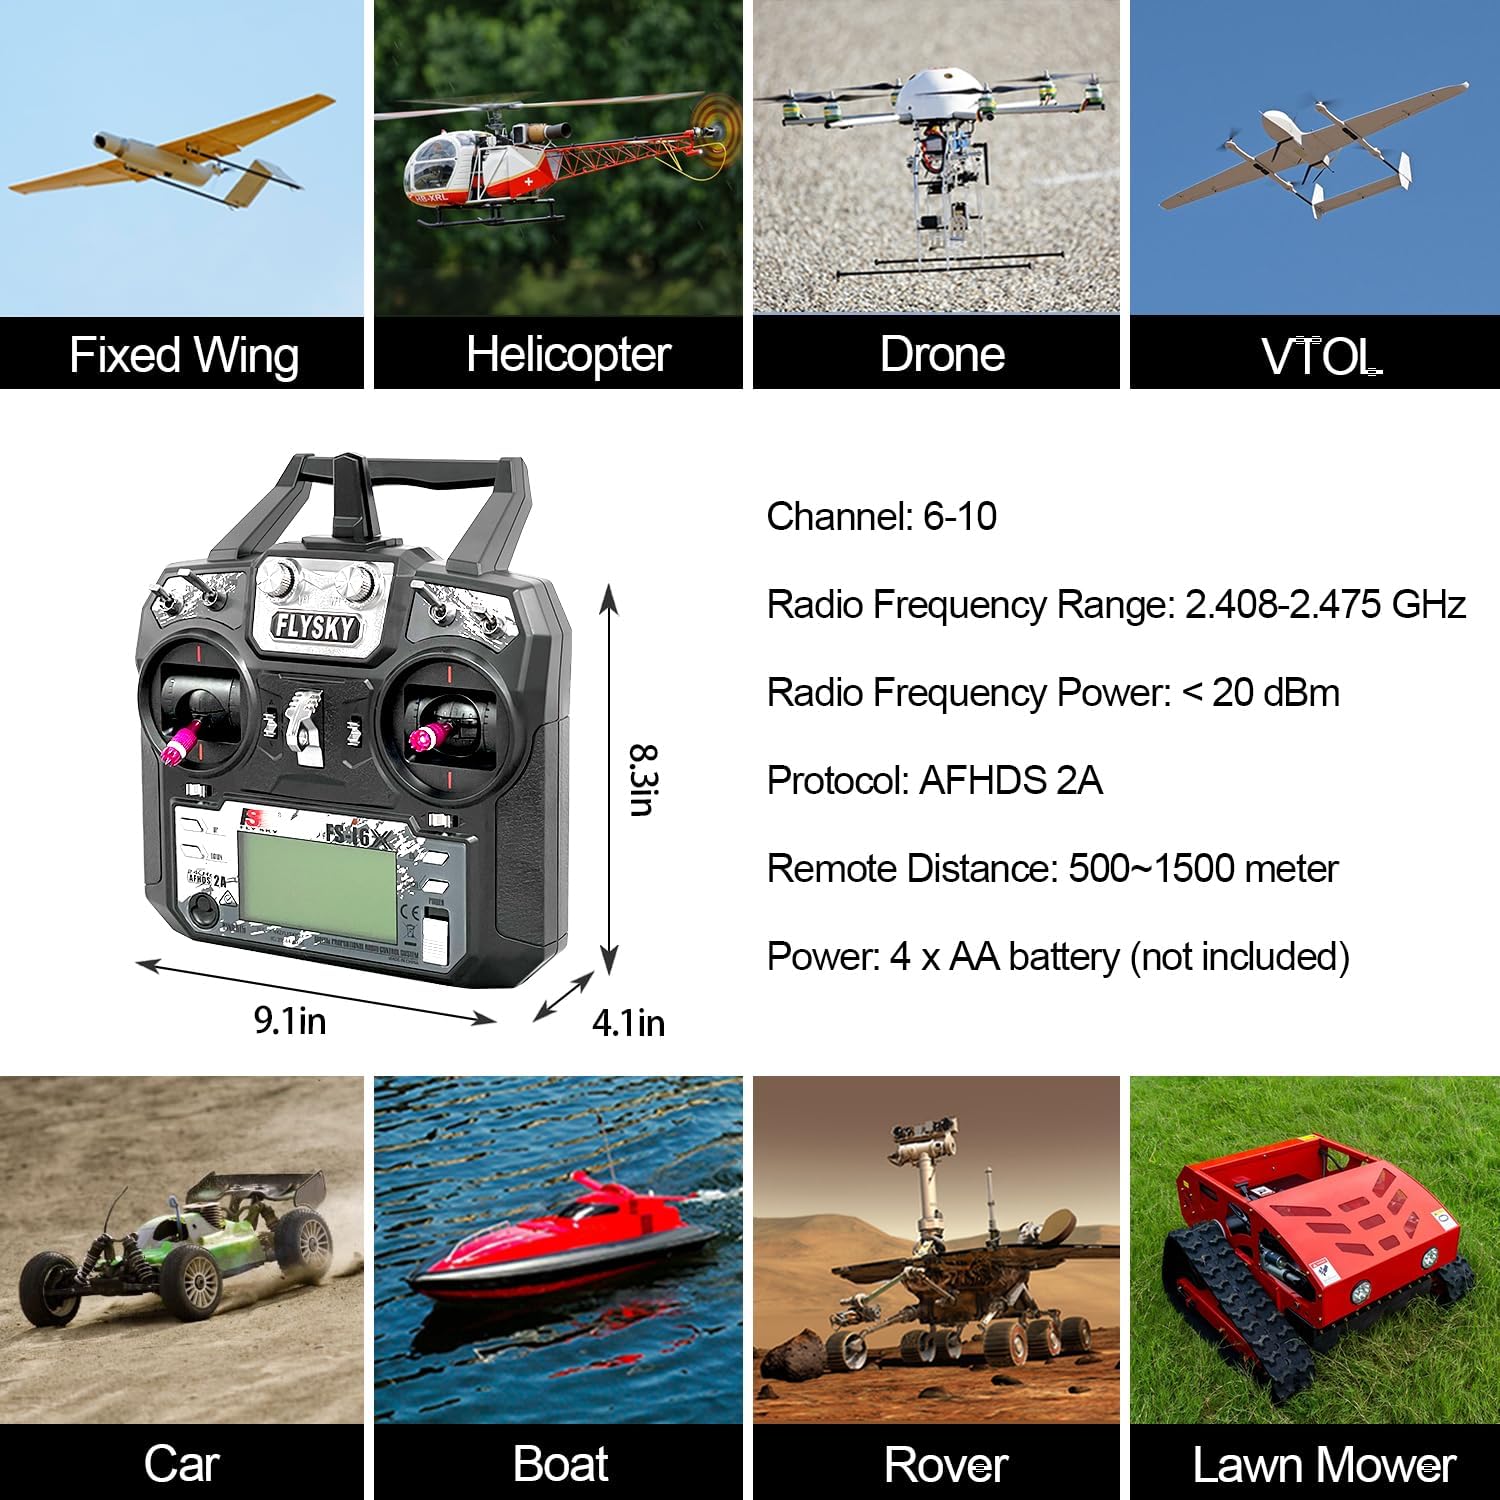
Figure 2: The FS-i6X system is compatible with a variety of RC models.
Setup
1. Transmitter Battery Installation
The FS-i6X transmitter requires four AA batteries (not included). Ensure correct polarity when inserting the batteries into the battery compartment located on the back of the transmitter.

Figure 3: Rear view of the FS-i6X transmitter, highlighting the battery compartment and PS/2 data port.
2. Transmitter Controls Overview
Familiarize yourself with the various controls on your FS-i6X transmitter:

Figure 4: Detailed diagram of the FS-i6X transmitter controls and their functions.
- Antenna: Transmits the radio signal.
- Handle: For carrying the transmitter.
- VRA, VRB: Variable potentiometers (knobs) for proportional control.
- Switch A, B, C, D: Two-position or three-position switches for various functions.
- Hook: Attachment point for a neck strap.
- Fine-tuning rods 1-4: Trim adjustments for joysticks.
- Left joystick: Typically controls throttle and rudder.
- Right joystick: Typically controls aileron and elevator.
- UP, Down, OK, Cancel: Navigation and selection buttons for the LCD menu.
- Bind key: Used for pairing the transmitter with a receiver.
- Power: Power button for the transmitter.
3. Receiver Wiring
The FS-iA6B receiver supports 6 PWM channels and PPM mode, making it suitable for various multi-axis aerial vehicles and other RC models. Connect your servos and other components to the receiver as shown in the wiring diagrams.

Figure 5: Pinout diagrams for FS-iA6B and FS-iA10B receivers.

Figure 6: Common wiring diagram for the FS-iA6B receiver with typical RC model components.
For advanced setups, such as with a Pixhawk flight controller, refer to the specific wiring diagram:

Figure 7: Wiring diagram for FS-iA6B receiver with a Pixhawk flight controller.
4. Binding the Transmitter and Receiver
The binding process establishes a unique connection between your FS-i6X transmitter and FS-iA6B receiver, preventing interference from other radio systems.
- Insert Bind Plug: With the receiver powered off, insert the bind plug into the B/VCC port on the FS-iA6B receiver.
- Power On Receiver: Connect power to the receiver. The LED on the receiver should flash rapidly, indicating it is in binding mode.
- Power On Transmitter: While holding down the "Bind key" on the FS-i6X transmitter, power on the transmitter. The transmitter display will show "Binding...".
- Unplug Bind Plug: Once the binding is successful (the receiver LED will stop flashing and remain solid), power off both the transmitter and receiver. Then, remove the bind plug from the receiver.
- Test Connection: Power on the transmitter first, then the receiver. The receiver LED should be solid, indicating a successful connection. Test all controls to ensure proper function.


Operating Instructions
1. Channel Selection
The FS-i6X transmitter supports 6 to 10 channels. You can adjust the number of active channels through the transmitter's menu settings to match your specific model requirements.
2. Bidirectional Communication (Telemetry)
The FS-i6X supports bidirectional communication, allowing the transmitter to receive data from the receiver. This includes information from various sensors such as temperature, altitude, and battery voltage, providing real-time feedback during operation.
3. PWM and PPM Output
The FS-iA6B receiver provides 6 PWM channels for direct servo connections and also supports PPM output. PPM mode is particularly useful for multi-axis aerial vehicles and flight controllers that utilize a single wire for multiple channels.
4. Using with Flight Simulators
The FS-i6X transmitter can be connected to a computer via its PS/2 data port for use with flight simulators. This allows for practice and skill development without risking your physical models. Software for flight simulators is not included.
Figure 8: The PS/2 data port on the back of the transmitter for simulator connection.
Maintenance
To ensure the longevity and optimal performance of your HAWK'S WORK FS-i6X transmitter and FS-iA6B receiver, follow these maintenance guidelines:
- Cleaning: Use a soft, dry cloth to clean the exterior of the transmitter and receiver. Avoid using harsh chemicals or solvents.
- Storage: Store the system in a cool, dry place away from direct sunlight and extreme temperatures. Remove batteries from the transmitter if it will not be used for an extended period.
- Battery Care: Replace AA batteries promptly when the low voltage alarm is triggered. Do not mix old and new batteries, or different types of batteries.
- Firmware Updates: Periodically check the manufacturer's website for firmware updates for the FS-i6X transmitter. Updates can improve performance and add new features. The PS/2 data port can be used for online updates.
Troubleshooting
If you encounter issues with your HAWK'S WORK FS-i6X system, refer to the following common troubleshooting steps:
- No Power: Ensure batteries are correctly installed and fully charged. Check for corrosion in the battery compartment.
- No Connection (Receiver LED not solid): Re-perform the binding process as described in the "Binding the Transmitter and Receiver" section. Ensure the transmitter and receiver are within range and not experiencing excessive interference.
- Intermittent Connection: Check antenna placement on both the transmitter and receiver. Ensure no metal objects are obstructing the signal path. Verify battery levels.
- Controls Not Responding Correctly: Check servo connections to the receiver. Ensure the correct model type and channel assignments are selected in the transmitter's menu. Calibrate joysticks if necessary (refer to the transmitter's on-screen menu).
- Short Range: Ensure both transmitter and receiver antennas are undamaged and properly oriented. Avoid operating near large metal structures or other strong radio sources.
Specifications
Below are the technical specifications for the HAWK'S WORK FS-i6X Transmitter and FS-iA6B Receiver:
| Feature | Specification |
|---|---|
| Channels | 6-10 (user selectable, default 6) |
| Model Type | Multirotor, Fixed-wing airplane, Helicopter, Truck, Tank, Airship, Boat, Submarine |
| RF Range | 2.408-2.475GHz |
| RF Power | <20 dBm |
| RF Channel | 135 |
| Wireless Protocol | AFHDS 2A |
| Remote Distance | 500-1500 meters |
| DSC Port | PS/2 (for training mode, firmware upgrade, simulator connection) |
| Online Update | Yes |
| Power | 4 x AA batteries (not included) |
| Display | LCD 128*64 lattice, VA 73*39mm, with white backlight |
| Dimensions | 190 x 174 x 89 mm (Transmitter) |
| Weight | 400g (Transmitter) |
| Language | English |
| Certificates | CE0678, FCC ID: N4ZFLYSKYI6X, TELEC ID: 220-JP7300 |
| Feature | Specification |
|---|---|
| Channels | 6 |
| Output | PWM, PPM, iBUS, SBUS |
| RF Range | 2.408-2.475GHz |
| Wireless Protocol | AFHDS 2A |
| Input Power | 4.0-6.5V DC |
| Dimensions | 46 x 25 x 15 mm (approx.) |
Warranty and Support
The HAWK'S WORK FS-i6X Transmitter and FS-iA6B Receiver come with no explicit manufacturer warranty as per product specifications. For technical support or inquiries, please contact HAWK'S WORK directly.
Included components in the package are: FS-i6X Transmitter, FS-iA6B/FS-iA10B Receiver, Bind Plug, Upgrade Cable, and an English Manual.
