
EASYGUARD EC207-M9
EASYGUARD EC207-M9 2 Way Car Alarm System User Manual
Model: EC207-M9
Introduction
Thank you for choosing the EASYGUARD EC207-M9 2 Way Car Alarm System. This system provides advanced security features and convenience functions for your vehicle, including remote engine start, push start button, and a 2-way LCD pager display for real-time feedback. This manual will guide you through the installation, operation, and maintenance of your new car alarm system.
This system is designed to be compatible with most DC12V petrol vehicles on the market, including those with automatic or manual transmissions. For vehicles with a chip immobilizer in the factory OEM key fob, an extra bypass module is required.
Safety Information
- Professional Installation Recommended: Due to the complexity of vehicle electrical systems, it is highly recommended that this car alarm system be installed by a qualified professional car alarm installer. Improper installation can lead to vehicle damage or system malfunction.
- Vehicle Compatibility: Ensure your vehicle is compatible with a DC12V system.
- Bypass Module: If your vehicle has a factory OEM key fob with a chip immobilizer, an additional bypass module (e.g., ASIN: B07NSLPBG7 or B00MEHBVIC) is necessary for proper function.
- Battery Safety: Handle vehicle battery connections with care. Disconnect the battery before installation to prevent electrical shorts.
- Remote Engine Start Safety: Always ensure the vehicle is in neutral (manual transmission) or park (automatic transmission) and the parking brake is engaged before using the remote engine start function. Do not use remote start in enclosed spaces.
- Siren Noise Level: The siren can produce a noise level of 30 dB. Be mindful of local noise ordinances when testing the alarm.
Product Components
The EASYGUARD EC207-M9 system includes the following main components:

Image: Overview of all components included in the EASYGUARD EC207-M9 car alarm system kit. This includes the main control module, two 2-way LCD remote controls, wiring harnesses, a shock sensor, an engine cut-off relay, an antenna, and the push start button.
- Control Module: The central processing unit of the alarm system.
- 2-Way LCD Pager Remote Controls (x2): Remotes with a 1.73-inch LCD display for real-time status updates and control.
- Push Start Button: Replaces the traditional key ignition for engine start/stop.
- Shock Sensor: Detects impacts and triggers the alarm.
- Wiring Harnesses (6-pin & 24-pin): For connecting the system to the vehicle's electrical system.
- Antenna: For remote communication.
- Engine Cut-off Relay: For anti-hijacking and emergency disarm functions.
- LED Indicator: Provides visual status of the alarm system.
- Siren: Emits audible alerts.
- Programming/Code Learning Method: For pairing remotes and system configuration.

Image: A detailed view of the various accessories included with the EC207-M9 system, clearly labeling the control module, remote control, push start button, wiring harnesses, shock sensor, antenna, and engine cut-off relay.
Setup and Installation
Installation of the EASYGUARD EC207-M9 system requires technical expertise. It is strongly advised to have this system installed by a certified professional to ensure proper functionality and to avoid damage to your vehicle's electrical system.
Pre-Installation Checks:
- Verify your vehicle is a DC12V petrol model.
- Determine if your vehicle has a chip immobilizer in the factory OEM key fob. If so, acquire a compatible bypass module.
- Review the wiring diagram provided with your product. An English user manual and wiring diagram are available upon request.
Key Installation Steps (Overview for Professional):
- Disconnect the vehicle's battery.
- Mount the main control module securely in a hidden, dry location.
- Install the push start button in the desired location, typically replacing the ignition cylinder.
- Connect the 6-pin and 24-pin wiring harnesses to the control module and integrate them with the vehicle's electrical system (ignition, power, ground, door triggers, trunk trigger, etc.).
- Mount the shock sensor in a central location, adjusting sensitivity as needed.
- Install the antenna for optimal remote range (up to 800 meters).
- Connect the siren and LED indicator.
- If applicable, integrate the bypass module for immobilizer systems.
- Reconnect the vehicle's battery and proceed with system programming.
Programming and Code Learning:
Refer to the detailed programming instructions in the full user manual for pairing remote controls and setting system parameters such as TIME/ALARM/AUTO-ARM, and START settings.

Image: A diagram illustrating the various connection points on the main control module, including the 24-pin wire harness, 6-pin ignition wire harness, reset switch, alarm antenna, shock sensor port, programming switch, and push start button connection. This image is crucial for professional installers.
Operating Instructions
The EC207-M9 system offers a wide range of functions accessible via the 2-way LCD pager remote control and the push start button.
Remote Control Functions:

Image: A detailed view of the 2-way LCD remote control, highlighting its 1.73-inch LCD display and labeling the functions of its buttons: Lock/Arm, Unlock/Disarm, Remote Engine Start/Mute Alarm, and Trunk Release.
- Arm/Disarm: Press the Lock/Arm button to arm the system (sound/flash arm or silent arm). Press the Unlock/Disarm button to disarm. The LCD display will show the current status.
- Remote Engine Start: Press and hold the Remote Engine Start/Mute Alarm button to remotely start the engine. This feature allows pre-cooling in summer or pre-warming in winter. The remote will confirm engine status.

Image: Illustrates the remote engine start function, showing a hand holding the remote control and the car's interior with air conditioning vents, signifying the ability to pre-cool or pre-warm the vehicle.
- Remote Trunk Release: Press and hold the Trunk Release button for 1 second to open the trunk remotely.

Image: Depicts the remote trunk release function, with a hand holding the remote and a car's trunk opening, indicating the convenience of remote access to the trunk.
- Shock Alarm Warning: If the vehicle is hit or shocked while armed, the siren will sound, and the remote will alert you.
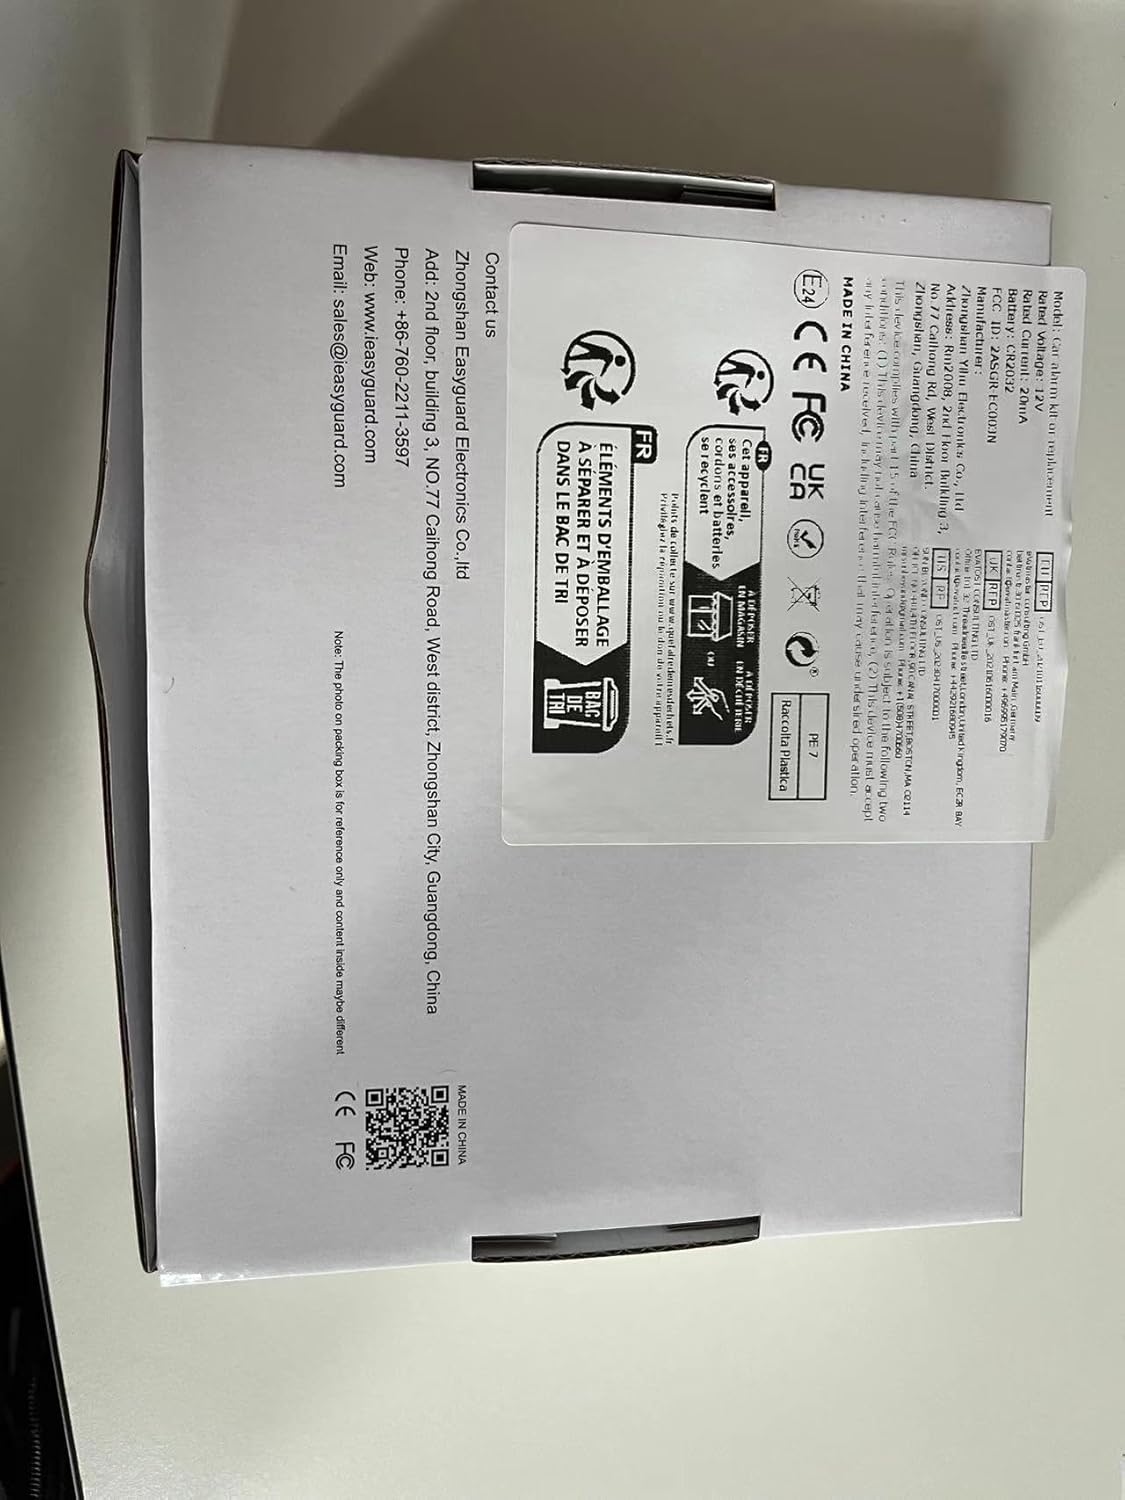
Image: Shows a person attempting to break into a car with a crowbar, accompanied by a flashing siren icon, illustrating the shock alarm warning feature that alerts the owner if the car is tampered with while armed.
- Car Finding/Panic Mode: Use this function to locate your car in a crowded parking lot or to trigger the alarm for emergency situations.
- Temperature Display: The LCD remote displays the temperature inside the car.
- Power Status Reminding: The remote will indicate its battery level.
Push Start Button Operation:

Image: A close-up view of the "ENGINE START STOP" push button, which replaces the traditional key ignition for a more convenient starting method.
- Starting the Engine: With the system disarmed, press the brake pedal and then press the push start button to start the engine.
- Stopping the Engine: With the vehicle stationary, press the push start button to turn off the engine.
- ACC/ON Modes: Short presses of the button without pressing the brake pedal will cycle through ACC and ON modes, similar to a traditional ignition key.
Additional Features:
- Door Intruding Alarm: Triggers if a door is opened while the system is armed.
- ACC ON Triggered: Alarm triggers if ignition is turned on without disarming.
- Timer Engine Start: Allows setting a specific time for the engine to start automatically.
- Emergency Alarm: Activates the siren and lights in an emergency.
- Siren Pause: Temporarily mutes the siren.
- Anti-hijacking: A security feature to prevent vehicle theft.
- Emergency Disarm: A method to disarm the system without the remote in an emergency.
- Re-arm (Anti-false disarm): If the system is disarmed but no door is opened within a set time, it will re-arm automatically.
- Central Door Locking Automation: Doors can automatically lock/unlock with ignition or arm/disarm.
- Power Off Memory: The system retains its last armed/disarmed state after power loss.
- Triggering Memory: Remembers which zone triggered the alarm.
- Valet/Service Mode: Disables alarm functions for vehicle servicing.
- Door Detecting and Dome Light Delay: Integrates with vehicle's dome light.
- Background Light: LCD remote backlight for visibility.
- Horn Siren/Electronic Siren Option: Configurable siren type.
- Microwave Sensor Detecting (Optional): If an optional microwave sensor is installed, it will trigger if someone is intruding the vehicle illegally.

Image: Illustrates the optional microwave sensor feature, showing a person attempting to intrude the vehicle, with the sensor detecting their presence and triggering an alert. Note: This feature requires an additional sensor.
Maintenance
- Remote Control Battery Replacement: When the remote control's battery indicator shows low power, replace the battery promptly to ensure reliable operation. Refer to the full manual for specific battery type and replacement instructions.
- Cleaning: Clean the remote control and main unit with a soft, dry cloth. Avoid using harsh chemicals or abrasive cleaners.
- Wiring Inspection: Periodically inspect all wiring connections for signs of wear, corrosion, or looseness. Ensure all connections are secure.
- Shock Sensor Adjustment: If the shock sensor is too sensitive (false alarms) or not sensitive enough, adjust its sensitivity as per the full manual's instructions.
- Software Updates: Check the EASYGUARD official website (www.ieasyguard.com) for any available firmware updates for the system.
Troubleshooting
This section addresses common issues you might encounter with your EASYGUARD EC207-M9 system. For more complex problems, consult a professional installer or contact customer support.
| Problem | Possible Cause | Solution |
|---|---|---|
| System does not respond to remote control. | Low remote battery; remote out of range; interference; system in Valet mode. | Replace remote battery; move closer to vehicle; check for strong radio interference; exit Valet mode. |
| Remote engine start fails. | Vehicle not in park/neutral; hood/trunk open; low fuel; immobilizer not bypassed; system error. | Ensure vehicle is in safe state; close all doors/hood/trunk; check fuel level; verify bypass module installation; consult professional. |
| False alarms. | Shock sensor too sensitive; faulty sensor; environmental factors (wind, heavy vehicles). | Adjust shock sensor sensitivity; inspect sensor for damage; consider environmental factors. |
| Push start button not working. | System not disarmed; brake pedal not pressed; wiring issue. | Disarm the system; ensure brake pedal is fully depressed; check wiring connections (professional). |
| No display on LCD remote. | Dead battery in remote. | Replace remote battery. |
Specifications
| Feature | Detail |
|---|---|
| Model Number | EC207-M9 |
| Item Weight | 2.29 pounds |
| Product Dimensions | 7.87 x 3.94 x 9.45 inches |
| Wireless Remote | Yes |
| Maximum Range | 800 Meters |
| Noise Level (Siren) | 30 dB |
| Remote Control Included | Yes (2-way LCD pager display) |
| Compatible Devices | Most DC12V cars (automatic/manual transmission, petrol/diesel engines) |
| Manufacturer | Zhongshan EASYGUARD electronics ltd |
Warranty and Support
For warranty information, technical support, or to request a detailed wiring diagram and full user manual, please contact EASYGUARD directly. You can find contact information on the product packaging or visit their official website.
Official Website: www.ieasyguard.com
Manufacturer: Zhongshan EASYGUARD electronics ltd
Contact Information (from packaging):
- Add: 2nd floor, building 3, No.77 Caihong Road, West district, Zhongshan City, Guangdong, China
- Phone: +86-760-2211-3597
- Web: www.ieasyguard.com
- Email: sales@ieasyguard.com
Image: The product packaging, displaying manufacturer contact details including address, phone number, website, and email for support and inquiries.
Ask a question about this manual
Ask about setup, troubleshooting, compatibility, parts, safety, or missing instructions. Manuals+ will review the question and use this page’s manual context to help answer it.