
1. Introduction
Thank you for purchasing the Lindby Youna LED Ceiling Lamp. This modern ceiling light features an elegant black finish and integrated LED technology, offering energy-efficient illumination with a unique, swirling design. It includes a convenient 3-step dimming function, allowing you to adjust the light intensity to suit your needs. Please read this manual thoroughly before installation and use to ensure safe and correct operation.
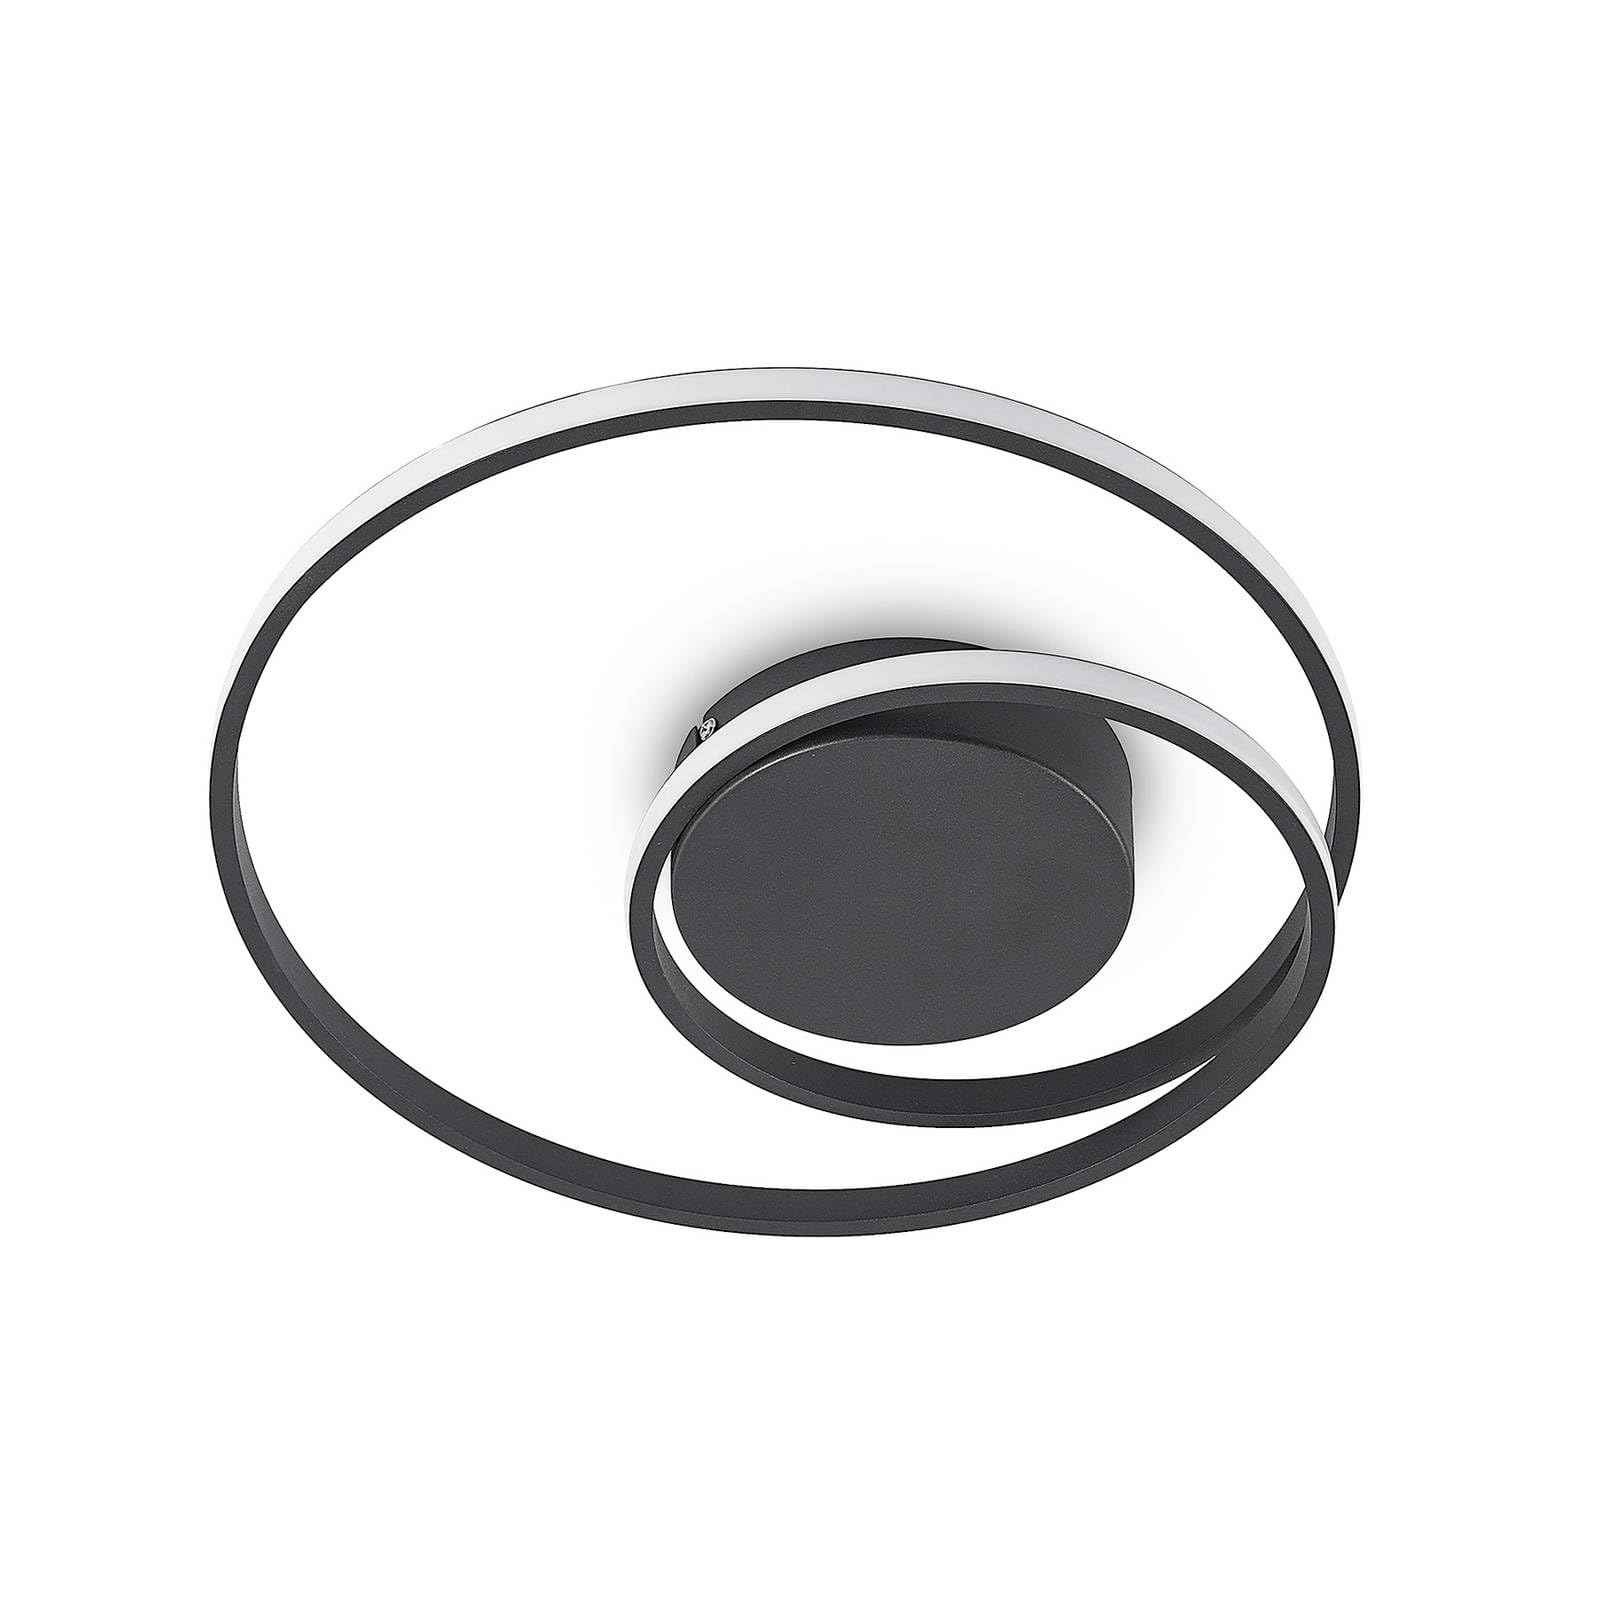
Image 1.1: The Lindby Youna LED Ceiling Lamp in operation, showcasing its modern design and light output.
2. Safety Information
- Electrical Installation: Installation must be performed by a qualified electrician in accordance with local wiring regulations and safety standards.
- Power Disconnection: Always disconnect the main power supply before installation, maintenance, or cleaning to prevent electric shock.
- Voltage: Ensure the supply voltage matches the lamp's requirements (230V).
- Indoor Use Only: This product is designed for indoor use (IP20 rating). Do not expose to moisture or direct water.
- Integrated LED: The LED light source is integrated and not user-replaceable. Do not attempt to disassemble the LED module.
- Cleaning: Use a dry, soft cloth for cleaning. Do not use abrasive cleaners or solvents.
3. Package Contents
Please check that all components are present and undamaged before proceeding with installation:
- Lindby Youna LED Ceiling Lamp fixture (with integrated LED module)
- Mounting hardware (screws, wall plugs)
- Instruction Manual (this document)
4. Setup and Installation
Tools Required: Drill, screwdriver, wire strippers, voltage tester, pencil, measuring tape.
- Prepare for Installation: Turn off the main power supply at the circuit breaker before starting any electrical work. Ensure the power is off using a voltage tester.
- Mark Mounting Position: Hold the lamp's mounting bracket against the ceiling at the desired installation point. Mark the drilling holes with a pencil.
- Drill Holes: Drill holes at the marked positions. Insert the appropriate wall plugs into the drilled holes.
- Connect Wiring: Carefully connect the household electrical wires to the terminal block on the lamp's mounting plate. Ensure correct polarity (Live, Neutral, Earth). Secure all connections.

Image 4.1: Internal wiring connections on the mounting base.
- Mount the Lamp: Attach the lamp's mounting plate to the ceiling using the provided screws. Ensure it is securely fastened.
- Secure the Fixture: Carefully attach the lamp fixture to the mounting plate, following the manufacturer's specific securing mechanism (e.g., twisting, screwing).
- Restore Power: Once the lamp is securely installed and all connections are checked, restore power at the circuit breaker.

Image 4.2: Product dimensions for installation planning.
5. Operating Instructions
The Lindby Youna LED Ceiling Lamp is operated via a standard wall switch and features a 3-step dimming function.
- Turning On/Off: Use your standard wall switch to turn the lamp on or off.
- 3-Step Dimming: The lamp offers three brightness levels (100%, 50%, and 15%) which can be cycled through using your existing wall switch.
- To change brightness, quickly switch the lamp OFF and then ON again. Each quick toggle will cycle to the next dimming level.
- If the lamp is switched off for a longer period, it will typically revert to the last used brightness setting or the default 100% brightness when turned on again.
6. Maintenance
To maintain the appearance and functionality of your Lindby Youna LED Ceiling Lamp, follow these simple maintenance guidelines:
- Cleaning: Ensure the power supply is disconnected before cleaning. Wipe the lamp with a soft, dry, lint-free cloth. Do not use liquid cleaners, abrasive materials, or chemical solvents, as these can damage the finish or electrical components.
- No Bulb Replacement: The LED light source is integrated into the fixture and is not designed for user replacement. If the LED module fails, the entire fixture may need to be replaced.
7. Troubleshooting
If you encounter issues with your Lindby Youna LED Ceiling Lamp, refer to the following common problems and solutions:
- Lamp does not light up:
- Check if the main power supply is on.
- Verify that the wall switch is in the ON position.
- Ensure all electrical connections are secure and correctly wired (refer to Section 4). If unsure, consult a qualified electrician.
- Dimming function not working:
- Ensure you are performing a quick OFF-ON toggle with the wall switch to cycle through the dimming levels.
- Confirm that your wall switch is a standard ON/OFF switch and not a dedicated dimmer switch, as the lamp has its own integrated dimming.
- Flickering light:
- Check for loose wiring connections.
- Ensure the lamp is receiving stable voltage.
If these steps do not resolve the issue, please contact Lindby customer support or a qualified electrician.
8. Specifications
| Feature | Specification |
|---|---|
| Model Number | 9626635 |
| Brand | Lindby |
| Dimensions (L x W x H) | 39 cm x 39 cm x 8 cm |
| Material | Aluminium, Iron, Silicone |
| Color | Black |
| Style | Modern |
| Light Source | Integrated LED |
| Wattage | 26 W |
| Voltage | 230 V |
| Luminous Flux (Brightness) | 2000 Lumen (max) |
| Color Temperature | 3000 Kelvin (Warm White) |
| Dimming Function | 3-step dimmable via wall switch |
| IP Code | IP20 (Indoor use only) |
| Protection Class | II |
| Energy Efficiency Class | F |

Image 8.1: EU Energy Label for the Lindby Youna LED Ceiling Lamp.
For more detailed product information, please refer to the EPREL database: https://eprel.ec.europa.eu/qr/748659
9. Warranty and Support
This Lindby product is covered by a manufacturer's warranty. For specific warranty terms and conditions, please refer to the documentation provided with your purchase or contact your retailer. For technical support, troubleshooting assistance, or inquiries regarding spare parts, please contact Lindby customer service or your point of purchase.


