
SITERWELL GS886F
SITERWELL Hardwired Interconnected Smoke Detector Carbon Monoxide Detector Combo User Manual
Model: GS886F
Brand: SITERWELL
1. Introduction
This manual provides essential information for the installation, operation, and maintenance of your SITERWELL Hardwired Interconnected Smoke Detector Carbon Monoxide Detector Combo. This device is designed to provide early warning of smoke and carbon monoxide presence, enhancing the safety of your home or property. Please read this manual thoroughly before installation and keep it for future reference.

Figure 1: SITERWELL Hardwired Interconnected Smoke Detector Carbon Monoxide Detector Combo.
2. Key Features
- 2-in-1 Protection: Equipped with dual sensors to accurately detect both smoke and carbon monoxide hazards in a single unit.
- Unique Voice Alert: Provides clear, audible warnings (exceeding 85 decibels) with specific voice alerts for "Fire!" or "Warning, Carbon Monoxide, Evacuate" to help users quickly identify the type of emergency.
- Interconnection Capability: Supports hardwired or wireless interconnection with up to 12 compatible SITERWELL alarms. When one alarm is triggered, all interconnected alarms will sound, ensuring widespread notification.
- Dual Power Source: Operates on 120V AC power with a 2 AA battery backup, ensuring continuous protection even during power outages.
- Self-Check Function: Automatically performs self-diagnostics to ensure proper functionality, notifying the user if a fault is detected. This feature replaces the need for manual testing.
- 10-Year Sensor Life: Designed for long-term reliability, providing 10 years of uninterrupted protection.
- Compact Design: Features a sleek and compact form factor for discreet installation.
- UL Certified: Meets UL 217 and UL 2034 standards for smoke and carbon monoxide alarms, ensuring high quality and safety.
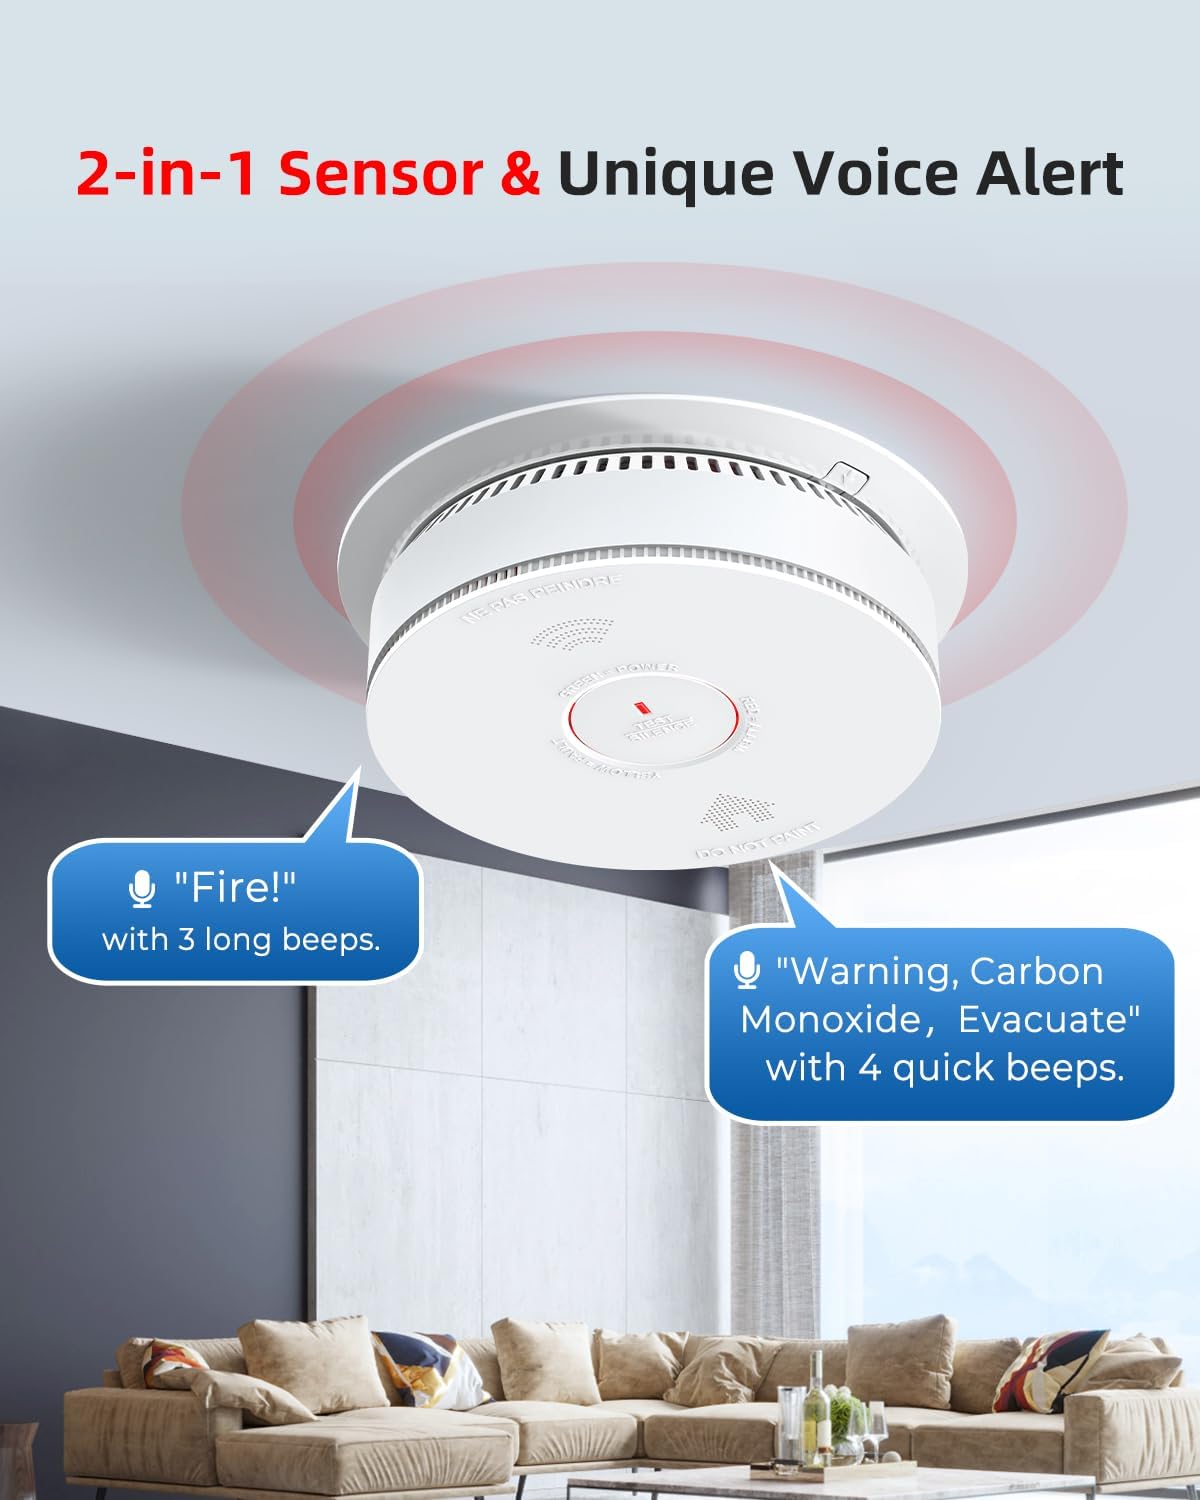
Figure 2: The detector provides distinct voice alerts for smoke and carbon monoxide.

Figure 3: Voice alerts clearly distinguish between smoke and carbon monoxide events.
3. Setup and Installation
3.1 Package Contents
Verify that all components are present in the package:
- SITERWELL Smoke Detector Carbon Monoxide Detector Combo Unit
- Mounting Accessories (screws, anchors)
- User Manual
- 2 AA Batteries (for backup power)
3.2 Choosing a Location
For optimal protection, install detectors in every sleeping area and on every level of your home, including the basement. For carbon monoxide detection, place detectors near sleeping areas and on each level of the home. Avoid installing in:
- Garages, kitchens, furnace rooms, or bathrooms where high humidity or fumes might cause nuisance alarms.
- Within 20 feet of a furnace or fuel-burning appliance.
- Near air vents, fans, or doors that could interfere with smoke/CO reaching the detector.

Figure 4: The detector is suitable for installation in various indoor areas such as offices, bedrooms, and living rooms, covering up to 40m².
3.3 Wiring and Mounting
This detector is designed for hardwired installation with 120V AC power. It also includes a battery backup for continuous operation during power outages.
- Power Off: Before beginning installation, ensure the power to the circuit you are working on is turned off at the main fuse or circuit breaker box.
- Mounting Bracket: Secure the mounting bracket to the ceiling or wall using the provided screws and anchors. Ensure the bracket is firmly attached.
- Wiring: Connect the detector's wiring harness to your household wiring according to local electrical codes. Typically, this involves connecting the black wire to hot, white to neutral, and yellow to the interconnect wire (if interconnecting multiple units).
- Battery Installation: Open the battery compartment and insert the two AA batteries, observing the correct polarity (+/-).
- Attach Detector: Align the detector with the mounting bracket and twist clockwise until it locks securely into place.
- Power On: Restore power to the circuit. The detector should emit a short chirp and the LED indicator will illuminate, indicating it is receiving power.
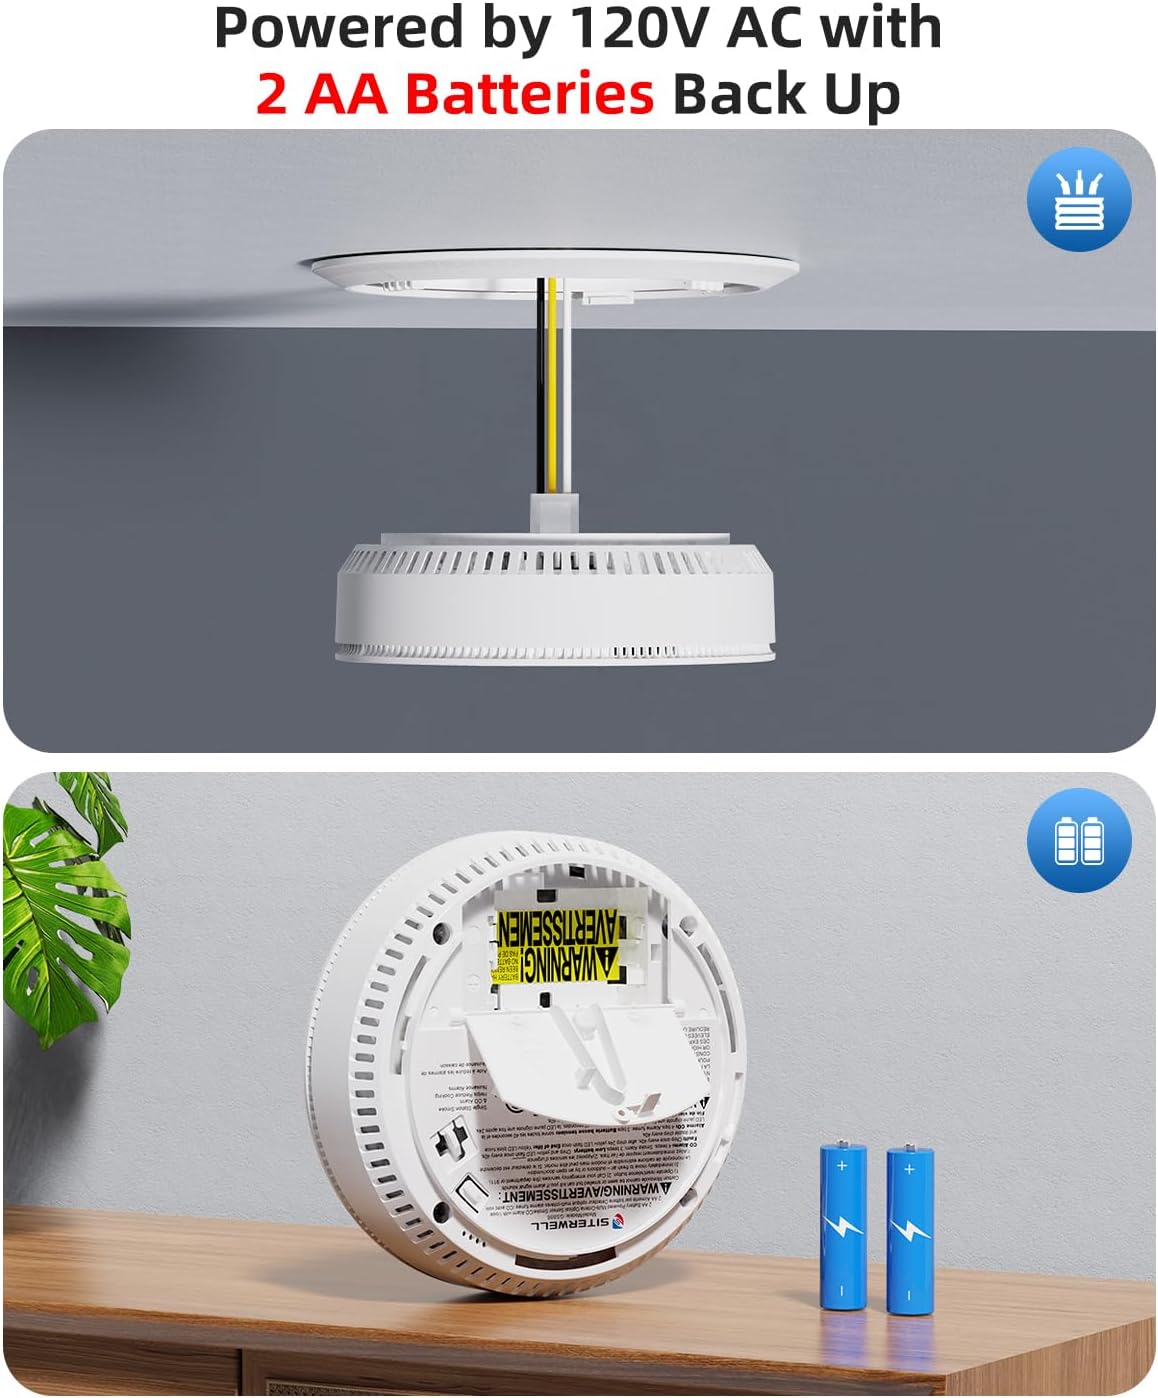
Figure 5: The detector connects to 120V AC power and uses 2 AA batteries for backup.

Figure 6: Key components of the detector, including LED indicator, buzzer, test/silence button, sounder, and air vents.
3.4 Interconnection (Optional)
This unit can be interconnected with up to 12 compatible SITERWELL smoke/CO alarms, either hardwired or wirelessly. Refer to the specific instructions for wireless interconnection if applicable to your other SITERWELL units.
- Hardwired Interconnection: Connect the yellow interconnect wire from each unit together. Ensure all interconnected units are on the same circuit.
- Wireless Interconnection: Follow the pairing instructions provided with your specific SITERWELL wireless interconnected models.
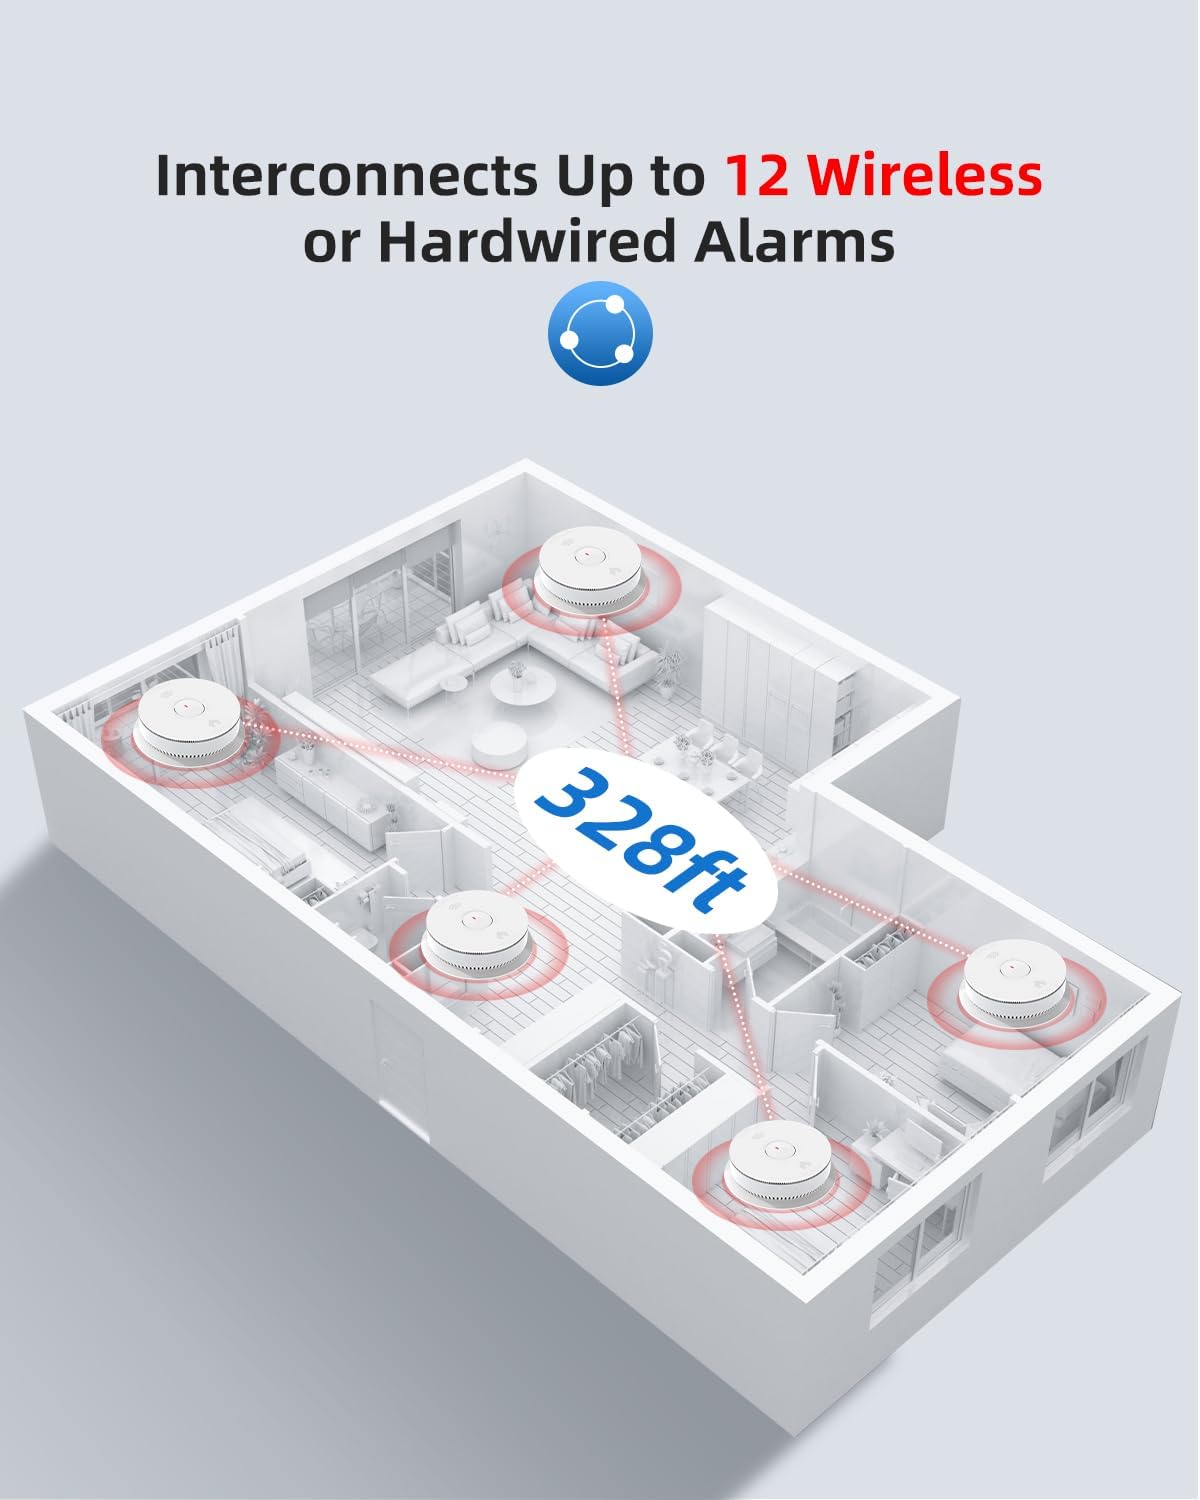
Figure 7: The system supports interconnection of up to 12 alarms, covering a range of 328 feet.

Figure 8: When one alarm detects danger, all interconnected alarms will sound.
4. Operation
4.1 LED Indicator Status
The LED indicator provides visual cues about the detector's status:
- Green LED: Indicates normal operation and AC power.
- Yellow LED: Indicates a fault or low battery condition.
- Red LED: Indicates an alarm condition (smoke or carbon monoxide detected).

Figure 9: The 3-color LED indicator shows the detector's status: Red for Alarm, Yellow for Low Battery, and Green for Normal operation.
4.2 Alarm Signals
- Smoke Alarm: Three long beeps followed by the voice alert "Fire!".
- Carbon Monoxide Alarm: Four quick beeps followed by the voice alert "Warning, Carbon Monoxide, Evacuate".
- Low Battery Warning: A chirp sound accompanied by the yellow LED indicator. Replace batteries immediately.
- Fault/Malfunction: A continuous chirp or specific fault code indicated by the yellow LED. Refer to the troubleshooting section.
4.3 Test/Silence Button
The large button on the front of the detector serves two primary functions:
- Testing: Press and hold the button for a few seconds to initiate a self-test. The alarm will sound, and the voice alerts will play. This confirms the unit is functioning correctly.
- Silencing: In the event of a nuisance alarm (e.g., from cooking smoke), press the button to temporarily silence the alarm for a short period. The detector will reset after a few minutes if the smoke/CO clears. If the hazard persists, the alarm will reactivate.
5. Maintenance
5.1 Regular Testing
Although the detector has a self-check function, it is recommended to manually test the alarm monthly by pressing the Test/Silence button. This ensures the alarm and voice alerts are working properly.

Figure 10: The self-check function automatically verifies the detector's proper operation.
5.2 Cleaning
Dust and debris can affect the detector's performance. Clean the detector at least once a year:
- Gently vacuum the exterior of the alarm using a soft brush attachment.
- Do not use cleaning solvents or sprays directly on the alarm.
- Do not paint the alarm.
5.3 Battery Replacement
When the detector indicates a low battery (yellow LED and chirping), replace the 2 AA batteries immediately. Use only recommended alkaline batteries.
- Twist the detector counter-clockwise to remove it from the mounting bracket.
- Open the battery compartment.
- Remove the old batteries and dispose of them properly.
- Insert new 2 AA batteries, ensuring correct polarity.
- Close the battery compartment and re-attach the detector to the mounting bracket.
- Test the alarm after battery replacement.
Note: While the sensor has a 10-year life, the backup batteries will need replacement periodically.
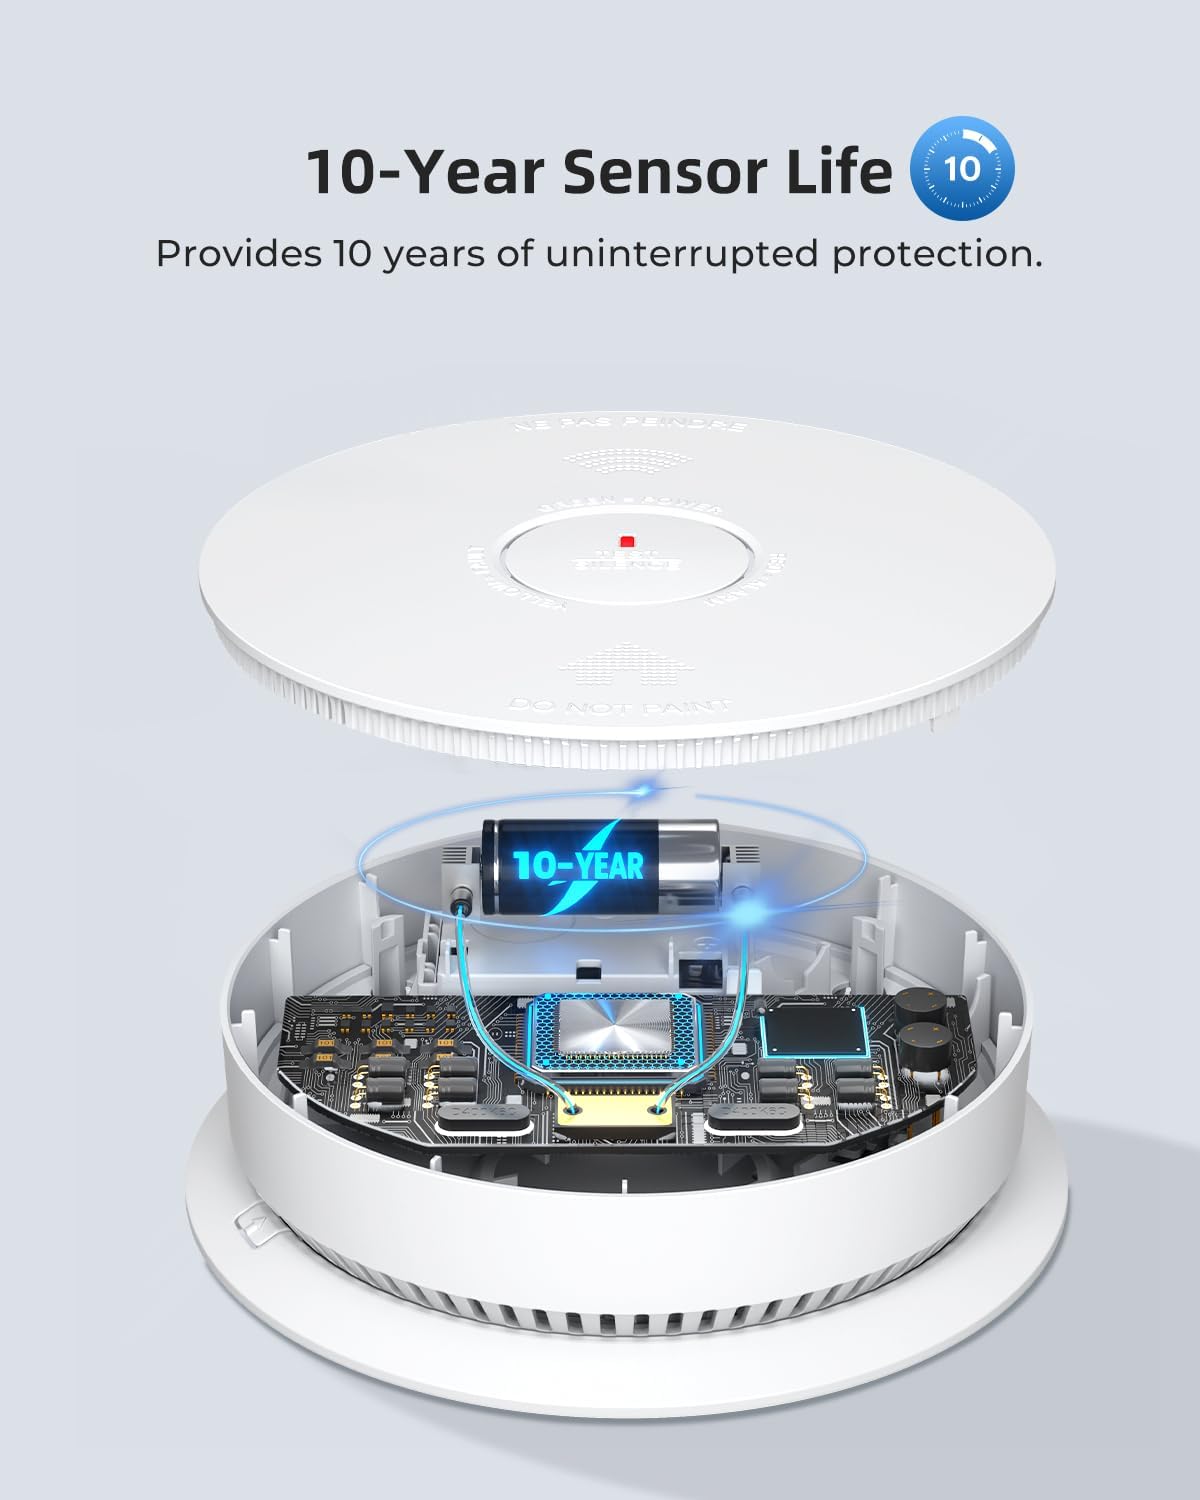
Figure 11: The detector is designed for a 10-year sensor life, providing long-term protection.
6. Troubleshooting
| Problem | Possible Cause | Solution |
|---|---|---|
| Alarm chirps periodically (Yellow LED) | Low battery. | Replace the 2 AA backup batteries immediately. |
| Alarm sounds without apparent smoke/CO (Nuisance Alarm) | Dust, high humidity, cooking fumes, steam, or insect infestation. | Press the Test/Silence button. Clean the detector. Relocate if nuisance alarms persist due to environmental factors. |
| Alarm does not sound during test | No power (AC or battery), faulty unit, or incorrect installation. | Check AC power connection. Ensure batteries are correctly installed and charged. Re-seat the detector on the mounting bracket. If issues persist, the unit may be faulty and require replacement. |
| Alarm constantly sounds or gives fault alert (Yellow LED) | Unit malfunction or end-of-life. | Perform a self-test. If the fault persists, the unit may be defective. Contact customer support for replacement, especially if within warranty or if the unit is nearing its 10-year lifespan. |
| Interconnected alarms do not all sound | Wiring issue, incompatible units, or too many units interconnected. | Verify interconnect wiring. Ensure all units are compatible SITERWELL models and the total number of interconnected units does not exceed 12. |
7. Specifications
| Model Number | GS886F |
| Power Source | 120V AC (Hardwired) with 2 AA Battery Backup |
| Sensor Type | Photoelectric (Smoke), Electrochemical (CO) |
| Alarm Loudness | 85 dB at 10 feet |
| Product Dimensions | 6.1" (Diameter) x 1.6" (Depth) |
| Item Weight | 0.88 Pounds (approx. 14.1 ounces) |
| Material | ABS + PC Fire-Retardant Materials |
| Operating Temperature | (Not explicitly stated, typical for residential alarms is 40°F to 100°F / 4.4°C to 37.8°C) |
| Operating Humidity | (Not explicitly stated, typical for residential alarms is 10% to 95% RH non-condensing) |
| Certification | UL 217 (Smoke Alarms), UL 2034 (CO Alarms) |
| Coverage Area | Up to 40m² (430 sq ft) |
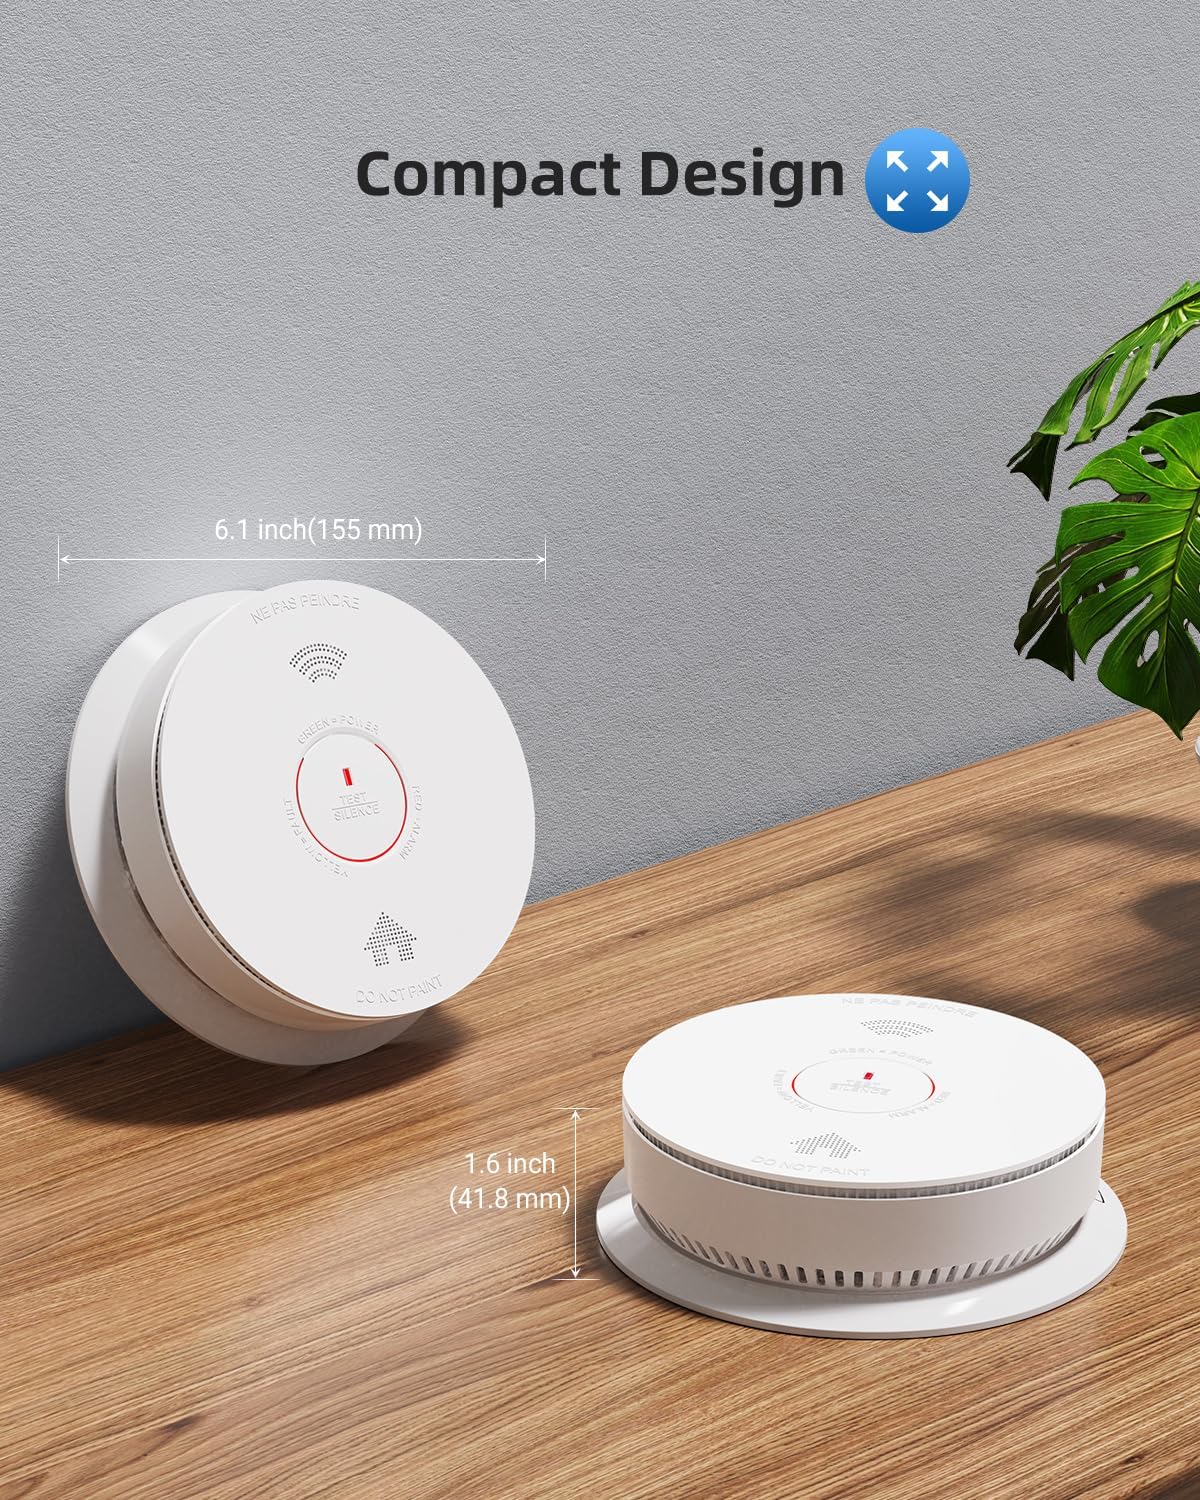
Figure 12: The detector features a compact design with dimensions of 6.1 inches in diameter and 1.6 inches in depth.
8. Warranty and Support
8.1 Return Policy
The product is subject to a 30-day return policy for refund or replacement. Please refer to your purchase platform's return policy for specific details and procedures.
8.2 Customer Support
For technical assistance, warranty claims, or any questions regarding your SITERWELL product, please contact SITERWELL customer support. Contact information can typically be found on the product packaging or the official SITERWELL website. When contacting support, please have your model number (GS886F) and purchase details ready.
SITERWELL is committed to providing high-quality safety products. As the only company in Asia with a laboratory capable of UL fire testing for both American and EU requirements, SITERWELL ensures its products meet stringent safety standards.
9. Important Safety Information
- Never ignore any alarm. Investigate the cause immediately.
- Do not paint the alarm. Paint can clog the sensing chambers and prevent the alarm from operating properly.
- Do not use cleaning solvents or sprays directly on the alarm.
- Regularly test your alarm as per the maintenance section.
- Ensure all household members know the alarm sounds and what to do in case of an emergency.
- This device is not intended to substitute for proper installation, use, and maintenance of fuel-burning appliances, including appropriate ventilation and exhaust systems.
Related documentsGS886F


Ask a question about this manual
Ask about setup, troubleshooting, compatibility, parts, safety, or missing instructions. Manuals+ will review the question and use this page’s manual context to help answer it.