Introduction
This manual provides comprehensive instructions for setting up, operating, and maintaining your Apple Studio Display with Standard Glass and Tilt-Adjustable Stand. Please read this manual thoroughly before using your display to ensure optimal performance and longevity.
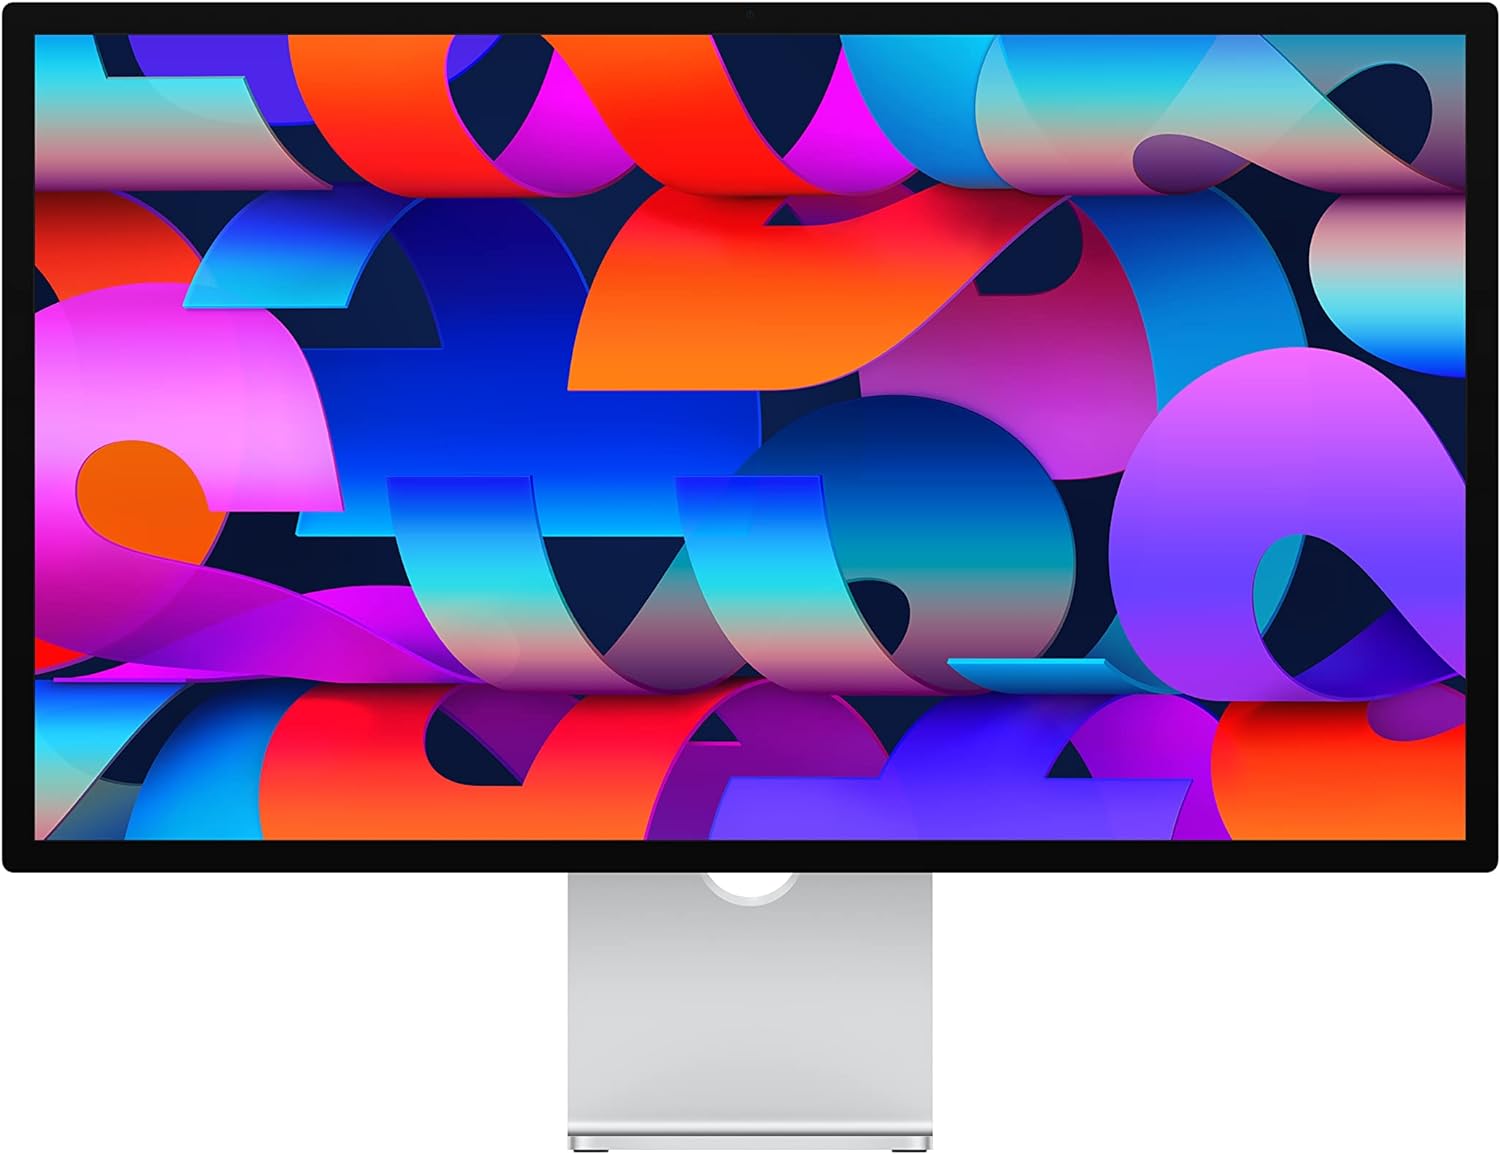
The Apple Studio Display, featuring a 27-inch 5K Retina screen.
What's in the Box
Carefully unpack your Apple Studio Display and verify that all the following components are included:
- Studio Display
- Thunderbolt Cable (1 m)

Included items: Studio Display and Thunderbolt Cable.
Setup
Unpacking and Placement
Remove the display from its packaging. Place the Studio Display on a stable, flat surface, ensuring adequate ventilation around the device.
Connecting Your Display
- Connect one end of the included Thunderbolt cable to the Thunderbolt 3 port on the back of the Studio Display.
- Connect the other end of the Thunderbolt cable to a compatible Thunderbolt 3 or USB-C port on your Mac.
- Connect the power cable to the display's power input, then plug the other end into a grounded electrical outlet. The display will power on automatically when connected to a powered-on Mac.

The Studio Display seamlessly integrates with various Mac models.
Adjusting the Tilt-Adjustable Stand
The Studio Display features a Tilt-Adjustable Stand. To adjust the viewing angle, gently hold both sides of the display panel and tilt it up or down to your preferred position. Ensure the base remains stable during adjustment.
Key Features
Immersive 5K Retina Display
The 27-inch 5K Retina display offers an immersive visual experience with 600 nits of brightness, support for one billion colors, and P3 wide color gamut, providing exceptional clarity and vibrant, accurate colors for professional workflows and everyday use.
Advanced Camera System with Center Stage
Equipped with a 12MP Ultra Wide camera, the Studio Display supports Center Stage. This feature intelligently adjusts the camera's field of view to keep you centered and engaged during video calls, even as you move around.

The 12MP Ultra Wide camera with Center Stage enhances video conferencing.
High-Fidelity Audio and Microphones
The integrated six-speaker sound system delivers rich, high-fidelity audio with Spatial Audio support, creating an immersive listening experience. For clear communication, the display features a studio-quality three-mic array that minimizes background noise.

Experience immersive sound with the six-speaker system and Spatial Audio.

Studio-quality microphones and essential connectivity ports.
Versatile Connectivity
The Studio Display provides one Thunderbolt 3 port for high-bandwidth connection to your Mac and three USB-C ports for connecting peripherals such as external drives, keyboards, and mice. The Thunderbolt 3 port also delivers up to 96W of power, allowing you to charge your compatible Mac notebook directly through the display.
Operating Instructions
Power On and Off
The Studio Display is designed to power on automatically when connected to a powered-on Mac. To power off the display, simply shut down or disconnect your Mac. The display will enter a low-power state when your Mac is asleep.
Adjusting Display Settings
All display settings, including brightness, resolution, color profiles, and True Tone, are managed through macOS System Settings (or System Preferences on older macOS versions) on your connected Mac. Navigate to 'Displays' to customize your viewing experience.
Using Center Stage
Center Stage is enabled by default for video calls. To manage this feature, open a video conferencing application (e.g., FaceTime, Zoom) and look for video effects or camera settings. You can also find camera settings within macOS System Settings under 'Control Center' or 'Video Effects'.
Maintenance and Care
Cleaning the Display
Before cleaning, disconnect the Studio Display from its power source. Use a soft, lint-free cloth, slightly dampened with water, to gently wipe the screen and exterior. Avoid using window cleaners, household cleaners, aerosol sprays, solvents, ammonia, abrasives, or cleaners containing hydrogen peroxide, as these chemicals can damage the display's finish and screen coating.
General Care
To ensure the longevity of your display, keep it in a well-ventilated environment away from direct sunlight, extreme temperatures, and high humidity. Do not place heavy objects on the display or its cables, and avoid obstructing the ventilation ports.
Troubleshooting
No Image on Screen
- Ensure the Thunderbolt cable is securely connected to both the display and your Mac.
- Verify that the display's power cable is properly connected to a working electrical outlet.
- Restart your Mac.
- If possible, test with a different Thunderbolt cable to rule out cable issues.
Camera or Microphone Not Working
- Check privacy settings in macOS System Settings to ensure applications have permission to access the camera and microphone.
- Ensure your Studio Display's firmware is up to date via macOS software updates.
Poor Audio Quality
- Adjust volume settings on your Mac and within the application you are using.
- Ensure the Studio Display is selected as the primary audio output device in macOS Sound settings.
- Check for any physical obstructions around the speakers.
Specifications
| Feature | Detail |
|---|---|
| Model Number | MK0U3LL/A |
| Screen Size | 27 Inches |
| Resolution | 5K UHD 2880p |
| Display Type | Retina, Standard Glass |
| Brightness | 600 nits |
| Color Support | 1 Billion colors, P3 wide color |
| Camera | 12MP Ultra Wide with Center Stage |
| Audio System | Six-speaker with Spatial Audio |
| Microphones | Studio-quality three-mic array |
| Ports | 1x Thunderbolt 3, 3x USB-C |
| Power Delivery | Up to 96W to Mac notebook |
| Stand Type | Tilt-Adjustable Stand |
| Product Dimensions | 1.2 x 24.5 x 14 inches |
| Item Weight | 13.86 pounds |
| Manufacturer | Apple |
| Date First Available | March 8, 2022 |
Warranty and Support
Your Apple Studio Display is covered by Apple's standard limited warranty. For detailed warranty information, please refer to the official Apple website or contact Apple Support. You can find additional support resources, software updates, and service information at support.apple.com/studio-display.


