
Dell AW320M
Alienware AW320M Wired Gaming Mouse User Manual
Model: AW320M
1. Introduction
This manual provides comprehensive instructions for the setup, operation, maintenance, and troubleshooting of your Alienware AW320M Wired Gaming Mouse. Please read this guide carefully to ensure proper use and to maximize your gaming experience.
2. Product Overview
The Alienware AW320M is a high-performance wired gaming mouse designed for precision and comfort. It features a slim design, a high-precision optical sensor, and customizable buttons to enhance your gameplay.
Key Features:
- High-Precision Optical Sensor: Up to 19,000 native DPI, 400 inches per second (IPS) tracking, and 50G acceleration for accurate and responsive movement.
- Durable L/R Keyplates: Engineered for 60 million clicks, providing crisp, tactile feedback and long-lasting performance.
- 6 Fully Programmable Buttons: Customize controls for quick in-game actions, weapon switching, and combo execution.
- Ultra-Flexible Paracord USB-A Cable: Minimizes drag and resistance during gameplay for unrestricted movement.
- Ergonomic Slim Design: Features a 3D sculpted thumb grip for enhanced control and extended comfort during long gaming sessions.
- LED Lighting: Integrated LED lighting for aesthetic customization.
Product Components:
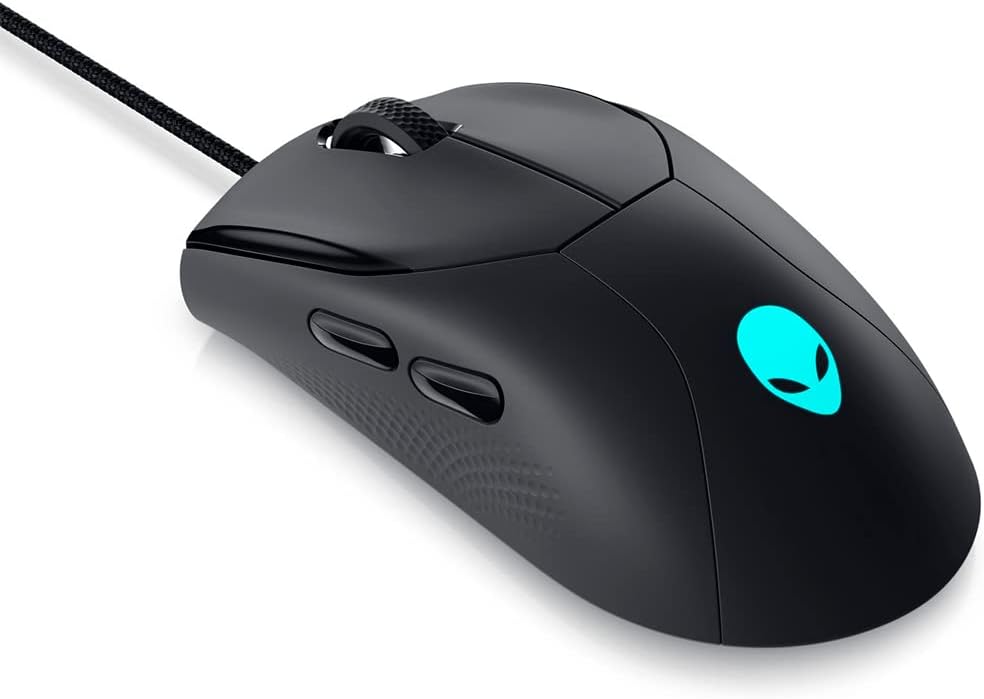
Figure 2.1: Top view of the Alienware AW320M Gaming Mouse, showcasing its ergonomic shape and the illuminated Alienware logo.

Figure 2.2: Front view of the Alienware AW320M Gaming Mouse, highlighting the braided USB-A cable connection.
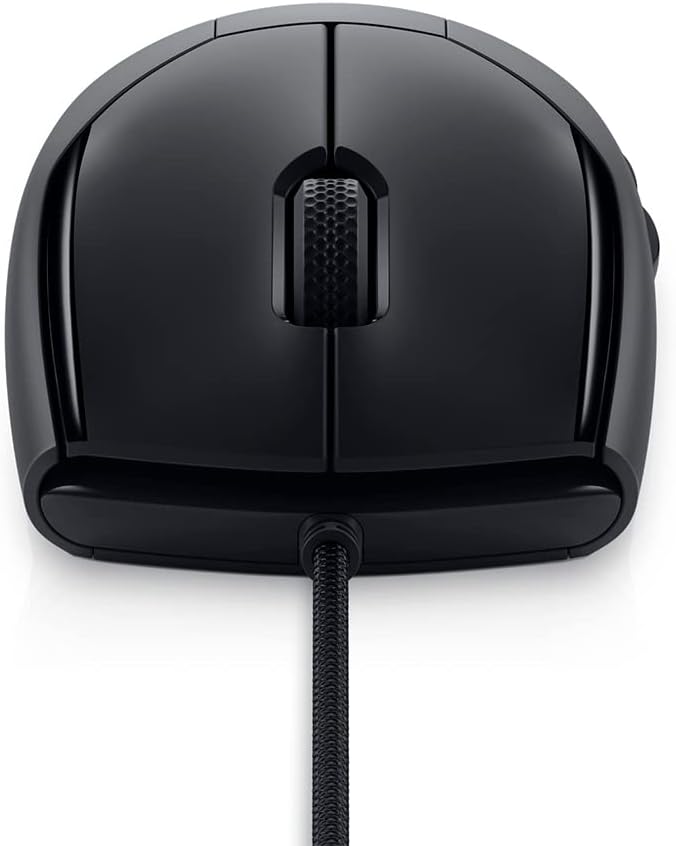
Figure 2.3: Side view of the Alienware AW320M Gaming Mouse, illustrating the sculpted thumb grip and side buttons for enhanced control.
3. Setup Instructions
3.1 Connecting the Mouse
- Locate an available USB-A port on your computer.
- Plug the USB-A connector of the Alienware AW320M mouse into the USB-A port.
- Your operating system should automatically detect and install the necessary drivers.
3.2 Software Installation (Optional)
For advanced customization, including button remapping, DPI settings, and LED lighting effects, download and install the Alienware Command Center software from the official Dell support website. This software is compatible with Windows operating systems.
- Visit Dell Support and search for "AW320M".
- Download the latest version of Alienware Command Center.
- Follow the on-screen instructions to complete the installation.
4. Operating Instructions
4.1 Basic Functions
- Left Click: Primary action button.
- Right Click: Secondary action button, often for context menus.
- Scroll Wheel: Scroll documents or web pages. Can also be clicked for a middle-mouse button function.
4.2 DPI Adjustment
The AW320M features a dedicated DPI switch (if present, typically located near the scroll wheel) or can be configured via the Alienware Command Center. You can cycle through pre-set DPI levels or customize them to your preference, up to 19,000 native DPI.
4.3 Programmable Buttons
The mouse is equipped with 6 programmable buttons. Use the Alienware Command Center software to assign custom macros, keybinds, or functions to these buttons for a personalized gaming experience.
4.4 LED Lighting
The integrated LED lighting can be customized using the Alienware Command Center software. You can select various colors, effects, and brightness levels to match your setup or mood.
5. Maintenance
5.1 Cleaning the Mouse
- Disconnect the mouse from your computer before cleaning.
- Use a soft, lint-free cloth slightly dampened with water or a mild cleaning solution to wipe the surface of the mouse.
- Avoid using harsh chemicals, abrasive cleaners, or spraying liquids directly onto the mouse.
- For the optical sensor, use a cotton swab to gently clean any dust or debris.
5.2 Storage
When not in use, store the mouse in a clean, dry environment away from direct sunlight and extreme temperatures to prolong its lifespan.
6. Troubleshooting
If you encounter issues with your Alienware AW320M mouse, refer to the following common problems and solutions:
| Problem | Possible Solution |
|---|---|
| Mouse not responding |
|
| Erratic cursor movement |
|
| Buttons not working |
|
| LED lighting not working |
|
7. Specifications
| Feature | Detail |
|---|---|
| Brand | Dell (Alienware) |
| Model Number | AW320M |
| Connectivity Technology | Wired (USB-A) |
| Movement Detection Technology | Optical |
| Max Sensitivity (DPI) | 19,000 DPI |
| Number of Buttons | 6 |
| Hand Orientation | Ambidextrous |
| Compatible Devices | Gaming PC |
| Compatible OS | Linux, Windows 7, Windows XP (and newer Windows versions) |
| Power Source | Corded Electric |
| Cable Length | 5.0 meters (approx. 16.4 feet) |
| Color | Black |
| Material | Plastic |
| Item Weight | 0.11 Kilograms (approx. 0.24 lbs) |
8. Warranty and Support
Your Alienware AW320M Gaming Mouse is covered by Dell's standard warranty. For detailed warranty information, technical support, or to register your product, please visit the official Dell support website:
Please have your product's serial number or service tag ready when contacting support.
Related documentsAW320M


Ask a question about this manual
Ask about setup, troubleshooting, compatibility, parts, safety, or missing instructions. Manuals+ will review the question and use this page’s manual context to help answer it.