
1. Introduction
This manual provides detailed instructions for the installation, operation, and maintenance of your ZEVNI Black Vanity Light. Please read this manual thoroughly before installation and retain it for future reference. This 4-light vanity light is designed for modern spaces, featuring a metal construction with a rectangle backplate and a horizontal arm, complemented by clear cylinder glass shades.
2. Safety Information
WARNING: Risk of electric shock. Disconnect power at the fuse box or circuit breaker before installation or servicing.
- All electrical connections must be in accordance with local codes and ordinances, and the National Electric Code (NEC).
- Consult a qualified electrician if you are unsure about the installation process.
- Handle glass components with care to prevent breakage.
- Ensure the mounting surface can support the weight of the fixture.
- Do not exceed the maximum wattage specified for the bulbs.
3. Package Contents
Verify that all components are present before beginning installation:
- Vanity Light Fixture (1)
- Clear Glass Shades (4)
- Mounting Hardware Kit (1)
- Instruction Manual (1)
Note: Bulbs are not included and must be purchased separately.
4. Specifications
| Brand | ZEVNI |
| Model Name | Black Vanity Light |
| Product Dimensions | 27"L x 6"W x 8"H |
| Canopy Dimensions | 6" x 4.7" x 1" |
| Shade Dimensions (each) | 4" x 4" x 6" |
| Material | Metal, Glass |
| Finish | Black |
| Number of Lights | 4 |
| Bulb Base | E26 (Medium Base) |
| Max Wattage per Bulb | 40W |
| Voltage | 120 Volts |
| Dimmable | Yes (with compatible dimmer switch and dimming bulbs, not included) |
| Mounting Type | Wall Mount |

Figure 1: Product Dimensions. This diagram illustrates the overall length (27 inches), width (6 inches), and height (8 inches) of the vanity light, along with individual shade dimensions and canopy measurements.
5. Setup and Installation
Before You Begin:
- Turn off power at the circuit breaker or fuse box.
- Ensure you have all necessary tools (screwdriver, wire strippers, electrical tape, etc.) and safety equipment (safety glasses).
Installation Steps:
- Attach Mounting Plate: Secure the mounting plate to the junction box in the wall using the provided screws. Ensure it is firmly attached.
- Wire Connections: Connect the fixture's wires to the corresponding house wires. Connect the black wire (live) to the black wire, the white wire (neutral) to the white wire, and the ground wire to the ground wire. Use wire nuts to secure connections and wrap with electrical tape for added safety.
- Mount Fixture: Carefully align the fixture with the mounting plate and secure it using the provided screws. Ensure the fixture is flush against the wall. The fixture can be mounted with shades facing up or down.
- Install Glass Shades: Gently attach each clear glass shade to the fixture. Ensure they are securely fastened but do not overtighten.
- Insert Bulbs: Screw in four E26 base bulbs (max 40W each, not included) into the sockets. Type T bulbs are recommended.
- Restore Power: Turn the power back on at the circuit breaker.
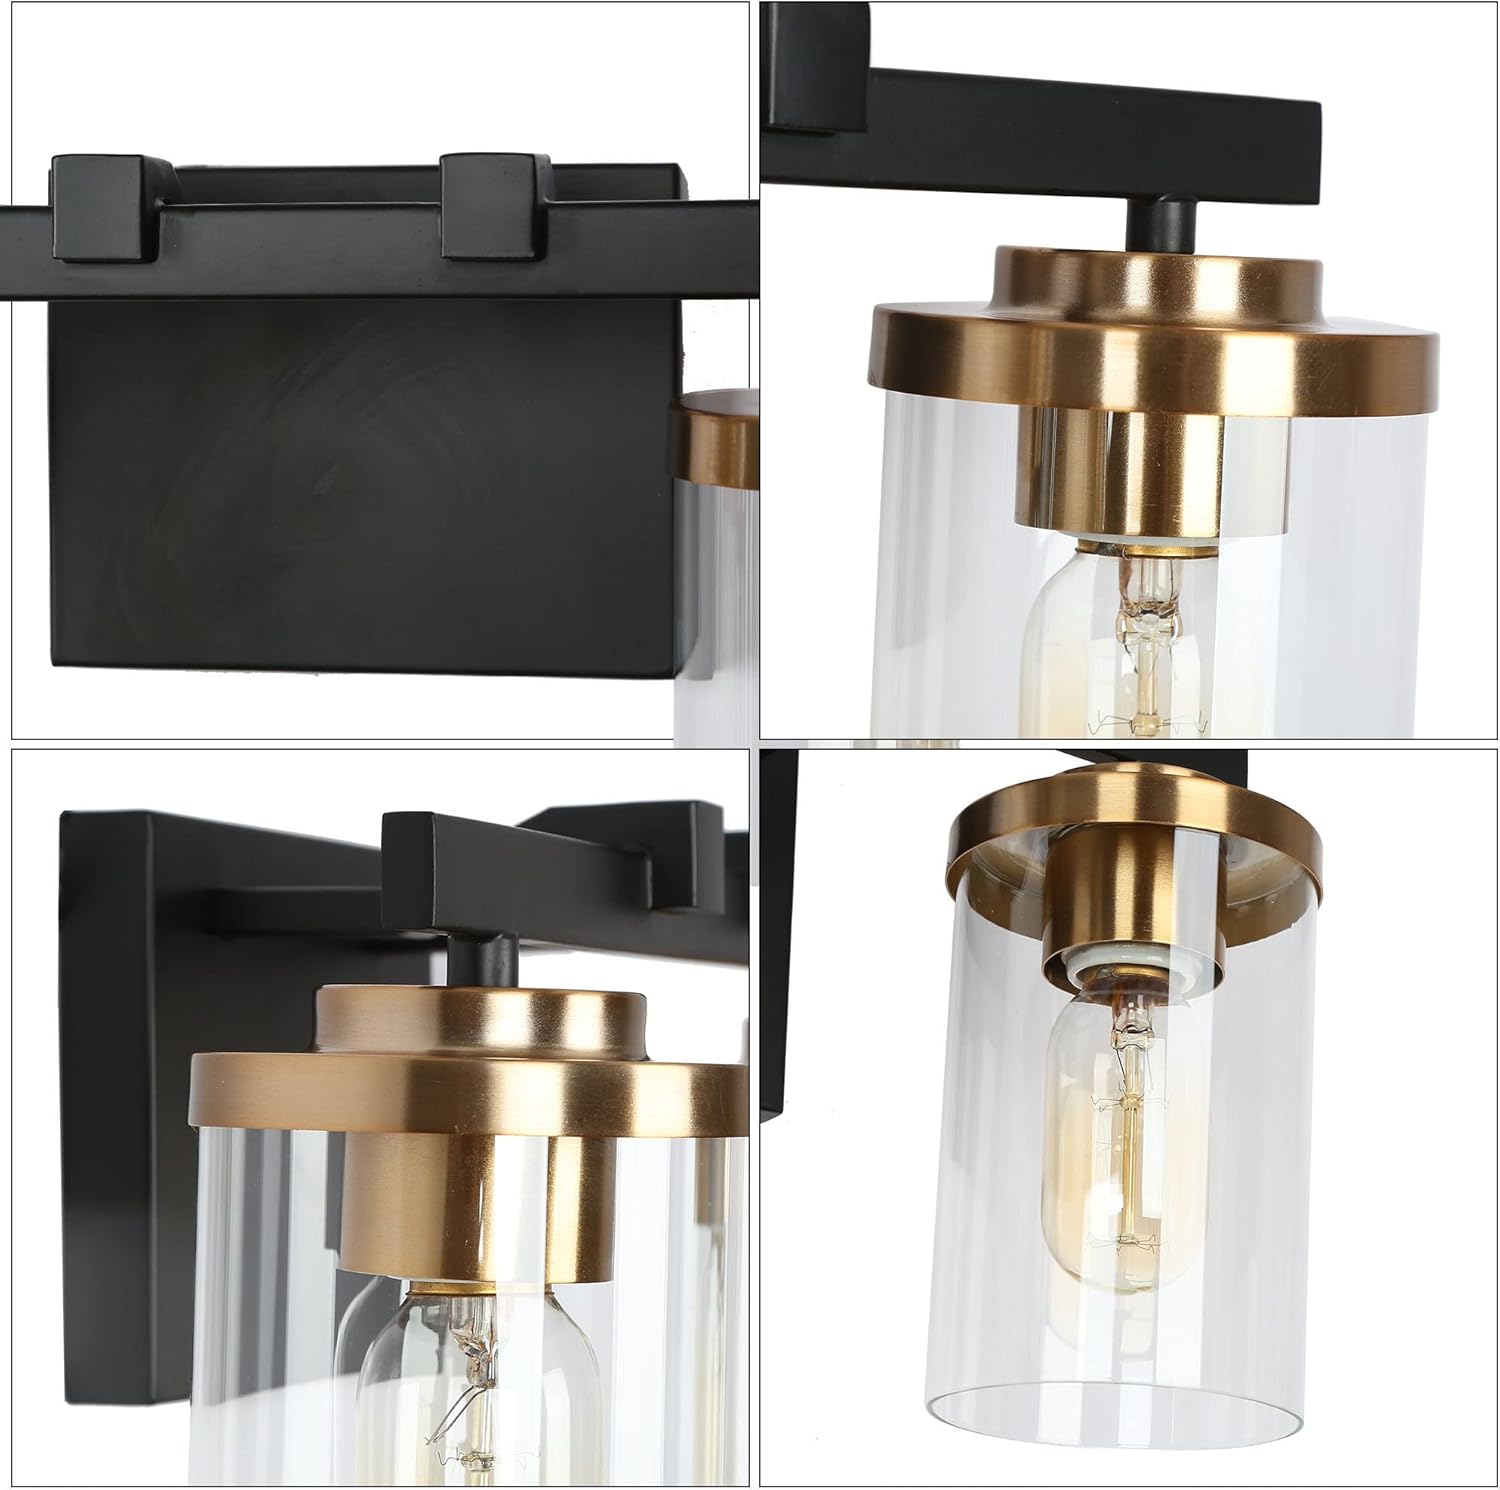
Figure 2: Component Detail. This image shows a detailed view of the fixture's construction, highlighting the black metal backplate, gold accents, and clear glass shade attachment points.
6. Operating Instructions
Once installed, the ZEVNI Black Vanity Light operates like any standard wall-mounted light fixture.
- Turning On/Off: Use the wall switch connected to the fixture to turn the light on or off.
- Dimming Functionality: If you have installed compatible dimmable E26 bulbs and a dimmer switch (both not included), you can adjust the brightness level of the light by operating the dimmer switch.

Figure 3: Light On/Off Comparison. This image illustrates the appearance of the vanity light when it is off (top) and when it is illuminated (bottom), showcasing the warm glow.
7. Maintenance
- Cleaning: Disconnect power before cleaning. Wipe the fixture with a soft, dry cloth. Do not use abrasive cleaners or solvents, as they may damage the finish. The glass shades can be removed and washed with mild soap and water, then dried thoroughly before reinstallation.
- Bulb Replacement: Ensure power is off before replacing bulbs. Allow bulbs to cool completely before touching. Unscrew old bulbs and screw in new E26 base bulbs (max 40W).
- Inspection: Periodically check all connections and mounting hardware to ensure they remain secure.
8. Troubleshooting
| Problem | Possible Cause | Solution |
|---|---|---|
| Light does not turn on. | No power to the fixture. Loose wire connection. Faulty bulb. | Check circuit breaker/fuse. Verify all wire connections are secure (power off first). Replace bulb. |
| Light flickers. | Loose bulb. Incompatible dimmer switch/bulb. Loose wire connection. | Tighten bulb. Ensure dimmer and bulbs are compatible. Check wire connections (power off first). |
| Glass shade is loose. | Shade not tightened properly. | Gently tighten the retaining ring for the shade. |
9. Warranty and Support
This ZEVNI product comes with a manufacturer's warranty. For specific warranty details or technical support, please refer to the warranty card included with your purchase or contact ZEVNI customer service directly.
Manufacturer: KSANA LLC
10. Product Visuals
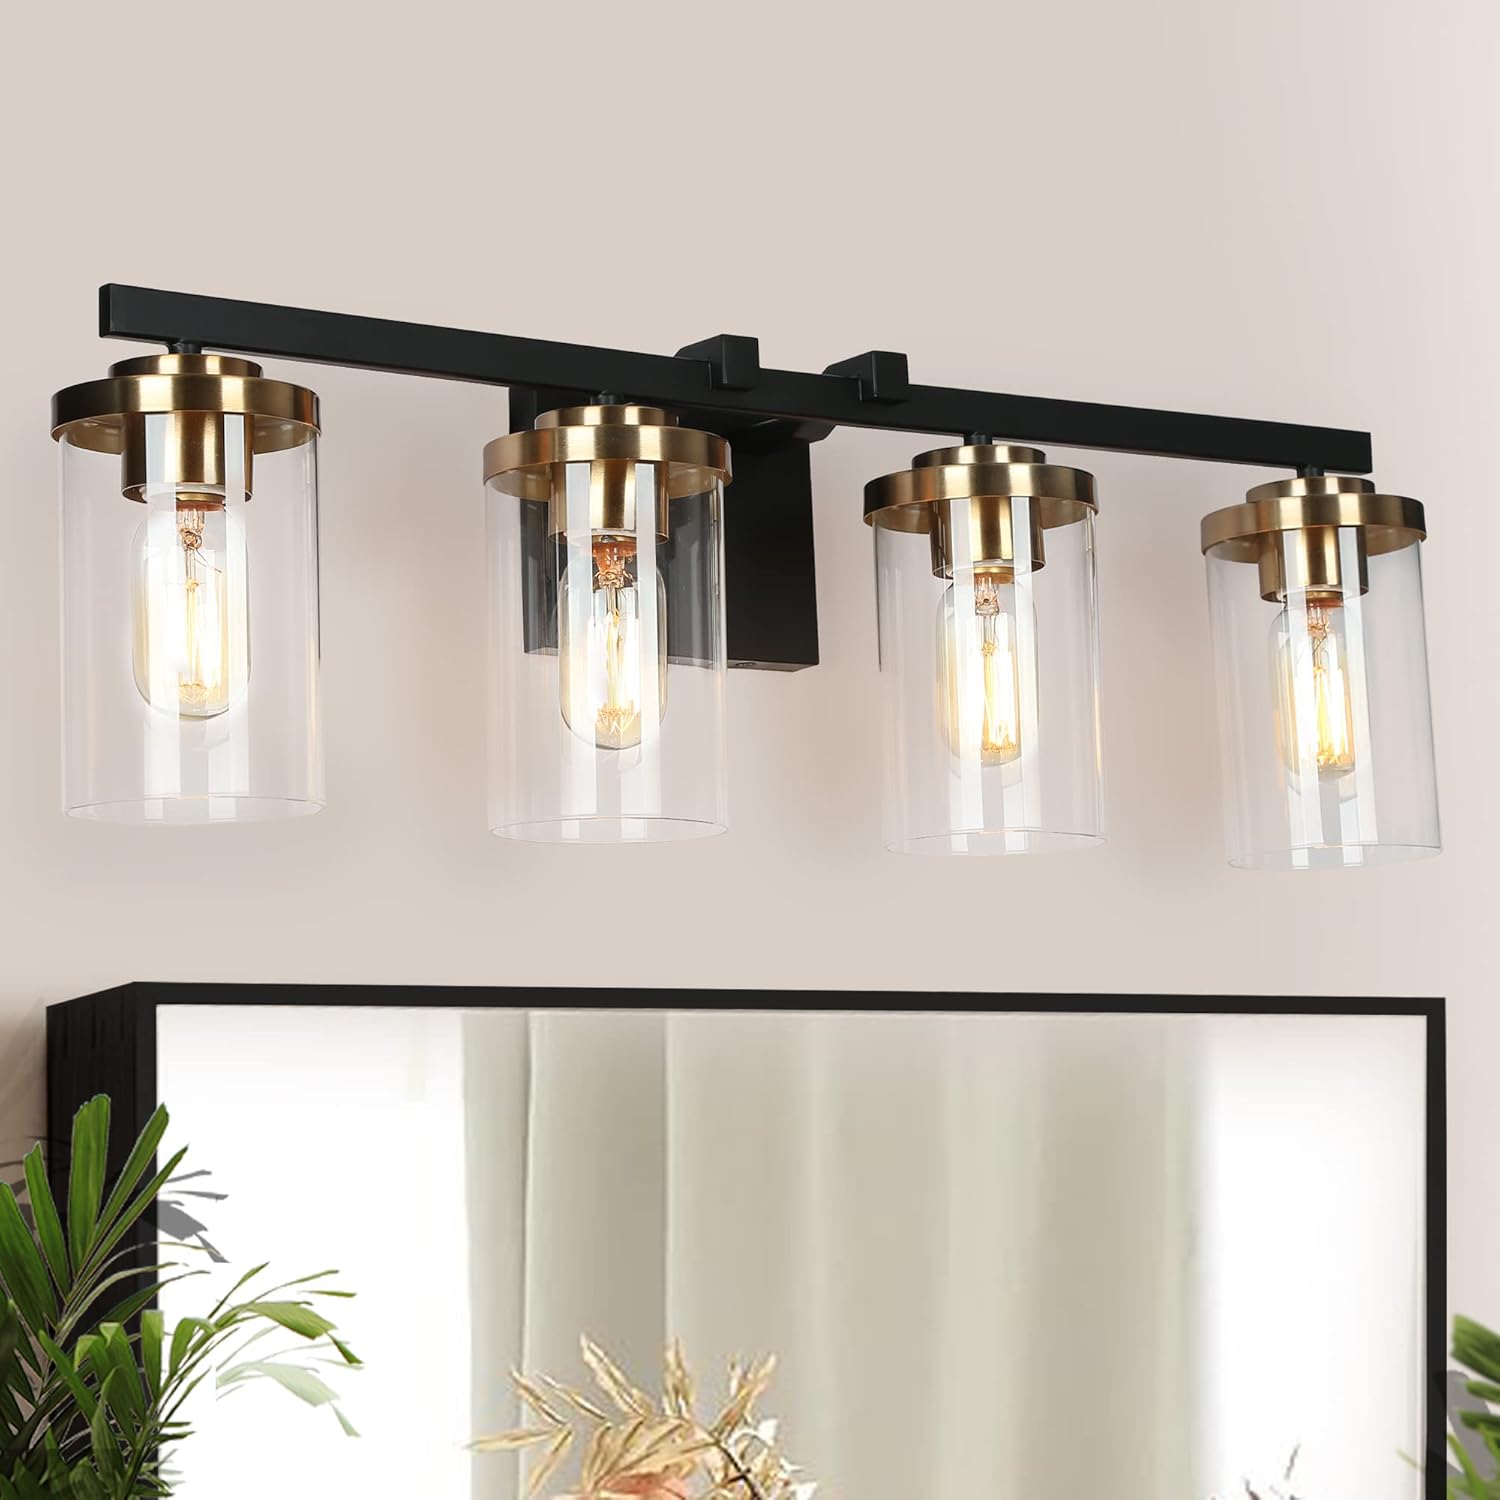
Figure 4: ZEVNI Black Vanity Light in a modern bathroom setting. This image displays the 4-light fixture mounted above a mirror, showcasing its design and illumination.
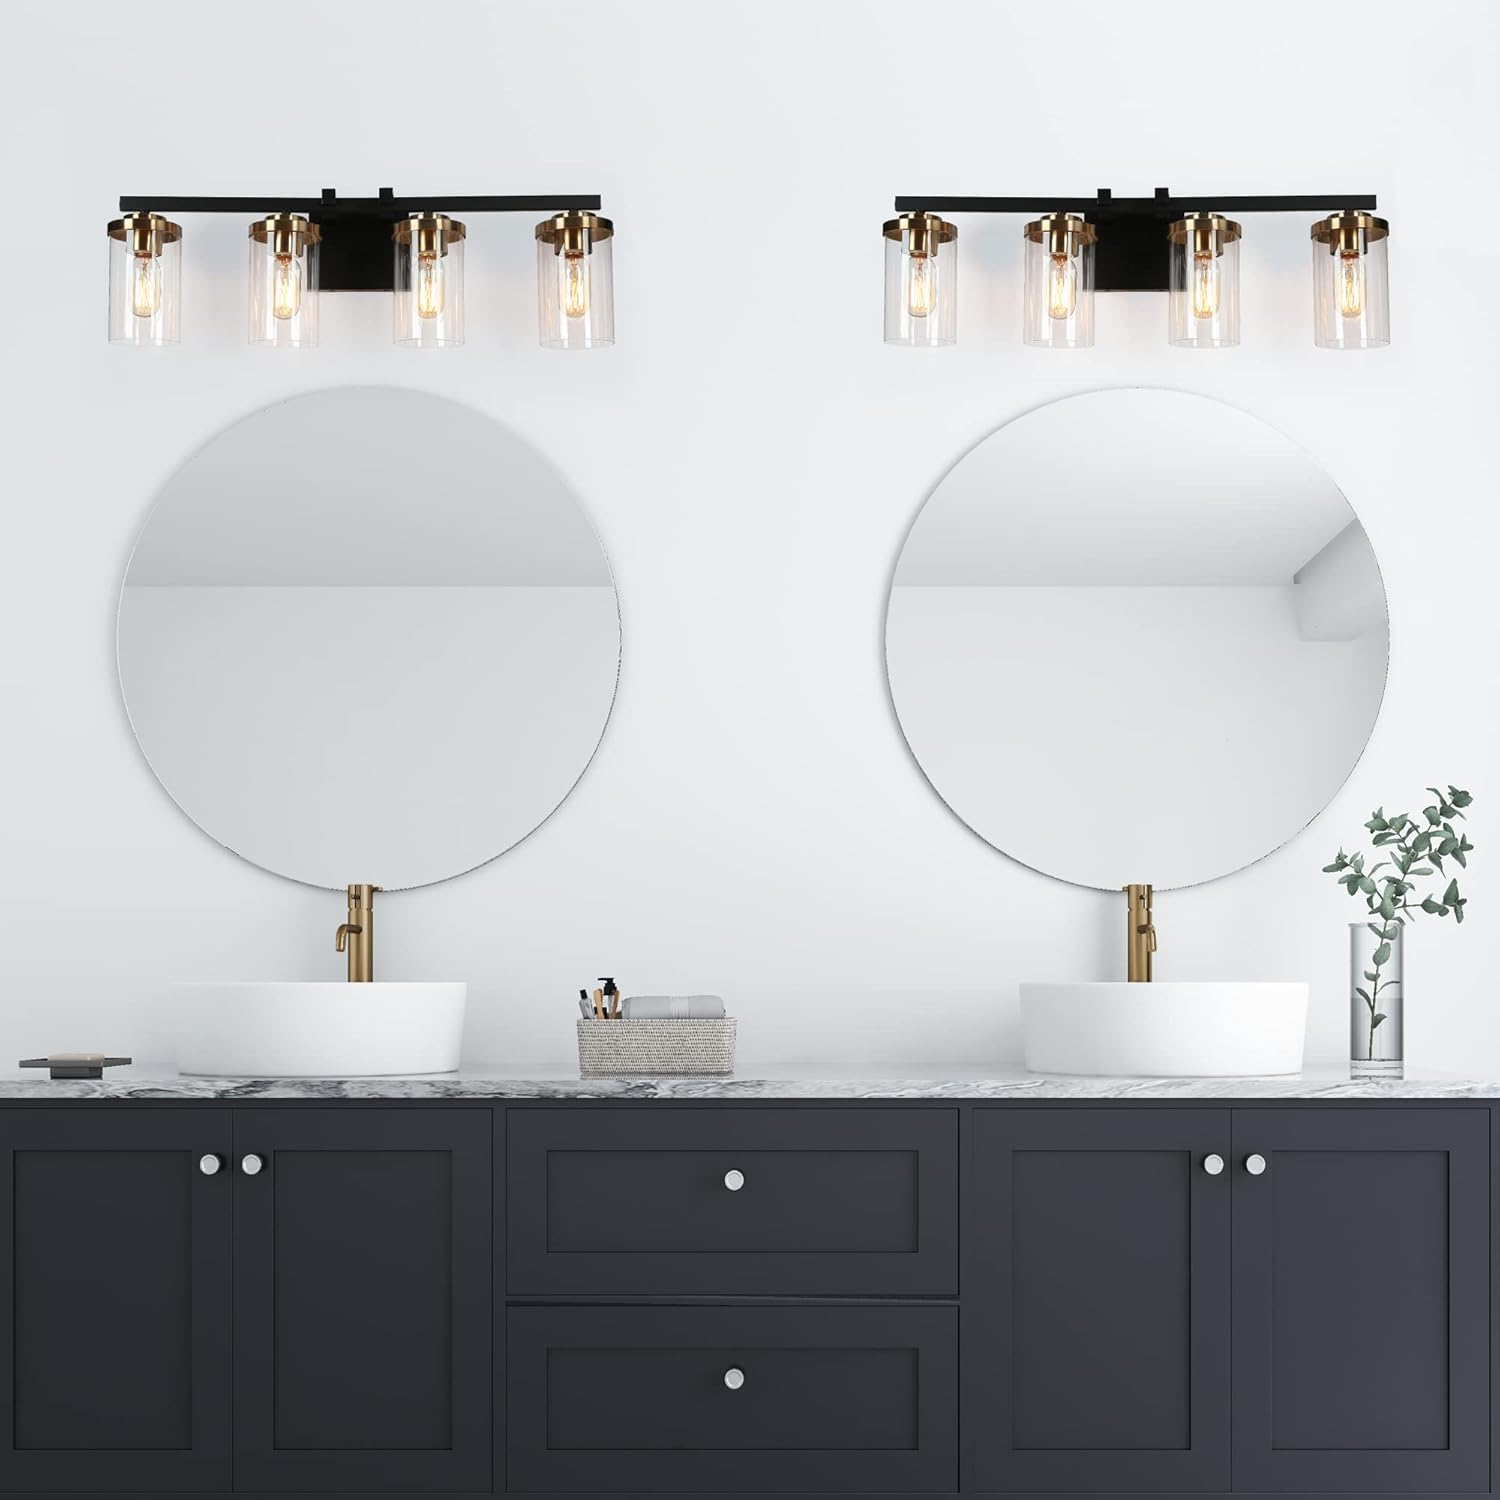
Figure 5: Dual installation of ZEVNI Black Vanity Lights. This image shows two fixtures complementing a double vanity setup with round mirrors.
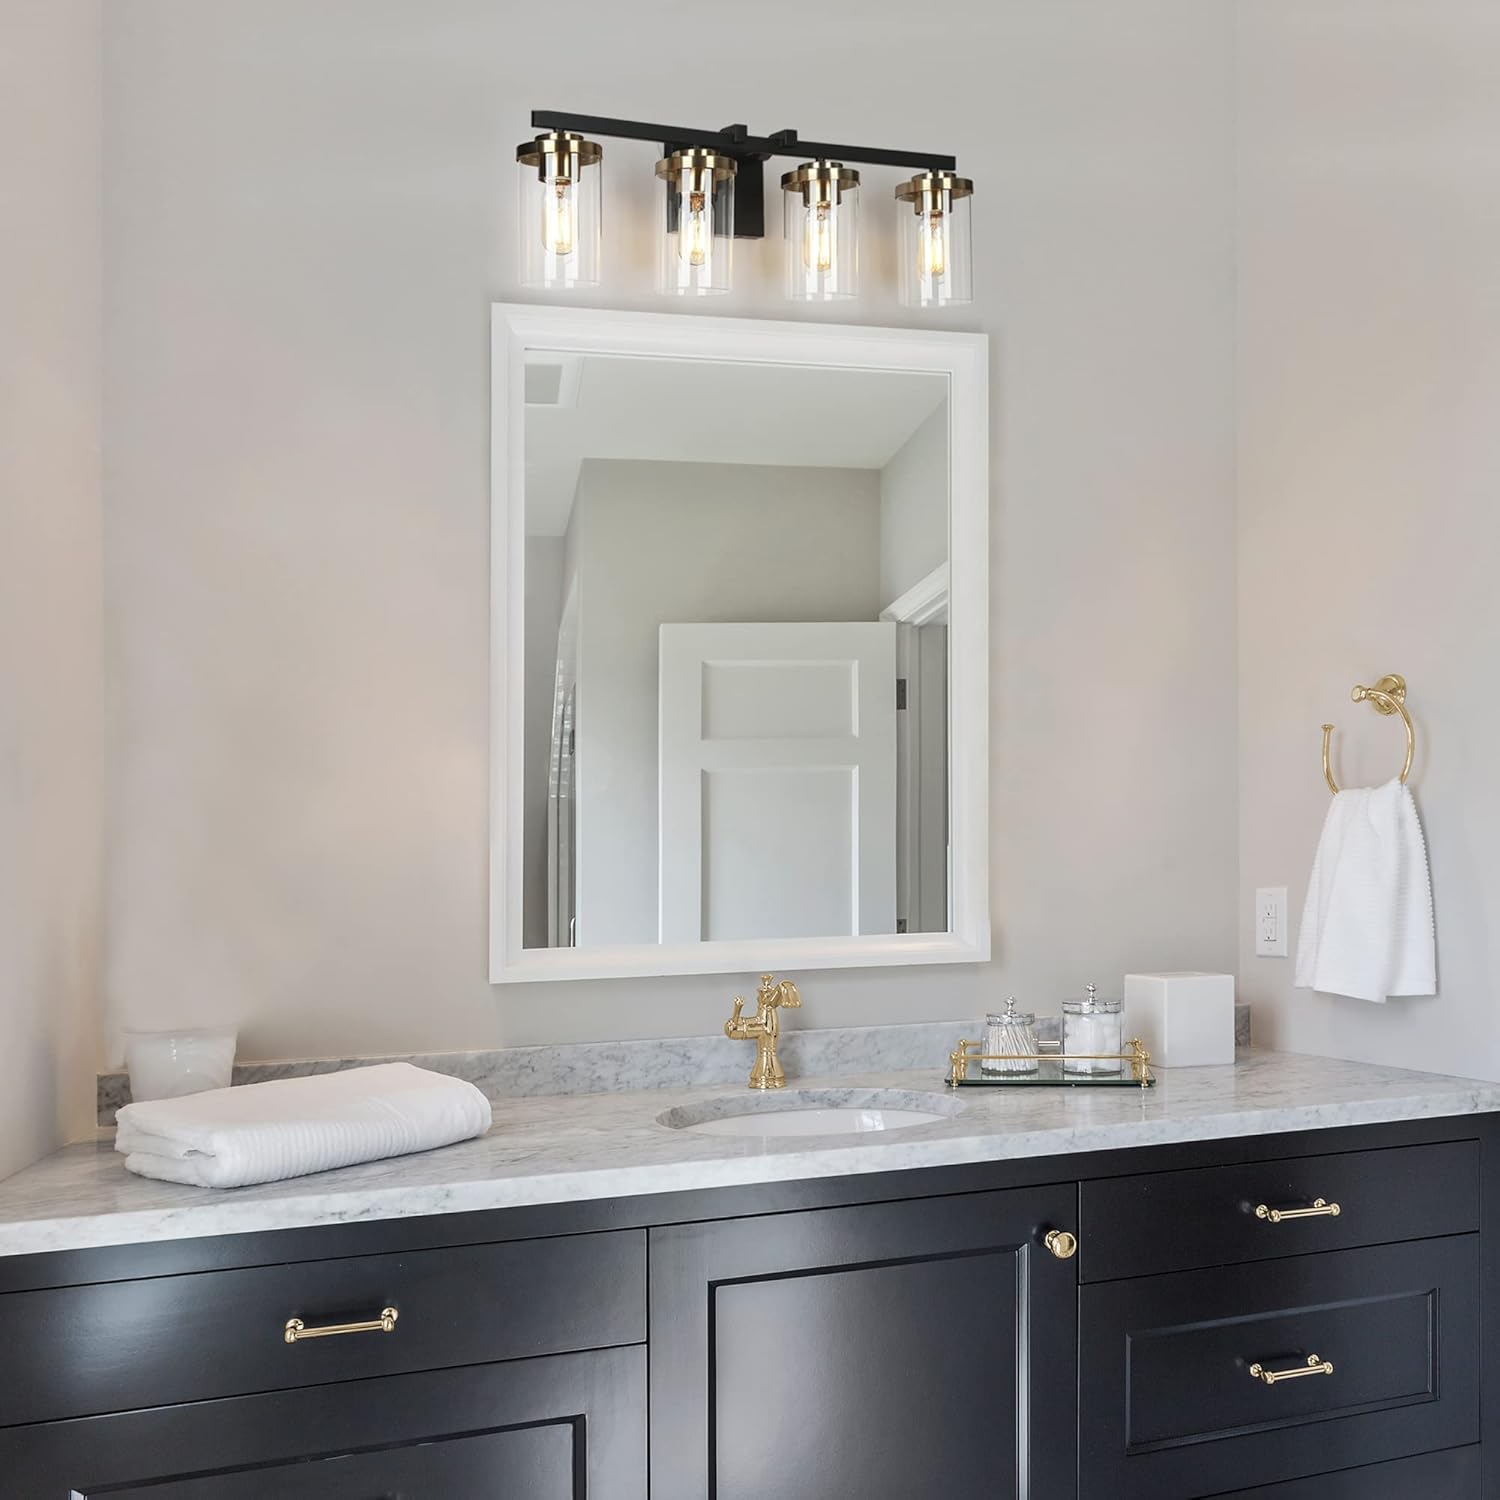
Figure 6: ZEVNI Black Vanity Light above a rectangular mirror. This image provides another perspective of the fixture in a bathroom, highlighting its versatility with different mirror styles.

Figure 7: ZEVNI Black Vanity Light with a round mirror. This image demonstrates the fixture's aesthetic appeal when paired with a circular mirror and a grey vanity.

Figure 8: Finish Compatibility. This image illustrates the compatible finishes (black and gold) for the fixture, indicating that other finishes are not applicable.


