1. Introduction and Important Safety Information
Thank you for purchasing the Yaheetech 28in Propane Fire Pit Table. This manual provides essential instructions for the safe assembly, operation, and maintenance of your new fire pit. Please read all instructions carefully before use and retain this manual for future reference.
WARNING: For outdoor use only. Improper installation, adjustment, alteration, service, or maintenance can cause injury or property damage. Read the installation, operating, and maintenance instructions thoroughly before installing or servicing this equipment.
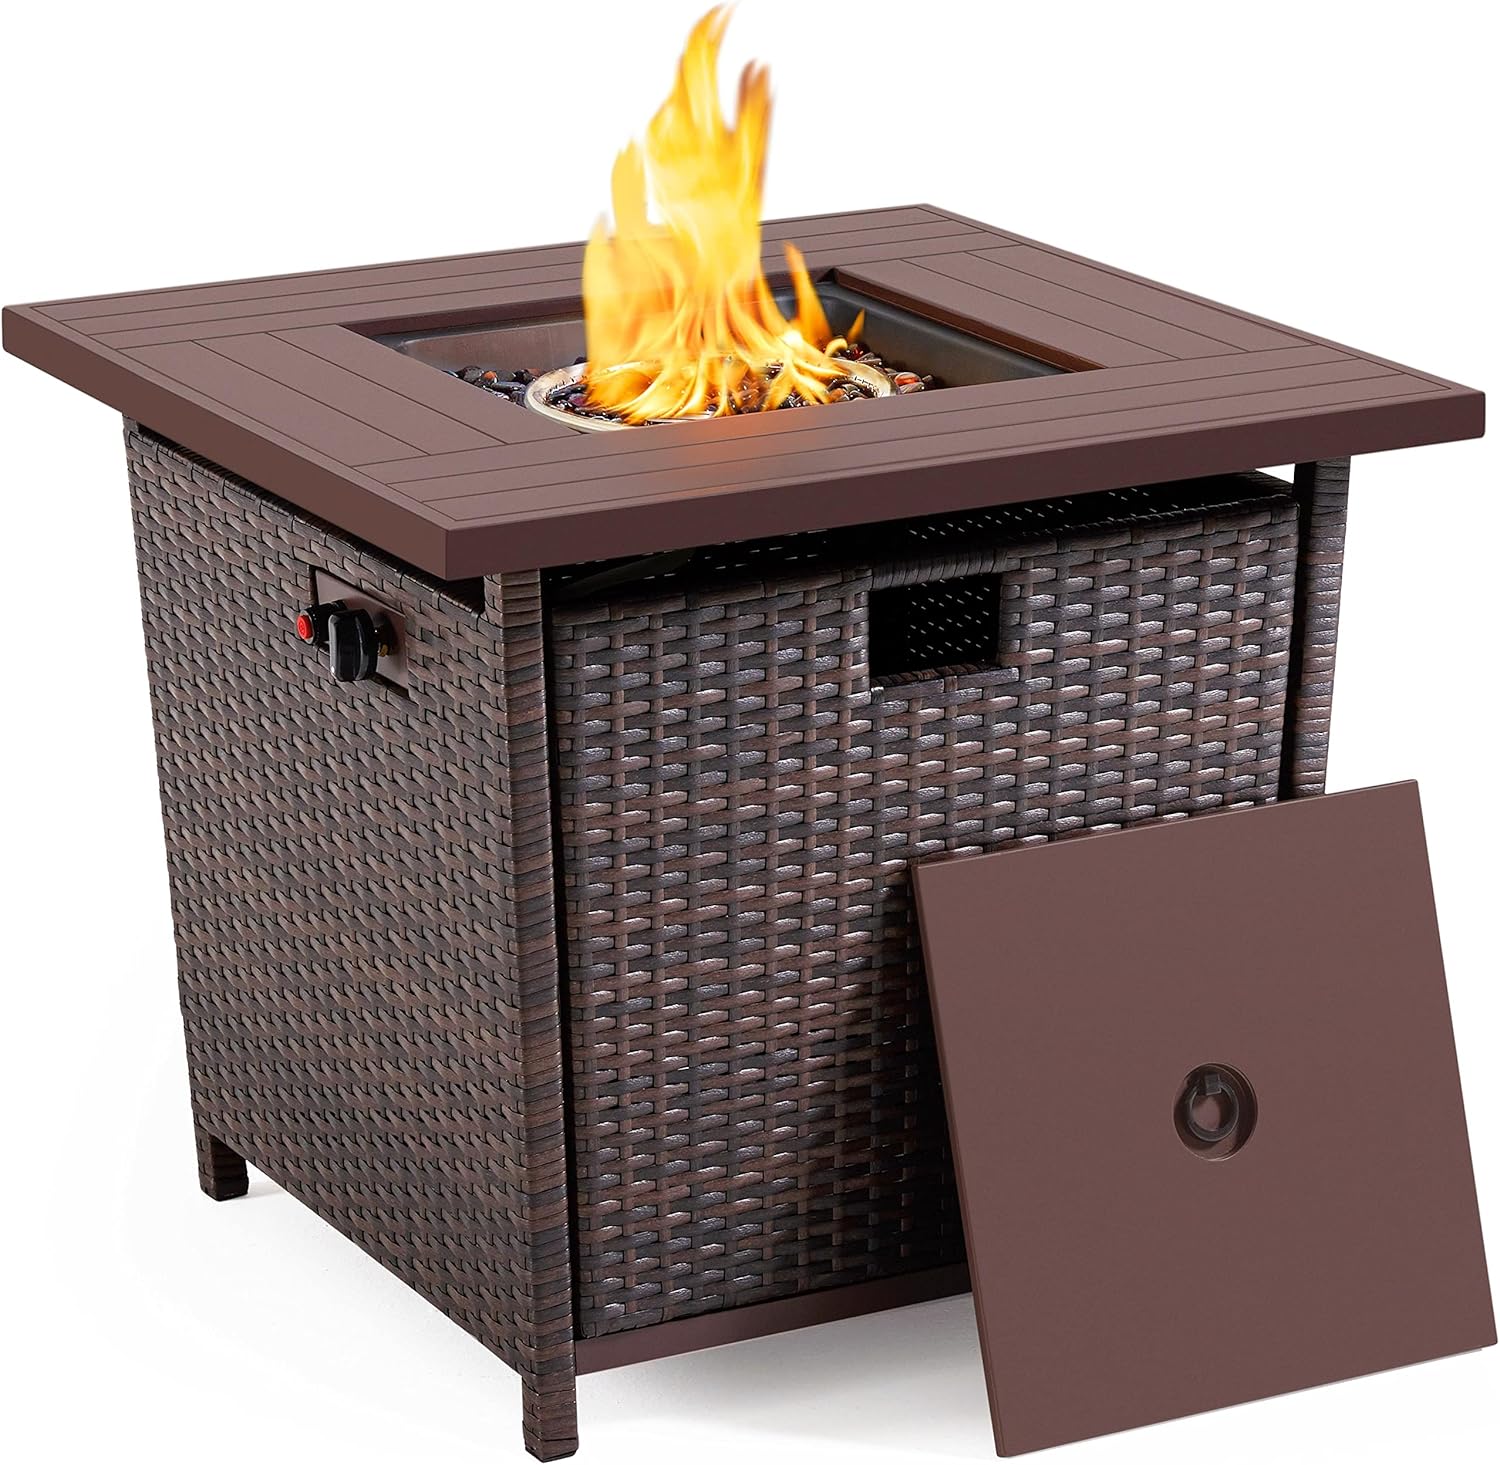
Image: The Yaheetech 28-inch Propane Fire Pit Table, showcasing its square design, wicker base, and a vibrant flame, with the metal cover placed beside it.
2. Package Contents
Ensure all components are present and undamaged before assembly. If any parts are missing or damaged, do not attempt to assemble the product. Contact customer service for assistance.

Image: All individual components of the fire pit table, including the base panels, tabletop, burner assembly, fire glass, and tools, are neatly laid out on a white surface.
- 28-inch Square Fire Pit Table (main unit)
- Rain Cover (durable Oxford fabric with PU coating)
- Brown Fire Glass (9 lb bag)
- All necessary hardware and tools for assembly
- Hose Regulator
- Propane Tank Stabilizer Bracket
3. Setup and Assembly
Follow these steps carefully for proper assembly. It is recommended to have two people for assembly.
- Attach Side Panels: Secure the first side panel to the base using the provided screws. Ensure the panel is aligned correctly with the pre-drilled holes.
- Continue Attaching Panels: Attach the remaining side panels one by one, ensuring each is securely fastened to the base and to adjacent panels.
- Install Propane Tank: Carefully place a standard 20 lb propane tank (not included) into the designated storage area within the fire pit base. Use the provided bracket to secure the tank and prevent movement.
- Connect Gas Line: Connect the hose regulator to the propane tank. Ensure a tight and secure connection to prevent gas leaks.
- Place Fire Glass: Distribute the provided brown fire glass evenly around the burner ring in the fire pit basin. Do not cover the ignition hood or thermocouple.

Image: A person attaching the first wicker side panel to the metal base frame of the fire pit, securing it with screws.
Image: The assembly process continues with additional wicker side panels being attached, forming the complete enclosure for the fire pit base.

Image: A view inside the fire pit table base showing a propane tank being placed onto the circular support, with the hose regulator and securing knob visible.
Assembly Video Guide:
Video: This official Yaheetech video demonstrates the step-by-step assembly process for the gas fire pit table, including attaching panels, installing the propane tank, and connecting the gas line.
4. Operating Instructions
Before lighting, ensure all gas connections are secure and there are no leaks. Perform a leak test as per safety guidelines.

Image: A detailed view of the control panel, showing the quick-start electronic ignition button and the variable flame control knob.
- Open Gas Valve: Slowly turn the valve on the propane tank counter-clockwise to open the gas supply.
- Ignite: Push and turn the control knob to the 'LOW' position. Simultaneously, press and hold the electronic igniter button for 5-10 seconds until the flame ignites.
- Adjust Flame: Once ignited, release the igniter button. You can then adjust the flame height by turning the control knob between 'LOW' and 'HIGH' settings.
- To Turn Off: Turn the control knob to the 'OFF' position. Then, close the valve on the propane tank completely.
5. Maintenance
Regular maintenance ensures the longevity and safe operation of your fire pit table.
- Cleaning: Clean the fire pit table regularly with a soft cloth and mild soap. Avoid abrasive cleaners.
- Covering: Use the provided rain cover when the fire pit is not in use, especially during inclement weather, to protect it from the elements.
- Burner Inspection: Periodically inspect the burner and gas connections for any signs of damage, blockages, or leaks.
- Fire Glass: Ensure fire glass is clean and free of debris. Replace if damaged.

Image: The fire pit table fully covered by its black, waterproof rain cover, demonstrating protection from outdoor elements.
6. Troubleshooting (Reasons for Ignition Failure)
If your gas stove fails to ignite, consider the following common issues and their solutions:

Image: A detailed troubleshooting chart outlining common reasons for ignition failure and their corresponding solutions.
- Loose connection between the thermocouple and the valve: If the thermocouple connection to the aluminum valve interface is loose, please tighten the thermocouple.
- Bent/broken thermocouple ends: Please inspect both ends of the thermocouple for any indications of breakage. If you find any signs of damage, please replace the broken thermocouple with a new one.
- Short dwell time: The system requires 5 to 10 seconds to ignite once the knob is turned. Therefore, it is important to continue pressing the knob for the full duration of 5 to 10 seconds in order to successfully complete the ignition process.
- Loose connection between the ignition pin and the valve: Please inspect the connection between the ignition pin and the aluminum valve interface for any indications of loosening. If you observe any such signs, please tighten the connection accordingly.
- Knob unable to rotate: To ignite, please press the knob before rotating it. If you want to adjust the fire, simply turn the knob without the need for pressing.
- Wrong battery direction: Please pay attention to the directions of the positive terminal and the negative terminal when inserting the battery. The positive terminal should be facing outward.
- Loose connection between the ignition pin and the pulse generator: Please inspect the connection between the ignition pin and the pulse generator for any indications of loosening. If you observe any such signs of loosening, please tighten the connection accordingly.
- Leakage of pressure-reducing valve: Please inspect the connection between the pressure-reducing valve and the gas hose for any indications of loosening. If you observe any such signs, please ensure that the connection is properly aligned and securely tightened.
7. Specifications
Detailed technical specifications for your Yaheetech Fire Pit Table:

Image: Diagram showing the dimensions of the fire pit table: 28 inches (L) x 28 inches (W) x 25 inches (H).
| Attribute | Value |
|---|---|
| Material | Steel, PE Rattan |
| Product Dimensions | 27.95"D x 27.95"W x 24.41"H |
| Style | Modern |
| Brand | Yaheetech |
| Finish Type | Powder Coated |
| Shape | Square |
| Fuel Type | Liquefied Petroleum Gas |
| Color | Brown |
| Manufacturer | Yaheetech |
| Maximum Heat Output | 50,000 BTU |
8. Warranty and Support
Specific warranty details for this product are not provided in the available information. For warranty claims, technical support, or any inquiries regarding your Yaheetech Fire Pit Table, please contact Yaheetech customer service directly through their official website or the retailer where the product was purchased.
Please have your purchase receipt and product model information ready when contacting support.


