
Primos Hunting 119219CT2
Tasco Trail Camera User Manual
Model: 119219CT2
Introduction
This manual provides comprehensive instructions for the setup, operation, maintenance, and troubleshooting of your Tasco 12MP Low Glow Trail Camera. Designed for ease of use, this camera is ideal for monitoring wildlife or for security purposes. Please read this manual thoroughly before using your camera to ensure optimal performance and longevity.
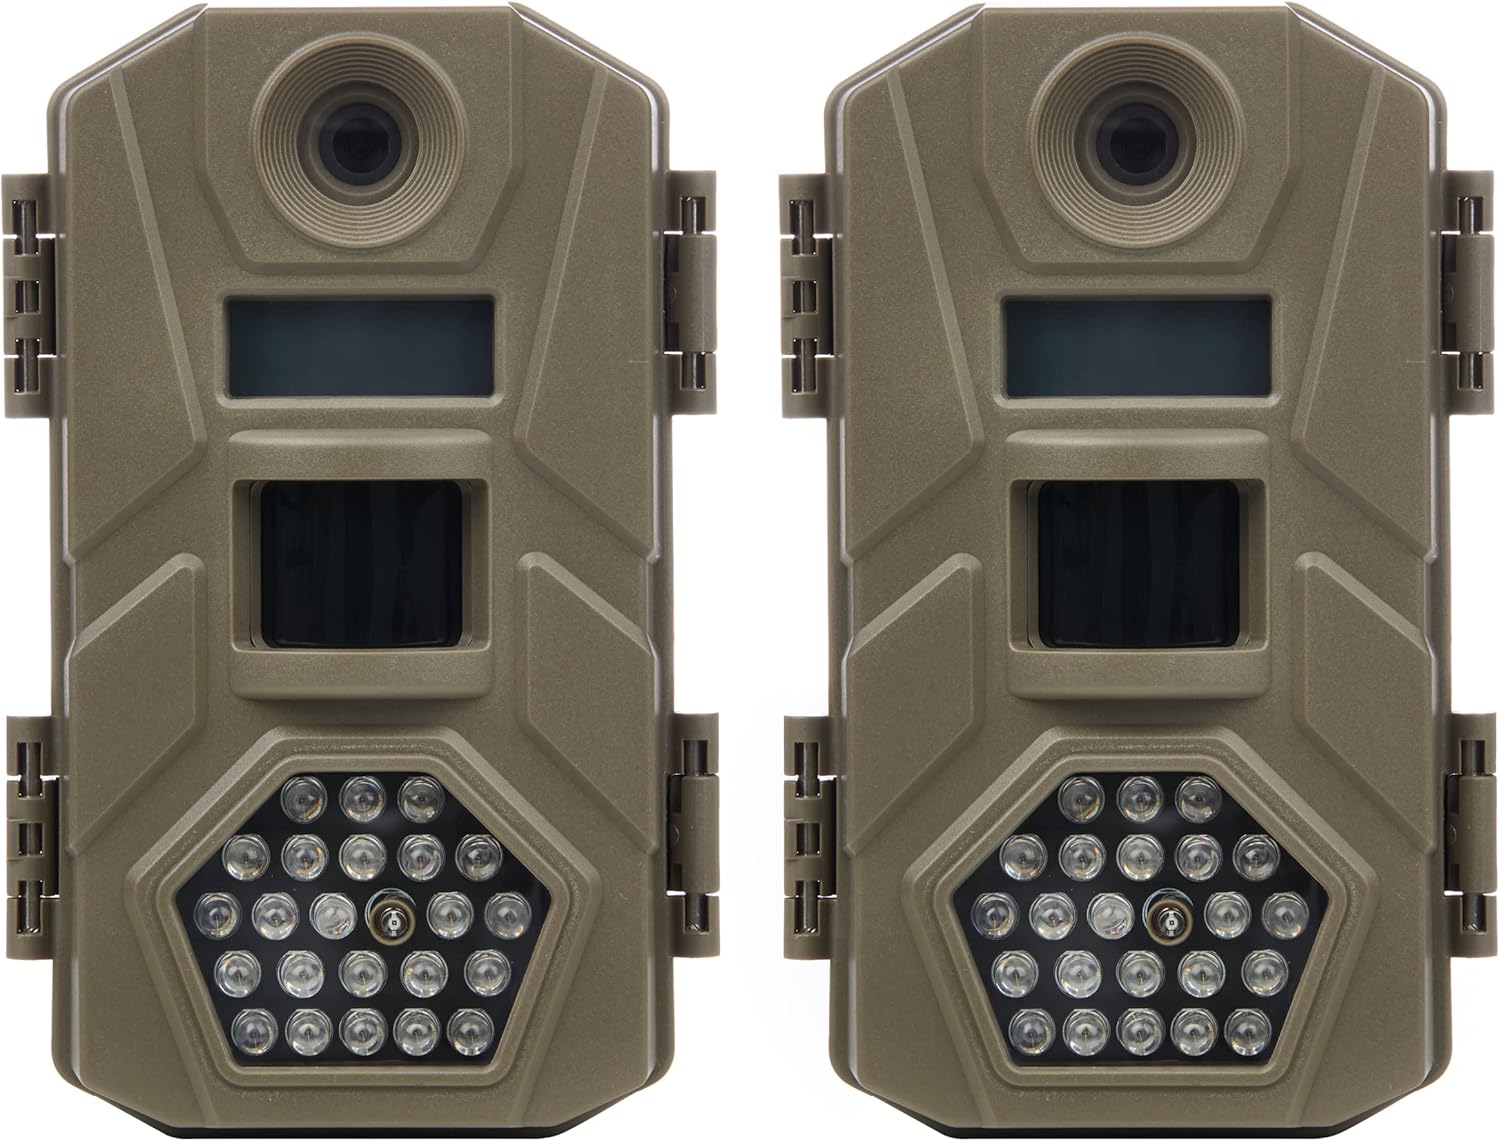
Image: Two Tasco 12MP Low Glow Trail Cameras, showing their compact design and tan finish.
Package Contents
Your Tasco Trail Camera package should include the following items:
- Two (2) Tasco 12MP Low Glow Trail Cameras
- Mounting Straps (one per camera)
- User Manual (this document)
Note: AA batteries and SD cards are not included and must be purchased separately.
Setup
1. Installing Batteries
The Tasco Trail Camera requires 8 AA batteries for operation. For best performance and battery life, use high-quality alkaline or lithium batteries.
- Open the camera's latch on the side to access the interior compartment.
- Locate the removable battery tray at the bottom of the camera.
- Pull out the battery tray.
- Insert 8 AA batteries into the tray, ensuring correct polarity (+/-) as indicated.
- Slide the battery tray back into the camera until it clicks securely into place.
- Close the camera latch firmly.

Image: The camera's interior with the removable battery tray, illustrating battery insertion.
2. Inserting an SD Card
The camera supports SD cards up to 32GB. A high-speed SD card (Class 10 or higher) is recommended for optimal performance, especially for video recording.
- With the camera open, locate the SD card slot.
- Insert the SD card into the slot with the metal contacts facing down, until it clicks into place.
- To remove the SD card, gently push it in until it springs out.
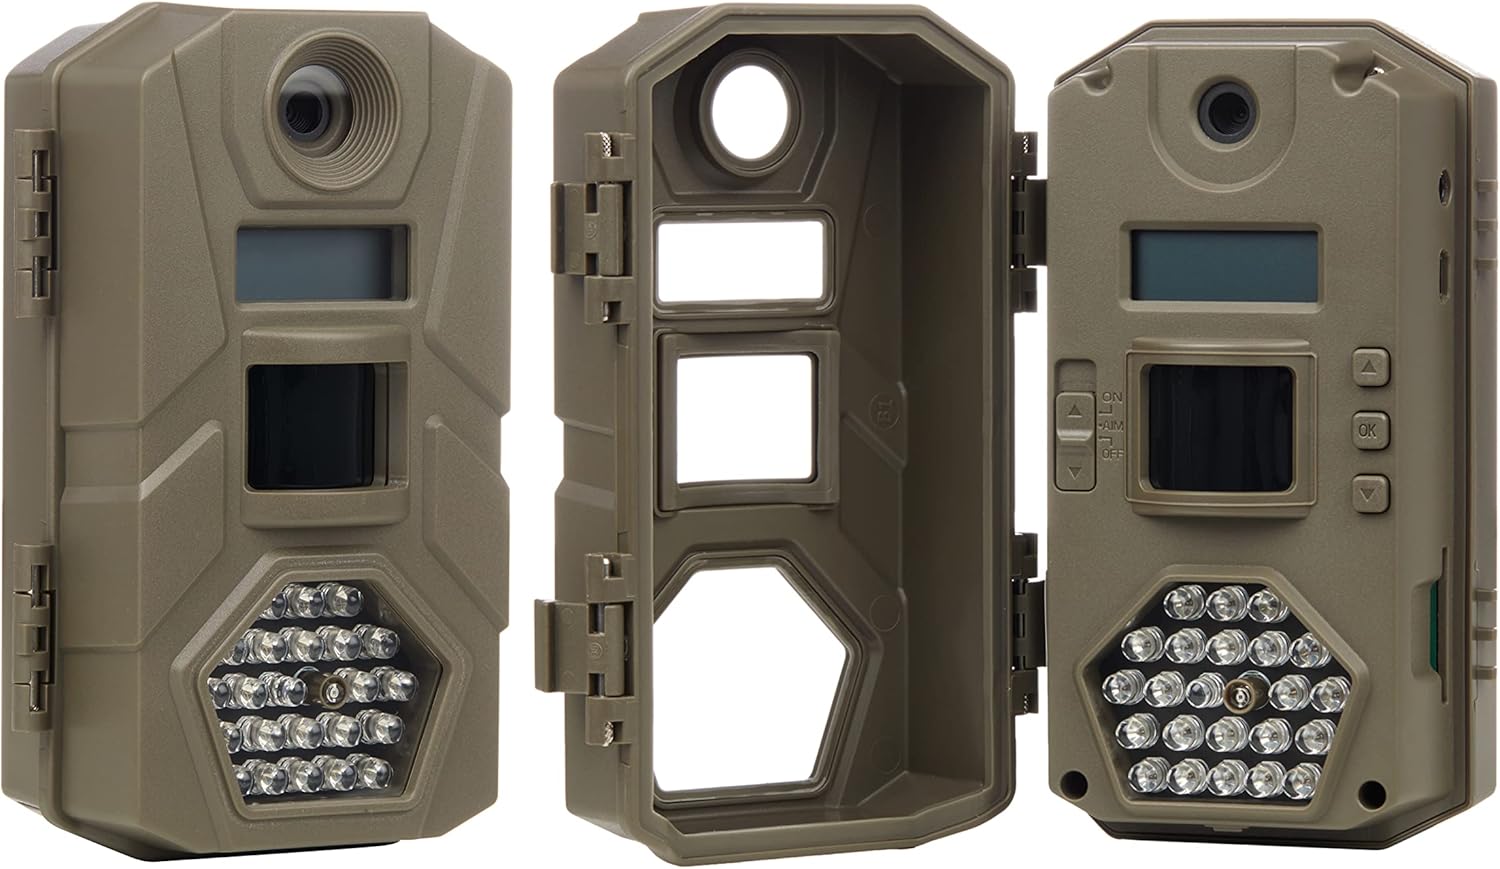
Image: An open camera view highlighting the internal components, including the SD card slot.
3. Mounting the Camera
The camera comes with a mounting strap for easy attachment to trees, posts, or other surfaces.
- Thread the provided strap through the slots on the back of the camera.
- Secure the camera to a stable object at the desired height and angle. Ensure the camera is level and pointed towards the area you wish to monitor.
- Tighten the strap firmly to prevent movement.

Image: Examples of the camera mounted to different surfaces using the included strap.
Operating the Camera
Powering On and Basic Settings
Once batteries and an SD card are installed, you can power on the camera and configure basic settings.
- Open the camera's front cover.
- Locate the power switch (usually labeled ON/OFF/SETUP).
- Slide the switch to the "SETUP" position. The internal LCD screen will illuminate.
- Use the navigation buttons (e.g., UP, DOWN, OK) to navigate through the menu options.
- Set Date and Time: It is crucial to set the correct date and time for accurate photo and video timestamps.
- Select Capture Mode: The camera supports various capture modes:
- Photo Mode: Captures still images (12MP resolution).
- Video Mode: Records video clips (720p resolution).
- Photo + Video Mode: Captures a still image followed by a video clip.
- Adjust Trigger Speed: The camera features a 1-second trigger speed, ensuring quick capture of moving subjects.
- Set Recovery Time: The camera has a 5-second recovery time between photographs, allowing for multiple captures without excessive duplicates.
- Once settings are configured, slide the power switch to the "ON" position. The screen will turn off, and the camera will enter monitoring mode.
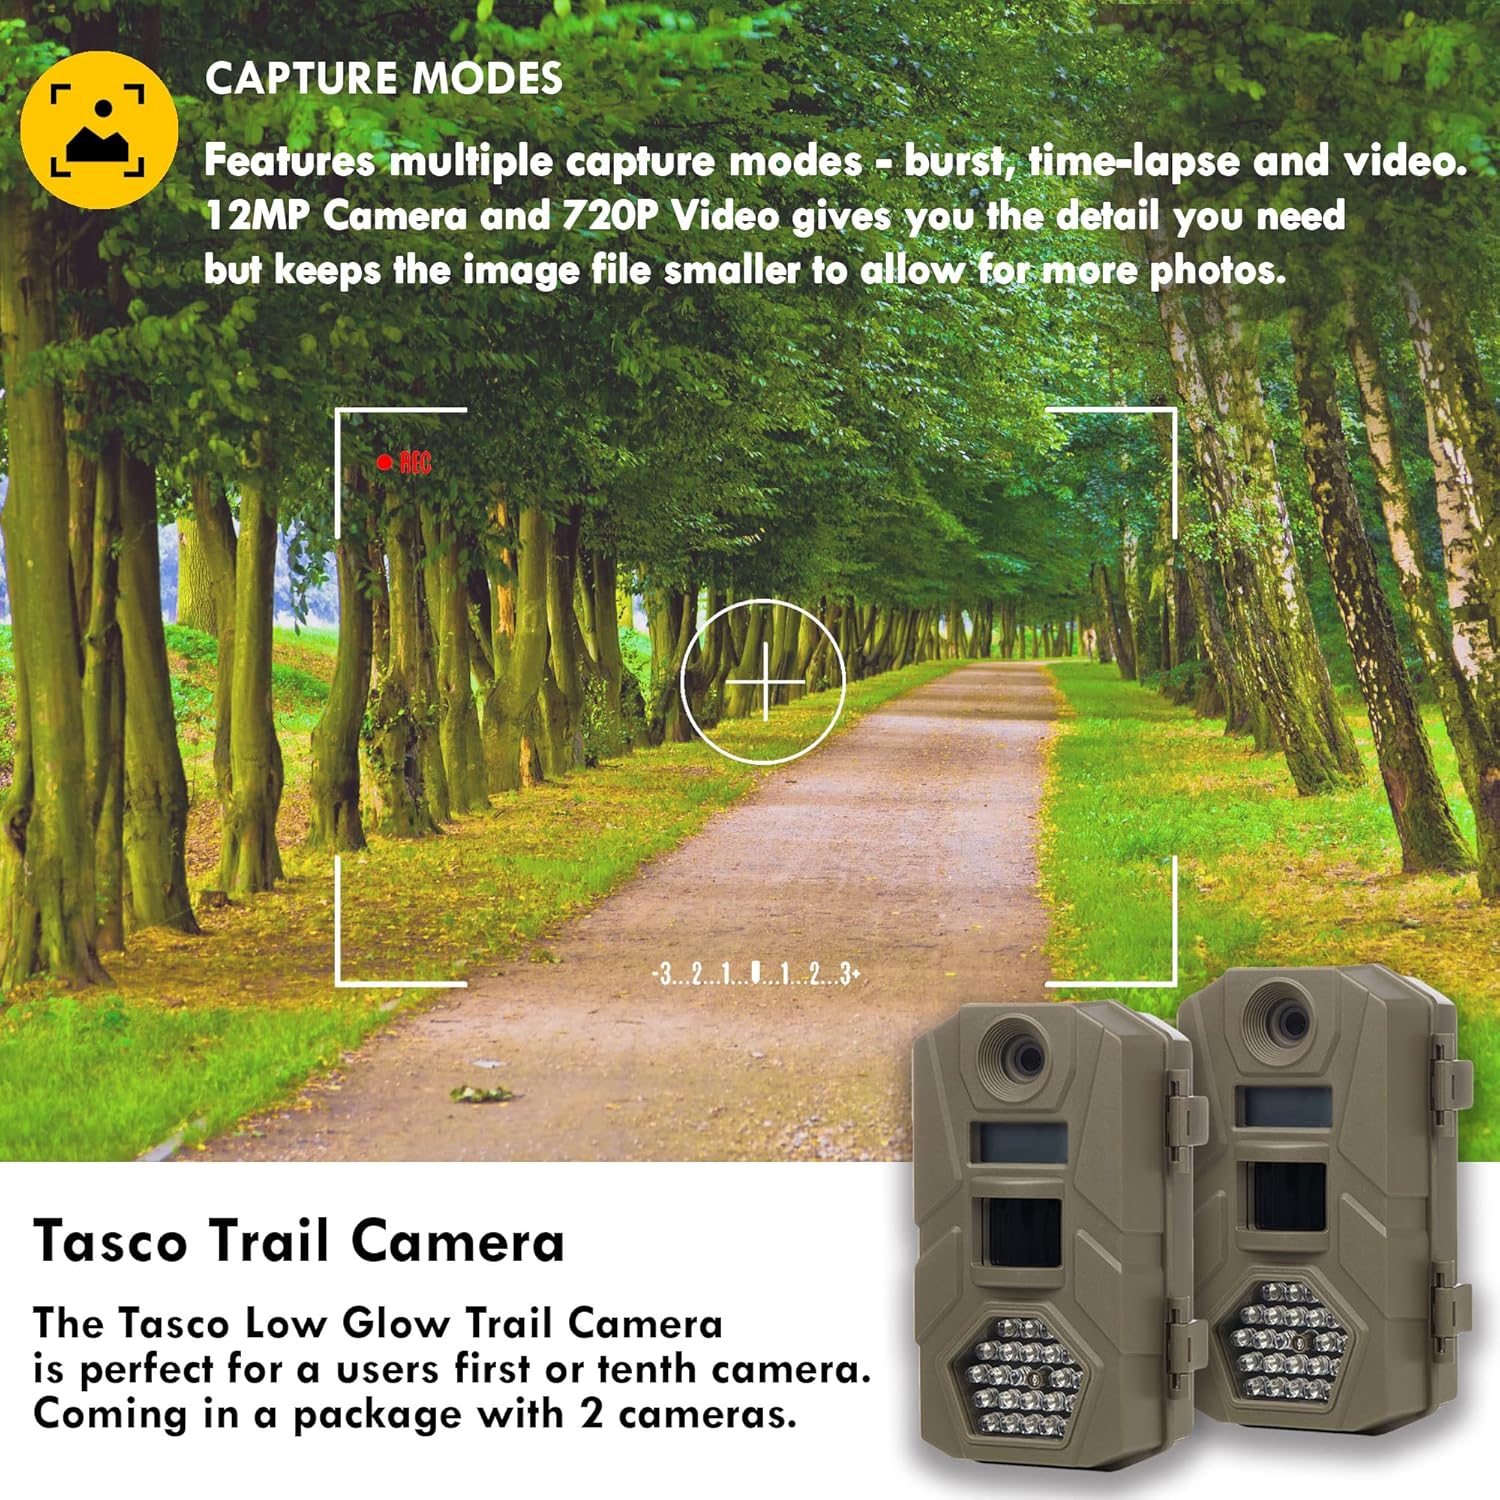
Image: Visual representation of the camera's capture modes and resolution capabilities.

Image: Illustration of the camera's fast trigger speed, ideal for capturing wildlife in motion.
Maintenance
- Battery Replacement: The camera offers approximately 6 months of battery life. Replace all 8 AA batteries when the low battery indicator appears on the screen or when performance degrades. Always replace all batteries at once with new ones.
- SD Card Management: Regularly check the SD card capacity. Format the SD card periodically (after backing up important files) to maintain optimal performance and prevent data corruption.
- Lens Cleaning: Gently clean the camera lens and infrared LEDs with a soft, lint-free cloth. Avoid abrasive materials or harsh chemicals.
- Housing Care: Keep the camera housing clean and free of dirt, dust, and debris. Ensure the latch is securely closed to maintain water resistance.
- Storage: When not in use for extended periods, remove batteries and the SD card. Store the camera in a cool, dry place.
Troubleshooting
| Problem | Possible Cause | Solution |
|---|---|---|
| Camera not powering on. |
|
|
| No photos/videos captured. |
|
|
| Poor image/video quality. |
|
|
| Short battery life. |
|
|
Specifications
| Feature | Detail |
|---|---|
| Model Number | 119219CT2 |
| Image Resolution | 12 Megapixels |
| Video Resolution | 720p |
| Trigger Speed | 1 second |
| Recovery Time | 5 seconds |
| Flash Range | 50 feet (Low Glow Infrared) |
| Night Vision | Yes (Infrared LEDs) |
| Battery Type | 8 x AA (not included) |
| Battery Life | Up to 6 months (approximate) |
| SD Card Support | Up to 32GB (not included) |
| Dimensions (L x W x H) | 30.48 x 25.4 x 7.62 cm (approx. 12 x 10 x 3 inches) |
| Weight | 640 g (approx. 1.4 lbs) |
| Color | Tan |

Image: Overview of key camera specifications and features.
Warranty and Support
For warranty information and technical support, please refer to the official Primos Hunting website or contact their customer service directly. Keep your purchase receipt as proof of purchase for any warranty claims.
Brand: Primos Hunting
Manufacturer: TASCO
For further assistance, visit the PRIMOS Store on Amazon.
Official Product Videos
No official product videos from the seller were found for this model.
Related documents119219CT2


Ask a question about this manual
Ask about setup, troubleshooting, compatibility, parts, safety, or missing instructions. Manuals+ will review the question and use this page’s manual context to help answer it.