Introduction
This manual provides detailed instructions for the installation, operation, and maintenance of your Hornbill Front Door Entry Handleset with Lever. Please read this guide thoroughly before beginning installation to ensure proper function and longevity of your product. This handleset is designed for exterior doors and features a single cylinder lock mechanism.

Image: The Hornbill Front Door Entry Handleset in silver, showing the exterior handle and interior lever components.
Product Overview
What's in the Box
Verify that all components are present before starting installation.

Image: Diagram illustrating the components included in the Hornbill Handleset package, such as the front door handle, interior door lever, drill bit, screwdriver, spring latch, deadbolt cover, screw washer, metal gusset, and various screws.
- Front Door Handle (Exterior)
- Interior Door Lever
- Spring Latch
- Deadbolt Cover
- Screw Washer
- Metal Gusset
- Screws (various sizes)
- Drill Bit (for new installations if needed)
- Screwdriver
- Keys
Key Features
- Durable Construction: Made from stainless steel for enhanced longevity and resistance to corrosion.
- Reversible Lever: Designed to be compatible with both left and right-handed doors.
- Adjustable Backset Latch: Accommodates existing door preparations.
- Easy Installation: Designed for straightforward installation with common tools.
- Smart Lock Compatibility: Can be paired with Hornbill smart locks (sold separately).
Specifications
| Attribute | Detail |
|---|---|
| Brand | Hornbill |
| Model Number | B09PYMSDLN |
| Material | Stainless Steel |
| Color | Silver |
| Lock Type | Key Lock (Single Cylinder) |
| Product Dimensions (L x W x H) | 5.71 x 3.72 x 17.95 inches |
| Item Weight | 3.1 pounds |
| Door Thickness Compatibility | 1 1/2 - 2 inches (38-50mm) |
| Style | Contemporary |
| Finish Type | Painted |
| Included Components | Handleset, Lever, Latch, Keys, Mounting Hardware |
Installation
Before You Begin
- Ensure your door thickness is between 1 1/2 and 2 inches (38-50mm).
- Gather necessary tools: Phillips head screwdriver (included), drill (if creating new holes).
- Review all parts against the "What's in the Box" section.

Image: Diagram showing the compatible door thickness range of 1 1/2 to 2 inches (38-50mm) for the handleset.
General Installation Steps
The Hornbill handleset is designed for easy installation, often utilizing existing door preparations. Detailed instructions and templates are typically included in the product packaging.
- Prepare the Door: If replacing an old handleset, remove it. Ensure the existing holes align with the new handleset's requirements. If installing on a new door, use the provided template to mark and drill necessary holes.
- Install the Latch: Insert the spring latch into the door edge. Secure it with screws.
- Install Exterior Handle: Position the exterior handle assembly on the door, ensuring the spindle passes through the latch mechanism.
- Install Interior Lever: Attach the interior lever assembly to the door, aligning it with the exterior handle. Secure with screws.
- Adjust for Handing: The lever is reversible. If needed, adjust the lever's direction to match your door's handing (left or right).
- Test Operation: Close the door and test the handleset's function from both the interior and exterior. Ensure smooth operation of the latch and lever.

Image: Diagram illustrating the simple installation process, highlighting that no additional drilling is typically required for standard door preparations.

Image: The Hornbill handleset installed on the exterior side of a dark wooden door, showcasing its appearance.
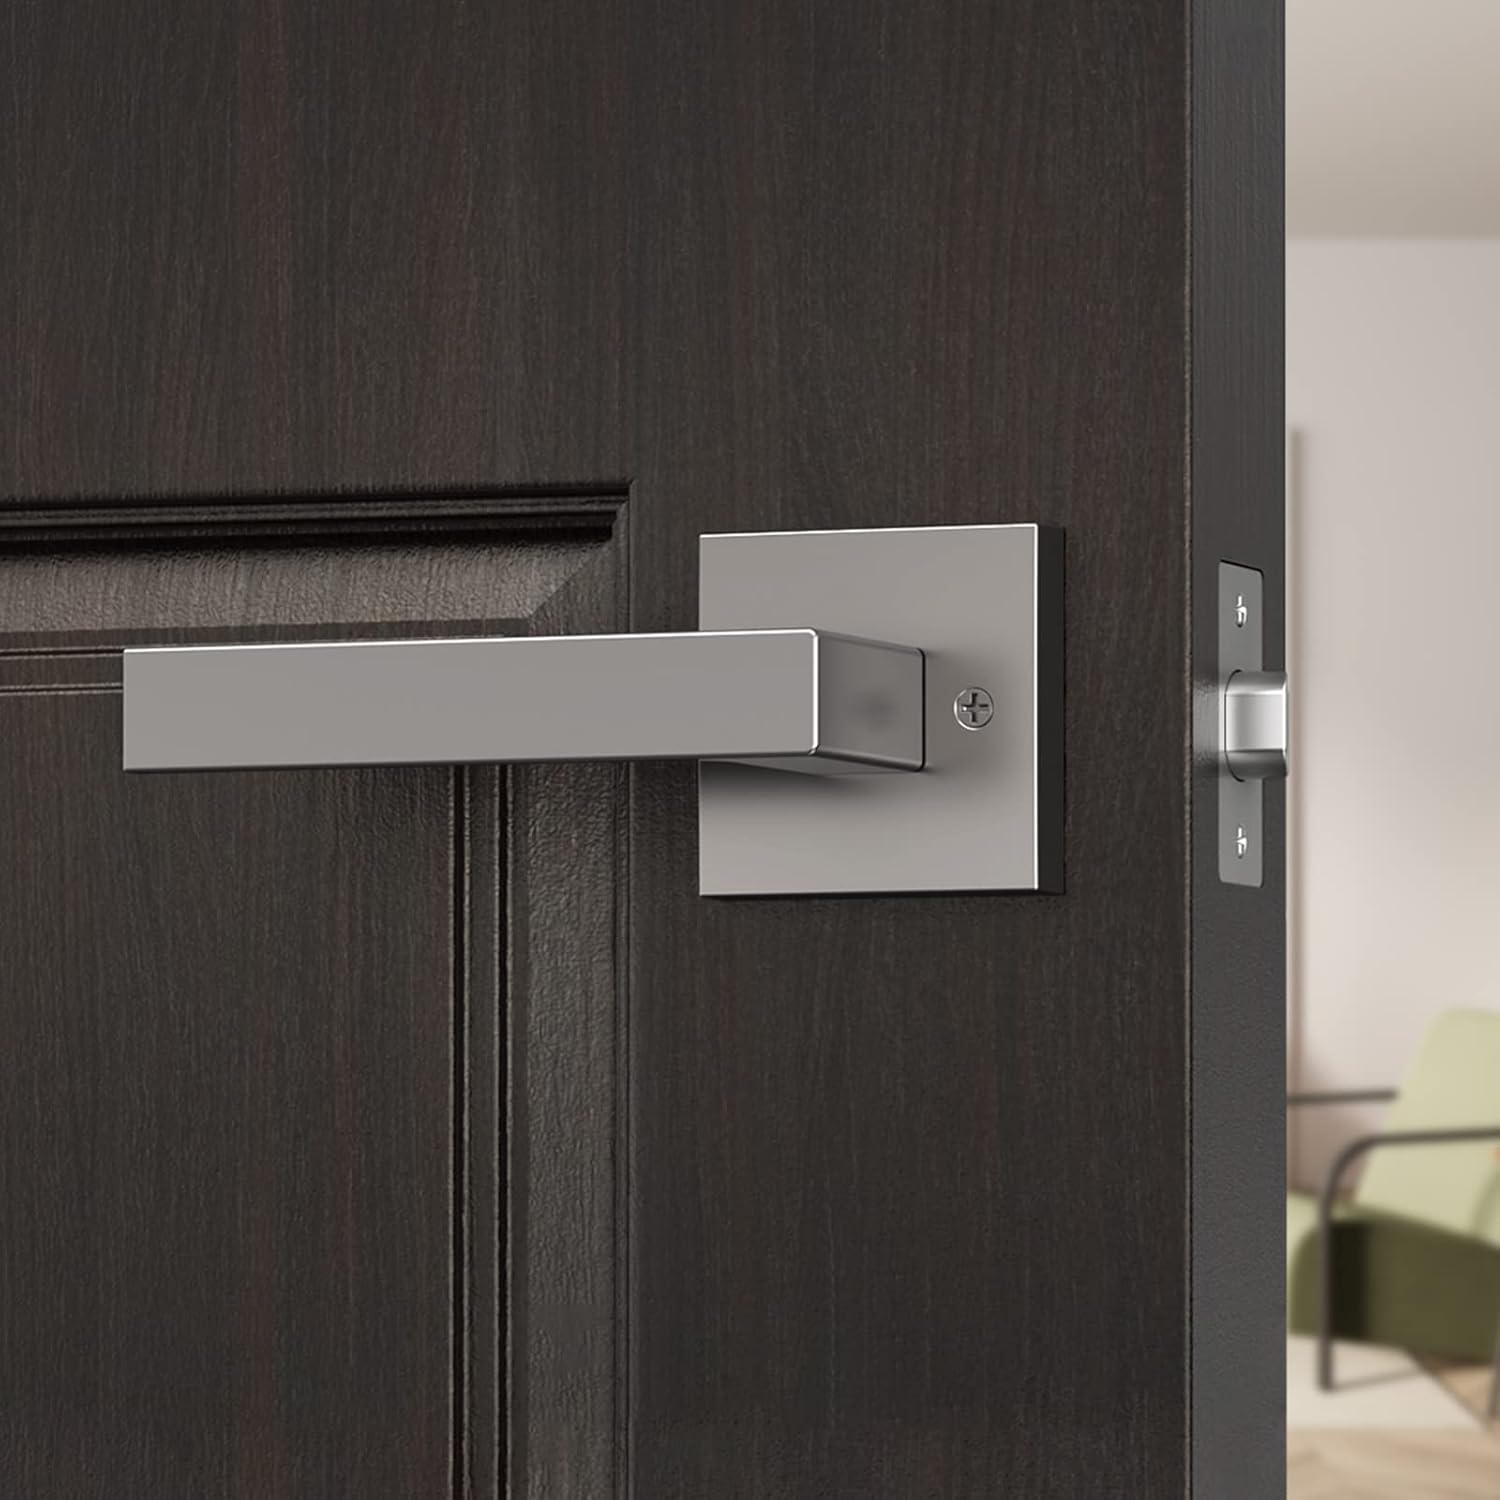
Image: The Hornbill handleset's interior lever installed on a dark wooden door, showing its sleek design.
Operation
The Hornbill Front Door Entry Handleset operates as a standard single cylinder lock. The exterior handle is fixed, and the interior lever operates the latch. The deadbolt (if used with a compatible smart lock or separate deadbolt) provides additional security.
- To Open from Exterior: Use the key to unlock the deadbolt (if present), then push down on the thumb press to retract the latch.
- To Open from Interior: Rotate the interior lever downwards to retract the latch.
- To Lock from Exterior: Use the key to engage the deadbolt (if present).
- To Lock from Interior: Rotate the thumb turn on the deadbolt (if present) to engage it.
Compatibility with Smart Locks
This handleset is designed to be compatible with Hornbill smart locks, allowing for an integrated smart home security solution. The handleset provides the primary latching mechanism, while a separate smart deadbolt (not included with this handleset) offers electronic locking capabilities.
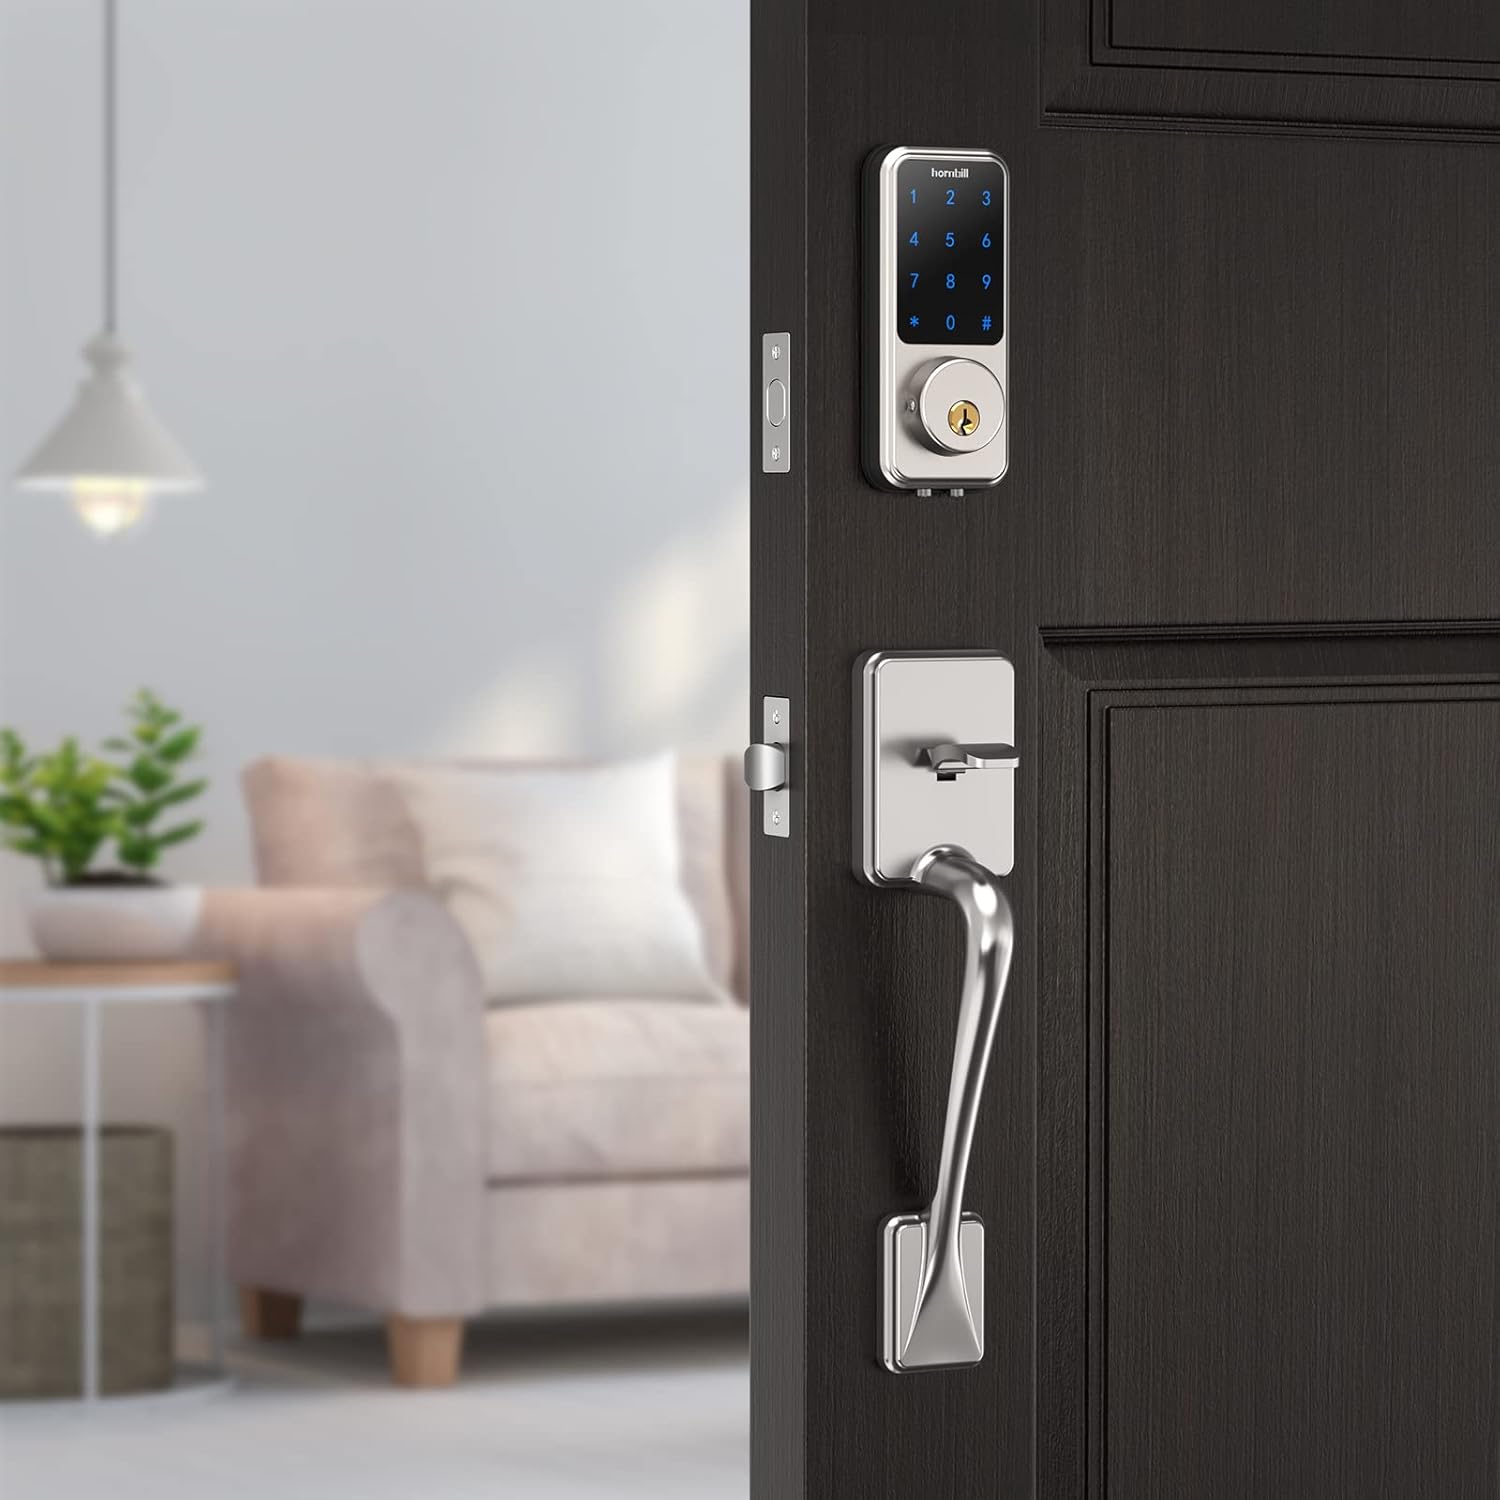
Image: The Hornbill handleset installed below a Hornbill smart lock on a door, demonstrating their compatibility.
Maintenance
Regular maintenance helps ensure the smooth operation and appearance of your handleset.
- Cleaning: Wipe the handleset with a soft, damp cloth. Avoid abrasive cleaners, solvents, or harsh chemicals, as these can damage the finish.
- Lubrication: Periodically apply a small amount of graphite lubricant or a silicone-based spray to the latch mechanism and keyway to maintain smooth operation. Do not use oil-based lubricants as they can attract dirt.
- Tightening Screws: Over time, screws may loosen. Periodically check and tighten all mounting screws to ensure the handleset remains securely attached to the door.
Troubleshooting
If you encounter issues with your Hornbill handleset, refer to the following common problems and solutions:
- Handleset feels loose: Check and tighten all mounting screws.
- Latch is stiff or difficult to operate: Apply lubricant to the latch mechanism and keyway. Ensure the strike plate on the door frame is properly aligned.
- Key does not turn smoothly: Apply graphite lubricant to the keyway. Ensure the key is fully inserted and is the correct key for the lock.
- Lever does not retract latch: Verify that the interior lever is correctly installed and connected to the latch mechanism. Check for any obstructions.
If problems persist after attempting these solutions, please contact Hornbill customer support for assistance.
Warranty and Support
Hornbill provides comprehensive support for its products.
- Warranty: A 1-year warranty covers manufacturing defects from the date of purchase.
- Technical Support: Lifetime free technical support is available.
- Returns/Replacements: 30-day return policy and 1-year replacement policy from the date of purchase.
Contact Information:
- Toll Free: (866) 985-9909
- Email: Support@hornbilllock.com
Please have your model number (B09PYMSDLN) and purchase date ready when contacting support.


