
1. Introduction
This manual provides detailed instructions for the installation, operation, and maintenance of your Delta AFB0612EHD 6020 6cm 12V 0.47A 4-Wire Temperature Control Chassis Computer Fan. Please read this manual thoroughly before using the product to ensure proper function and safety.
2. Product Features
The Delta AFB0612EHD fan is designed for efficient cooling within computer chassis, featuring:
- Model number: AFB0612EHD
- Bearing structure: Maintenance-free double ball bearing for extended lifespan.
- High rotational speed: 6600 RPM, providing an air volume of 35.21 CFM.
- Interface type: Standard motherboard 4-pin interface.
- Transmission rate: Supports PWM (Pulse Width Modulation) speed control via the motherboard.
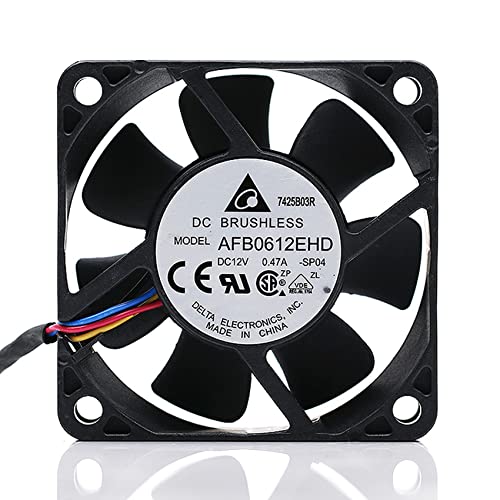
Figure 2.1: Front view of the Delta AFB0612EHD fan.
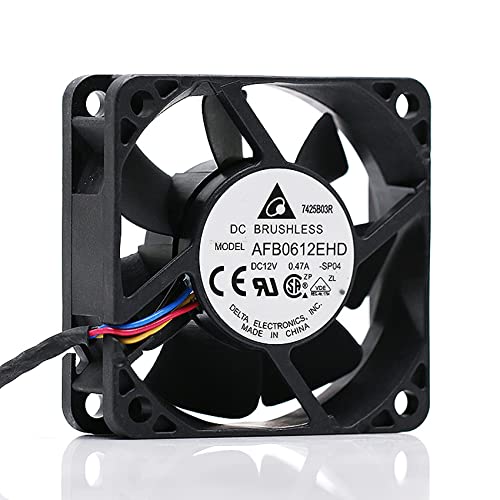
Figure 2.2: Angled view of the fan.
3. Technical Specifications
| Parameter | Value |
|---|---|
| Model | AFB0612EHD |
| Size | 60 x 60 x 20 mm (2.36"L x 0.79"W x 2.36"H) |
| Voltage | DC 12V |
| Current | 0.47A |
| Speed | 6600 RPM (Maximum Rotational Speed) |
| Air Volume | 35.21 CFM |
| Bearing Type | Double Ball Bearing |
| Connector Type | 4-Pin (PWM compatible) |
| Cooling Method | Air |
| Compatible Devices | Server, Computer Chassis |
| Manufacturer | ZSOXPF (Seller/Distributor) |

Figure 3.1: Product dimensions.
4. Safety Information
Please observe the following safety precautions to prevent injury or damage to the product and connected equipment:
- Electrical Safety: Ensure the power supply is disconnected before installation or maintenance.
- Handling: Do not disassemble, modify, or attempt to repair the fan by non-professionals. This can lead to electric shock, fire, or product malfunction.
- Ventilation: Ensure adequate airflow around the fan. Do not block the fan blades or vents.
- Moving Parts: Keep fingers and other objects away from the fan blades when the fan is operating or connected to power.
- Environmental: Avoid exposing the fan to excessive moisture, dust, or extreme temperatures.

Figure 4.1: Safety and handling warnings from product packaging.
5. Installation Guide
5.1 Before You Begin
- Ensure your computer is powered off and unplugged from the wall outlet.
- Open your computer case to access the fan mounting locations.
- Gather necessary tools, such as a screwdriver.
5.2 Installation Steps
- Identify Mounting Location: Locate an available 60mm fan mounting point within your computer chassis. Ensure the fan's airflow direction (usually indicated by an arrow on the fan frame) aligns with your desired cooling strategy (intake or exhaust).
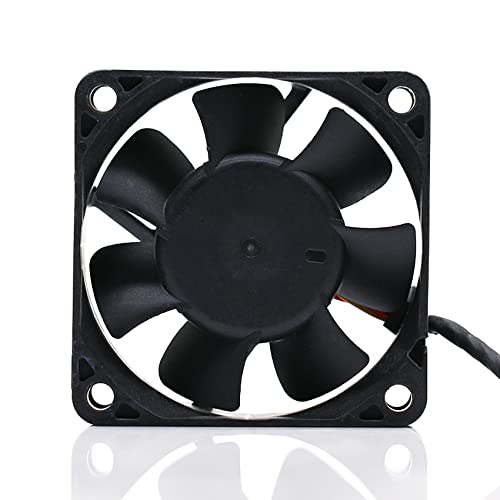
Figure 5.1: Back view of the fan, showing mounting points.
- Secure the Fan: Position the fan against the mounting holes. Use appropriate screws (not included) to secure the fan firmly to the chassis. Do not overtighten.
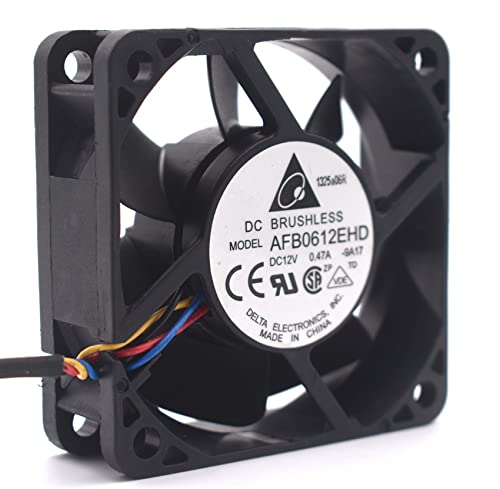
Figure 5.2: Fan ready for mounting.
- Connect the Power Cable: Locate an available 4-pin fan header on your motherboard. Carefully align the 4-pin connector from the fan with the header and push it in until it is securely seated. The connector is keyed to prevent incorrect insertion.
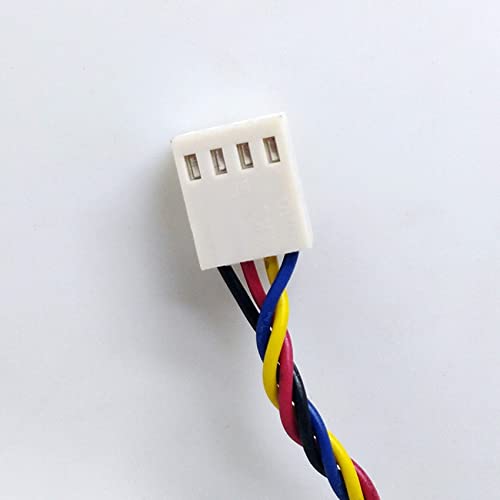
Figure 5.3: The 4-pin PWM connector.
- Cable Management: Route the fan cable neatly to avoid interference with other components or airflow.
- Close Case and Power On: Once the fan is securely installed and connected, close your computer case. Reconnect the power cable and power on your computer. Verify that the fan is spinning.
6. Operation
The Delta AFB0612EHD fan utilizes a 4-pin connector, which supports Pulse Width Modulation (PWM) for intelligent speed control. When connected to a compatible motherboard header, the fan's speed will automatically adjust based on system temperature, optimizing cooling performance and noise levels.
- Automatic Control: Most modern motherboards will automatically detect and control the fan speed based on BIOS/UEFI settings or operating system software.
- Manual Adjustment: You may be able to manually adjust fan curves and speeds through your motherboard's BIOS/UEFI settings or dedicated fan control software provided by your motherboard manufacturer. Refer to your motherboard manual for specific instructions.
7. Maintenance
Regular maintenance helps ensure optimal performance and extends the lifespan of your fan.
- Dust Removal: Periodically (e.g., every 3-6 months), power off and unplug your computer. Open the case and use compressed air or a soft brush to gently remove dust accumulation from the fan blades and frame. Hold the fan blades to prevent them from spinning rapidly during cleaning, which can damage the bearings.
- Inspection: Visually inspect the fan for any signs of damage, loose wires, or obstructions.
8. Troubleshooting
If you encounter issues with your fan, refer to the following table for common problems and solutions:
| Problem | Possible Cause | Solution |
|---|---|---|
| Fan not spinning | Not connected properly; Insufficient power; Faulty fan header; Fan failure. | Check 4-pin connection; Ensure power supply is on; Try a different fan header; Replace fan if faulty. |
| Fan making unusual noise | Dust accumulation; Obstruction; Bearing wear. | Clean fan blades; Remove any obstructions; If noise persists, consider replacing the fan. |
| Fan spinning too fast/slow | Incorrect BIOS/UEFI settings; Motherboard not supporting PWM; Sensor issue. | Check motherboard BIOS/UEFI fan control settings; Ensure fan is connected to a PWM-compatible header; Update motherboard drivers/BIOS. |
9. Warranty and Support
This product is manufactured by ZSOXPF. For warranty claims or technical support, please refer to the retailer or seller from whom you purchased the product. Keep your proof of purchase for warranty purposes. Specific warranty terms and conditions may vary by region and retailer.


