
Introduction
The KIMAFUN KM-G50-2 is a dual wireless lavalier microphone system designed for clear audio recording in various scenarios such as video recording, live streaming, interviews, and vlogging. This system features two transmitters (TX) and one receiver (RX), allowing two individuals to be recorded simultaneously. It operates on a 2.4G wireless frequency band, offering stable transmission and ease of use with its plug-and-play functionality.

Image: The KIMAFUN G50-2 wireless lavalier microphone system, showing two transmitters and one receiver.

Image: Examples of the microphone system in use for live streaming, interviews, vlogging, video chatting, travel video recording, and makeup live streaming.
What's in the Box
Upon unboxing your KIMAFUN KM-G50-2 system, you should find the following components:
- 2 x Transmitters (TX)
- 1 x Receiver (RX)
- 2 x 3.5mm Lavalier Microphones
- 1 x Camera Adapter Cable (3.5mm TRS)
- 1 x Phone Adapter Cable (3.5mm TRRS)
- 1 x 3-in-1 Type-C Charging Cable
- 1 x User Manual
- 2 x Furry Windshields
- 1 x Carrying Bag

Image: A visual representation of all items included in the KIMAFUN KM-G50-2 package, laid out neatly.
Product Features
- Dual Microphone Support: Includes two transmitters (TX) that can connect simultaneously to the receiver (RX) for two-person recording. Transmitters can also be used independently.
- Lightweight and Portable: Each transmitter weighs only 27g, designed for easy clipping to clothing without discomfort or risk of falling.
- Extended Battery Life: Both transmitters and the receiver feature built-in rechargeable lithium batteries, providing approximately 5 hours of continuous use after a 1.5-hour charge via Type-C ports.
- Stable Transmission Range: Offers a wireless transmission distance of up to 165 feet (50 meters) in line of sight, ensuring reliable connectivity. Plug and play operation, no Bluetooth required.
- Visual Operation with TFT Display: The receiver is equipped with a TFT display that shows essential information such as battery levels, matching status, signal strength, and output volume.
- Real-time Monitoring: A 3.5mm headphone jack on the receiver allows for real-time audio monitoring, ensuring high fidelity and fast transmission.
- Mute Function and Volume Control: Easily mute transmitters or the receiver by clicking the power button. Independent volume control is available on both transmitters and the receiver.
- Designed for Versatility: The receiver's back clip allows mounting on camera cold shoes or smartphone tripods, making it suitable for various recording setups.
- Intelligent Noise Reduction: Incorporates high-tech noise reduction technology for clear and high-quality sound capture.
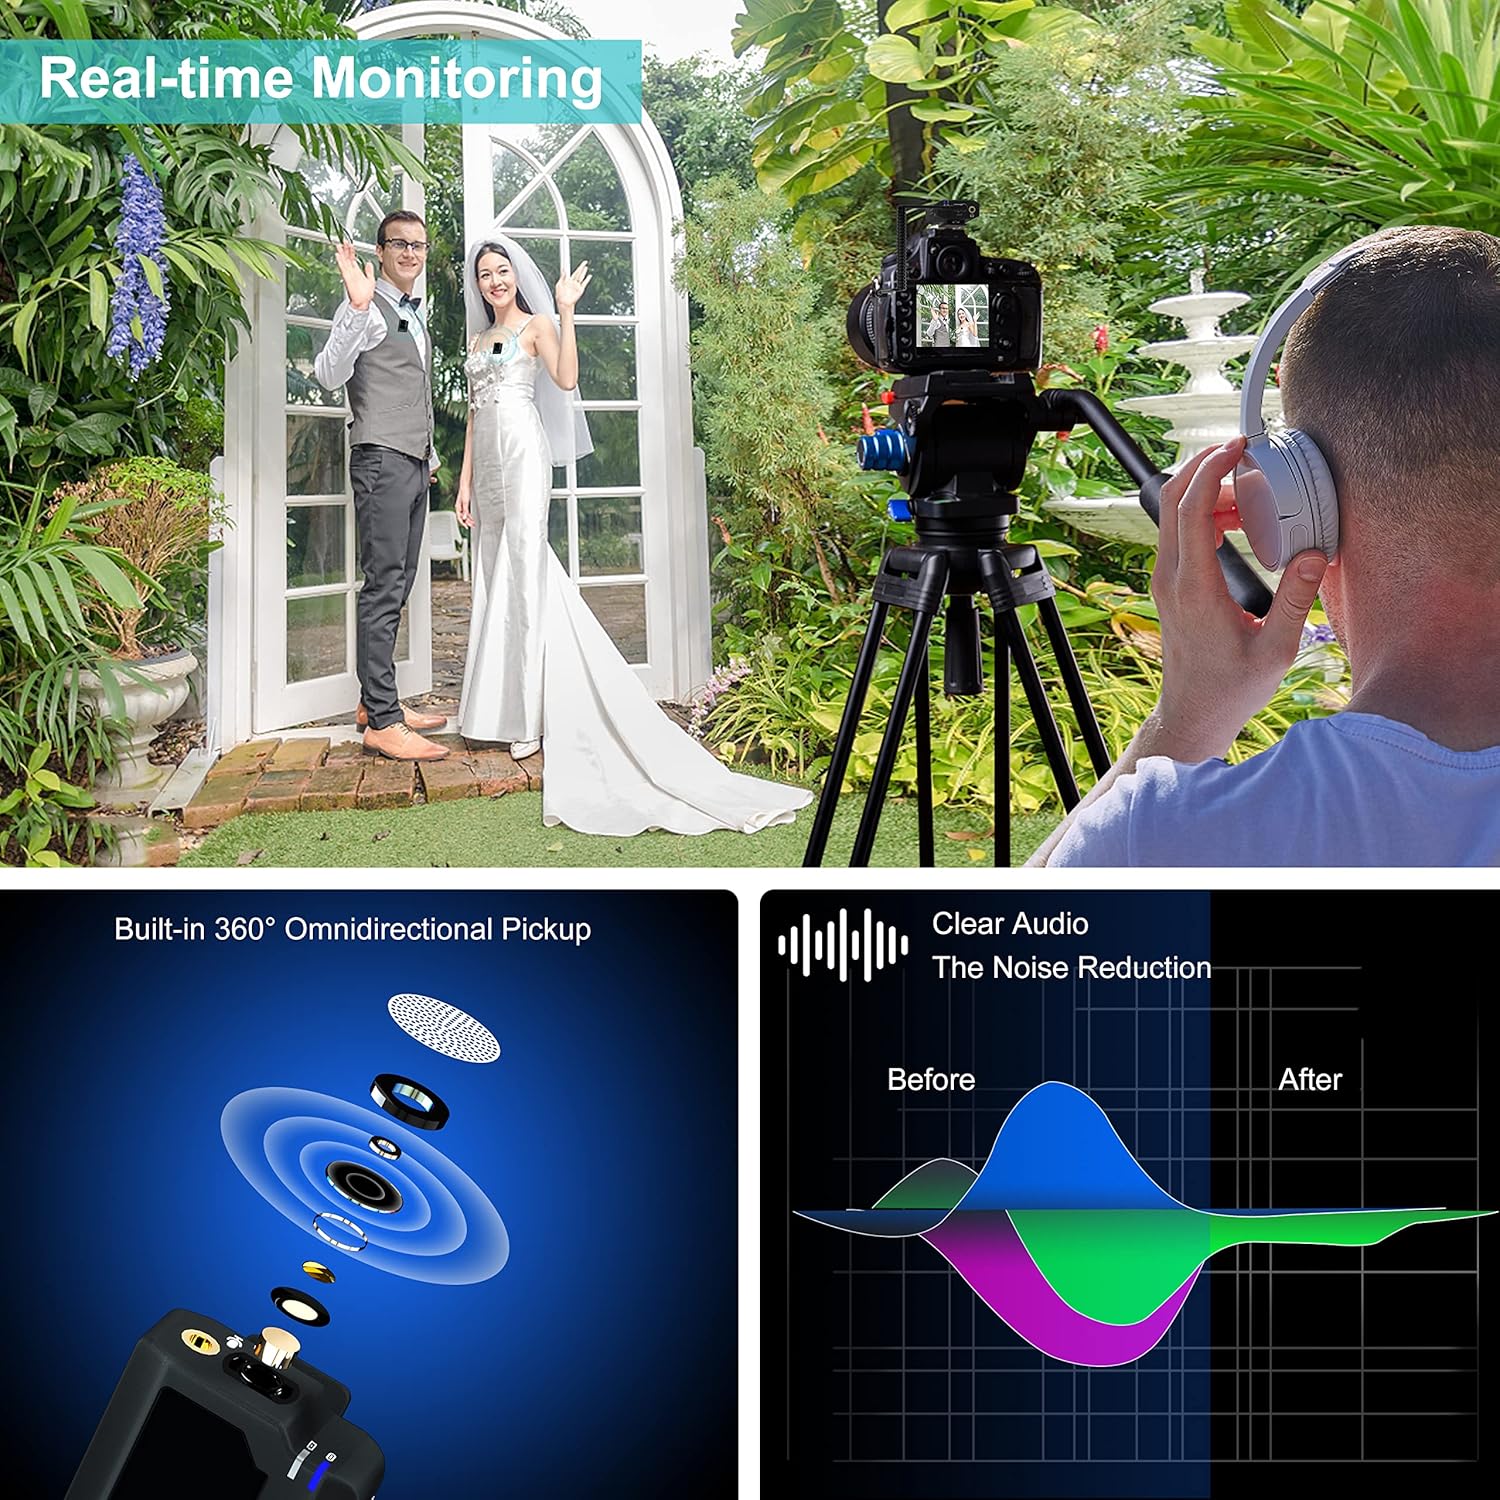
Image: Demonstrates real-time monitoring, the 360-degree omnidirectional pickup pattern, and the effect of noise reduction on audio waveforms.

Image: A diagram illustrating the intelligent noise reduction chip within the microphone system.
Setup Instructions
1. Charging the Devices
Before initial use, fully charge both transmitters and the receiver. Use the provided 3-in-1 Type-C charging cable to connect all three units to a USB power source. A full charge typically takes about 1.5 hours and provides approximately 5 hours of continuous working time.
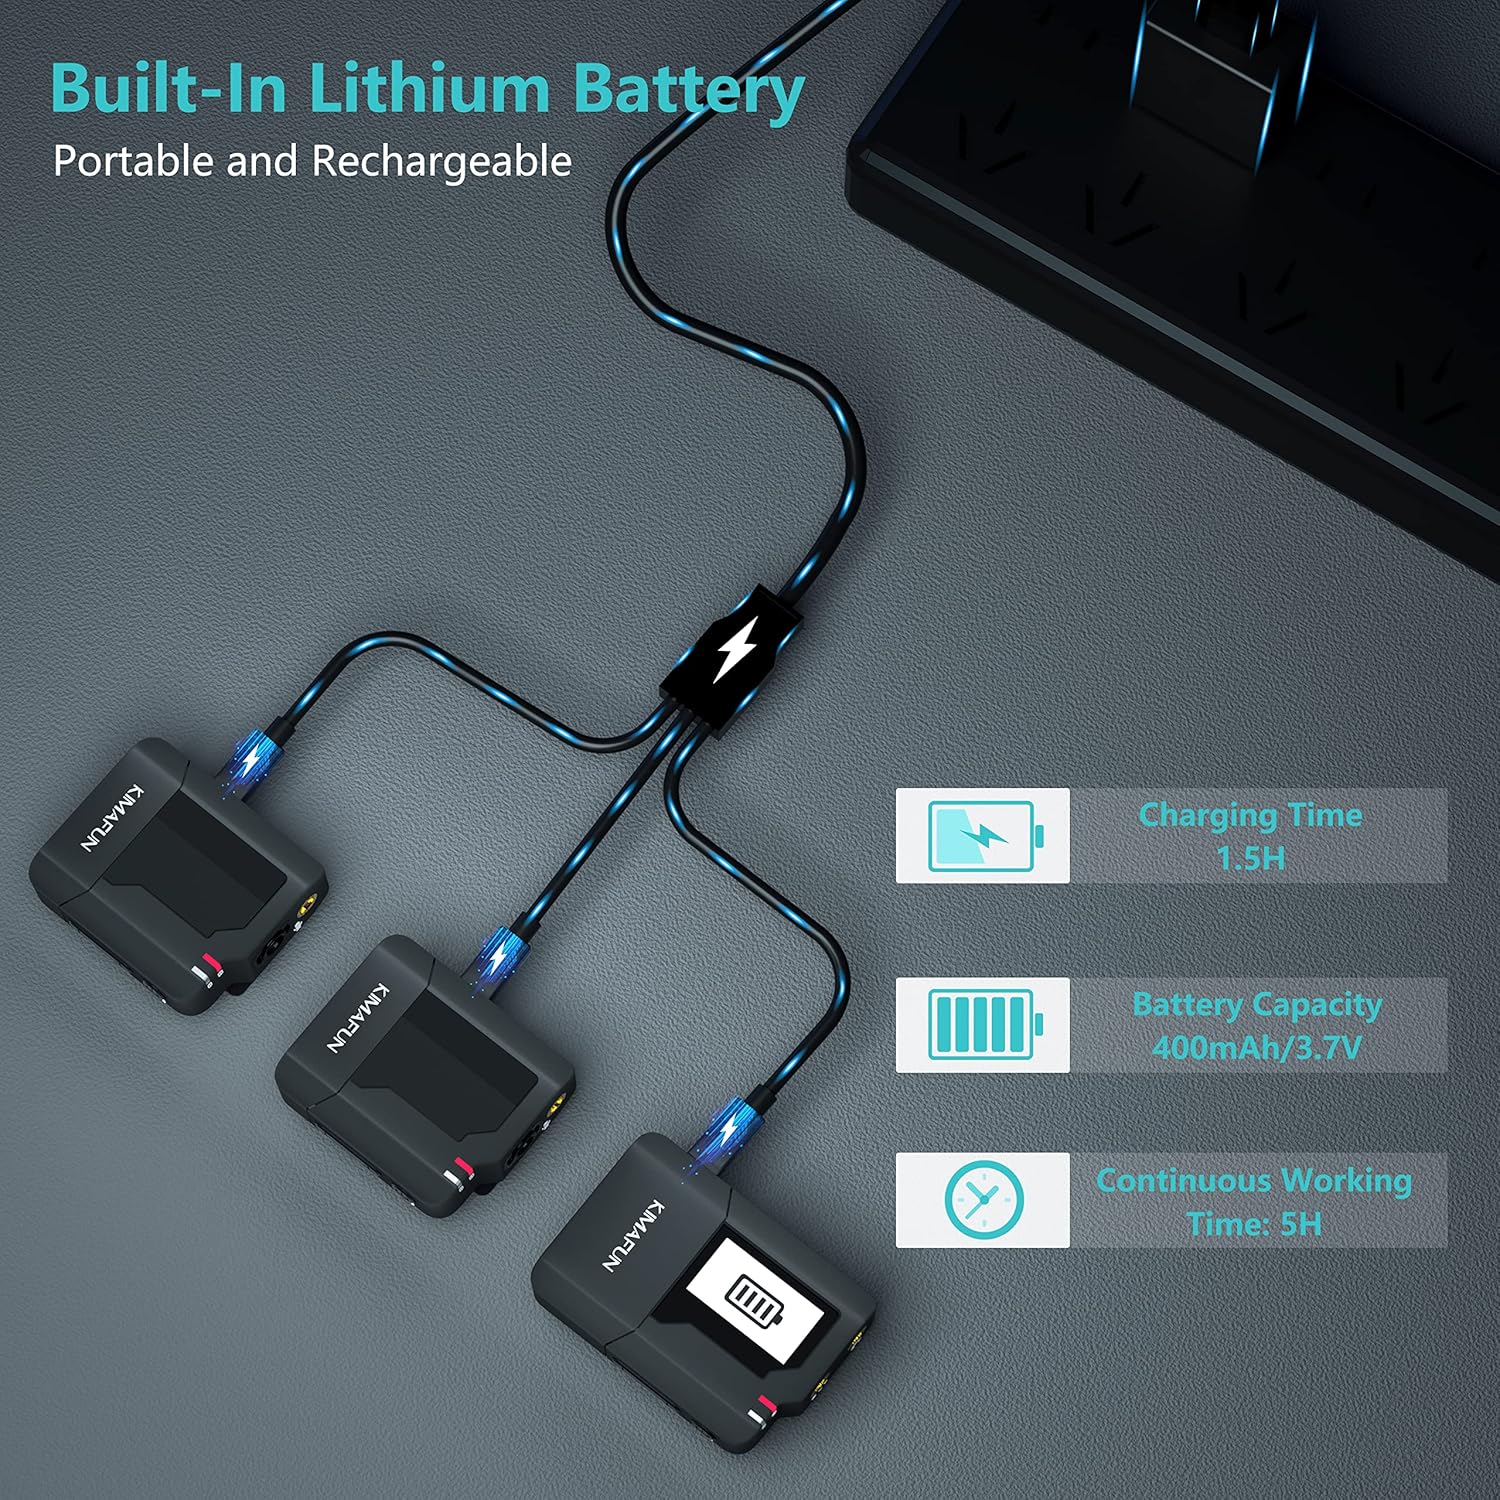
Image: Shows the two transmitters and the receiver connected to a single charging cable, indicating charging time and battery capacity.

Image: Illustrates the charging process and highlights the 2-hour full charge time and 6-hour working time.
2. Powering On and Pairing
Press and hold the power button on each transmitter and the receiver to turn them on. The devices are designed for automatic pairing. The receiver's TFT display will show the matching status and signal strength once connected.
3. Connecting to Your Device
The KM-G50-2 system is compatible with a variety of devices:
- For Cameras/Camcorders/DSLRs: Use the provided 3.5mm TRS camera adapter cable. Connect one end to the receiver's output jack and the other to your camera's microphone input.
- For Smartphones/Tablets (with 3.5mm jack): Use the provided 3.5mm TRRS phone adapter cable. Connect one end to the receiver's output jack and the other to your smartphone's headphone/mic jack.
- For Smartphones/Tablets (without 3.5mm jack): You will need a separate Type-C to 3.5mm or Lightning to 3.5mm adapter (not included) to connect the TRRS cable.

Image: Shows the microphone system connected to a smartphone and a DSLR camera, along with diagrams of 3.5mm TRS and TRRS cables and compatible devices like camcorders, DSLRs, GoPros, Android phones, iPhones, and iPads.

Image: Details the wide compatibility of the system and provides an introduction to the TFT display, showing various indicators like audio channel, monitor headphone level, battery level, matching status, signal strength, and volume.
4. Wearing the Transmitters
The transmitters can be clipped directly onto clothing using their built-in microphones, or you can connect the external lavalier microphones for more discreet placement. Ensure the microphone is positioned close to the speaker's mouth for optimal sound capture.

Image: Illustrates two wearing methods: using the built-in microphone by clipping the transmitter directly, or connecting an external lavalier microphone.

Image: Highlights the anti-slip pad design on the clip, ensuring the microphone stays securely attached.
Operating Instructions
1. Real-time Monitoring
Plug headphones into the 3.5mm monitor headphone jack on the receiver to listen to the audio being recorded in real-time. This allows you to adjust levels and ensure sound quality during recording.

Image: Shows the receiver with its TFT display, highlighting the power/mute button and volume +/- buttons for real-time adjustments.

Image: A close-up of the receiver mounted on a camera, showcasing the TFT display screen and the information it provides.
2. Mute Function
To mute a transmitter or the receiver, briefly press its power button. The TFT display on the receiver will indicate the mute status.
3. Volume Control
Adjust the output volume using the volume +/- buttons on both the transmitters and the receiver. This allows for fine-tuning audio levels for optimal recording.
4. Transmission Range
The system provides a stable wireless transmission up to 165 feet (50 meters) in open, unobstructed environments. Maintain line of sight between the transmitters and receiver for best performance.

Image: Illustrates the 165-foot transmission range in an outdoor setting, showing the transmitters and receiver.

Image: A visual representation of the 165-foot transmission range using 2.4G digital wireless technology, with a smartphone displaying the range.
Maintenance
- Cleaning: Use a soft, dry cloth to clean the devices. Avoid using harsh chemicals or abrasive materials.
- Storage: Store the microphone system in the provided carrying bag when not in use to protect it from dust and physical damage. Keep it in a cool, dry place.
- Battery Care: To prolong battery life, avoid fully discharging the batteries frequently. Charge them regularly, even if the devices are not in active use for extended periods.
- Windshields: Use the furry windshields to reduce wind noise when recording outdoors. Clean them gently if they become dirty.
Troubleshooting
- No Sound Output:
- Ensure all devices (transmitters and receiver) are powered on and successfully paired (indicated on the receiver's TFT display).
- Check all cable connections. Ensure the correct adapter cable (TRS for camera, TRRS for smartphone) is used and fully inserted.
- Verify that the transmitters and receiver are not muted. Press the power button briefly to toggle mute status.
- Adjust the volume levels on both the transmitters and the receiver.
- Confirm that your recording device (camera, smartphone) is set to receive audio from an external microphone.
- Interference or Poor Sound Quality:
- Ensure there are no obstructions between the transmitters and the receiver.
- Move away from other 2.4GHz wireless devices (Wi-Fi routers, other wireless microphones) that might cause interference.
- Check the battery levels on all units; low battery can affect signal strength.
- Use the provided furry windshields when recording in windy conditions.
- Devices Not Pairing:
- Ensure all units are fully charged.
- Power off and then power on all units again to re-initiate the pairing process.
- Ensure the units are within close proximity during pairing.
- Receiver TFT Display Not Working:
- Ensure the receiver is powered on and has sufficient battery.
- If the issue persists, contact customer support.
Specifications
| Brand | KIMAFUN |
| Model Name | KIMAFUN KM-G50-2 |
| Connectivity Technology | 2.4G Wireless |
| Connector Type | 3.5 mm Jack |
| Compatible Devices | Camcorder, Camera, Voice Recorder, Smartphone |
| Color | Black |
| Polar Pattern | Omnidirectional |
| Microphone Form Factor | Lavalier |
| Power Source | Battery Powered (3 Lithium Polymer batteries included) |
| Signal-to-Noise Ratio | 80 dB |
| Frequency Range | 2400-2483MHz |
| Audible Noise | 25 Decibels |
| Enclosure Material | Acrylonitrile Butadiene Styrene |
| Item Weight | 240 Grams |
Warranty and Support
The KIMAFUN KM-G50-2 comes with a 1-year manufacturer's warranty.
For technical support, troubleshooting assistance, or warranty claims, please contact the seller, US KIMAFUN, directly through your purchase platform or refer to the contact information provided in the product packaging.
Official Product Videos
KIMAFUN KM-G50-2 Review Video
This video provides a detailed review of the KIMAFUN KM-G50-2 wireless lavalier microphone system, demonstrating its features and performance.
