1. Introduction
Thank you for choosing the EGLO 205131A Troy 3 Pendant Light. This manual provides essential information for the safe installation, operation, and maintenance of your new lighting fixture. Please read these instructions carefully before beginning installation and retain them for future reference.
2. Safety Information
Always follow basic safety precautions when installing or working with electrical fixtures to reduce the risk of fire, electric shock, or personal injury.
- Disconnect Power: Always turn off the main power supply at the circuit breaker or fuse box before installing, cleaning, or servicing the fixture.
- Qualified Electrician: If you are unsure about electrical wiring, consult a qualified electrician.
- Grounding: Ensure the fixture is properly grounded in accordance with local electrical codes.
- Bulb Specifications: Do not exceed the maximum wattage specified for the bulb. Use only the recommended bulb type.
- Indoor Use Only: This fixture is designed for indoor use in dry locations. Do not expose to water or moisture.
- Proposition 65 Warning: This product may contain chemicals known to the State of California to cause cancer and birth defects or other reproductive harm. Please consult local regulations regarding product use and disposal.
3. Package Contents
Verify that all components are present before beginning installation:
- 1 x EGLO Troy 3 Pendant Light Fixture (Structured Black)
- 1 x Opal Glass Shade
- Mounting Hardware (Canopy, Mounting Plate, Screws, Wire Nuts)
- Instruction Manual
Note: Bulb is not included. Requires 1 x A19 E26/Medium base bulb.
4. Specifications
| Brand | EGLO |
| Model Number | 205131A |
| Finish | Structured Black |
| Shade Material | Opal Glass |
| Fixture Material | Steel, Glass |
| Dimensions (Fixture) | 3.94" L x 3.94" W x 10.63" H |
| Weight | 2.63 pounds |
| Bulb Requirement | 1 x A19 Bulb (E26/Medium Base) |
| Max Wattage | 60W |
| Voltage | 120V |
| Dimmable | No (Fixture is not dimmable) |
| Installation Type | Hardwired |
| Indoor/Outdoor Usage | Indoor |
| Special Features | Adjustable Hanging Cord, Slope Ceiling Capable |
5. Setup and Installation
Follow these steps to safely install your EGLO Troy 3 Pendant Light. Ensure power is OFF before proceeding.
Tools Required:
- Phillips Head Screwdriver
- Wire Strippers (if needed)
- Electrical Tape
- Ladder
Installation Steps:
- Turn Off Power: Locate the circuit breaker controlling the light fixture location and switch it to the OFF position. Verify power is off using a voltage tester.
- Prepare Mounting: Attach the mounting plate to the electrical junction box in the ceiling using the provided screws. Ensure it is securely fastened.
- Adjust Cord Length: The pendant features an adjustable hanging cord. Determine the desired hanging height and adjust the cord length by pushing the cord through the canopy mechanism. Secure the cord once the desired length is achieved.
- Wire Connections: Carefully connect the electrical wires:
- Connect the black wire from the fixture to the black (hot) wire from the junction box using a wire nut.
- Connect the white wire from the fixture to the white (neutral) wire from the junction box using a wire nut.
- Connect the ground wire (bare copper or green) from the fixture to the ground wire from the junction box (or to the green ground screw on the mounting plate) using a wire nut.
- Mount Canopy: Carefully tuck the wires into the junction box and push the fixture canopy up against the ceiling, aligning the canopy screws with the holes in the mounting plate. Secure the canopy with the decorative nuts or screws.
- Install Glass Shade: Gently attach the opal glass shade to the fixture according to the design. Ensure it is seated properly and securely.
- Install Bulb: Screw one A19 E26/Medium base bulb (max 60W) into the socket. Do not overtighten.
- Restore Power: Turn the power back ON at the circuit breaker. Test the light fixture.

Image 1: The EGLO 205131A Troy 3 Pendant Light, showcasing its structured black finish and opal glass shade.
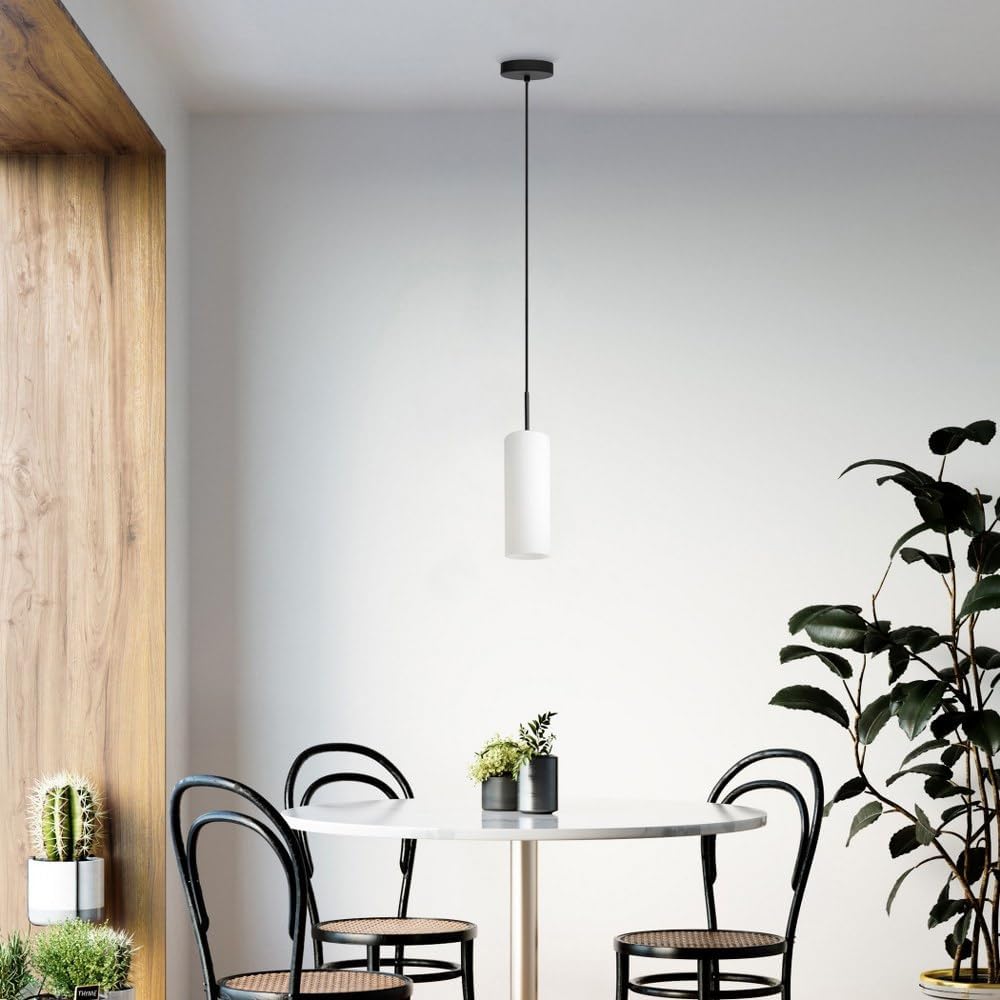
Image 2: The EGLO Troy 3 Pendant Light elegantly installed above a dining table, illustrating its aesthetic appeal in a home setting.
6. Operating Instructions
Your EGLO Troy 3 Pendant Light is designed for simple operation.
- Power On/Off: Control the light using a standard wall switch connected to the fixture's circuit.
- Bulb Type: Use one A19 bulb with an E26/Medium base, not exceeding 60 watts.
- Dimmability: Please note that the fixture itself is not dimmable. If you wish to use dimming functionality, you must install a dimmable E26/Medium base LED bulb and control it via a compatible smart home system or app, as the fixture does not provide dimming capabilities.
7. Maintenance
Regular maintenance will help preserve the appearance and functionality of your pendant light.
- Cleaning: Ensure power is off before cleaning. Wipe the fixture and glass shade with a soft, dry, or slightly damp cloth. Do not use abrasive cleaners, solvents, or polishes as they may damage the finish or glass.
- Bulb Replacement: Always turn off the power at the circuit breaker before replacing a bulb. Allow the old bulb to cool completely before removing it. Replace with a new A19 E26/Medium base bulb (max 60W).
8. Troubleshooting
If you encounter issues with your pendant light, refer to the following common troubleshooting steps:
- Light Does Not Turn On:
- Check if the power switch is in the ON position.
- Verify that the circuit breaker has not tripped.
- Ensure the bulb is securely screwed into the socket and is not burnt out.
- Confirm that all wire connections are secure (refer to Section 5: Setup and Installation).
- Light Flickers:
- Check the bulb; it may be loose or faulty.
- Ensure wire connections are tight and secure.
If these steps do not resolve the issue, contact EGLO customer support or a qualified electrician.
9. Warranty and Support
The EGLO 205131A Troy 3 Pendant Light comes with a 1-year manufacturer's warranty from the date of purchase, covering defects in materials and workmanship.
For warranty claims, technical assistance, or further inquiries, please contact EGLO customer support. Keep your proof of purchase for warranty validation.
For more information, visit the official EGLO website or contact your retailer.


