
Swimline 76050
SWIMLINE HYDROTOOLS Sure-Flo Cartridge Pool Filter System User Manual
Model: 76050
Introduction
Thank you for choosing the SWIMLINE HYDROTOOLS Sure-Flo Cartridge Pool Filter System. This high-performance filtration system is designed to provide crystal clear water for your above-ground pool. Featuring an oversized 50 square foot filtration area and single-cell technology, it efficiently captures fine particles down to 50 microns, reducing the workload on your pump system and ensuring easy maintenance. This manual provides essential information for the safe and efficient operation, installation, and maintenance of your new filter system.
Important Safety Information
Please read and understand all instructions before installing or operating this product. Failure to follow these instructions could result in serious injury or property damage.
- Always disconnect power to the pump before performing any service or maintenance on the filter system.
- Do not operate the filter system if any part is damaged or missing.
- Ensure all connections are secure and leak-free before starting the pump.
- Keep children and pets away from the filter system during operation.
- Do not exceed the maximum operating pressure of 50 PSI (3.5 BAR).
- Regularly inspect the filter tank and components for signs of wear or damage.
- Use only genuine SWIMLINE HYDROTOOLS replacement parts.
Package Contents
Verify that all components are present and undamaged before beginning installation.

Figure 1: Main components of the Sure-Flo Cartridge Pool Filter System.
- Cartridge Filter Tank (1)
- Filter Element (1) - 50 Sq. Ft.
- Pressure Gauge (1)
- Drain Plug (1)
- Instruction Manual (this document)
Setup Instructions
1. Site Selection
Choose a level, solid surface for the filter system, preferably close to the pool and the pump. Ensure adequate space for maintenance and access to all connections. The system is constructed with weather and UV-resistant materials for outdoor use.

Figure 2: Durable construction features of the filter tank.
2. Assembly
- Carefully unpackage all components.
- Insert the filter element into the filter tank. Ensure it is seated properly at the bottom.
- Attach the pressure gauge to the designated port on the top of the filter tank. Hand-tighten only.
- Ensure the drain plug is securely installed at the bottom of the tank.
3. Connecting to Pool System
The filter system features 1.5-inch inlet/outlet ports for compatibility with standard pool plumbing. Connect the pool pump's discharge line to the filter's inlet port and the filter's outlet port to the pool's return line. Use appropriate hoses, clamps, and sealants to ensure a watertight connection.
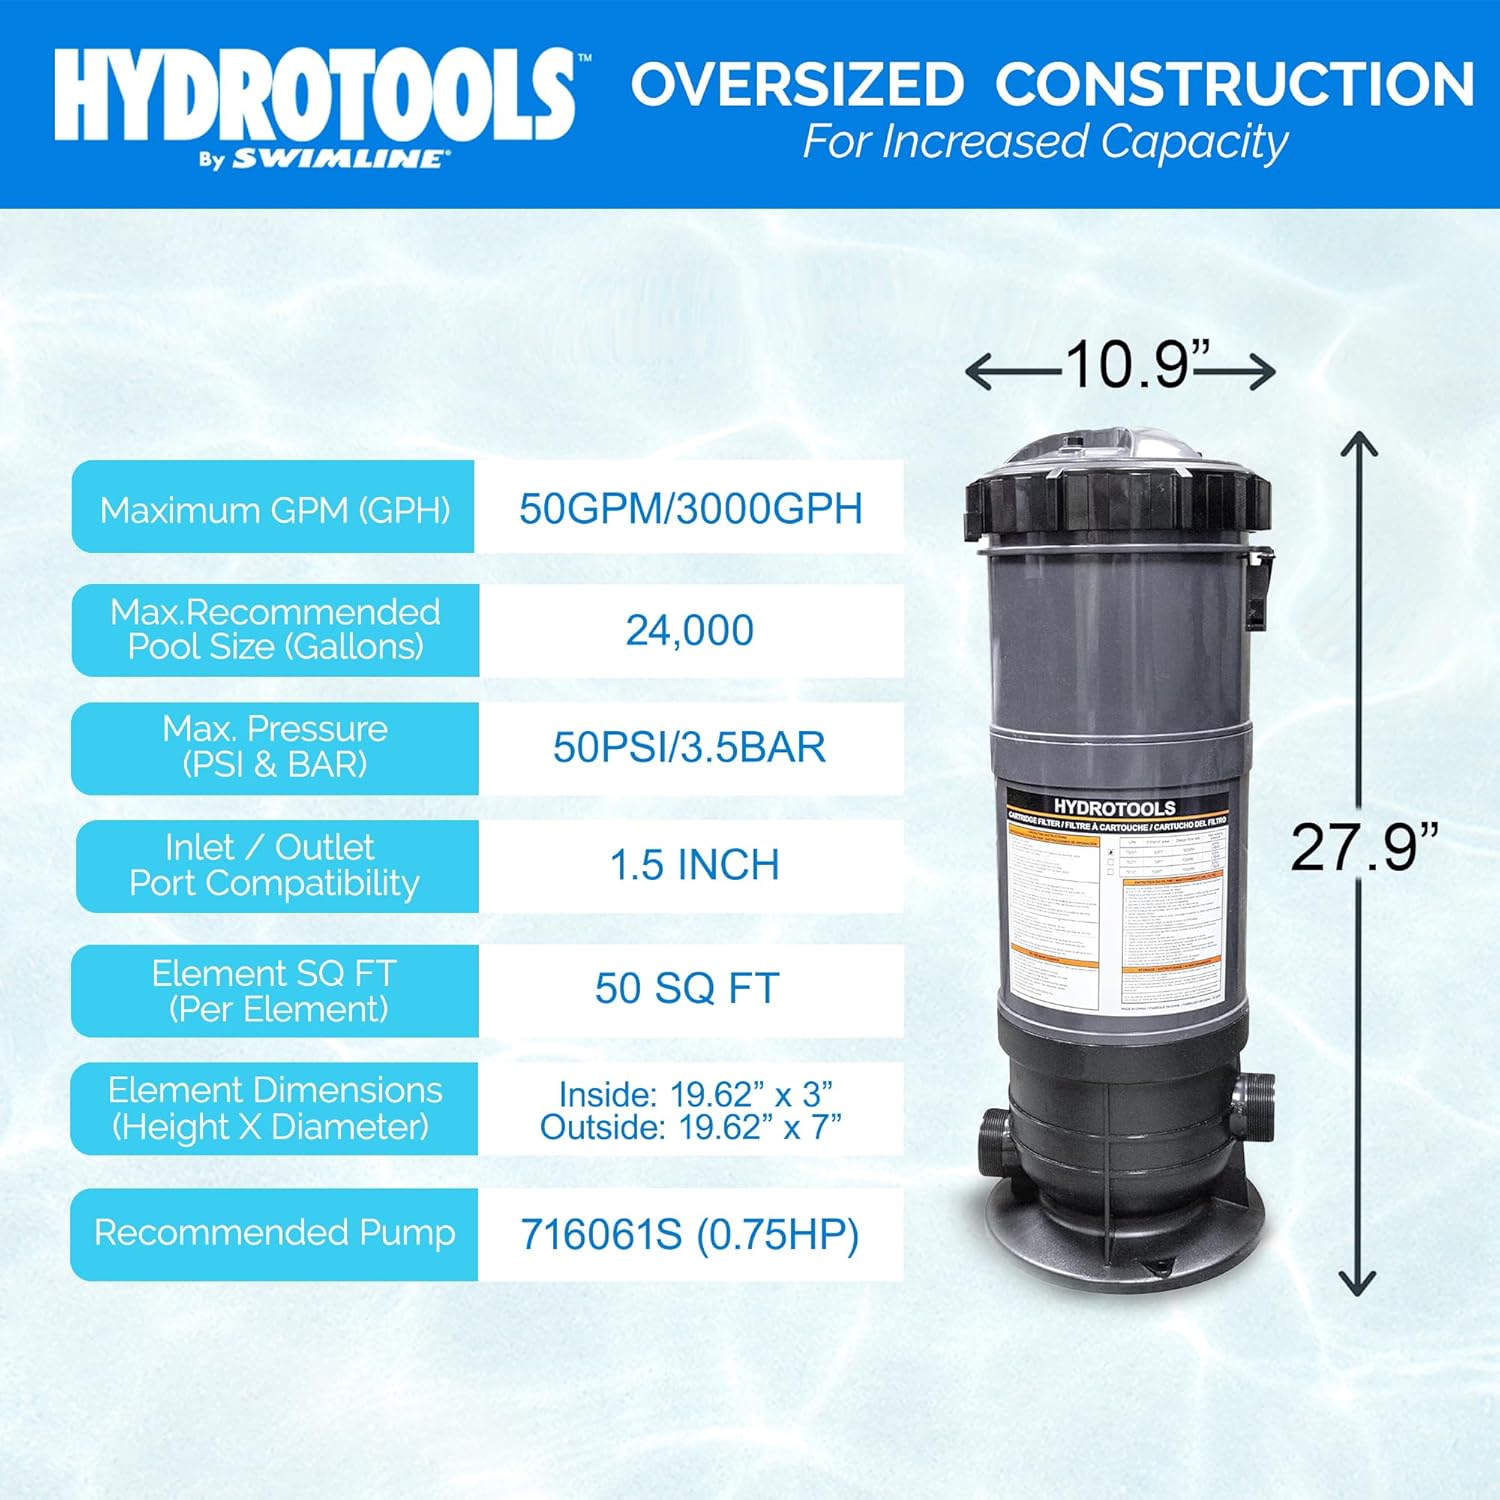
Figure 3: Filter system dimensions and compatibility details.
4. Initial Start-up
- Ensure the pool is filled to the proper level.
- Open all necessary valves to allow water flow to and from the filter.
- Open the air relief valve located on top of the filter tank.
- Start the pool pump. Allow water to fill the filter tank and air to escape through the air relief valve.
- Once a steady stream of water emerges from the air relief valve, close the valve.
- Note the initial pressure reading on the pressure gauge. This is your clean filter operating pressure.

Figure 4: Key features for system operation and maintenance.
Operating Your Filter System
1. Filtration Process
The Sure-Flo filter system utilizes a high-performance cartridge element that effectively removes debris and fine particles from your pool water. Water enters the tank, passes through the pleated filter media, and returns to the pool clean. The single-cell technology ensures even distribution of captured dirt, leading to longer filter cycles.

Figure 5: How the Sure-Flo filter system cleans your pool water.
2. Pressure Gauge Monitoring
Monitor the pressure gauge regularly. A rising pressure indicates that the filter element is accumulating debris and needs cleaning. When the pressure rises 8-10 PSI above your initial clean filter pressure, it's time to clean the cartridge.
3. Energy Efficient Operation
This system is designed for energy-efficient operation, reducing the need for your pump to run continuously. Its optimized performance contributes to lower energy costs while maintaining a clean pool.
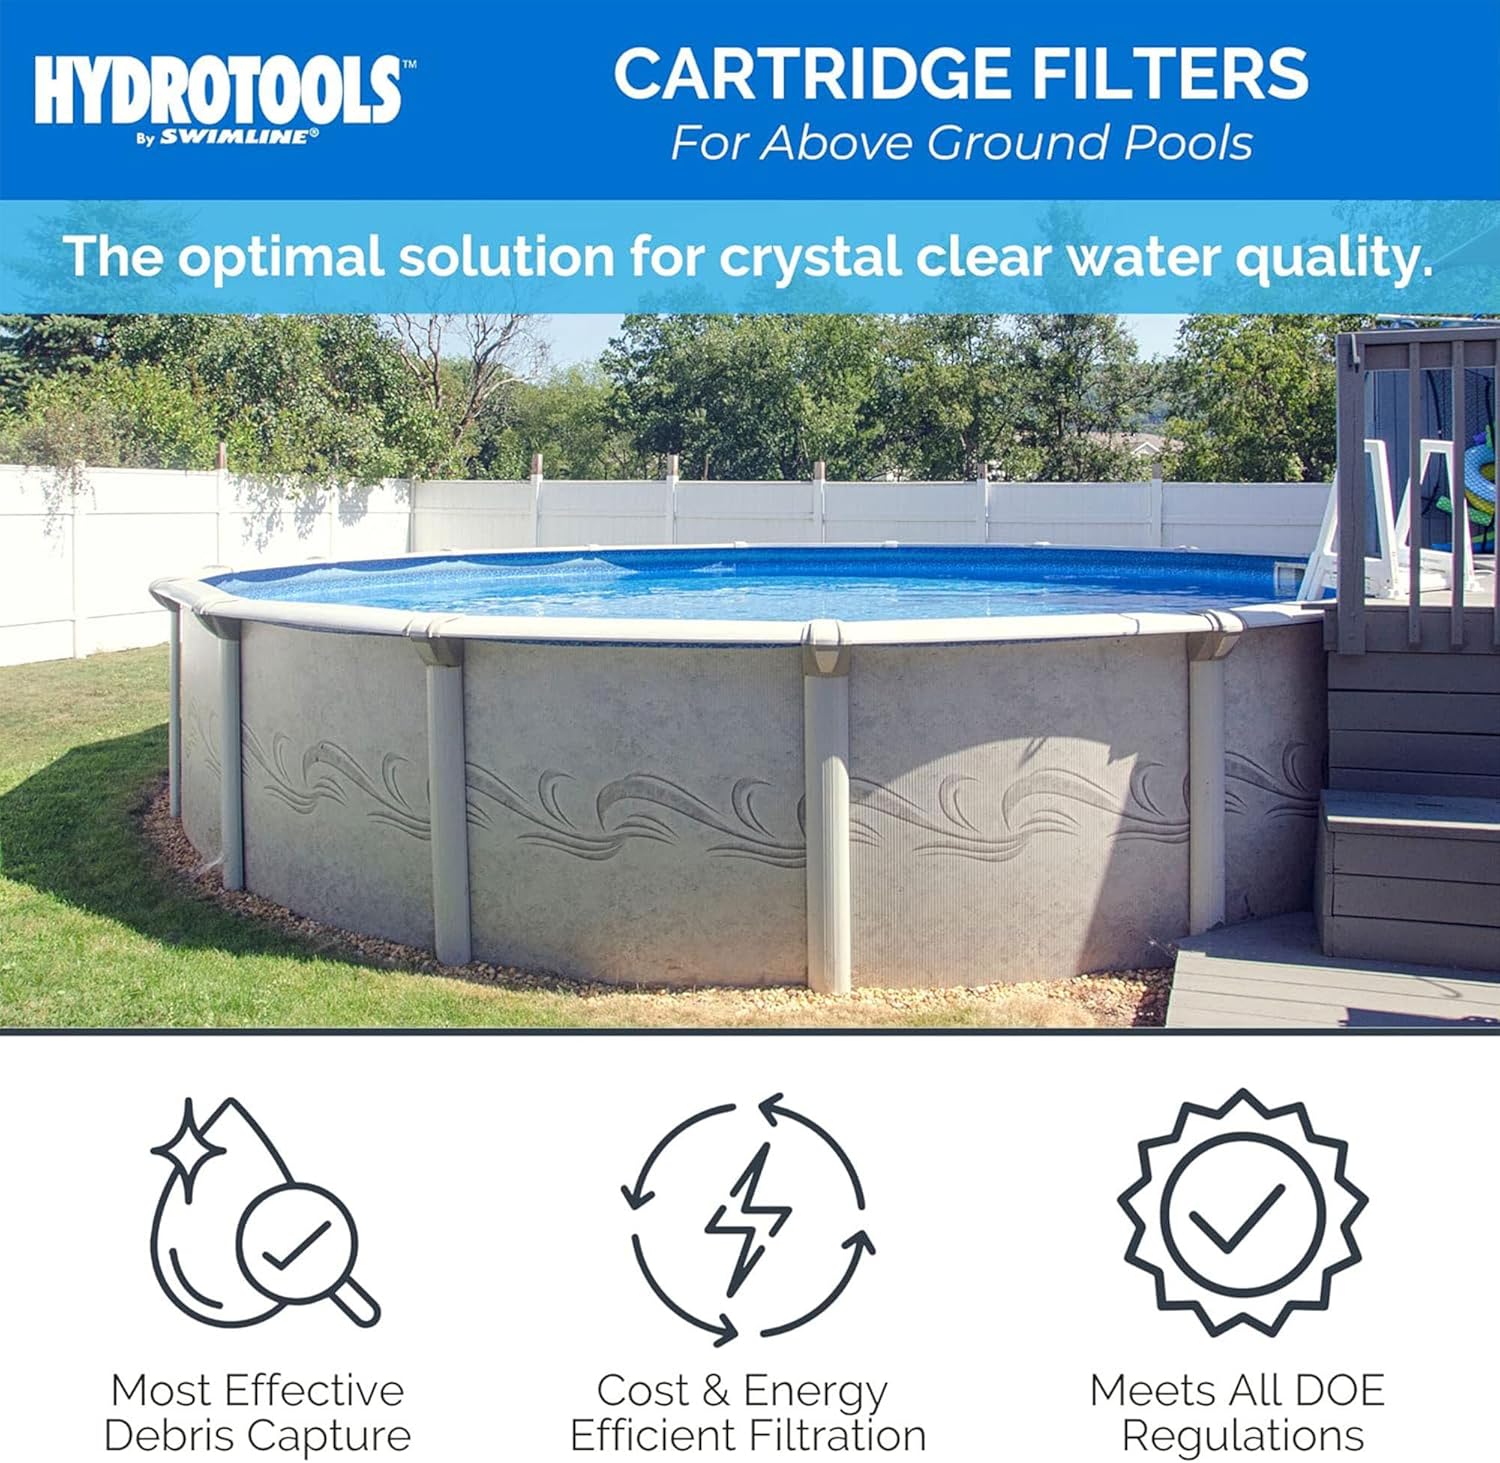
Figure 6: Benefits of the HYDROTOOLS Cartridge Filter for Above Ground Pools.
4. Video Demonstration
For a visual guide on the Sure-Flo Cartridge Pool Filter Tank, please watch the official product video below.
Video: Swimline HYDROTOOLS Sure-Flo Cartridge Pool Filter Tank overview. This video demonstrates the features and benefits of the filter system.
Maintenance
1. Cleaning the Filter Element
Regular cleaning of the filter element is crucial for optimal performance. The easy-access design allows for simple cartridge element removal.
- Turn off the pool pump and disconnect power.
- Open the air relief valve to release any pressure.
- Unscrew the top of the filter tank and remove the filter element.
- Hose down the filter element thoroughly with a garden hose to remove accumulated debris. For stubborn dirt, a filter cleaning solution may be used.
- Inspect the element for any damage or tears. Replace if necessary.
- Reinsert the clean element into the tank, ensuring it is properly seated.
- Securely close the filter tank top, ensuring the O-ring is clean and properly seated to prevent leaks.
- Follow the "Initial Start-up" steps to restart the system.
2. Winterizing
Before freezing temperatures arrive, it is important to properly winterize your filter system to prevent damage.
- Turn off the pump and disconnect power.
- Drain all water from the filter tank by opening the drain plug.
- Remove the filter element and clean it thoroughly. Store it in a dry, protected area.
- Store the filter tank in a dry, protected area where it will not be exposed to freezing temperatures.
Troubleshooting
Refer to the table below for common issues and their solutions.
| Problem | Possible Cause | Solution |
|---|---|---|
| Low Water Flow / High Pressure | Clogged filter element | Clean or replace filter element. |
| Low Water Flow / High Pressure | Air in the system | Bleed air from the system using the air relief valve. Check for leaks in suction lines. |
| Water Leaking from Tank | Improperly seated O-ring or damaged O-ring | Clean and lubricate O-ring, ensure proper seating. Replace O-ring if damaged. |
| Water Leaking from Tank | Loose connections | Tighten all plumbing connections. |
| Cloudy Pool Water | Dirty filter element | Clean or replace filter element. |
| Cloudy Pool Water | Improper water chemistry | Test and balance pool water chemistry. |
Technical Specifications
| Feature | Detail |
|---|---|
| Model Number | 76050 |
| Filtration Area | 50 Sq. Ft. |
| Max. Recommended Pool Size | Up to 24,000 Gallons |
| Max. Operating Pressure | 50 PSI / 3.5 BAR |
| Inlet / Outlet Port Compatibility | 1.5 Inch |
| Element Dimensions (Height x Diameter) | 19.62" x 7" (Outer) / 3" (Inner) |
| Product Dimensions (Overall) | 27.9" (Height) x 10.9" (Diameter) |
| Item Weight | 15.84 pounds |
| Manufacturer | Swimline |
Warranty and Support
SWIMLINE HYDROTOOLS products are designed, tested, and distributed by our team based in New York, USA. We are committed to customer satisfaction.
This product comes with a 1-year guarantee against manufacturing defects from the date of purchase. Please retain your proof of purchase for warranty claims.
For technical assistance, troubleshooting not covered in this manual, or warranty inquiries, please contact our customer service team. Our in-demand customer service is ready to assist you.
- Customer Service: Refer to your product packaging or the Swimline website for the most current contact information.
- Online Resources: Visit the official Swimline website for FAQs, additional product information, and support.

Figure 7: Swimline's commitment to quality and customer support.
Related documents76050


Ask a question about this manual
Ask about setup, troubleshooting, compatibility, parts, safety, or missing instructions. Manuals+ will review the question and use this page’s manual context to help answer it.