1. Introduction
This manual provides detailed instructions for the installation, operation, and maintenance of your ZKTeco K40 Network Fingerprint Time Clock with Access Control. Please read this manual thoroughly before using the device to ensure proper functionality and to prevent damage.
2. Product Overview
The ZKTeco K40 is a versatile time attendance and access control terminal featuring fingerprint recognition. It is designed for efficient employee management and secure access control in various environments.
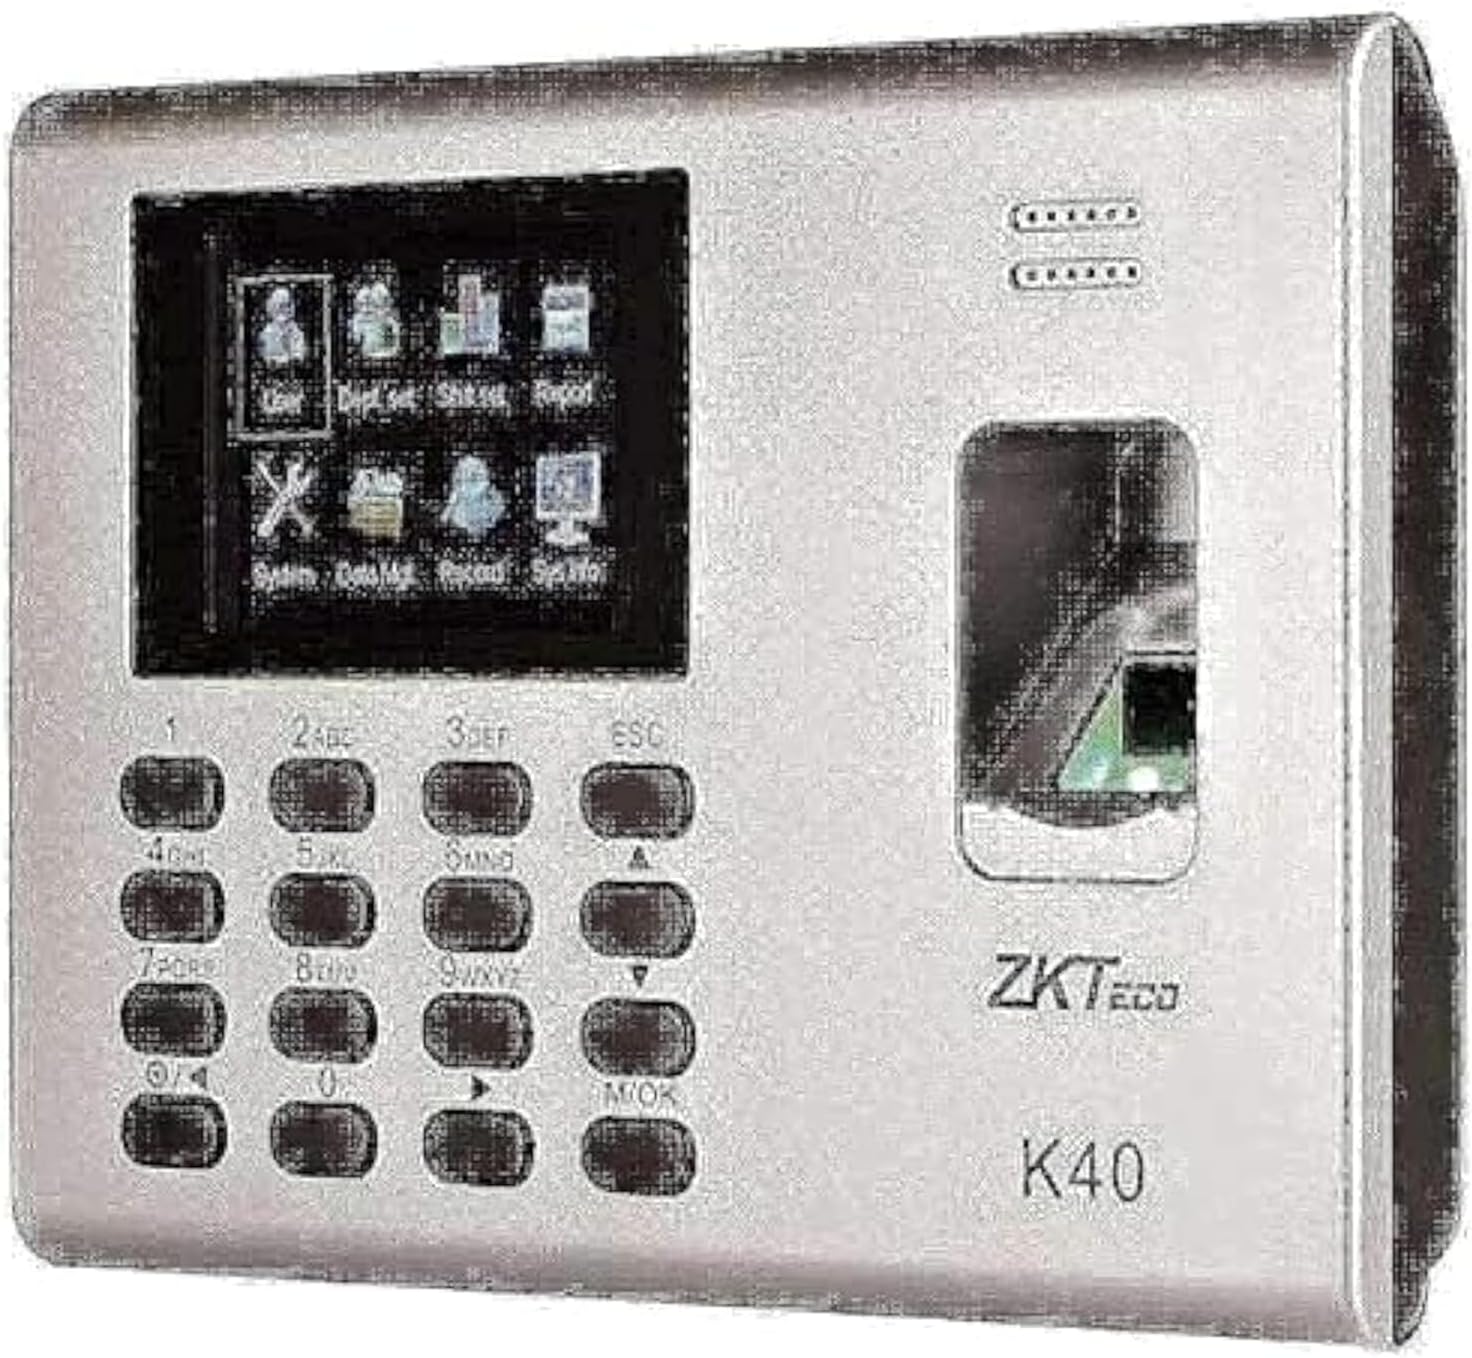
Figure 1: ZKTeco K40 Device Front View. This image displays the front of the ZKTeco K40 device, highlighting its integrated screen, numerical keypad, and fingerprint scanner. The ZKTeco logo and K40 model number are visible on the right side.
2.1 Key Components
- Display Screen: For menu navigation, user information, and status updates.
- Keypad: Used for data entry, menu navigation, and function selection.
- Fingerprint Sensor: For biometric authentication.
- Communication Ports: For network connectivity (TCP/IP) and data transfer.
- Built-in Battery: Provides backup power.
3. Setup and Installation
3.1 Unpacking
Carefully unpack the device and verify that all components are present:
- ZKTeco K40 Device
- Power Adapter
- Mounting Plate and Screws
- Quick Start Guide (if included)
3.2 Mounting the Device
- Choose a suitable location for installation, ensuring it is away from direct sunlight, water, and extreme temperatures.
- Secure the mounting plate to the wall using the provided screws.
- Attach the K40 device to the mounting plate.
3.3 Power Connection
Connect the power adapter to the device's power input port and then plug it into a standard electrical outlet. The device will power on automatically.
3.4 Network Connection
For network functionality, connect an Ethernet cable from your network router/switch to the device's LAN port. Configure network settings via the device menu (refer to Section 4.2).
4. Operating Instructions
4.1 Initial Setup and Administrator Registration
- Upon first power-on, the device may prompt for initial setup.
- Register at least one administrator fingerprint or password. This administrator will have full access to the device's menu and settings.
- To register an administrator: Press M/OK, navigate to User Management > New User. Enter User ID, then register fingerprint and set user role as Administrator.
4.2 Menu Navigation
Use the keypad for navigation:
- M/OK: Enter menu, confirm selection.
- ESC: Exit current menu, cancel operation.
- Arrow Keys (Up/Down): Navigate through menu options.
- Number Keys: Input numerical data (e.g., User ID, password).
4.3 User Registration
To register new users for time attendance or access control:
- Press M/OK to enter the main menu.
- Navigate to User Management and press M/OK.
- Select New User and press M/OK.
- Enter a unique User ID (e.g., 001, 002).
- Register the user's fingerprint by placing their finger on the sensor three times as prompted.
- Optionally, register a password or RFID card (if supported).
- Set the user role (e.g., User, Administrator).
- Press ESC to save and exit.
4.4 Time Attendance (Clocking In/Out)
Users can clock in or out using their registered fingerprint:
- Ensure the device is in standby mode.
- Place a registered finger on the fingerprint sensor.
- A confirmation message will appear on the screen upon successful verification.
4.5 Access Control
If configured for access control, the device will unlock a connected door upon successful fingerprint verification. Ensure proper wiring to the door lock system.
5. Maintenance
5.1 Cleaning the Device
- Regularly clean the fingerprint sensor and screen with a soft, dry, lint-free cloth.
- Do not use abrasive cleaners, solvents, or spray directly onto the device.
5.2 Data Backup
Periodically back up attendance records and user data to prevent loss. This can typically be done via USB drive or network software.
5.3 Firmware Updates
Check the ZKTeco official website for any available firmware updates to ensure optimal performance and security. Follow the provided instructions carefully during updates.
6. Troubleshooting
| Problem | Possible Cause | Solution |
|---|---|---|
| Device does not power on. | No power supply; faulty adapter. | Check power connection; ensure adapter is working; check power outlet. |
| Fingerprint not recognized. | Finger wet/dirty; sensor dirty; fingerprint not registered correctly. | Ensure finger and sensor are clean and dry; re-register fingerprint if necessary. |
| Network connection failure. | Loose cable; incorrect IP settings; network issue. | Check Ethernet cable connection; verify IP address, subnet mask, and gateway settings; consult network administrator. |
| Access control not working. | Incorrect wiring; door lock issue; access permissions not set. | Verify wiring to door lock; check door lock functionality; ensure user has appropriate access permissions. |
7. Specifications
| Feature | Detail |
|---|---|
| Brand | ZKTeco |
| Model | K40 |
| Type | Time Attendance System with Access Control |
| Manufacturer Part Number | 2724646601367 |
| Color | Silver |
| Item Weight | 852 g |
| Package Dimensions | 30 x 21.2 x 7.6 cm |
| Connectivity | Network (TCP/IP) |
| Power Source | External Power Adapter, Built-in Battery |
8. Warranty and Support
For warranty information and technical support, please refer to the documentation provided with your purchase or visit the official ZKTeco website. Keep your purchase receipt as proof of purchase.
- Online Resources: Check the ZKTeco official website for FAQs, software downloads, and additional support materials.
- Customer Service: Contact ZKTeco customer service for assistance with product issues or warranty claims.


