1. Introduction
Thank you for choosing the ZWILLING Enfinigy Glass Drip Coffee Maker. This appliance is designed to brew high-quality coffee with optimal temperature and extraction. To ensure safe operation and maintain the performance of your coffee maker, please read this instruction manual thoroughly before first use and keep it for future reference.
This coffee maker features a 12-cup capacity, a powerful shower head for even grounds moistening, a blooming function for enhanced flavor, and a durable stainless-steel boiler.
2. Important Safety Instructions
- Read all instructions before using the appliance.
- Do not touch hot surfaces. Use handles or knobs.
- To protect against fire, electric shock, and injury to persons, do not immerse cord, plugs, or appliance in water or other liquid.
- Close supervision is necessary when any appliance is used by or near children.
- Unplug from outlet when not in use and before cleaning. Allow to cool before putting on or taking off parts, and before cleaning the appliance.
- Do not operate any appliance with a damaged cord or plug or after the appliance malfunctions, or has been damaged in any manner. Return appliance to the nearest authorized service facility for examination, repair, or adjustment.
- The use of accessory attachments not recommended by the appliance manufacturer may result in fire, electric shock, or injury to persons.
- Do not use outdoors.
- Do not let cord hang over edge of table or counter, or touch hot surfaces.
- Do not place on or near a hot gas or electric burner, or in a heated oven.
- Always attach plug to appliance first, then plug cord into the wall outlet. To disconnect, turn any control to "off", then remove plug from wall outlet.
- Do not use appliance for other than intended use.
- The carafe is designed for use with this appliance. It must never be used on a range top.
- Do not place a hot carafe on a wet or cold surface.
- Do not use a cracked carafe or a carafe having a loose or weakened handle.
- Do not clean carafe with cleansers, steel wool pads, or other abrasive materials.
- Scalding may occur if the lid is removed during the brewing cycles.
3. Product Components
Familiarize yourself with the parts of your ZWILLING Enfinigy Drip Coffee Maker:
- Water Tank: Transparent reservoir for water, with measurement markings.
- Water Tank Lid: Covers the water tank.
- Filter Basket: Holds the coffee filter and ground coffee.
- Shower Head: Distributes water evenly over coffee grounds.
- Carafe (Glass): 12-cup capacity glass carafe with handle and lid.
- Warming Plate: Keeps brewed coffee warm for a limited time.
- Control Panel: Features a display and a multi-function knob/button for operation.
- Power Cord: Connects the appliance to an electrical outlet.

Figure 3.1: Front view of the ZWILLING Enfinigy Glass Drip Coffee Maker, showing the water tank, filter basket, glass carafe, and control panel.
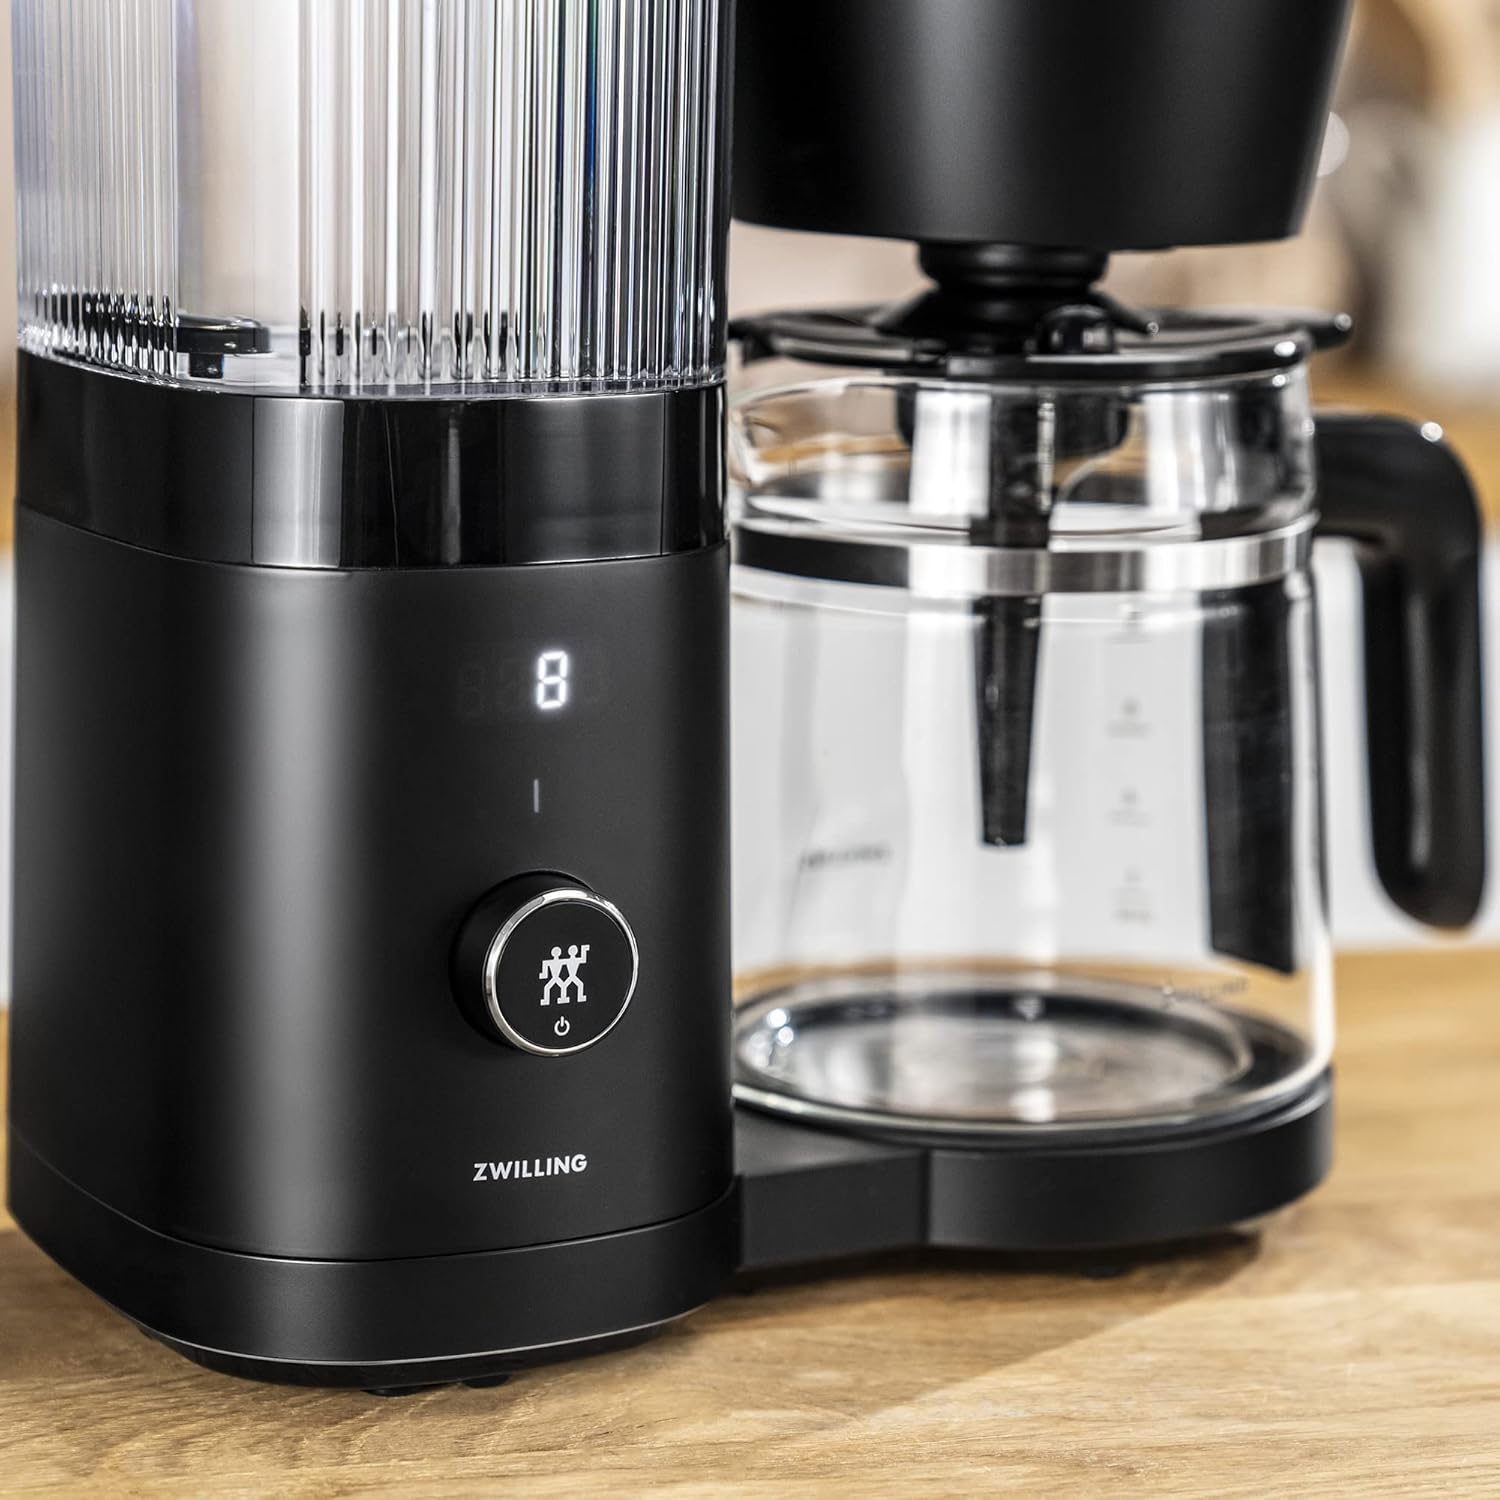
Figure 3.2: Close-up of the control panel, featuring the display and the multi-function knob/button.
4. Initial Setup
- Unpack: Carefully remove all packaging materials and promotional labels from the coffee maker.
- Clean: Wash the glass carafe, its lid, and the filter basket in warm, soapy water. Rinse thoroughly and dry. The main unit can be wiped with a damp cloth.
- Position: Place the coffee maker on a flat, stable, heat-resistant surface, away from the edge of the counter. Ensure adequate ventilation around the appliance.
- First Use Cycle: Before brewing coffee, run two full cycles with only water to clean the internal components.
- Fill the water tank to the MAX line with fresh, cold water.
- Place the empty carafe with its lid on the warming plate.
- Press the start button to initiate a brewing cycle.
- Once the cycle is complete, discard the water. Repeat this process once more.
- Set Clock: Refer to the operating instructions for setting the current time on the display.

Figure 4.1: Illustration of filling the water tank with fresh water.
5. Operating Instructions
5.1 Brewing Coffee
- Fill Water Tank: Open the water tank lid and fill the tank with fresh, cold water up to the desired number of cups indicated by the markings. Do not exceed the MAX fill line.
- Add Coffee Grounds: Place a #6 cone-style paper filter into the filter basket. Add the desired amount of ground coffee. A general guideline is 1 tablespoon of coffee grounds per cup (5 oz). Adjust to personal preference.

Figure 5.1: Illustration of placing a filter and adding coffee grounds to the filter basket.
- Position Carafe: Ensure the glass carafe with its lid is correctly placed on the warming plate.
- Start Brewing: Press the multi-function knob/button to start the brewing process. The display will show the brewing progress.
- Serve: Once brewing is complete, the coffee maker will beep, and the warming plate will activate. Carefully remove the carafe to pour coffee. The warming plate will keep the coffee warm for approximately 30 minutes before automatically shutting off.
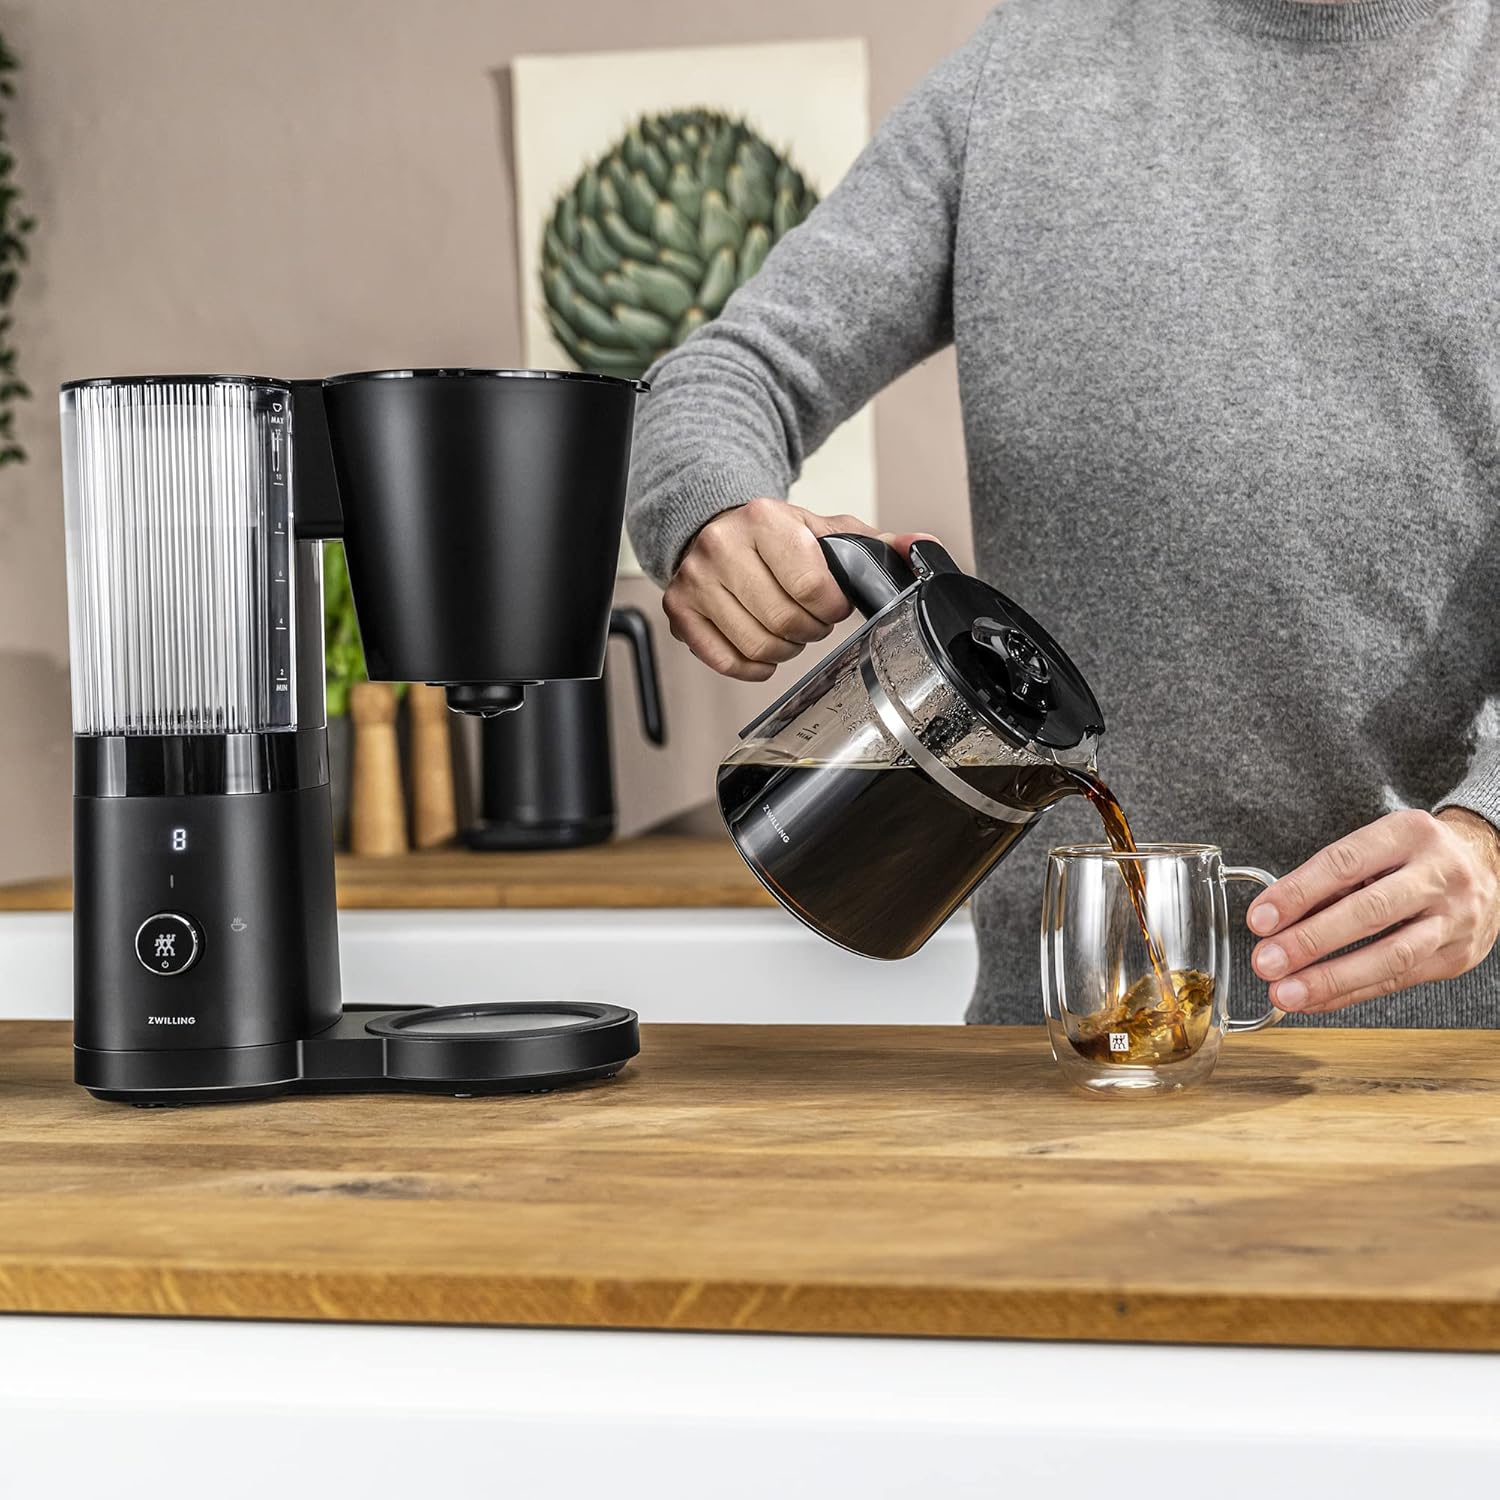
Figure 5.2: Pouring freshly brewed coffee from the glass carafe.
5.2 Using the Bloom Function
The bloom function pre-wets the coffee grounds before the main brewing cycle, allowing carbon dioxide to escape and resulting in a smoother, less sour coffee flavor. This function is typically activated by default or can be toggled via the control panel settings.
- When starting a brew cycle, the coffee maker will pause briefly after the initial water dispersion. This is the bloom phase.
- The main brewing will resume automatically after the bloom phase.
5.3 Setting the Timer (Programmed Brewing)
To program the coffee maker to start brewing at a specific time:
- Prepare Coffee Maker: Fill the water tank and add coffee grounds to the filter basket as described in "5.1 Brewing Coffee".
- Access Timer Setting: Rotate the multi-function knob/button to navigate to the timer setting. The display will show "PROG" or a clock icon.
- Set Time: Rotate the knob to adjust the desired start time. Press the knob to confirm hours and minutes.
- Activate Timer: Once the time is set, press the knob again to activate the programmed brew. A small indicator light or icon will appear on the display to confirm the timer is active.
- The coffee maker will automatically start brewing at the set time.
6. Cleaning and Maintenance
Regular cleaning ensures optimal performance and extends the lifespan of your coffee maker.
6.1 Daily Cleaning
- Unplug: Always unplug the coffee maker before cleaning and allow it to cool completely.
- Carafe and Filter Basket: Remove the glass carafe and filter basket. Wash them in warm, soapy water or place them in the dishwasher (if dishwasher-safe, refer to product specifications). Rinse thoroughly.
- Exterior: Wipe the exterior of the coffee maker with a soft, damp cloth. Do not use abrasive cleaners or scouring pads.
- Warming Plate: Wipe the warming plate with a damp cloth. Do not use abrasive materials that could scratch the surface.
6.2 Descaling (CLN Function)
Mineral deposits from water can build up over time, affecting brewing performance and taste. The coffee maker features a "CLN" indicator to prompt descaling. When "CLN" appears on the display, it is time to descale the unit.
- Prepare Descaling Solution: Mix a descaling solution according to the manufacturer's instructions (e.g., white vinegar and water, or a commercial descaling agent). Fill the water tank with this solution up to the MAX line.
- Start Descaling Cycle: Place the empty carafe on the warming plate. Activate the descaling cycle. This is typically done by holding down the multi-function knob/button or navigating to a specific menu option when "CLN" is displayed. Refer to the specific instructions provided with your appliance for exact steps.
- Rinse Cycles: After the descaling cycle is complete, discard the solution. Fill the water tank with fresh, cold water and run two full brewing cycles with only water to rinse the system thoroughly.
- The "CLN" indicator should disappear after successful descaling and rinsing.
Note: Failure to descale regularly may lead to reduced performance and potential damage to the appliance.
7. Troubleshooting
If you encounter issues with your coffee maker, refer to the following table for common problems and solutions.
| Problem | Possible Cause | Solution |
|---|---|---|
| Coffee does not brew. | No water in tank, coffee maker not plugged in, or power outage. | Ensure water tank is filled, power cord is securely plugged in, and check circuit breaker. |
| "CLN" indicator is on and brewing is prevented. | Appliance requires descaling. | Perform the descaling procedure as outlined in Section 6.2. If the "CLN" indicator persists after descaling and rinsing, try unplugging the unit for 10 minutes and then re-attempt the descaling cycle. |
| Coffee tastes weak or too strong. | Incorrect coffee-to-water ratio, or grind size. | Adjust the amount of coffee grounds. Ensure coffee is ground to a medium consistency suitable for drip brewing. |
| Coffee overflows from filter basket. | Too much coffee grounds, filter not seated correctly, or fine grind. | Reduce coffee amount, ensure filter is properly placed, use a coarser grind. |
| Warming plate turns off too quickly (after 30 minutes). | This is a design feature to prevent coffee from becoming over-extracted or burnt. | This is normal operation. For longer warmth, transfer coffee to an insulated thermal carafe immediately after brewing. |
| Inconsistent brewing results. | Irregular descaling, inconsistent water temperature, or uneven water distribution. | Ensure regular descaling. Use fresh, cold water for each brew. Check that the shower head is not clogged. |
8. Specifications
| Feature | Detail |
|---|---|
| Model Name | Enfinigy |
| Model Number | 53103-501 |
| Brand | ZWILLING |
| Capacity | 12 Cups |
| Coffee Maker Type | Drip Coffee Machine |
| Color | Black |
| Exterior Finish | Stainless Steel with a Black Matte Finish |
| Voltage | 120 Volts |
| Item Weight | 5.73 pounds |
| Product Dimensions (L x W x H) | 6.1 x 11.42 x 13.78 inches |
| Coffee Filter Size | #6 Cone |
| UPC | 035886643317 |
9. Warranty and Support
For detailed warranty information, please refer to the warranty card included with your product or visit the official ZWILLING website. If you require technical support or have questions not covered in this manual, please contact ZWILLING customer service.
ZWILLING Customer Service: Please visit www.zwilling.com/us/contact-us/ for contact details and support resources.


