
1. Product Overview
The HECASA Grill Guard (Model NN354) is designed to provide enhanced front-end protection and an aggressive aesthetic upgrade for 2006-2011 Hummer H3 and H3T models. Constructed from high-quality steel with a durable powder-coated finish, this grill guard offers resistance against water and corrosion, extending its lifespan. It is engineered for a precise fit, safeguarding the vehicle's headlights and grille areas.
Key Features:
- Compatibility: Specifically designed for 2006-2011 Hummer H3 and H3T models.
- Material: Constructed from high-quality steel for solid and durable performance.
- Surface Finish: Features a powder-coated surface for waterproof and anti-corrosion properties.
- Protection: Provides front-end protection for headlights and grille areas.
- Installation: Direct bolt-on installation, requiring no drilling or cutting.
2. Specifications
| Attribute | Detail |
|---|---|
| Brand | HECASA |
| Model Number | NN354 |
| Compatible Vehicle Type | 2006-2011 Hummer H3, H3T |
| Material | Alloy Steel |
| Color | Black |
| Surface Finish | Powder Coated |
| Installation Type | Direct Bolt-On |
| Placement on Vehicle | Front |
| Included Components | Grille Brush Guard, mounting hardware |
| Package Dimensions | 85.85 x 31.75 x 21.84 cm |
| Item Weight | 21.83 kg |
3. Package Contents
The following items are included in your HECASA Grill Guard package:
- 1 x Black Grill Grille Brush Guard
- Mounting Hardware (included)

Figure 3.1: Contents of the HECASA Grill Guard package.
4. Installation Instructions
This HECASA Grill Guard is designed for direct bolt-on installation, requiring no drilling or cutting. While detailed instructions are not provided in the package, the following steps and visual aids will guide you through the process. Professional installation is recommended if you are unfamiliar with automotive modifications.
4.1. Preparation
- Ensure your vehicle is parked on a level surface and the engine is off.
- Gather all necessary tools (not included), such as wrenches, sockets, and possibly a pry tool for existing components.
- Unpack all components and verify that all hardware is present as per the package contents.
4.2. Removing Existing Components
Before installing the new grill guard, you may need to remove the factory bumper and any existing grille components to access the mounting points.
Video 4.1: This video demonstrates the removal of a front grille, which may be a necessary step before installing the HECASA Grill Guard. Note that this video is for a different product (HECASA Front Grille) but illustrates a similar removal process.
Video 4.2: This video shows the installation of a combo kit on a Jeep Wrangler JK, which includes bumper and lighting components. While not identical to the Hummer H3/H3T, it provides a general overview of the installation process for front-end accessories, including headlight and bumper removal/installation.
4.3. Mounting the Grill Guard
- Align the grill guard with the designated mounting points on the vehicle's front frame.
- Secure the grill guard using the provided hardware. Ensure all bolts are hand-tightened initially.
- Adjust the height and angle of the grill guard as needed for optimal fitment and appearance.
- Once satisfied with the positioning, fully tighten all mounting bolts. Do not overtighten.
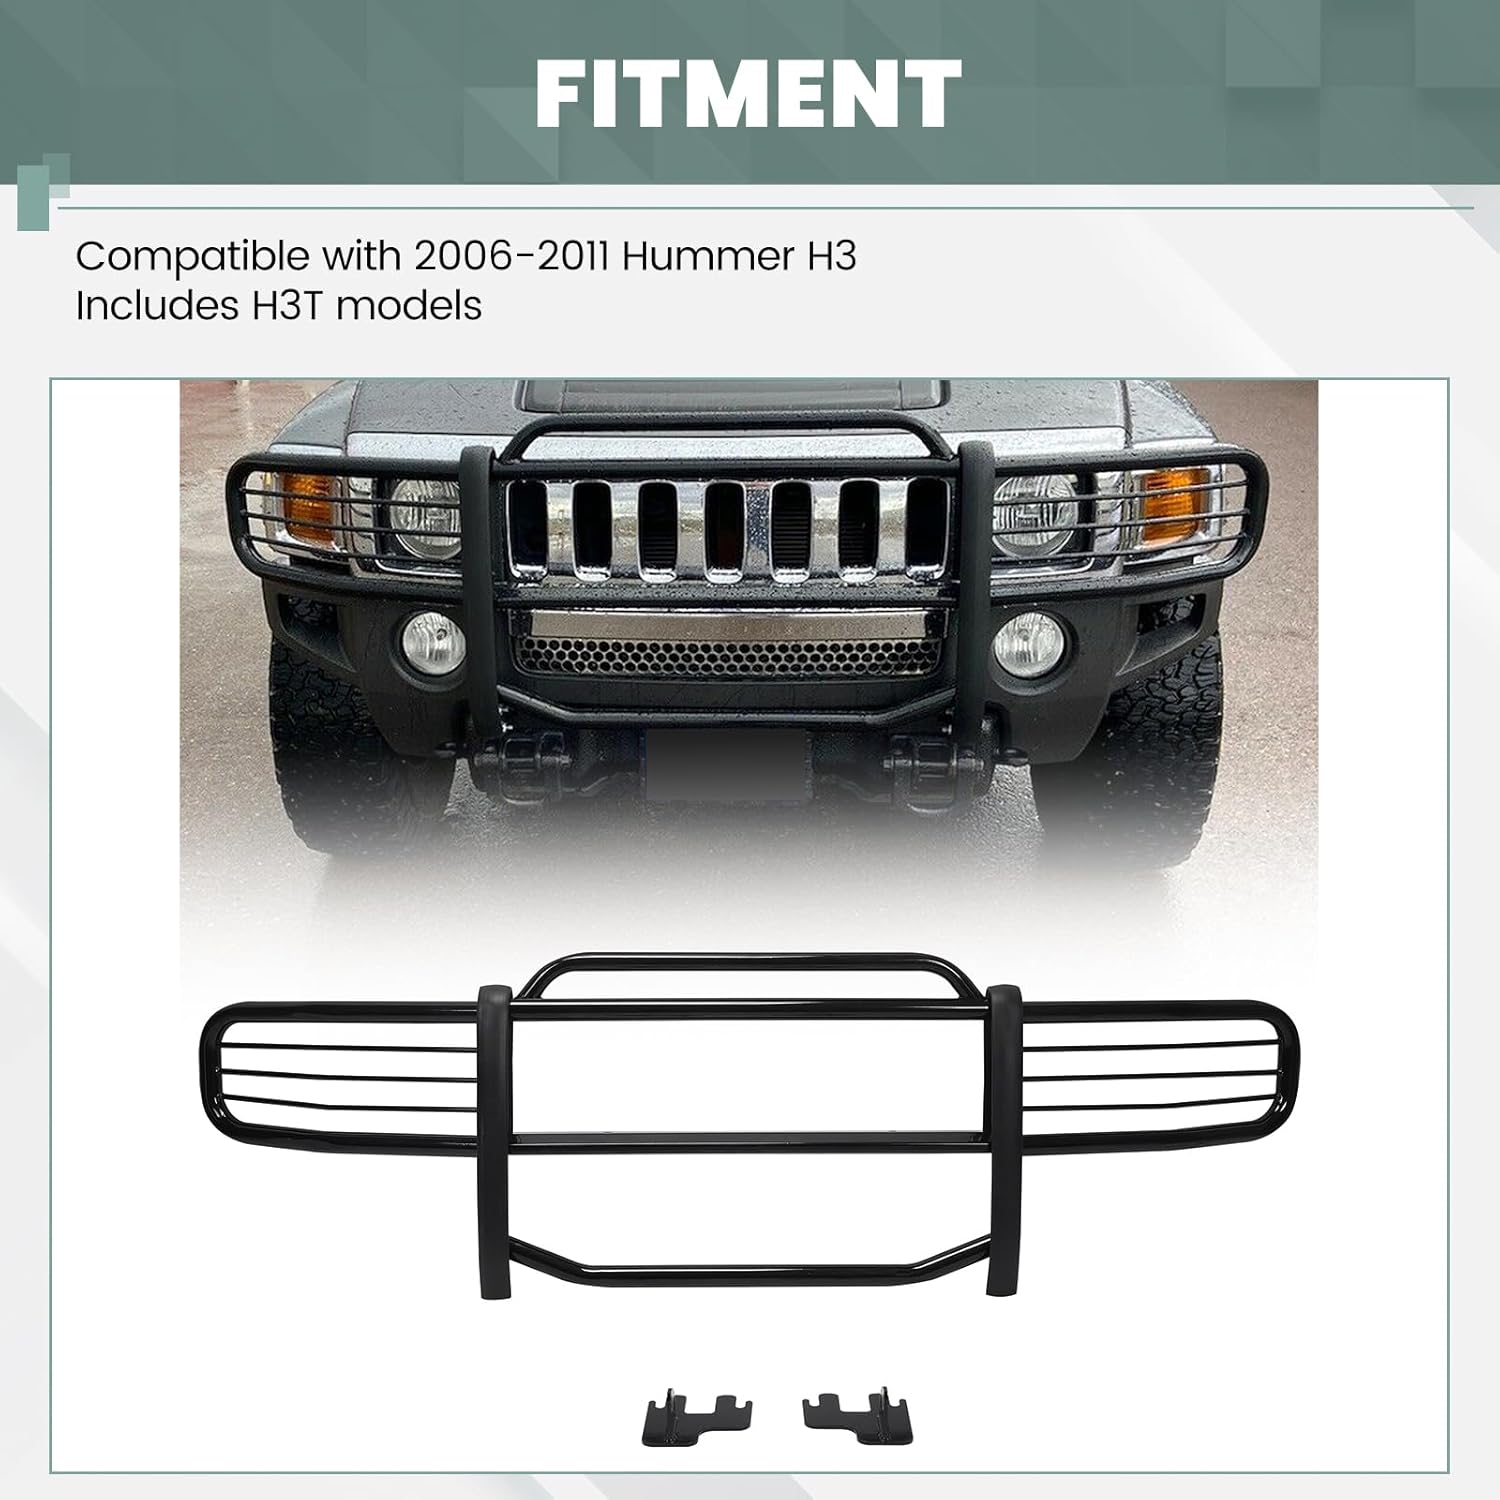
Figure 4.1: Example of HECASA Grill Guard fitment on a Hummer H3.

Figure 4.2: Detailed view of the installed grill guard.
5. Product Details and Construction
The HECASA Grill Guard is engineered for both durability and aesthetic appeal. Its robust steel construction ensures reliable protection, while the powder-coated finish provides a sleek look and enhanced resistance to environmental elements.

Figure 5.1: Illustration of the heavy-duty, powder-coated steel construction.
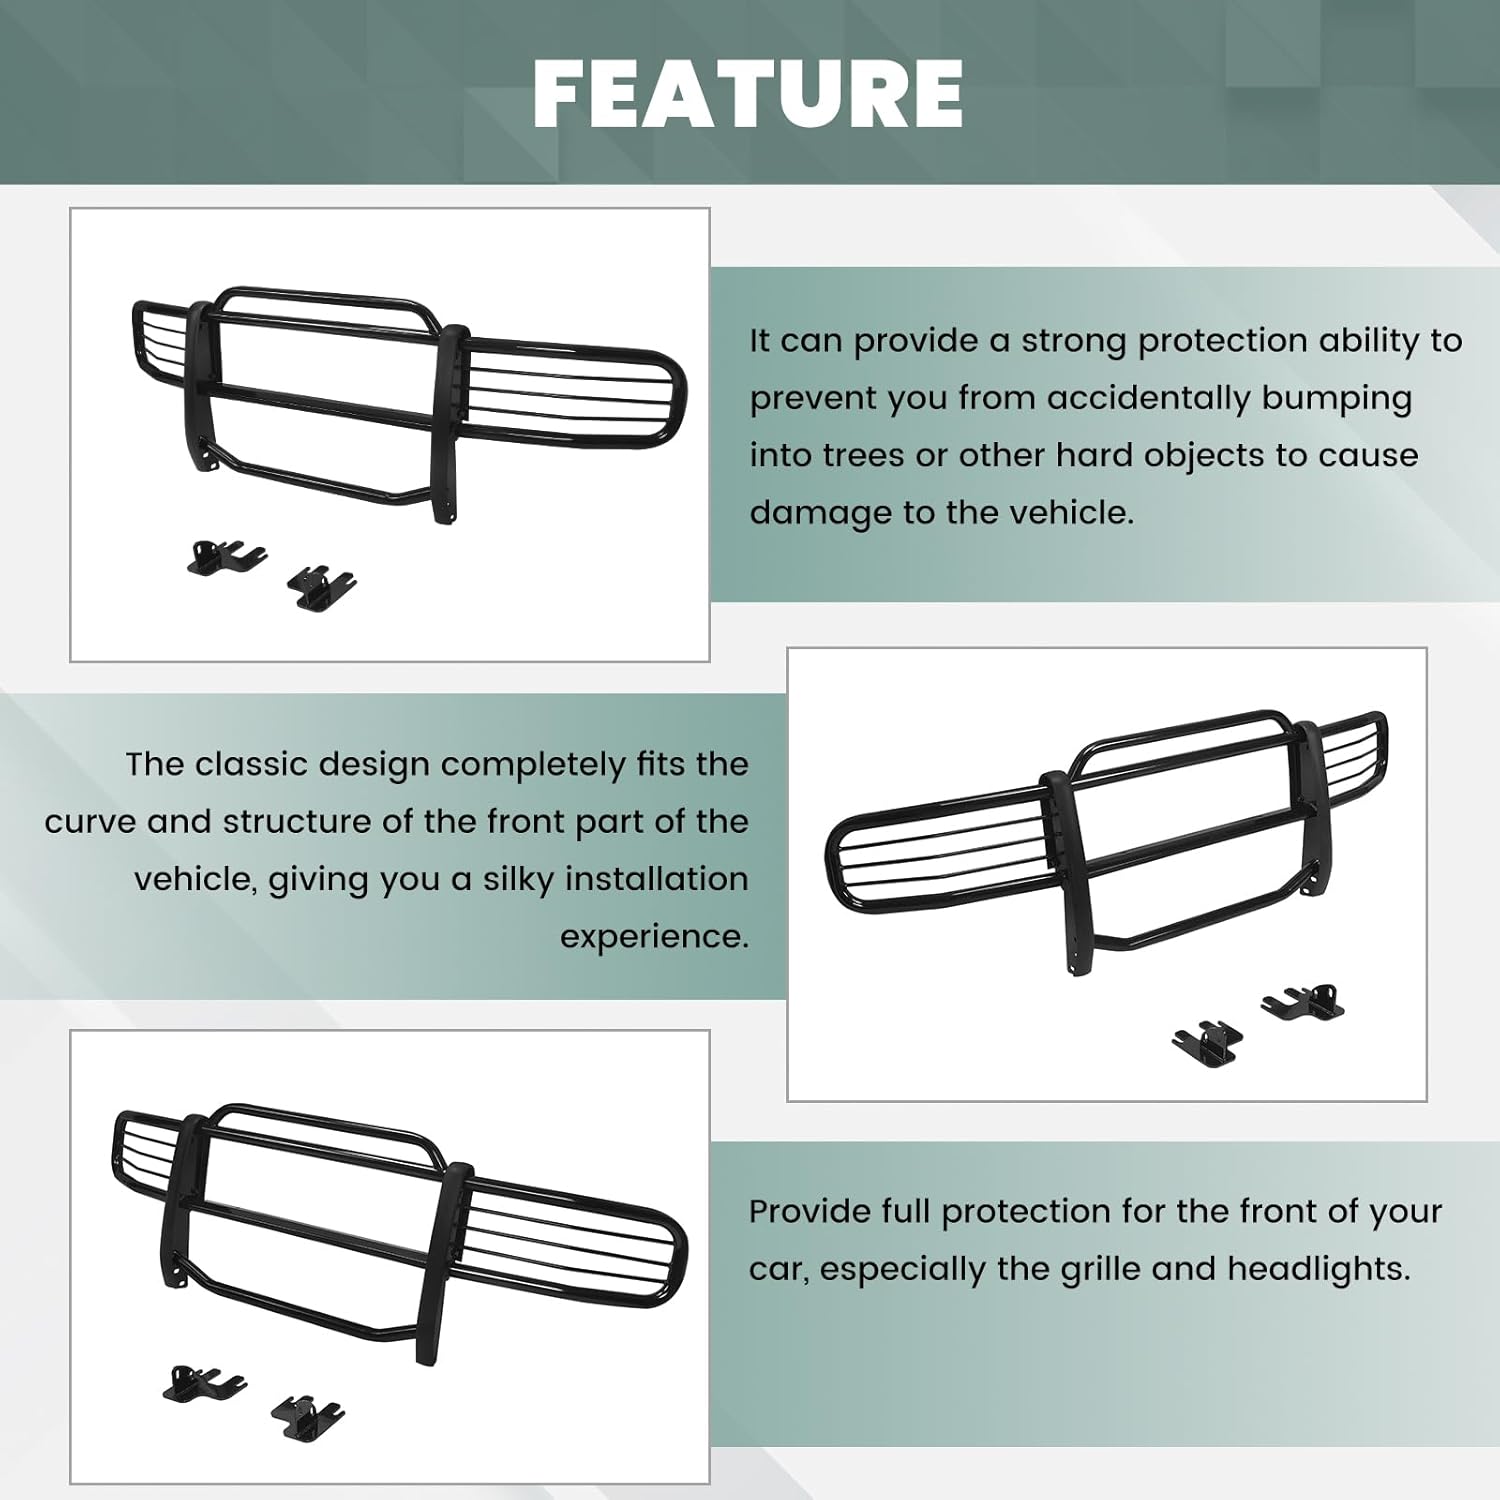
Figure 5.2: Design features for protection and aesthetics.

Figure 5.3: Close-up details of the grill guard construction.
6. Maintenance
To ensure the longevity and appearance of your HECASA Grill Guard, follow these maintenance guidelines:
- Regular Cleaning: Wash the grill guard regularly with mild soap and water to remove dirt, grime, and road salt. Avoid abrasive cleaners or harsh chemicals that could damage the powder-coated finish.
- Inspect for Damage: Periodically inspect the grill guard for any signs of damage, such as scratches, chips in the coating, or loose hardware. Address any issues promptly to prevent further deterioration.
- Hardware Check: Re-tighten all mounting hardware periodically, especially after off-road use or significant impacts, to ensure the grill guard remains securely attached.
- Touch-Up Paint: If the powder coating gets chipped or scratched, use a compatible touch-up paint to prevent rust and maintain the finish.
7. Troubleshooting
If you encounter any issues during or after installation, consider the following:
- Fitment Issues: If the grill guard does not align perfectly, ensure all existing components were removed correctly and that the mounting hardware is not overtightened. Slight adjustments to height/angle can be made by loosening and re-tightening bolts, or by adding spacers if necessary.
- Loose Components: If the grill guard feels loose, re-check all mounting bolts and ensure they are securely tightened.
- Rust/Corrosion: While the powder coating is designed to resist corrosion, prolonged exposure to harsh elements or damage to the coating can lead to rust. Follow maintenance guidelines for cleaning and touch-up.
- Missing Hardware: If any hardware is missing from the package, contact HECASA customer support for assistance.
8. Warranty and Support
The HECASA Grill Guard comes with a manufacturer's warranty. Please refer to the specific warranty terms provided with your product for details on coverage and duration.
- Warranty Period: 365 days from the date of purchase.
- Coverage: Covers manufacturing defects and material flaws under normal use.
- Contact Support: For warranty claims, technical assistance, or any product-related inquiries, please contact HECASA customer service through your original point of purchase or the official HECASA website.