
1. Product Overview
The Ratakee Digital Alarm Clock Radio is designed to provide reliable timekeeping, dual alarm functionality, and AM/FM radio reception. It features a large LED display with adjustable brightness for comfortable viewing day and night. This manual provides detailed instructions for setting up and operating your device.

Image: Front view of the Ratakee Digital Alarm Clock Radio, displaying the time 12:00 in blue LED digits.
2. Setup
2.1 Power Connection
To power the clock radio, plug the AC adapter into any standard 110V wall outlet. The display will illuminate, indicating the unit is receiving power.
2.2 Battery Backup Installation
For battery backup, insert two (2) AAA batteries (not included) into the battery compartment located on the bottom of the unit. These batteries will preserve your time and alarm settings during a power outage, but will not power the display or alarm functions.
2.3 Initial Time Setting
Upon first power-up or after a prolonged power interruption without battery backup, the display may show a default time. Refer to the 'Setting Time' section under 'Operating' for instructions on how to set the current time.
3. Operating Instructions
3.1 Setting Time
- Press and hold the TIME SET button until the hour digits begin to flash.
- Use the HOUR and MINUTE buttons to adjust the time.
- Press TIME SET again to confirm and exit time setting mode.
3.2 Display Brightness (Dimmer)
The clock features a 1.6-inch LED display with adjustable brightness. To adjust the display brightness:
- Press the DIMMER button repeatedly to cycle through the 4 available brightness levels. Select the level most comfortable for your environment.

Image: Comparison of the clock display at high and low brightness settings, demonstrating the dimmer function.
3.3 Setting Alarms (Dual Alarm)
This clock supports two independent alarms (Alarm 1 and Alarm 2). Each alarm can be set to a beep sound or a radio station.
- Press and hold the ALARM 1 or ALARM 2 button until the alarm hour digits flash.
- Use the HOUR and MINUTE buttons to set the desired alarm time.
- Press the ALARM 1 or ALARM 2 button again to select the alarm source (Beep or Radio). The corresponding icon will appear on the display.
- Press the ALARM 1 or ALARM 2 button a third time to confirm and activate the alarm.
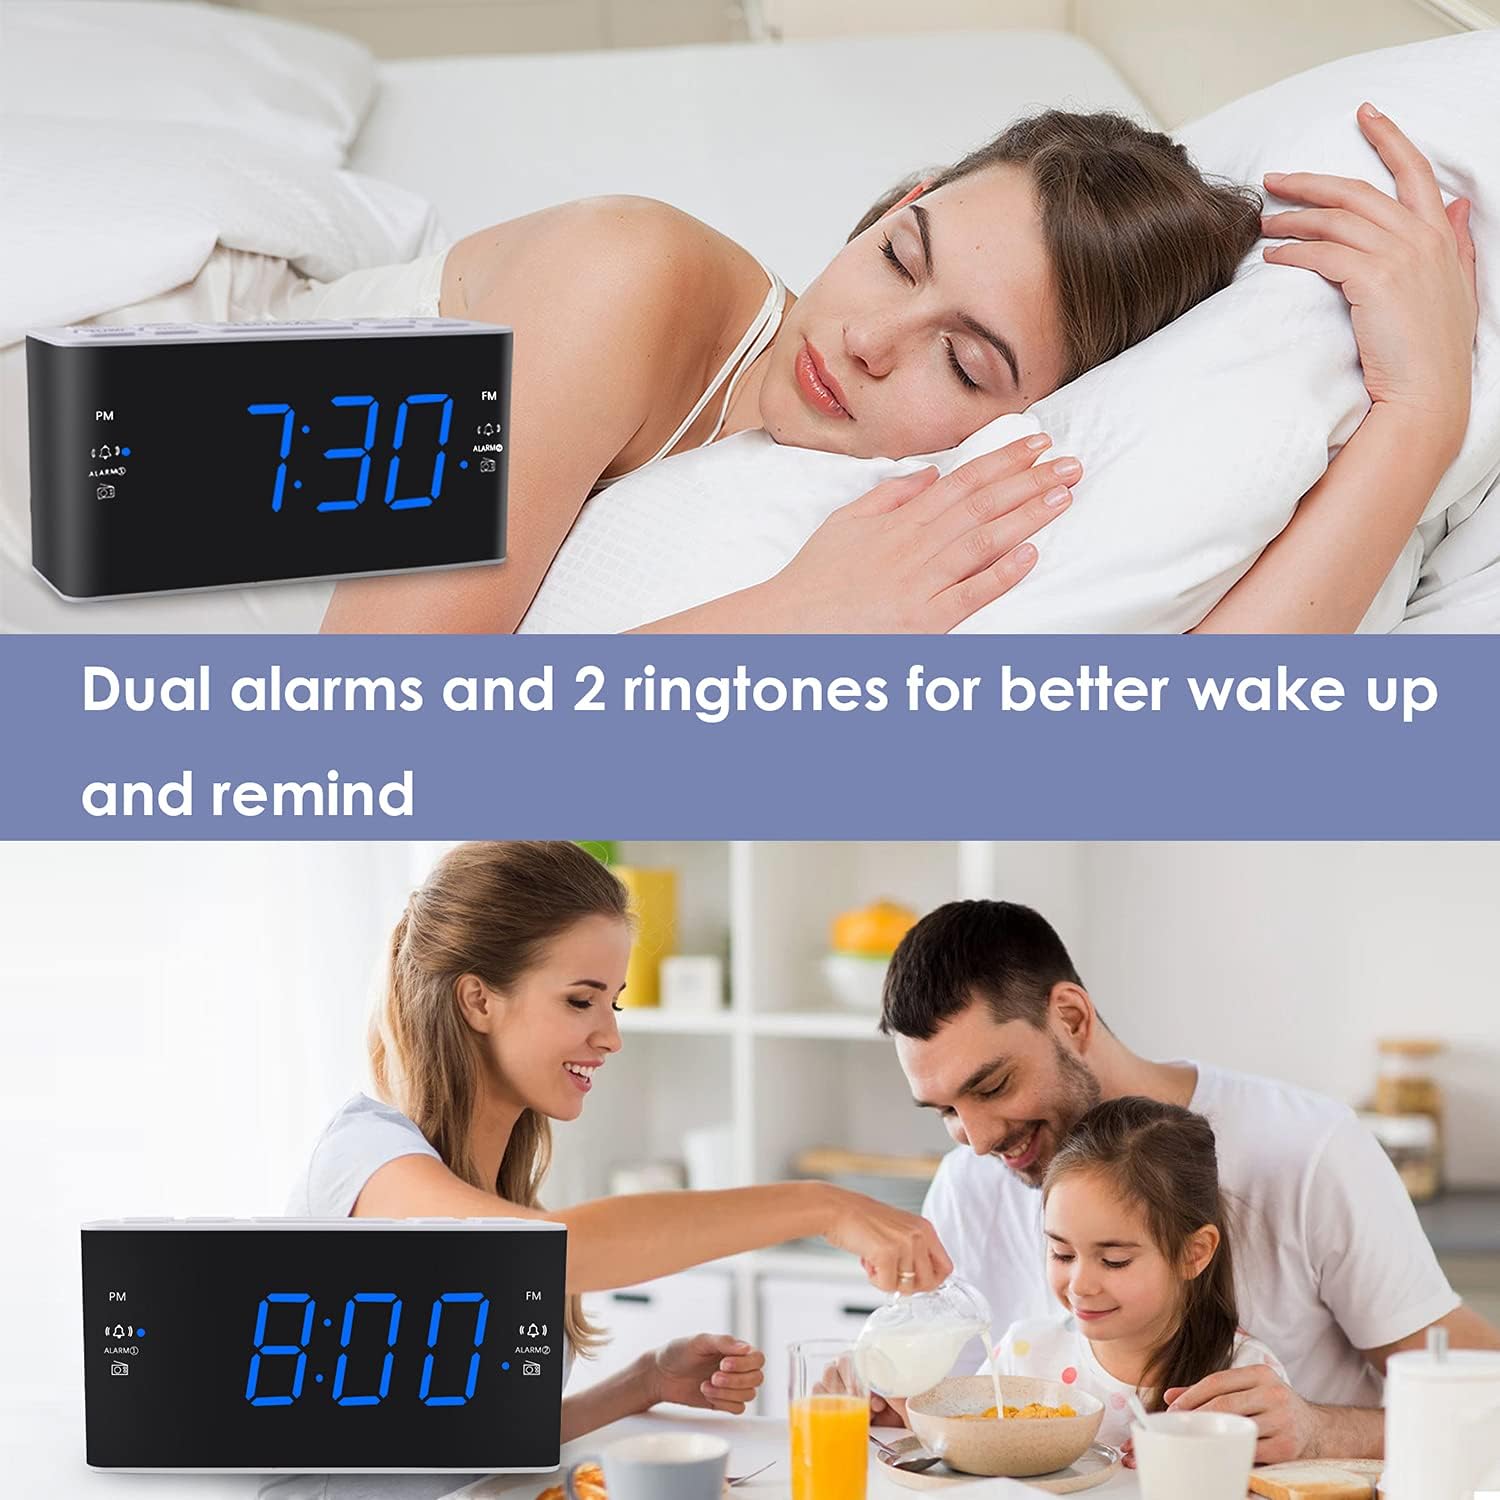
Image: Visual representation of the dual alarm feature, showing the clock used for different wake-up scenarios.
3.4 Snooze Function
When an alarm sounds, press the large SNOOZE button on top of the unit to temporarily silence the alarm for 9 minutes. The alarm will sound again after this period. You can repeat the snooze function up to 5 times.
To turn off the alarm completely for 24 hours, press any other button on the clock (e.g., Radio, Time Set, Alarm 1/2) while the alarm is sounding.
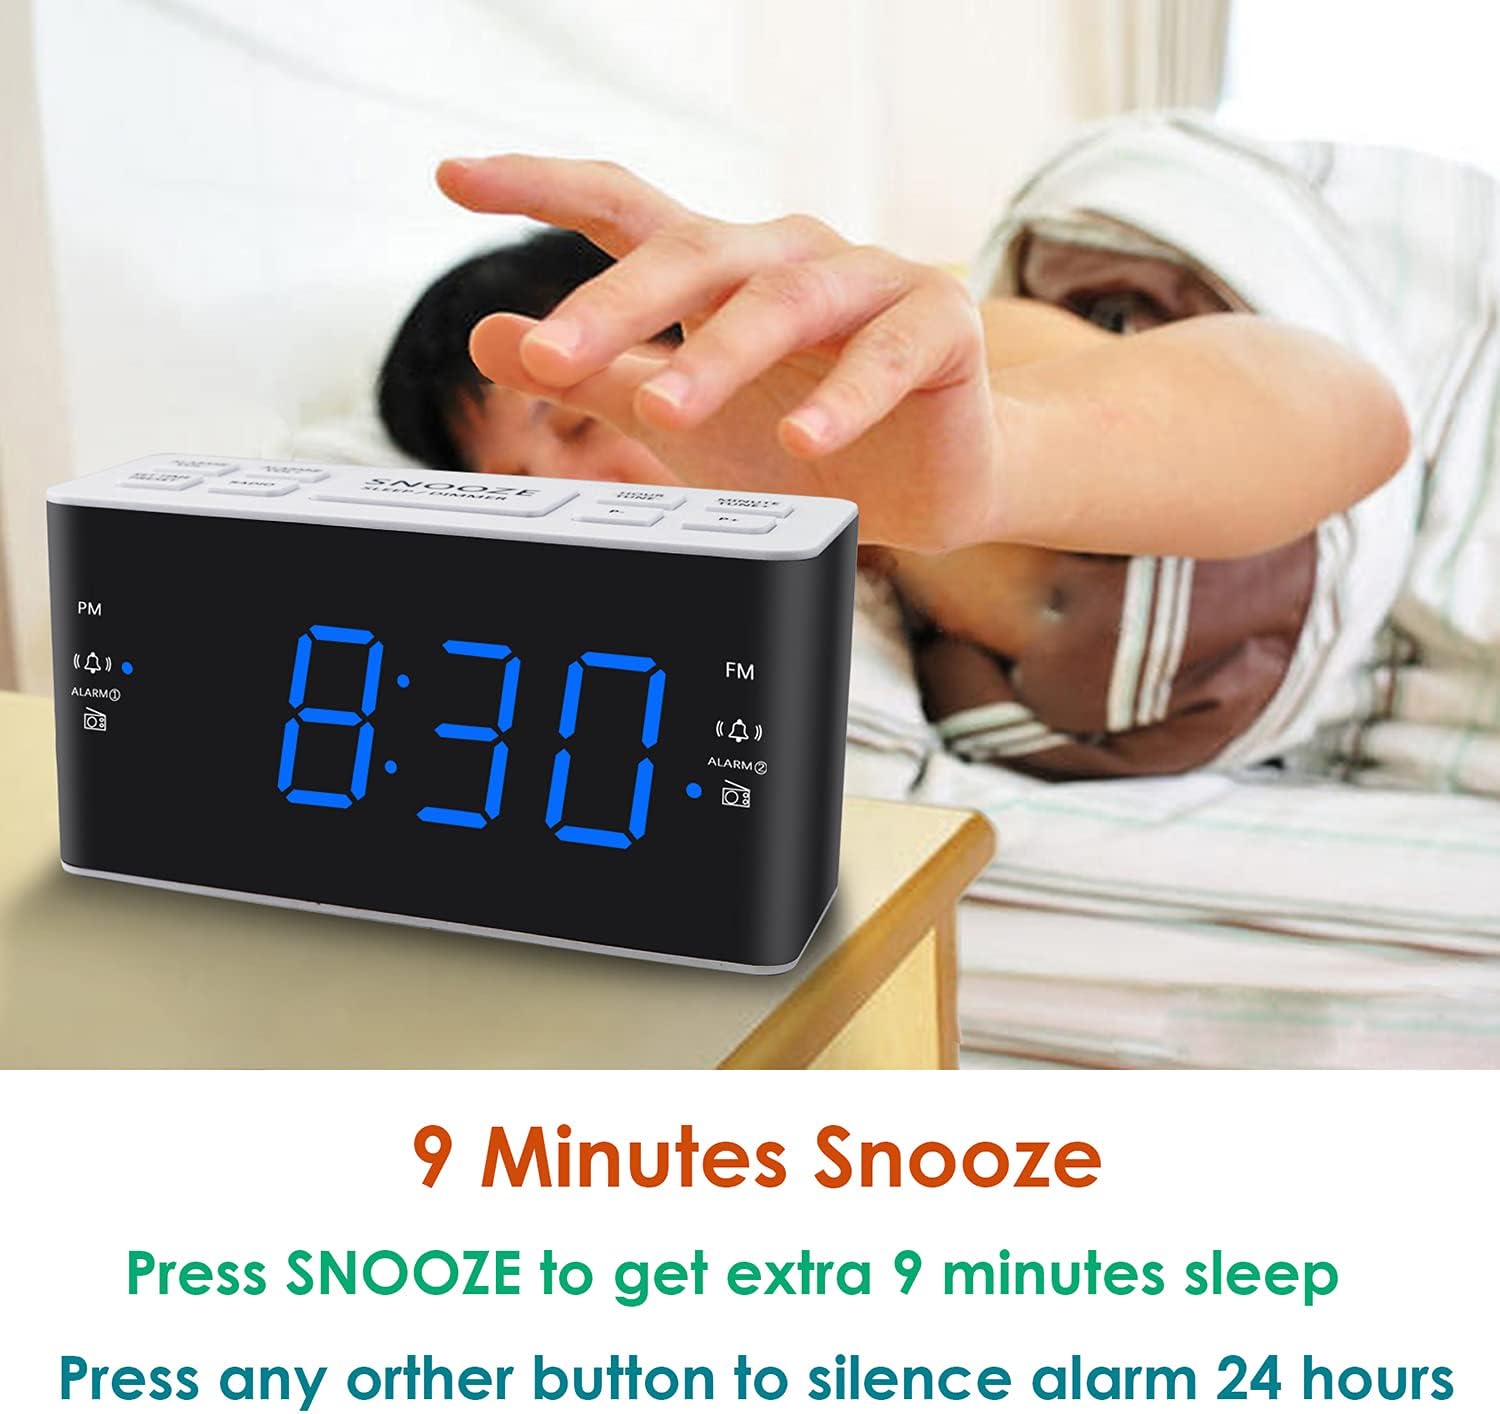
Image: Demonstrates the easy access and function of the snooze button for an additional 9 minutes of sleep.
3.5 AM/FM Radio Operation
The clock radio features digital tuning for AM and FM bands.
- Press the RADIO button to turn the radio on or off.
- Use the TUNE+ and TUNE- buttons to manually tune to a desired frequency.
- Press and hold TUNE+ or TUNE- to auto-scan for the next available station.
- Adjust the volume using the VOL+ and VOL- buttons (0-15 levels).
3.6 Saving Radio Presets
You can save up to 20 AM stations and 20 FM stations for quick access.
- Tune to the desired radio station.
- Press and hold the PRESET button until the preset number flashes.
- Use the TUNE+ or TUNE- buttons to select the desired preset number (P01-P20).
- Press PRESET again to confirm and save the station.
To recall a saved preset, briefly press the PRESET button repeatedly to cycle through your saved stations.
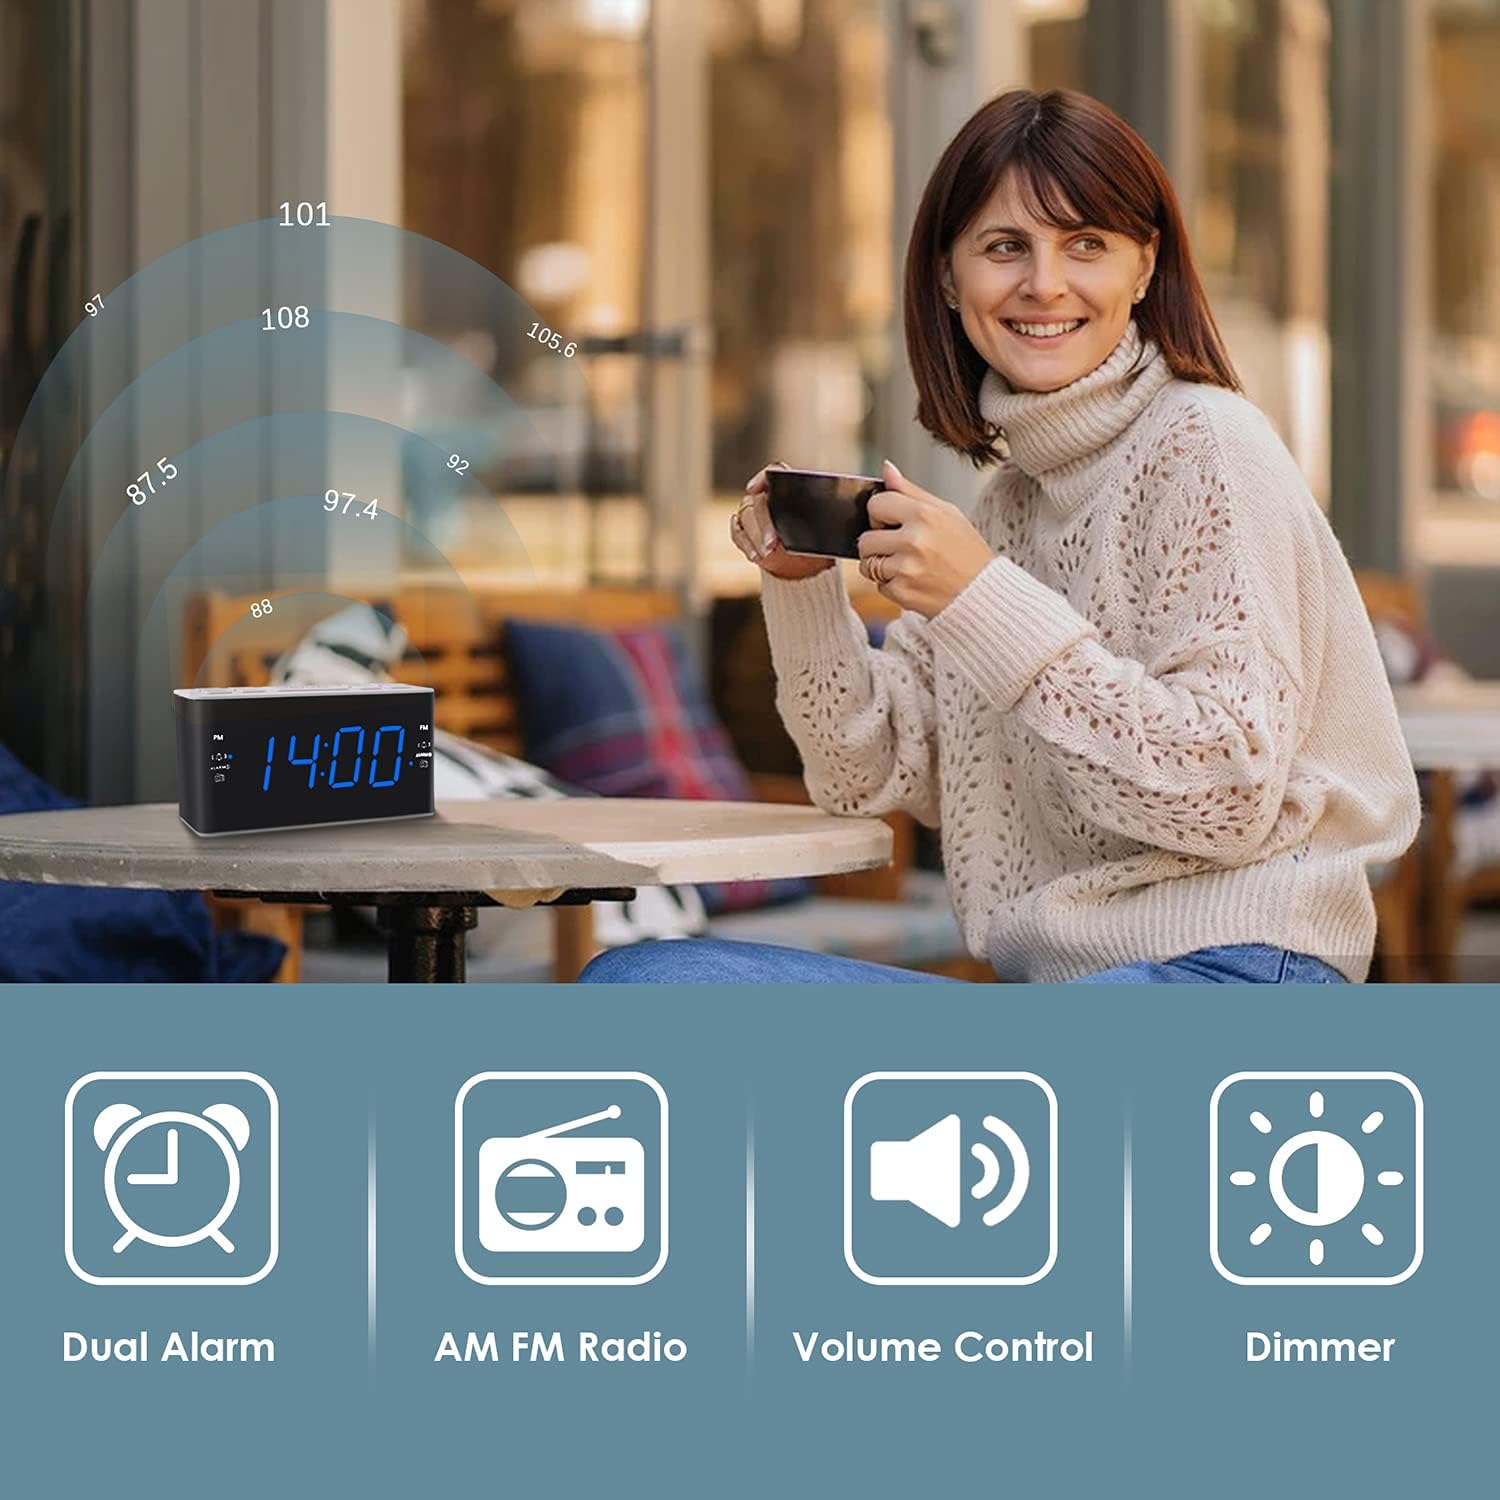
Image: Illustrates the various features of the clock radio, including AM/FM radio functionality.
3.7 Sleep Timer
The sleep timer allows you to fall asleep to the radio, which will automatically turn off after a set period.
- While the radio is playing, press the SLEEP button repeatedly to cycle through the available sleep timer durations (10-90 minutes).
- The radio will play for the selected duration and then automatically turn off.
4. Maintenance
4.1 Cleaning
To clean the clock radio, gently wipe the surface with a soft, dry cloth. Do not use abrasive cleaners, waxes, or solvents as they may damage the finish. Ensure the unit is unplugged before cleaning.
4.2 Battery Replacement
If the clock loses time or alarm settings during a power outage, the AAA backup batteries may need replacement. Replace both batteries simultaneously with new ones, ensuring correct polarity.
5. Troubleshooting
If you encounter issues with your Ratakee Digital Alarm Clock Radio, please refer to the following common solutions:
- No Power/Display Off: Ensure the AC adapter is securely plugged into both the clock and a working wall outlet. Check if the outlet has power.
- Alarm Not Sounding: Verify that the alarm is activated (alarm icon visible on display) and the alarm time is correctly set. Check the alarm volume level.
- Radio Static/Poor Reception: Extend the FM wire antenna fully for better reception. Try repositioning the clock radio to a different location to improve signal strength. For AM reception, rotate the unit to find the best signal.
- Time/Settings Lost After Power Outage: Ensure fresh AAA batteries are installed correctly in the battery backup compartment.
If the problem persists after attempting these solutions, please contact customer support for further assistance.
6. Specifications
| Brand | Ratakee |
| Model Number | H249US |
| Colour | Blue Led |
| Product Dimensions | 15.49 x 7.87 x 5.59 cm |
| Item Weight | 350 g |
| Material | Plastic |
| Display Type | LED |
| Power Source | AC Powered (110V) |
| Battery Backup | 2 x AAA batteries (not included) |
| FM Frequency Range | 87.5-108 MHz |
| AM Frequency Range | 520-1710 KHz |
| Special Features | Alarm, Brightness Dimmer, Radio |

Image: Product dimensions of the Ratakee Digital Alarm Clock Radio.
7. Warranty and Support
Ratakee is committed to providing quality products and customer satisfaction. If you have any questions regarding the operation, setup, or performance of your alarm clock radio, please do not hesitate to contact our customer support team.
In the event that the product is deemed defective, you may be eligible for a hassle-free replacement or refund. For specific inquiries or to report an issue, please reach out to us directly. We are dedicated to assisting you and ensuring a positive experience with your Ratakee product.


