1. Product Overview
The Start-X Remote Starter Kit provides a convenient way to remotely start your vehicle using your existing factory key fob. This system allows you to pre-heat your vehicle in winter or cool it down in summer, enhancing comfort before you enter.

Image: The Start-X Remote Starter Kit packaging, showing a white GMC Yukon in the background and a hand holding a factory remote.
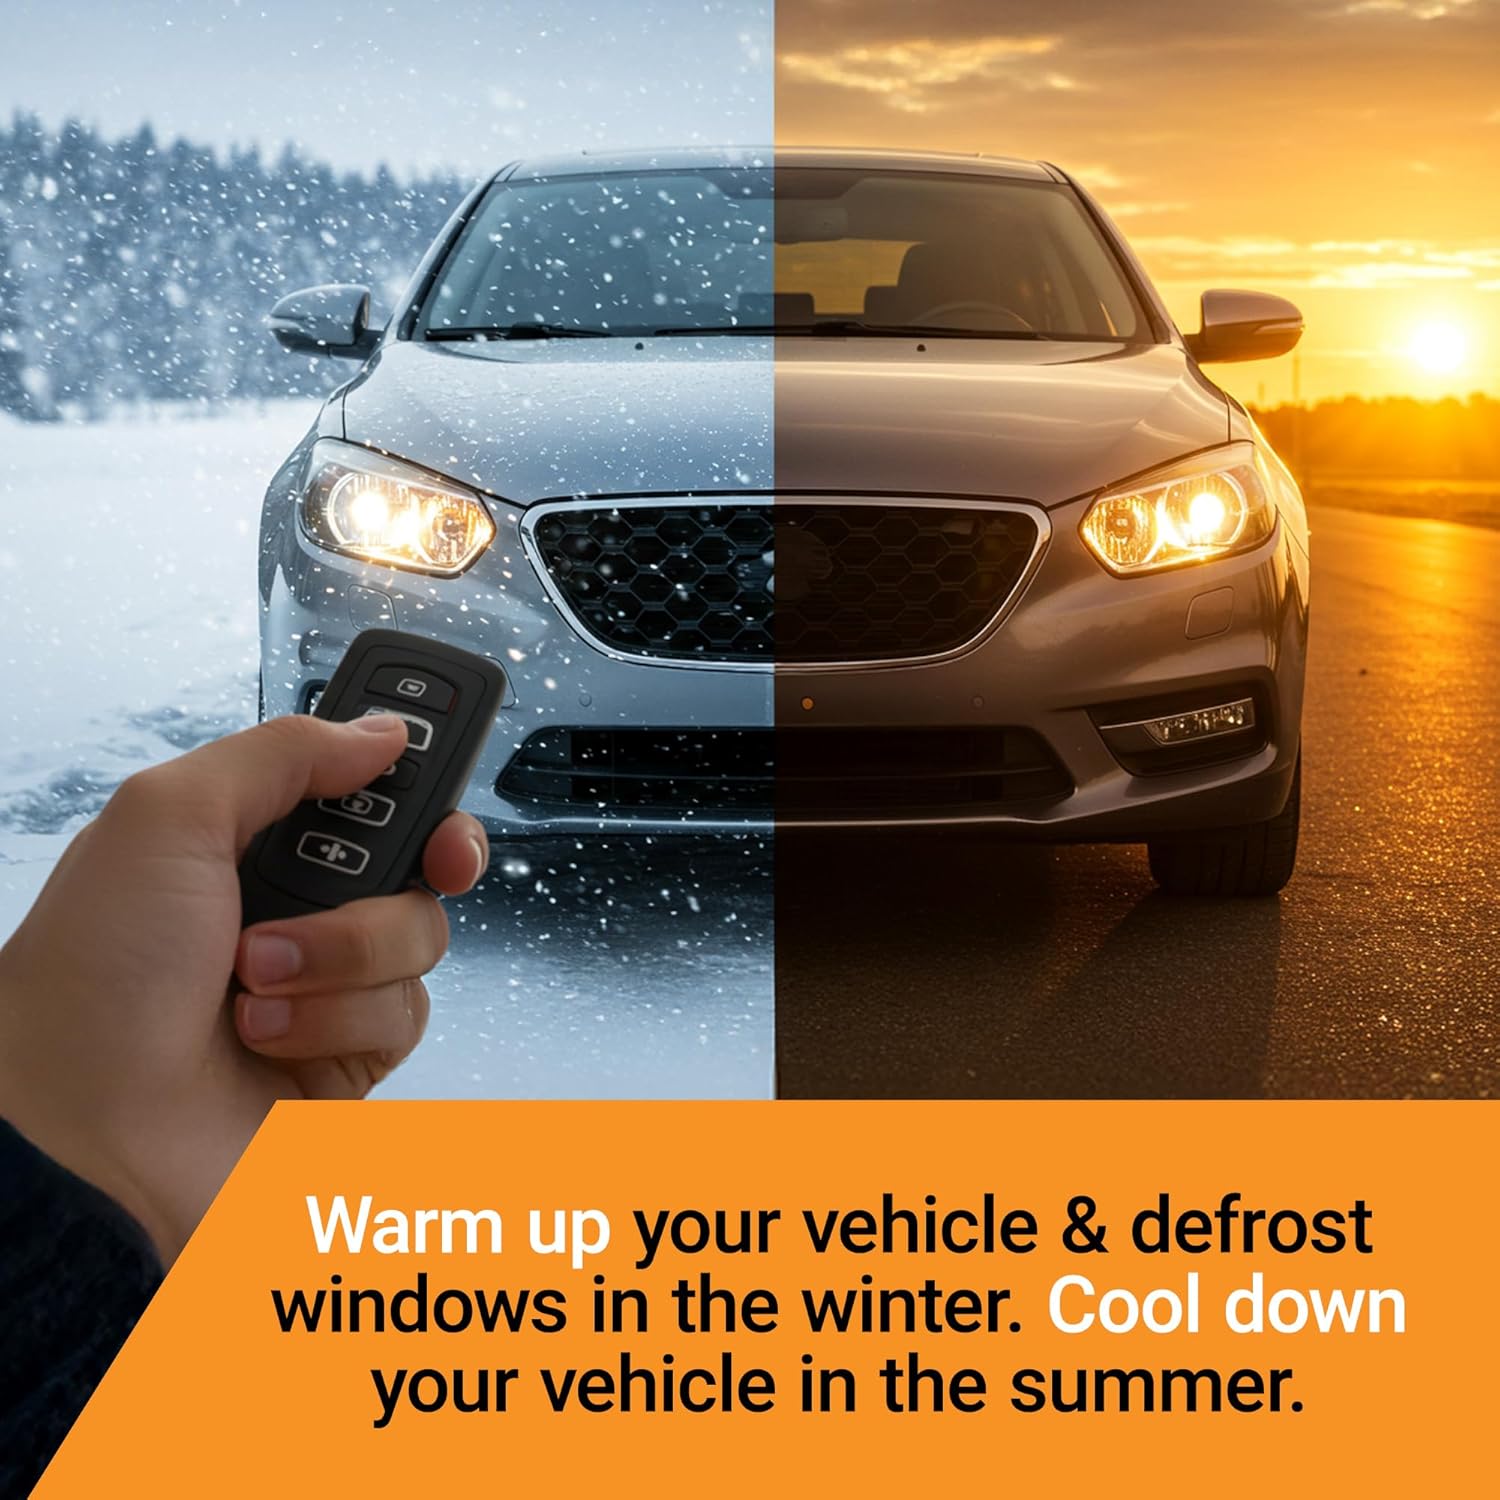
Image: A visual representation of the remote starter's benefit, showing a vehicle in both snowy winter and sunny summer conditions, ready to be pre-conditioned.
2. Compatibility
- Vehicle Models: Chevrolet Suburban, Chevrolet Tahoe, GMC Yukon
- Model Years: 2015, 2016, 2017, 2018, 2019, 2020
- Ignition Type: Key blade ignition only (not compatible with push-to-start vehicles)
- Transmission: Automatic transmission only
- Fuel Type: Gas only
- Remote Requirement: Requires existing factory remote. No additional remote is included with this kit.
- Programming Requirement: A Windows PC is required to complete the installation and programming process.

Image: Visual representation of vehicle requirements for the remote starter kit, including automatic transmission, key ignition, and gas fuel type.
3. Package Contents
The Start-X Remote Starter Kit includes all necessary components for installation:
- Remote Start Module
- Vehicle-specific T-Harness
- Pry Tool
- Zip Ties
- Installation Guide
- Welcome Card
- Warning Sticker

Image: An organized display of the items included in the Start-X Remote Starter Kit, such as the module, wiring harness, and tools.
4. Installation Guide
This kit features a plug-n-play T-harness design, eliminating the need for wire cutting or splicing. Follow the steps below for physical installation. A Windows PC is required for the final programming step.
4.1. Accessing the BCM (Body Control Module)
- Locate the passenger side kick panel. Depending on your vehicle model, you may need to remove one screw or simply pull the panel down to disengage the clips.
- Once the panel is removed, you will gain access to the BCM, where the T-harness will be connected.
Video: This video demonstrates the process of accessing the Body Control Module (BCM) on the passenger side of a GM vehicle, including panel removal and initial access to the wiring.
4.2. Connecting the T-Harness
- Identify the white, blue, and green connectors from the vehicle's BCM.
- Press on the tab of each connector and disconnect them from the BCM.
- Connect the corresponding T-harness connectors inline with the vehicle's connectors. Ensure each side is properly and fully connected, listening for a click to confirm.
- Connect the remaining T-harness connectors to the BCM, ensuring a secure fit.

Image: A detailed view of the T-harness being connected to the vehicle's wiring, illustrating the plug-and-play nature of the installation.
4.3. Securing the Module
Use the provided zip ties to secure the remote start module and excess wiring, ensuring it is safely tucked away and does not interfere with any moving parts or pedals.
5. Programming the Module
After the physical installation, the module requires programming using a Windows PC. Refer to the detailed programming procedures provided in the included installation guide for specific steps. This step is crucial for the remote starter to function correctly with your vehicle.

Image: A visual reminder that a Windows computer is necessary for the programming phase of the remote starter installation.
6. Operating Instructions
6.1. Remote Start
To start your vehicle remotely, press the Lock button on your factory key fob three (3) times in quick succession. The vehicle's parking lights will flash, and the engine will start.
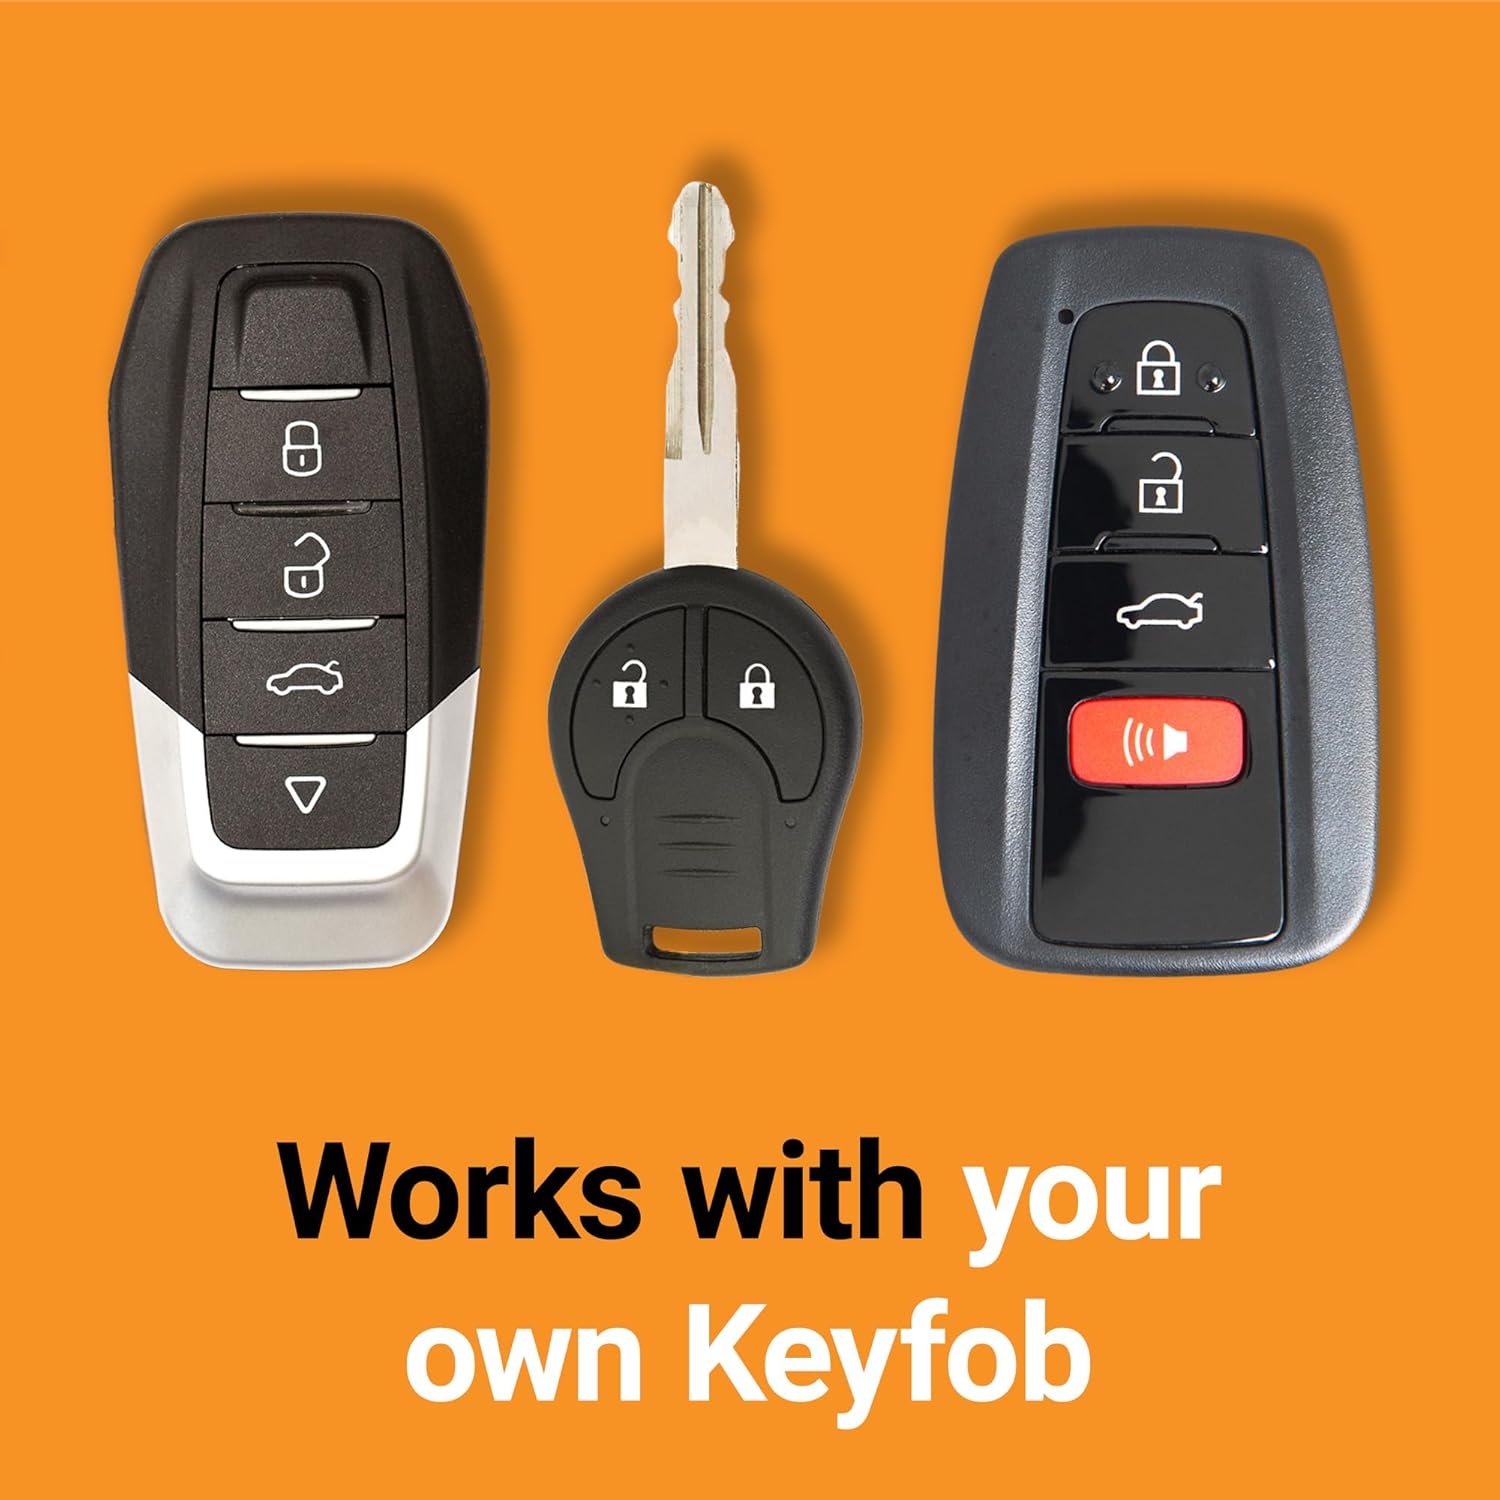
Image: A hand demonstrating the use of a factory key fob, highlighting its compatibility with the remote start system.
6.2. Remote Shut-off
To turn off your vehicle remotely, press the Lock button on your factory key fob three (3) times in quick succession again.
6.3. Entering the Vehicle After Remote Start
After remotely starting your vehicle, unlock the doors using your factory remote. When you open any door, the vehicle's engine will shut down as a safety precaution. You must restart the vehicle using the ignition key before driving.
7. Important Safety Information
- Ensure your vehicle is in Park (P) before attempting to remote start.
- Never remote start your vehicle in an enclosed space, such as a garage, due to the risk of carbon monoxide poisoning.
- Always ensure the vehicle is visible and clear of obstructions before remote starting.
- The remote starter is designed for automatic transmission vehicles only.
- The vehicle will shut down when a door is opened after remote starting. This is a safety feature.
8. Troubleshooting
| Problem | Possible Cause | Solution |
|---|---|---|
| Vehicle does not remote start. | Incorrect programming, incompatible vehicle, low battery in key fob, vehicle not in Park. |
|
| Vehicle starts but immediately shuts off. | Door opened, programming issue, or safety feature activation. |
|
| Remote start range is limited. | Interference, battery in key fob, or inherent factory remote range. |
|
9. Specifications
- Manufacturer: Start-X
- Model Number: GM7-tahoe
- Item Weight: Approximately 1.04 pounds
- Package Dimensions: Approximately 8.43 x 3.62 x 2.95 inches
- ASIN: B094PM8VJB
10. Warranty and Support
For technical assistance, programming support, or troubleshooting, please contact the Start-X customer support team. Refer to the contact information provided in your product packaging or on the official Start-X website.
This product is from a small business brand. Support small businesses.


