
ThreeH H-AC55Blue
ThreeH Digital Alarm Clock with Radio
Model: H-AC55Blue
Brand: ThreeH
Introduction
Thank you for purchasing the ThreeH Digital Alarm Clock with Radio. This manual provides detailed instructions for setting up, operating, and maintaining your new alarm clock. Please read it thoroughly to ensure optimal performance and longevity of the product.

Image: Front view of the ThreeH Digital Alarm Clock, displaying a large, clear blue LED time. The clock features a sleek, modern design with a reflective screen.
Product Features
- Large LED Display: 7.6-inch LED screen for easy readability.
- FM Radio: Built-in FM radio with 15-level adjustable volume and memory for up to 15 stations (76-108 MHz).
- Dual Alarm Settings: Set two independent alarms for different wake-up times.
- Snooze Function: Adjustable snooze duration (default 9 minutes).
- USB Charging Port: Convenient USB port for charging mobile phones or other devices.
- Built-in Battery Backup: Ensures time memory function during power outages (requires 1 CR2 battery, not included).
- Adjustable Brightness: 4 levels of brightness adjustment (manual or automatic).
Setup
1. Power Connection
Connect the DC jack to the power input port on the back of the unit. Plug the other end into a standard wall outlet.
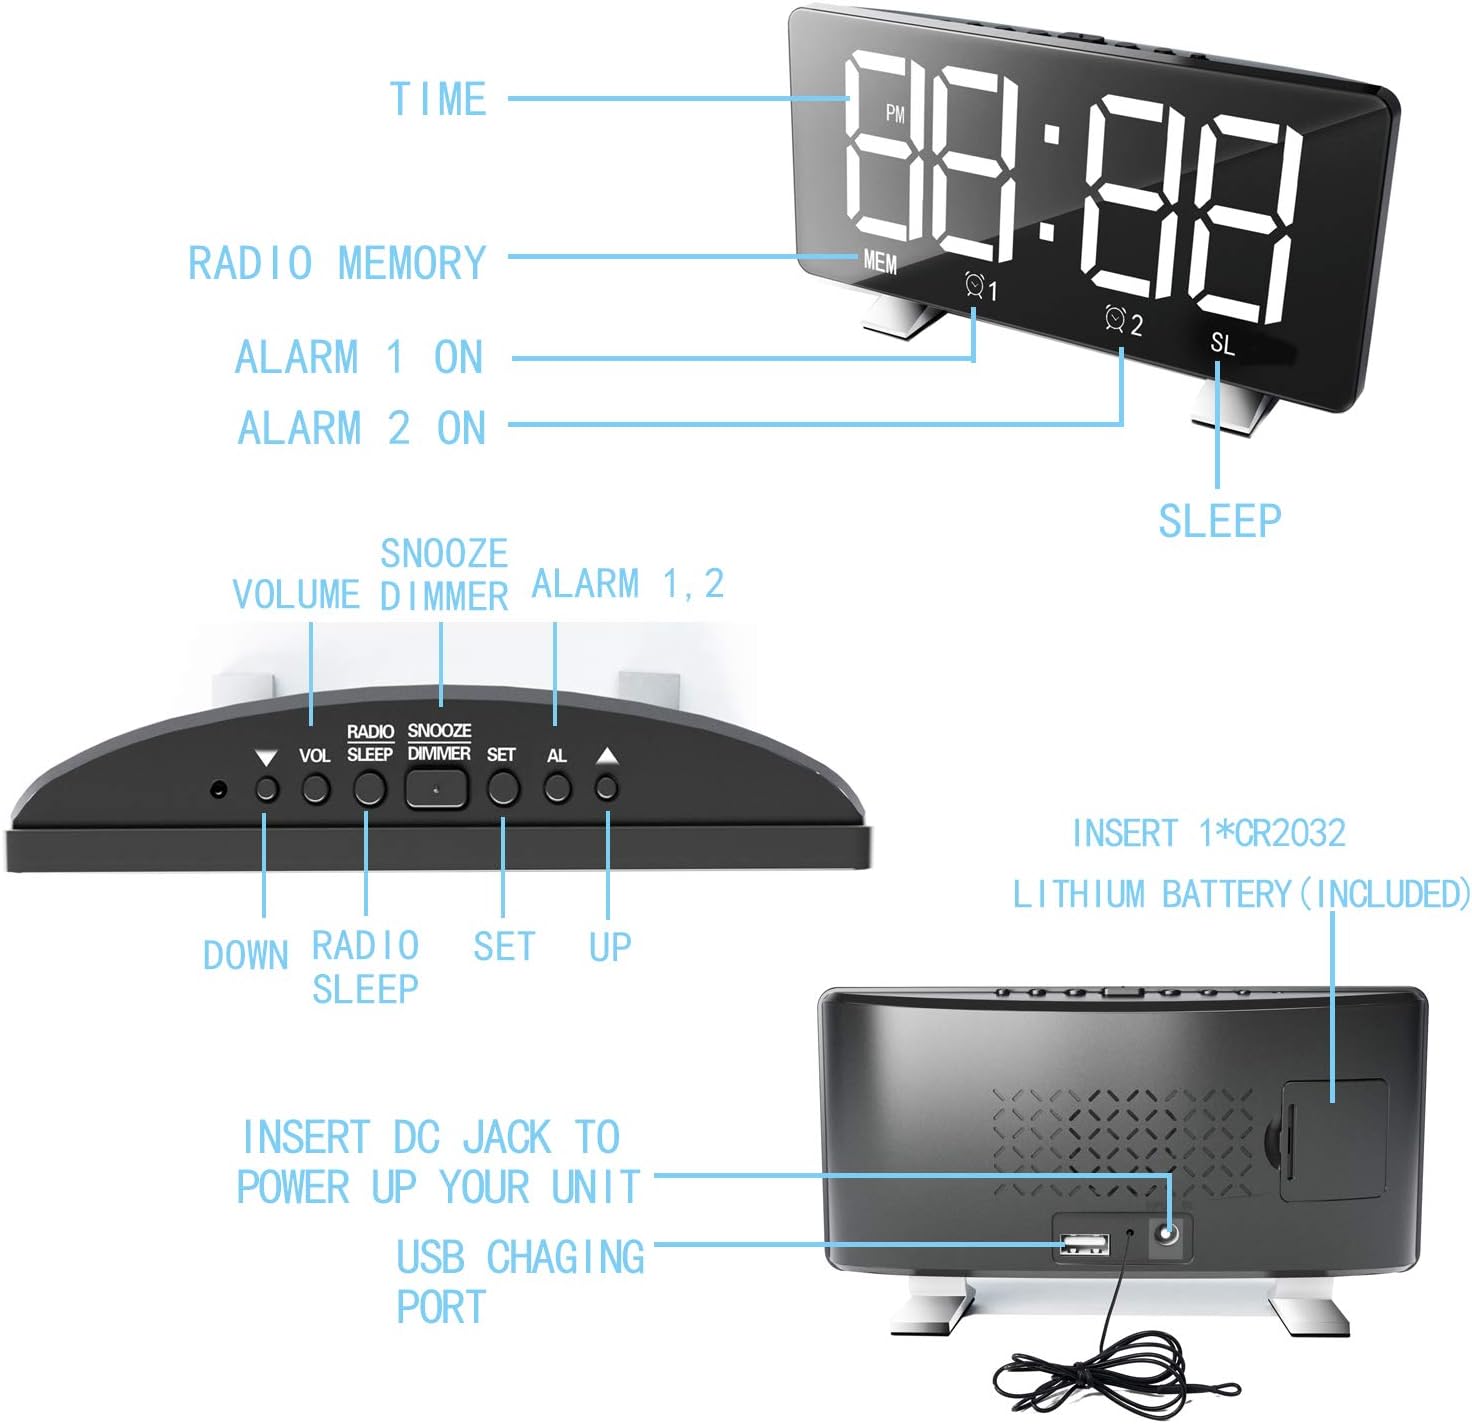
Image: Diagram illustrating the back panel of the alarm clock, highlighting the DC power input and the USB charging port. It also shows the location for the CR2032 lithium battery.
2. Battery Backup Installation
For time memory function during power outages, insert 1 CR2 battery (not included) into the battery compartment on the back of the clock. Ensure correct polarity.
3. Initial Time Setting
Upon first power-up, the clock may display a default time. Proceed to the "Operating Instructions" section to set the correct time.
Operating Instructions
Setting the Time
- Press and hold the SET button until the hour digits flash.
- Use the UP or DOWN buttons to adjust the hour.
- Press SET again to move to the minute digits.
- Use the UP or DOWN buttons to adjust the minutes.
- Press SET to confirm and exit time setting mode.
- To switch between 12-hour and 24-hour format, press the SET button once while in normal time display mode.
Setting Alarms (Alarm 1 and Alarm 2)
The clock supports two independent alarms.
- Press the AL button once to set Alarm 1, or twice to set Alarm 2. The corresponding alarm icon (Q1 or Q2) will flash.
- The hour digits will flash. Use UP or DOWN to adjust the hour.
- Press AL again to move to the minute digits. Use UP or DOWN to adjust the minutes.
- Press AL again to select the alarm sound source: Radio or Digital Alarm.
- Press AL one more time to confirm and activate the alarm. The alarm icon will remain lit.
- To deactivate an alarm, press the AL button repeatedly until the corresponding alarm icon disappears.

Image: Illustration demonstrating the dual alarm functionality, showing two different wake-up times (7:00 and 10:00) and the snooze/dimmer button.
Using the Snooze Function
When an alarm sounds, press the SNOOZE/DIMMER button to temporarily silence the alarm for 9 minutes (default). The alarm will sound again after the snooze period. To cancel the alarm completely, press any other button.
FM Radio Operation
- Press the RADIO button to turn on the FM radio.
- Press and hold the RADIO button to automatically scan and save available stations (up to 15).
- Use the UP or DOWN buttons to manually tune or cycle through saved stations.
- Adjust the volume using the VOL button.
- To turn off the radio, press the RADIO button again.
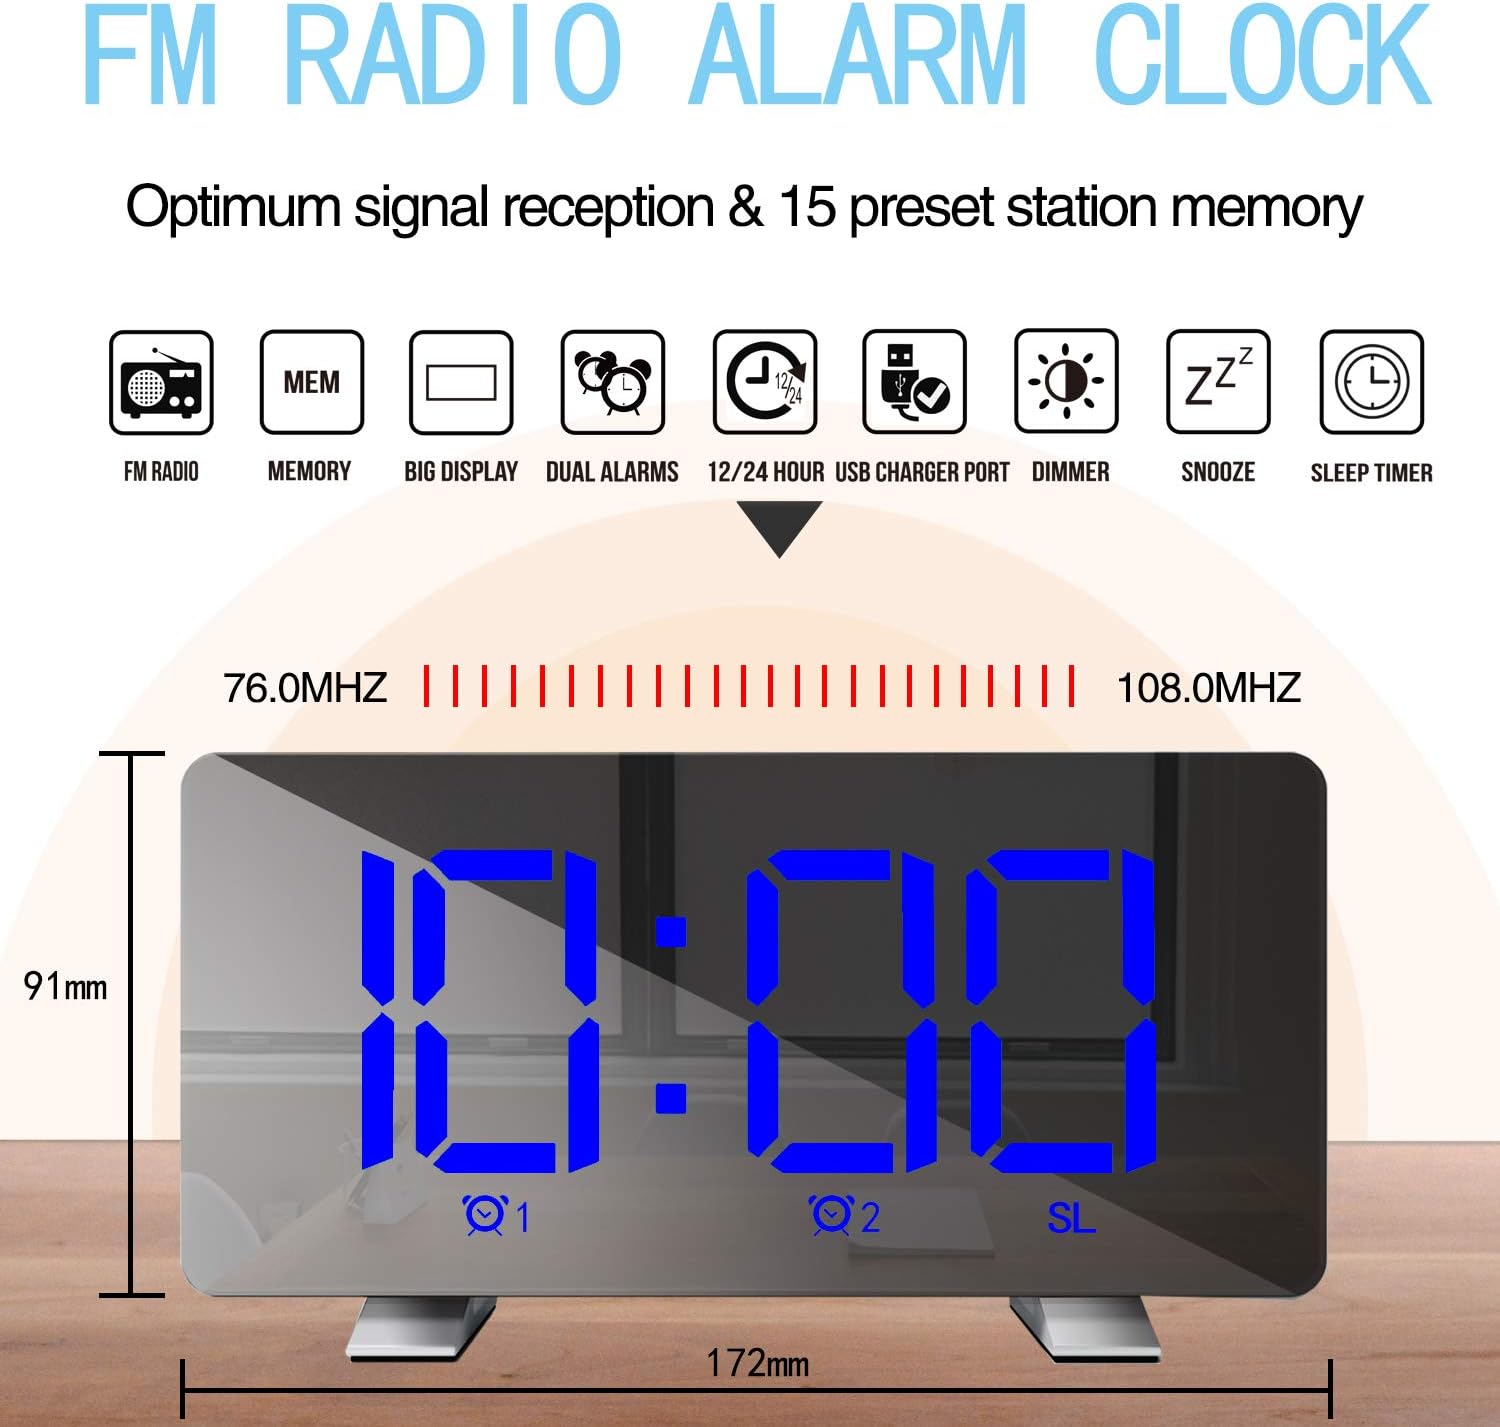
Image: Diagram highlighting the FM radio features, including frequency range (76.0MHz-108.0MHz) and memory for 15 preset stations. Also shows the clock's dimensions.
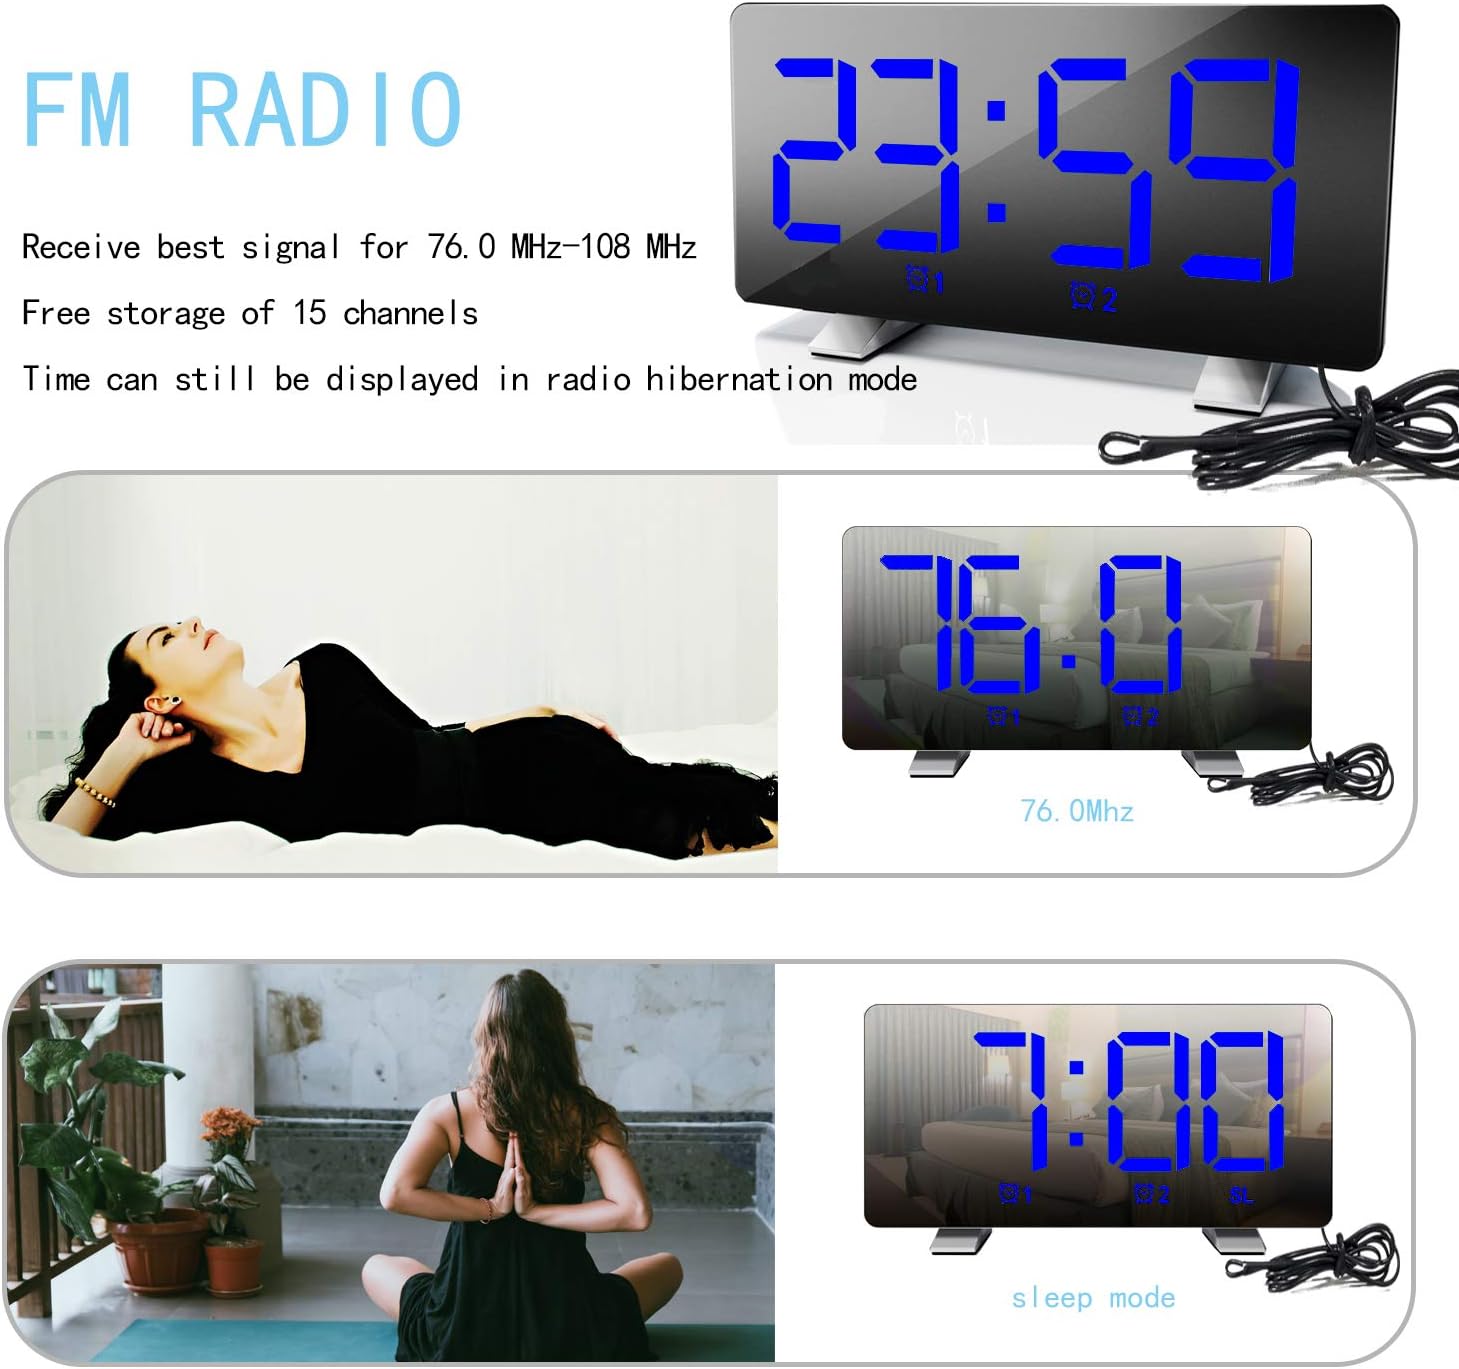
Image: The alarm clock displaying an FM radio frequency (76.0 MHz) and showing the time in sleep mode, indicating that time is still visible during radio operation.
Adjusting Display Brightness
Press the SNOOZE/DIMMER button repeatedly to cycle through 4 levels of brightness: Bright, Medium, Dim, and Off. The clock can also automatically adjust brightness based on ambient light.

Image: Visual representation of the alarm clock display at three adjustable brightness levels: Bright, Medium, and Dim, along with an "Off" state for the display.
USB Charging Port
Connect your mobile phone or other USB-powered device to the USB charging port on the back of the clock. This port provides power for charging your devices.
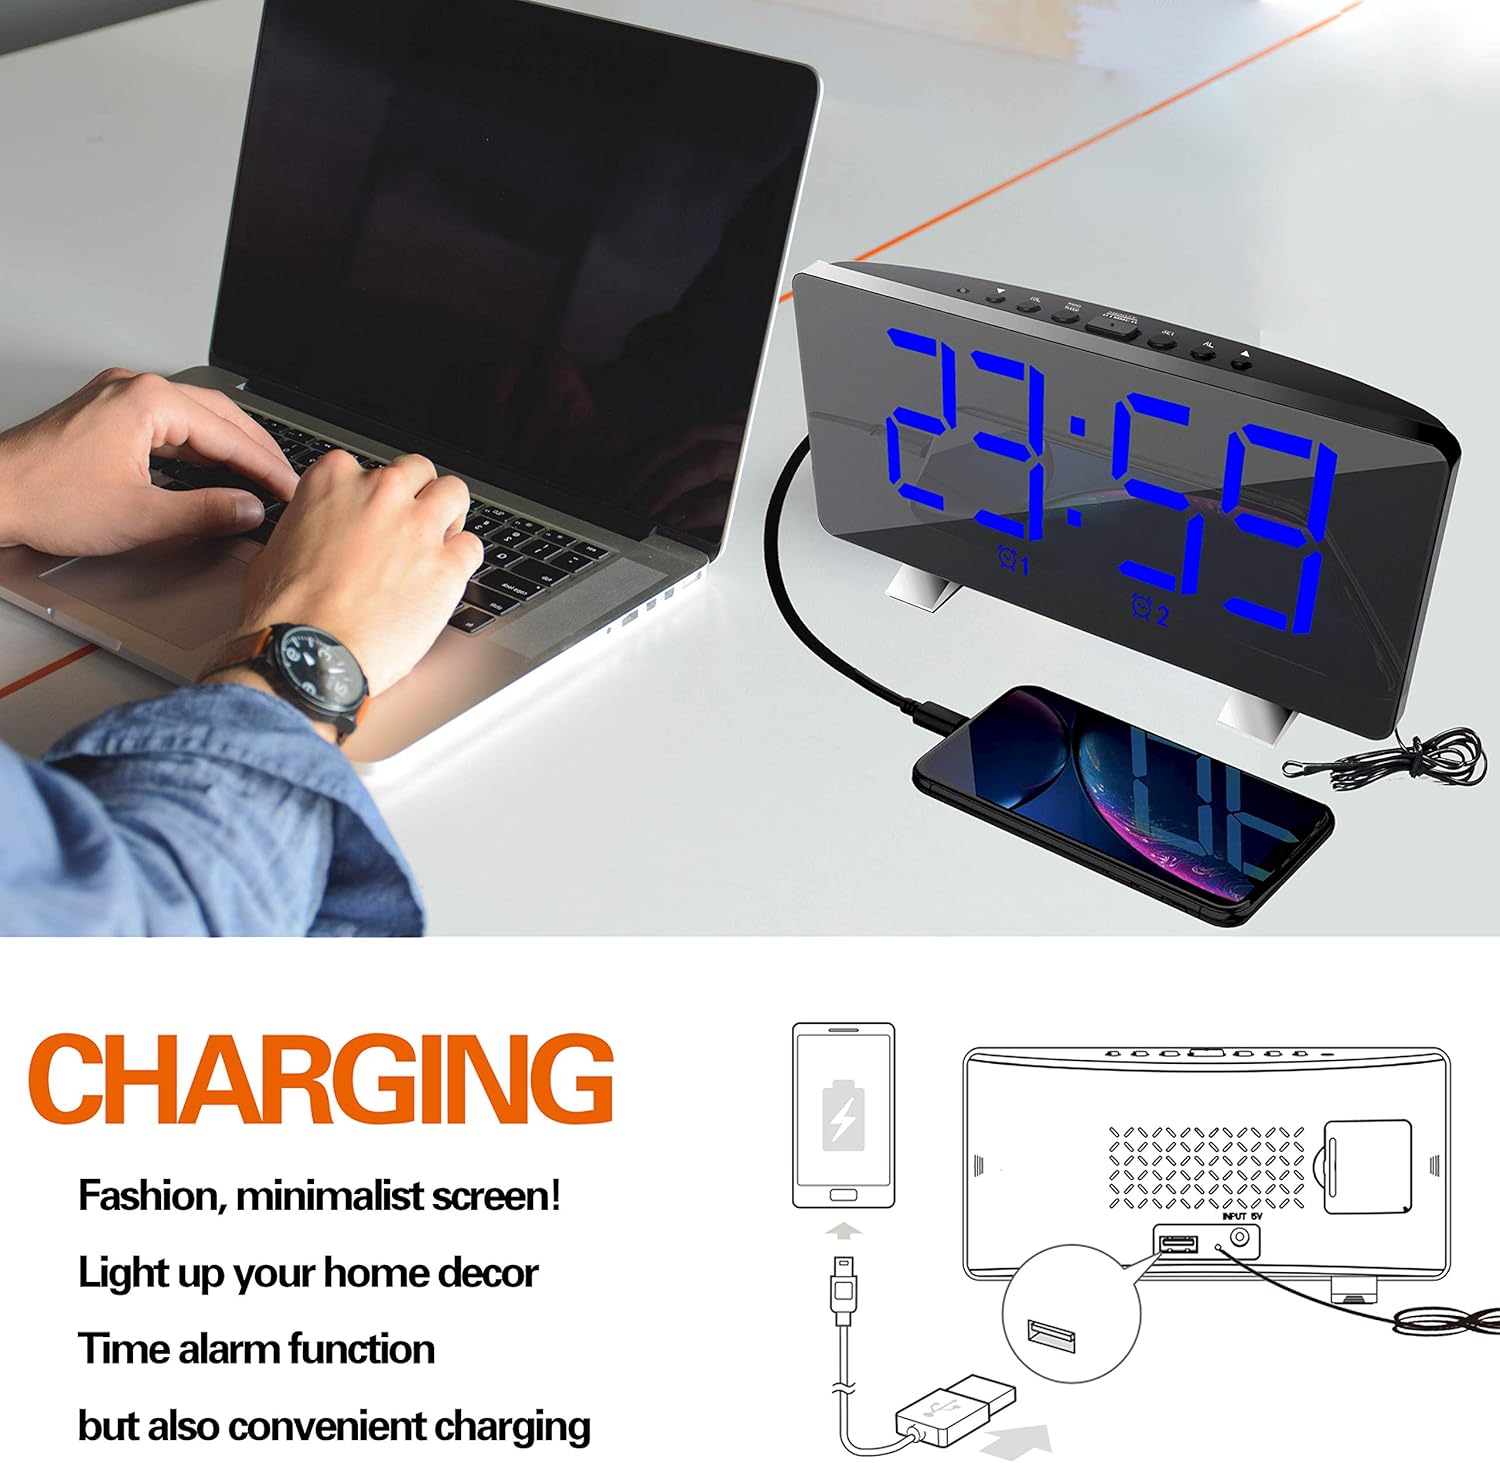
Image: The ThreeH Digital Alarm Clock connected to a laptop, with a smartphone charging via the clock's USB port, demonstrating its charging capability.
Maintenance
- Clean the clock with a soft, dry cloth. Do not use abrasive cleaners or solvents.
- Avoid exposing the clock to extreme temperatures, direct sunlight, or high humidity.
- Do not immerse the clock in water or any other liquid.
- If the clock will not be used for an extended period, remove the battery backup to prevent leakage.
Troubleshooting
| Problem | Possible Cause | Solution |
|---|---|---|
| Display is blank. | No power connection. | Ensure the power adapter is securely plugged into the clock and a working wall outlet. |
| Alarm does not sound. | Alarm not activated or set incorrectly. | Verify alarm settings and ensure the alarm icon is lit on the display. Check alarm volume. |
| Radio reception is poor. | Weak signal or interference. | Adjust the position of the clock or the antenna wire for better reception. Avoid placing near other electronic devices. |
| USB charging not working. | Device not compatible or cable issue. | Ensure your device is compatible with USB charging. Try a different USB cable. |
Specifications
| Brand | ThreeH |
| Model Number | H-AC55Blue |
| Display Type | Digital LED |
| Dimensions (Approx.) | 172mm (W) x 91mm (H) |
| Power Source | AC Power Adapter (USB powered, adapter not included) |
| Battery Backup | 1 CR2 battery (not included) |
| FM Radio Frequency | 76.0MHz - 108.0MHz |
| Material | Plastic, Acrylonitrile Butadiene Styrene |
| Item Weight | 295 Grams (10.4 ounces) |
Warranty and Support
For warranty information and customer support, please refer to the documentation included with your purchase or contact ThreeH customer service directly. Contact details can typically be found on the manufacturer's official website or on the product packaging.
Please retain your proof of purchase for any warranty claims.
Related documentsH-AC55Blue

Ask a question about this manual
Ask about setup, troubleshooting, compatibility, parts, safety, or missing instructions. Manuals+ will review the question and use this page’s manual context to help answer it.