
Introduction
Thank you for choosing the ThreeH Digital Alarm Clock Radio. This manual provides essential information for setting up, operating, and maintaining your device. Please read it carefully to ensure proper use and to fully utilize all features.
Safety Information
- Do not expose the device to water, moisture, or extreme temperatures.
- Avoid placing the clock near heat sources or in direct sunlight.
- Use only the provided USB cable for power. Ensure the power adapter (not included) meets the specified voltage (DC 5V).
- Do not attempt to disassemble or repair the device yourself. Contact qualified service personnel for assistance.
- Keep out of reach of children.
Package Contents
The package includes:
- ThreeH Digital Alarm Clock Radio (Model H-AC55Red)
- USB Power Cable (Note: Power adapter not included)
- CR2032 Button Battery (pre-installed for memory backup)
- User Manual (this document)
Product Overview
Front Display

Image: Front view of the ThreeH Digital Alarm Clock Radio, displaying the time and alarm icons.
The device features a large 7.3-inch LED display for clear time visibility. The curved screen design enhances readability.
Back Panel and Controls

Image: Detailed view of the clock's back panel, highlighting control buttons and connection ports.
Key Controls:
- VOL / DOWN: Adjust volume, navigate down in settings.
- RADIO / SLEEP: Activate FM radio, set sleep timer, turn off radio.
- SNOOZE / DIMMER: Snooze alarm, adjust display brightness (manual/auto).
- SET: Enter settings mode, confirm selections.
- UP: Navigate up in settings, adjust values, increase volume.
- AL1 / AL2: Set and activate/deactivate Alarm 1 and Alarm 2.

Image: Diagram illustrating the functions of the buttons and ports on the back of the alarm clock.
Setup
Power Connection
Connect the provided USB power cable to the DC 5V input port on the back of the alarm clock. Plug the other end into a USB power adapter (not included) or a powered USB port.

Image: Illustration of connecting the USB power cable to the device.
The built-in CR2032 button battery provides memory backup for time and alarm settings during power outages. This battery is pre-installed.
Setting the Time
- Press and hold the SET button until the hour digits flash.
- Use the UP or DOWN buttons to adjust the hour.
- Press SET again to confirm the hour and move to minute adjustment.
- Use the UP or DOWN buttons to adjust the minutes.
- Press SET again to confirm the minutes and exit time setting mode.
12/24 Hour Format
While the time is displayed, press the UP button briefly to switch between 12-hour and 24-hour formats. In 12-hour format, "PM" will be indicated on the display.
Operating Instructions
Adjusting Display Brightness
The display has 4 levels of adjustable brightness (Bright, Medium, Dim, Off). You can adjust it manually or set it to adjust automatically based on ambient light.

Image: Visual representation of the four adjustable brightness levels.
- Press the SNOOZE / DIMMER button repeatedly to cycle through the manual brightness levels: Bright > Medium > Dim > Off.
- To enable automatic brightness adjustment, press and hold the SNOOZE / DIMMER button. The display will show "AU" to indicate automatic mode. The clock will then adjust its brightness based on ambient light conditions.
- To disable automatic brightness, press and hold the SNOOZE / DIMMER button again.
Setting Alarms (Alarm 1 and Alarm 2)
The clock supports two independent alarms. The default snooze time is 9 minutes.
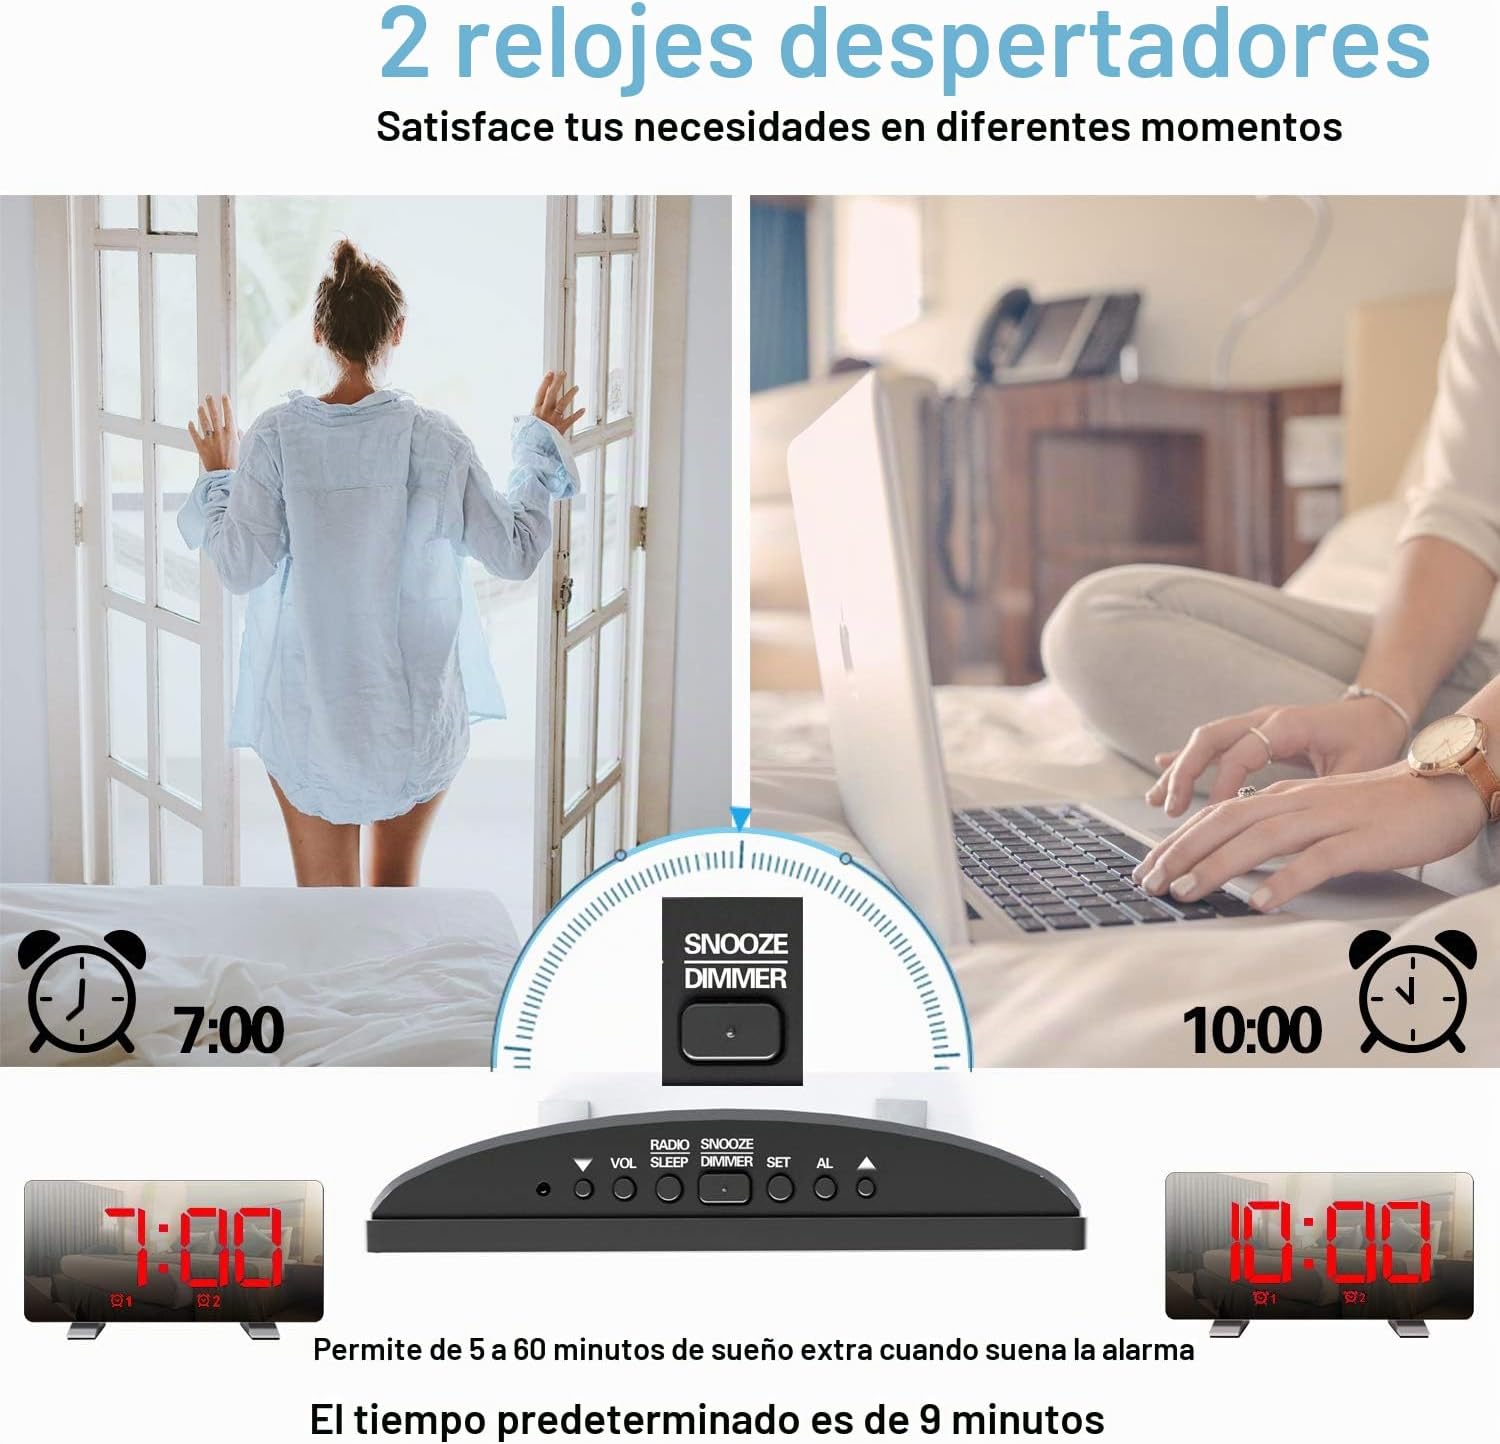
Image: Depiction of setting two separate alarms for different times.
- Press the AL1 or AL2 button to select the alarm you wish to set. The alarm icon and hour digits will flash.
- Use the UP or DOWN buttons to adjust the hour.
- Press the selected alarm button (AL1 or AL2) again to confirm the hour and move to minute adjustment.
- Use the UP or DOWN buttons to adjust the minutes.
- Press the selected alarm button (AL1 or AL2) again to confirm the minutes.
- Next, select the alarm sound source: Use UP or DOWN to choose between "BU" (Buzzer) or "RA" (Radio).
- If "RA" is selected, use UP or DOWN to select a preset radio station (P01-P15).
- Press the selected alarm button (AL1 or AL2) again to confirm the sound source and exit alarm setting mode.
Activating/Deactivating Alarms
Press the AL1 or AL2 button briefly to toggle the respective alarm ON or OFF. The alarm icon will appear on the display when active.
Snooze Function
When an alarm sounds, press the SNOOZE / DIMMER button to activate snooze. The alarm will pause for 9 minutes and then sound again.
Stopping an Alarm
To stop an alarm from sounding (without snooze), press any button other than SNOOZE / DIMMER.
FM Radio Operation
The clock features an FM radio with a frequency range of 76-108 MHz and can store up to 15 preset stations.

Image: Overview of FM radio features and product dimensions.
- Press the RADIO / SLEEP button to turn on the FM radio. The current frequency will be displayed.
- Automatic Station Scan: Press and hold the RADIO / SLEEP button to automatically scan and save available FM stations. The clock can store up to 15 stations.
- Manual Tuning: Briefly press the UP or DOWN buttons to manually tune the frequency.
- Selecting Preset Stations: After an automatic scan, briefly press the RADIO / SLEEP button to cycle through the preset stations (P01, P02, etc.).
- Adjusting Radio Volume: Use the VOL / DOWN button to decrease volume and the UP button to increase volume. There are 15 volume levels.
- Turning Off Radio: Press and hold the RADIO / SLEEP button to turn off the FM radio.

Image: Visual representation of FM radio reception and frequency range.
Sleep Timer Function
The sleep timer allows the radio to play for a set duration before automatically turning off.
- While the radio is playing, press the RADIO / SLEEP button repeatedly to cycle through sleep timer options (e.g., 90, 60, 30, 15 minutes, OFF).
- The selected duration will be displayed briefly. The radio will turn off automatically after the set time.
USB Charging Port
The USB port on the back of the clock can be used to charge mobile phones or other USB-powered devices.

Image: The alarm clock actively charging a smartphone via its integrated USB port.
Connect your device's USB charging cable to the USB port on the back of the alarm clock. Ensure the alarm clock is powered on.
Maintenance
- Clean the clock with a soft, dry cloth. Do not use abrasive cleaners or solvents.
- Keep the device away from water and high humidity.
- Avoid exposing the clock to direct sunlight or extreme temperatures.
- If the display becomes dim or unresponsive after a power outage, the internal CR2032 battery may need replacement.
Troubleshooting
| Problem | Possible Cause | Solution |
|---|---|---|
| Clock does not turn on. | No power supply or loose connection. | Ensure the USB cable is securely connected to both the clock and a working power source. |
| Alarm does not sound. | Alarm not activated or volume too low. | Check if the alarm icon is displayed. Adjust alarm volume if using radio alarm. |
| Poor FM radio reception. | Weak signal or antenna not extended. | Extend the FM antenna fully. Try repositioning the clock for better reception. |
| Time/settings reset after power outage. | CR2032 backup battery depleted. | Replace the CR2032 button battery in the battery compartment on the back. |
Specifications
- Model: H-AC55Red
- Brand: ThreeH
- Display: 7.3-inch LED Digital
- Dimensions: 17.2 cm (W) x 3.81 cm (D) x 9.1 cm (H)
- Weight: 290 g
- Power Source: USB Cable (DC 5V input)
- Backup Battery: 1 x CR2032 (included)
- FM Frequency Range: 76-108 MHz
- Alarm Features: Dual Alarms, Snooze (9 minutes default), Radio/Buzzer alarm sound
- Brightness: 4 levels (manual) + Auto-dimming
- USB Charging Output: Standard USB (for charging external devices)
Warranty and Support
For warranty information and customer support, please refer to the documentation provided at the time of purchase or contact ThreeH customer service directly. Keep your purchase receipt for warranty claims.


