
1. Introduction
Thank you for choosing the Reland Sun DUAL Phono Preamplifier LME49720NA NE5532 DIY Kit. This high-fidelity phono preamplifier board is designed for enthusiasts to build or upgrade their audio systems, providing excellent amplification for both Moving Magnet (MM) and Moving Coil (MC) cartridges from turntables. This manual provides essential information for the safe and correct assembly, installation, and operation of your preamplifier.
2. Safety Information
Please read and understand all safety instructions before proceeding with assembly or operation. Failure to do so may result in electric shock, fire, or damage to the product.
- Electrical Safety: This is a DIY kit involving electrical components. Ensure all power is disconnected before handling or connecting any parts. Only use the specified power supply voltage (AC12VX2 to AC20VX2).
- Professional Assembly: If you are not experienced with electronics assembly, seek assistance from a qualified technician.
- Ventilation: Ensure adequate ventilation around the assembled board to prevent overheating.
- Environment: Do not expose the board to moisture, extreme temperatures, or direct sunlight.
- Static Discharge: Handle components with care to avoid damage from electrostatic discharge.
3. Product Overview
The Reland Sun DUAL Phono Preamplifier is a high-fidelity preamplifier board designed for turntables with Moving Magnet (MM) or Moving Coil (MC) cartridges. It features quality components for superior audio performance.
Key Features:
- Utilizes NOVER audio special capacitors for filtering.
- Incorporates DALE or VIS resistors, German ERO output capacitors, and WIMA/ELNA decoupling capacitors.
- Double-sided PCB with immersion process and single-point grounding for optimal signal integrity.
- Supports both Moving Magnet (MM) and Moving Coil (MC) cartridges.
Component Identification:
Below are images illustrating the preamplifier board and its dimensions.
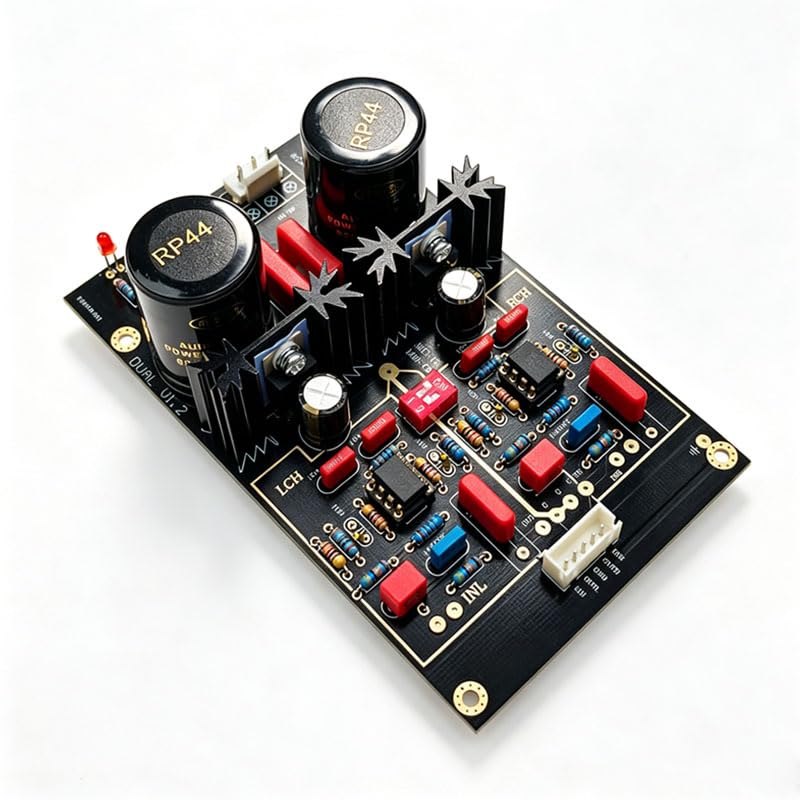
Figure 1: Top-down view of the Reland Sun DUAL Phono Preamplifier board. This image shows the layout of the capacitors, resistors, operational amplifiers (LME49720NA/NE5532), and input/output terminals.
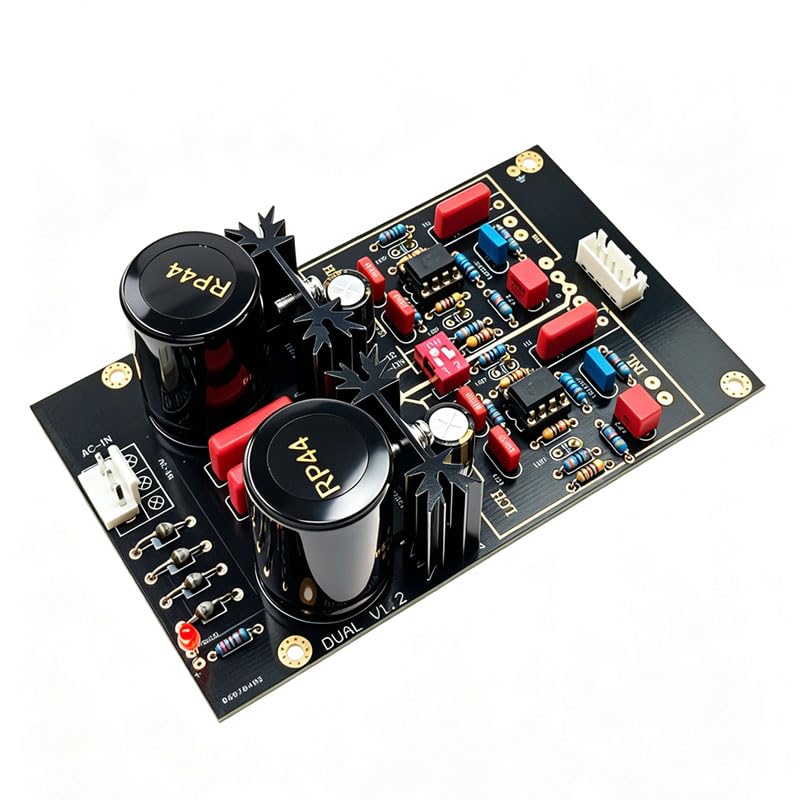
Figure 2: Top-down view of the preamplifier board with key dimensions indicated. The board measures 110mm in length and 46mm in width. This helps in planning for enclosure integration.
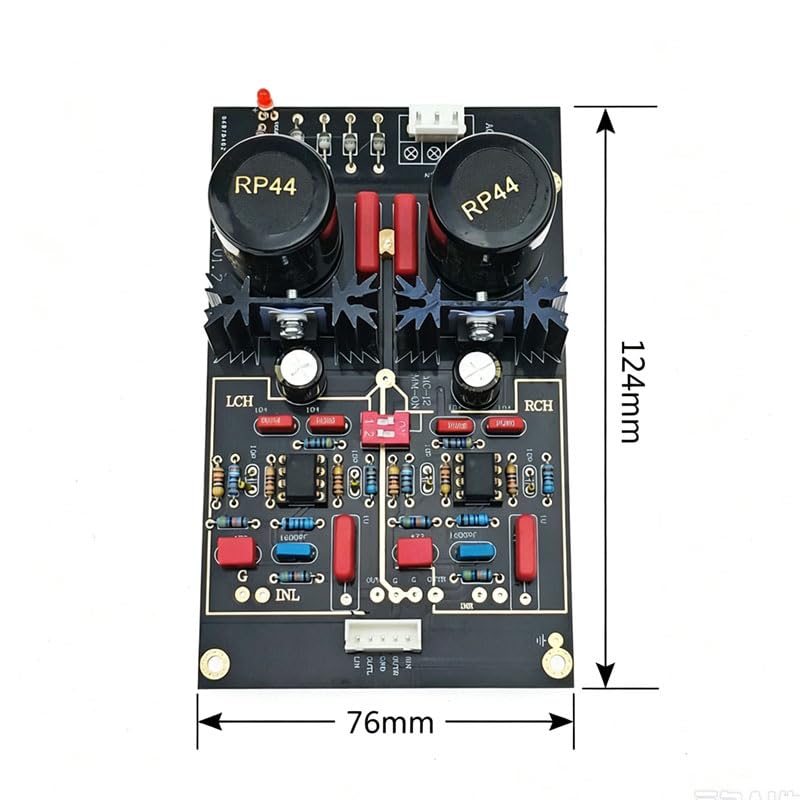
Figure 3: Bottom view of the Reland Sun DUAL Phono Preamplifier board, showing the solder points and traces. This view is important for understanding the PCB's construction and for any potential modifications or repairs.
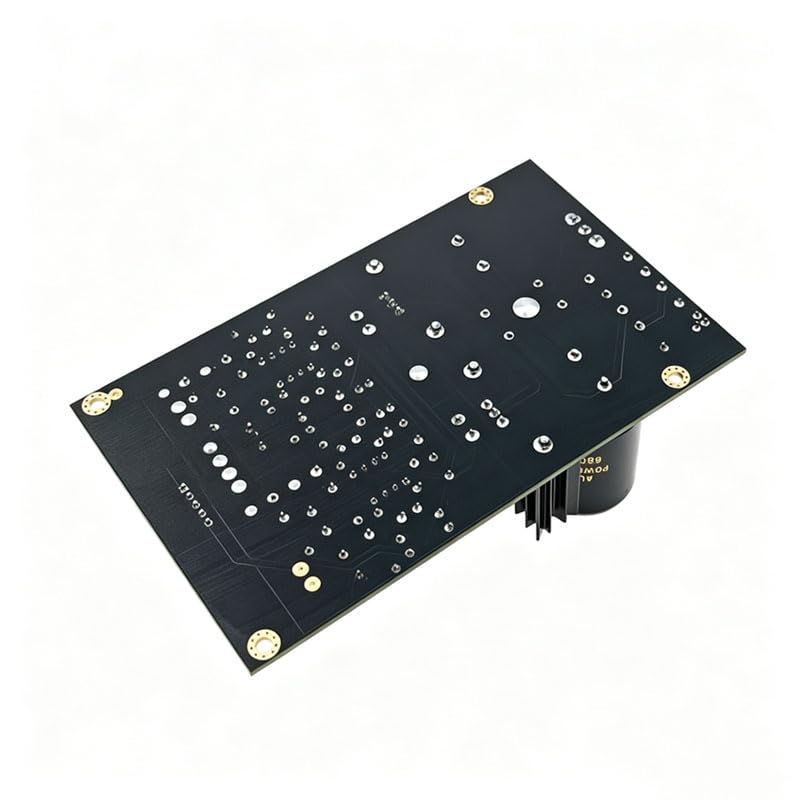
Figure 4: Angled view of the Reland Sun DUAL Phono Preamplifier board, providing a different perspective of the component placement and overall design.
4. Setup and Installation
This section outlines the steps for connecting your phono preamplifier board to your audio system.
- Power Supply Connection: Connect a suitable AC power supply to the designated AC-IN terminals on the board. The required voltage is AC 12V x 2 to AC 20V x 2. Ensure the power supply is stable and provides clean power.
- Turntable Input: Connect the RCA output cables from your turntable to the phono input terminals (typically labeled "IN" or similar) on the preamplifier board. Ensure correct left (L) and right (R) channel connections.
- Ground Connection: Connect the ground wire from your turntable to the ground terminal on the preamplifier board. This helps to minimize hum and noise.
- Audio Output: Connect the RCA output cables from the preamplifier board (typically labeled "OUT" or similar) to an available line-level input on your main amplifier or receiver.
- Cartridge Type Selection (if applicable): If your board includes a switch or jumpers for MM/MC selection, ensure it is set correctly for your turntable's cartridge type. Refer to your turntable's manual for cartridge specifications.
- Enclosure Integration: For optimal performance and safety, it is recommended to house the assembled board in a non-conductive enclosure. Ensure proper spacing and ventilation.
Note: Always ensure all connections are secure and correct before applying power to the system.
5. Operating Instructions
Once the preamplifier board is correctly installed and connected, follow these steps for operation:
- Power On: Turn on your main amplifier/receiver first, then apply power to the phono preamplifier board.
- Select Input: On your main amplifier/receiver, select the input source to which the phono preamplifier is connected.
- Play Record: Start playing a record on your turntable. Adjust the volume on your main amplifier/receiver to your desired listening level.
- Power Off: When finished, turn off the phono preamplifier board first, then your main amplifier/receiver.
6. Maintenance
The Reland Sun DUAL Phono Preamplifier board requires minimal maintenance.
- Cleaning: Ensure the board is powered off and disconnected from all sources before cleaning. Use a soft, dry cloth to gently wipe away dust. Do not use liquid cleaners or solvents.
- Inspection: Periodically inspect the board for any loose connections, damaged components, or signs of overheating.
- Storage: If storing the board for an extended period, keep it in a dry, cool environment, away from direct sunlight and dust.
7. Troubleshooting
If you encounter issues, refer to the following troubleshooting guide:
| Problem | Possible Cause | Solution |
|---|---|---|
| No sound |
|
|
| Humming or buzzing noise |
|
|
| Distorted sound |
|
|
8. Specifications
| Model | DUAL Phono Preamplifier LME49720NA NE5532 DIY Kit |
| Brand | Reland Sun |
| PCB Size | 110mm x 46mm |
| Power Supply Voltage | AC 12V x 2 to AC 20V x 2 |
| Minimum Supply Voltage | 12 Volts (AC) |
| Maximum Supply Voltage | 20 Volts (AC) |
| Mounting Type | Surface Mount |
| Key Components | NOVER audio capacitors, DALE/VIS resistors, German ERO output capacitors, WIMA/ELNA decoupling capacitors, LME49720NA / NE5532 operational amplifiers |
| PCB Construction | Double-sided, immersion process, single-point ground |
| ASIN | B08ZT16JZF |
| GTIN/UPC | 707338240411 |
9. Warranty Information
As a DIY kit, the warranty typically covers manufacturing defects of individual components at the time of purchase. It does not cover damage resulting from improper assembly, incorrect power supply, modifications, or misuse. Please retain your proof of purchase for any warranty claims. Specific warranty terms may vary by retailer.
10. Support
For technical assistance or inquiries regarding the Reland Sun DUAL Phono Preamplifier LME49720NA NE5532 DIY Kit, please contact your retailer or the manufacturer directly. When contacting support, please provide your product model number and a detailed description of the issue.