1. Introduction
This manual provides detailed instructions for the installation, operation, and maintenance of your Audiobank P2001 Monoblock Car Audio Amplifier. Please read this manual thoroughly before attempting installation or operation to ensure proper use and to prevent damage to the unit or your vehicle's audio system.
The Audiobank P2001 is a high-performance Class AB monoblock amplifier designed to deliver powerful and clear audio output for your car's subwoofer system. It comes with a comprehensive 4-gauge amplifier installation wiring kit to facilitate a complete setup.
2. Safety Information
Important Safety Precautions:
- Always disconnect the vehicle's battery negative terminal before starting any electrical work.
- Ensure all wiring is properly insulated to prevent short circuits.
- Mount the amplifier securely to prevent it from coming loose during vehicle movement.
- Avoid mounting the amplifier in areas exposed to direct sunlight, excessive heat, or moisture.
- Use appropriate gauge wiring as specified in this manual to handle the amplifier's power requirements.
- If you are unsure about any installation steps, consult a professional car audio installer.
- This amplifier is designed for 12V DC negative ground systems only.
3. Package Contents
Verify that all items are present in the package:
- Audiobank P2001 Monoblock Amplifier
- Remote Subwoofer Level Control
- High Quality Thick 17 Feet FT 4 Gauge GA Power Cable
- Premium 3 Feet FT 4 Gauge GA Ground Cable
- Inline AGU Fuse Holder & 80A + 100A Fuse
- True Sound 17 Feet FT Double Shielded RCA Cable
- High Quality 17 Feet FT / 18 GA Turn-On Cable
- 20 Feet FT / 16 GA Speaker Wire
- All necessary accessories and terminals for installation

Image: The Audiobank P2001 amplifier shown alongside the complete 4-gauge amplifier installation wiring kit, including power cable, ground cable, RCA cables, speaker wire, fuse holder, and various terminals.
4. Key Features
- Power Output: 2000 Watts Peak Power, 425W x 1 RMS at 4 Ohms.
- Class AB Operation: Efficient and high-fidelity audio reproduction.
- Tri-Mode Capable: Versatile configuration options.
- MOSFET Power Supply: Pulse Width Modulated (PWM) for stable power delivery.
- 2 Ohm Stable Operation: Allows for flexible speaker configurations.
- Heavy-Duty Aluminum Alloy Heatsink: Ensures efficient heat dissipation.
- Continuously Variable Low Pass Crossover: Adjustable from 50Hz to 250Hz for precise audio tuning.
- Bass Boost: Variable from 0 to +12dB for enhanced low-frequency response.
- Remote Subwoofer Level Control: Convenient adjustment of bass levels from the driver's seat.
- Continuously Variable Input Gain Control: Matches the amplifier's input sensitivity to the source unit's output.
- Soft Turn-On Circuit: Prevents pops and thumps during power-up.
- Protection Circuitry: Thermal and Speaker Short Protection with LED indicators for power and protection status.
5. Setup and Installation
Proper installation is crucial for optimal performance and safety. If you are not confident in your ability to install this unit, please seek professional assistance.
5.1 Mounting the Amplifier
Choose a mounting location that is dry, well-ventilated, and secure. Avoid areas where the amplifier could be damaged by moving objects or exposed to excessive heat or moisture. Ensure there is sufficient airflow around the heatsink for proper cooling.
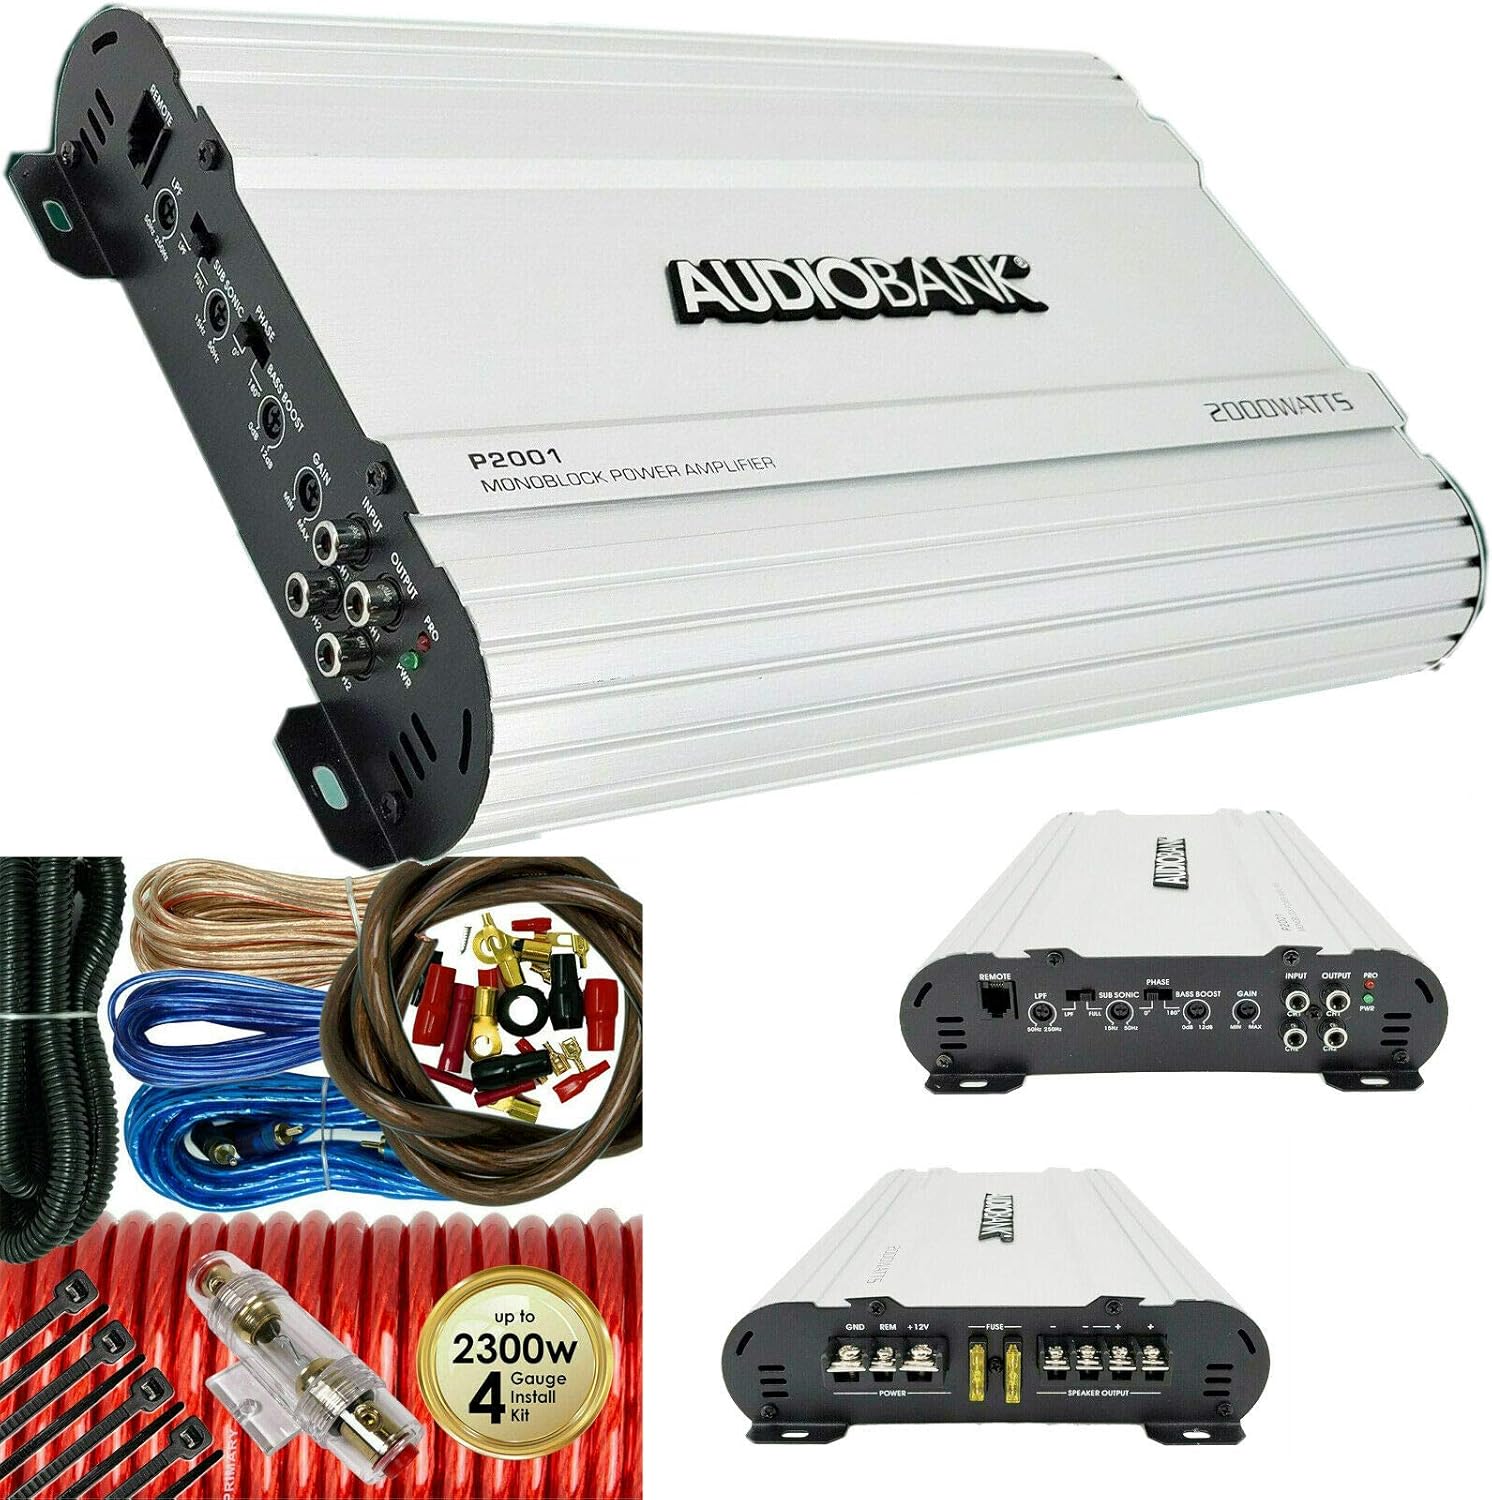
Image: Top view of the Audiobank P2001 amplifier, showcasing its heavy-duty aluminum alloy heatsink design.
5.2 Wiring Connections
Follow these steps carefully for wiring the amplifier:
- Power Connection (+12V):
Run the 4-gauge power cable from the vehicle's positive battery terminal to the amplifier's "+12V" terminal. Install the inline AGU fuse holder within 18 inches (45 cm) of the battery. Ensure the fuse is removed from the holder until all other connections are made.
- Ground Connection (GND):
Connect the 4-gauge ground cable from the amplifier's "GND" terminal to a clean, unpainted metal surface on the vehicle's chassis. Ensure a good electrical connection by scraping away any paint or rust. The ground cable should be as short as possible, ideally less than 3 feet (1 meter).
- Remote Turn-On Connection (REM):
Connect the 18-gauge turn-on cable from the amplifier's "REM" terminal to the remote output of your head unit. This wire tells the amplifier to turn on when the head unit is powered on.
- RCA Input Connection:
Connect the double-shielded RCA cable from the RCA output of your head unit to the "INPUT" RCA jacks on the amplifier. For optimal sound quality, use high-quality RCA cables.
- Speaker Output Connection:
Connect your subwoofer(s) to the "SPEAKER OUTPUT" terminals on the amplifier using the 16-gauge speaker wire. Ensure correct polarity (+ to + and - to -) for each speaker. This amplifier is 2 Ohm stable, allowing for various subwoofer configurations.
- Remote Subwoofer Level Control:
Plug the remote level control into the "REMOTE" port on the amplifier and mount it in a convenient location for easy access.
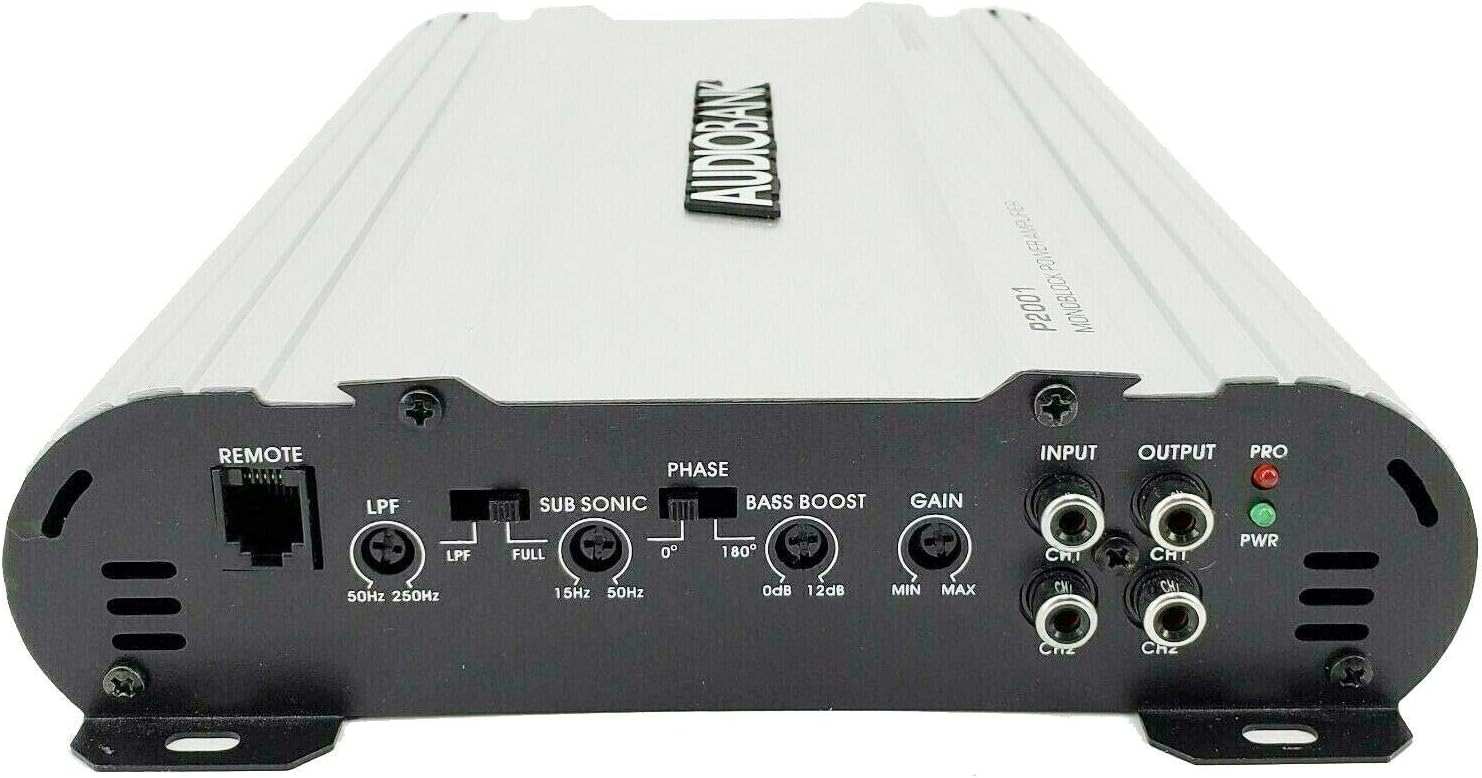
Image: Rear panel of the Audiobank P2001 amplifier, detailing the power input terminals (GND, REM, +12V) and speaker output terminals, along with the fuse slots.

Image: Front panel of the Audiobank P2001 amplifier, displaying the remote control port, low pass filter (LPF), sub sonic filter, phase switch, bass boost, gain control, RCA input/output, and power/protection LED indicators.
6. Operating Instructions
6.1 Initial Power-Up
Once all connections are securely made and the fuse is inserted into the fuse holder:
- Turn on your vehicle's ignition and then your head unit.
- The "PWR" (Power) LED on the amplifier should illuminate, indicating it is receiving power. If the "PRO" (Protection) LED illuminates, refer to the Troubleshooting section.
- Start with the amplifier's GAIN control set to minimum.
- Play a familiar audio track at a moderate volume level on your head unit.
6.2 Adjusting Controls
- GAIN Control (Input Sensitivity):
Slowly increase the GAIN control on the amplifier until you hear distortion, then back it off slightly. This matches the amplifier's input to your head unit's output level. Do not use the GAIN control as a volume knob.
- Low Pass Crossover (LPF):
Adjust the LPF (50Hz ~ 250Hz) to filter out high frequencies from reaching your subwoofer, ensuring it only reproduces bass notes. A common starting point is around 80-100Hz, but this can be adjusted based on your subwoofer and personal preference.
- Sub Sonic Filter:
This filter removes extremely low, inaudible frequencies that can waste amplifier power and potentially damage your subwoofer. Set it slightly below your subwoofer's resonant frequency or the lowest frequency you want reproduced (e.g., 15Hz-30Hz).
- Phase Switch (0°/180°):
This switch helps to align the subwoofer's output with the rest of your car's speakers. Experiment with both settings (0° and 180°) to find the one that provides the most impactful and cohesive bass response.
- Bass Boost:
Use the BASS BOOST control (0 to +12dB) to enhance low frequencies. Use sparingly to avoid distortion and potential damage to your subwoofer. Start at 0dB and increase gradually if desired.
- Remote Subwoofer Level Control:
This knob allows for convenient real-time adjustment of the subwoofer's output level from your driving position.
7. Maintenance
- Cleaning: Use a soft, dry cloth to clean the amplifier's exterior. Do not use harsh chemicals or abrasive cleaners.
- Ventilation: Ensure the amplifier's heatsink fins remain clear of dust and debris to maintain proper cooling. Periodically check for any obstructions.
- Connections: Periodically check all wiring connections for tightness and corrosion. Loose connections can lead to poor performance or damage.
- Fuse Replacement: If the amplifier's fuse blows, replace it only with a fuse of the same type and rating (80A or 100A AGU type, as supplied). Using a fuse with a higher rating can cause serious damage to the amplifier or vehicle's electrical system.
8. Troubleshooting
Before contacting support, review the following common issues and solutions:
| Problem | Possible Cause | Solution |
|---|---|---|
| No Power (PWR LED Off) |
|
|
| Protection LED (PRO) On |
|
|
| No Audio Output |
|
|
| Distorted Sound |
|
|
9. Specifications
| Feature | Specification |
|---|---|
| Maximum Output Power | 2000W |
| Power MAX (2 Ohms) | 2000W x 1 |
| Power RMS (4 Ohms) | 425W x 1 |
| S/N Ratio | 90dB |
| Low Pass Crossover (Variable) | 50 ~ 250Hz |
| Bass Boost (Variable) | 0 - +12dB |
| Remote Subwoofer Control | Yes |
| Frequency Response | 20Hz ~ 22kHz |
| THD (at RMS Output) | 0.01% |
| Channel Separation | 90dB |
| Damping Factor | 125+ |
| Fuse Rating | 20A x 2 (Total 40A) |
| Dimensions (W x H x D) | 8 x 2 x 12 inches |
| Mounting Type | Surface Mount |
| Number of Channels | 1 (Monoblock) |
| Specification Met | FCC |
10. Warranty Information
Specific warranty details for the Audiobank P2001 amplifier are not provided in the available product information. Please refer to the product packaging or contact Audiobank directly for warranty terms and conditions.
11. Customer Support
For technical assistance or further inquiries regarding your Audiobank P2001 amplifier, please contact Audiobank customer support through their official website or the retailer from whom the product was purchased. Please have your model number (P2001) and purchase details ready when contacting support.


