Introduction
The ICE BOX Igloo Building Tool is a high-quality slip form designed for constructing igloo blocks from loose snow. This innovative tool facilitates the creation of stable and comfortable winter shelters, offering an alternative to traditional winter tents. Its design ensures a perfect circular igloo structure by maintaining a centered pivot during construction.
This manual provides comprehensive instructions for the assembly, operation, maintenance, and troubleshooting of your ICE BOX Igloo Building Tool, ensuring a successful and enjoyable igloo building experience.
Safety Information
Always prioritize safety when building igloos in cold environments. Adhere to the following guidelines:
- Ensure adequate warm clothing and protection from the elements.
- Work with at least one other person. Igloo building can be physically demanding and requires teamwork.
- Be aware of snow conditions. Ideal snow is cohesive and packs well. Avoid unstable snow or avalanche-prone areas.
- Stay hydrated and take frequent breaks to avoid fatigue and hypothermia.
- Do not use the tool if any parts are damaged or missing.
- Ensure proper ventilation if using any heating devices inside the completed igloo.
Components and What's in the Box
Your ICE BOX Igloo Building Tool package includes the following components:
- Igloo Slip Form (main plastic body)
- Adjustable Aluminum Pole
- Pivot Stake
- Clamps (integrated with the form)
- Instruction Manual (this document)

Figure 1: All components of the ICE BOX Igloo Building Tool, including the main form, adjustable pole, and pivot stake, neatly packed within its carrying case.
Setup and Assembly
Follow these steps to set up your ICE BOX Igloo Building Tool:
- Choose a Location: Select a flat, stable area with sufficient snow depth for igloo construction.
- Assemble the Pole: Connect the sections of the adjustable aluminum pole.
- Attach Form to Pole: Securely attach the slip form to one end of the aluminum pole.
- Insert Pivot Stake: Insert the pivot stake into the ground or packed snow at the desired center of your igloo. This stake will act as the central anchor for the pole.
- Attach Pole to Pivot Stake: Connect the other end of the pole to the pivot stake. Ensure the pole can rotate freely around the stake.
- Adjust Pole Length: For the first layer of blocks, adjust the pole to its longest setting. Subsequent layers will require shorter pole adjustments as the igloo height increases. Refer to the markings on the pole for guidance on layer adjustments.

Figure 2: The ICE BOX Igloo Building Tool fully assembled, showing the slip form, adjustable pole, and pivot stake ready for use.
Operating Instructions
Building an igloo with the ICE BOX tool involves a systematic process of creating and placing snow blocks:
- Prepare the Base: Clear and level the snow where the igloo will be built.
- First Layer of Blocks:
- Position the slip form at the starting point of your igloo's circumference.
- Set the clamps on the form to hold it in place.
- Fill the form with loose snow, packing it firmly. Ensure the snow is dense and cohesive.
- Once packed, unclamp the form and slide it to the next position, creating a continuous ring of snow blocks.
- Continue this process until the first full circular layer is complete.
- Subsequent Layers:
- After completing the first layer, adjust the aluminum pole to a shorter length for the next layer. The pole has 8 adjustments, one for each layer, to ensure the correct catenary shape of the igloo.
- Begin building the second layer on top of the first, slightly offset inwards to create the dome shape.
- Continue filling, packing, and sliding the form for each subsequent layer. The snow only needs to hold its form well enough to stay in place until the next block is started.
- Removing the Outer Form: After completing approximately 6 rows, the igloo wall will be leaning inwards sufficiently. At this point, you can remove the outside of the form, allowing snow to be packed from the exterior for the remaining layers.
- Final Layers and Cap: Continue building until 8 total rows are completed, including the final cap block at the top. The pole helps support the weight of the snow and form during packing.
- Entrance and Ventilation: Once the igloo is complete, carefully dig an entrance tunnel. Consider creating small ventilation holes for airflow.
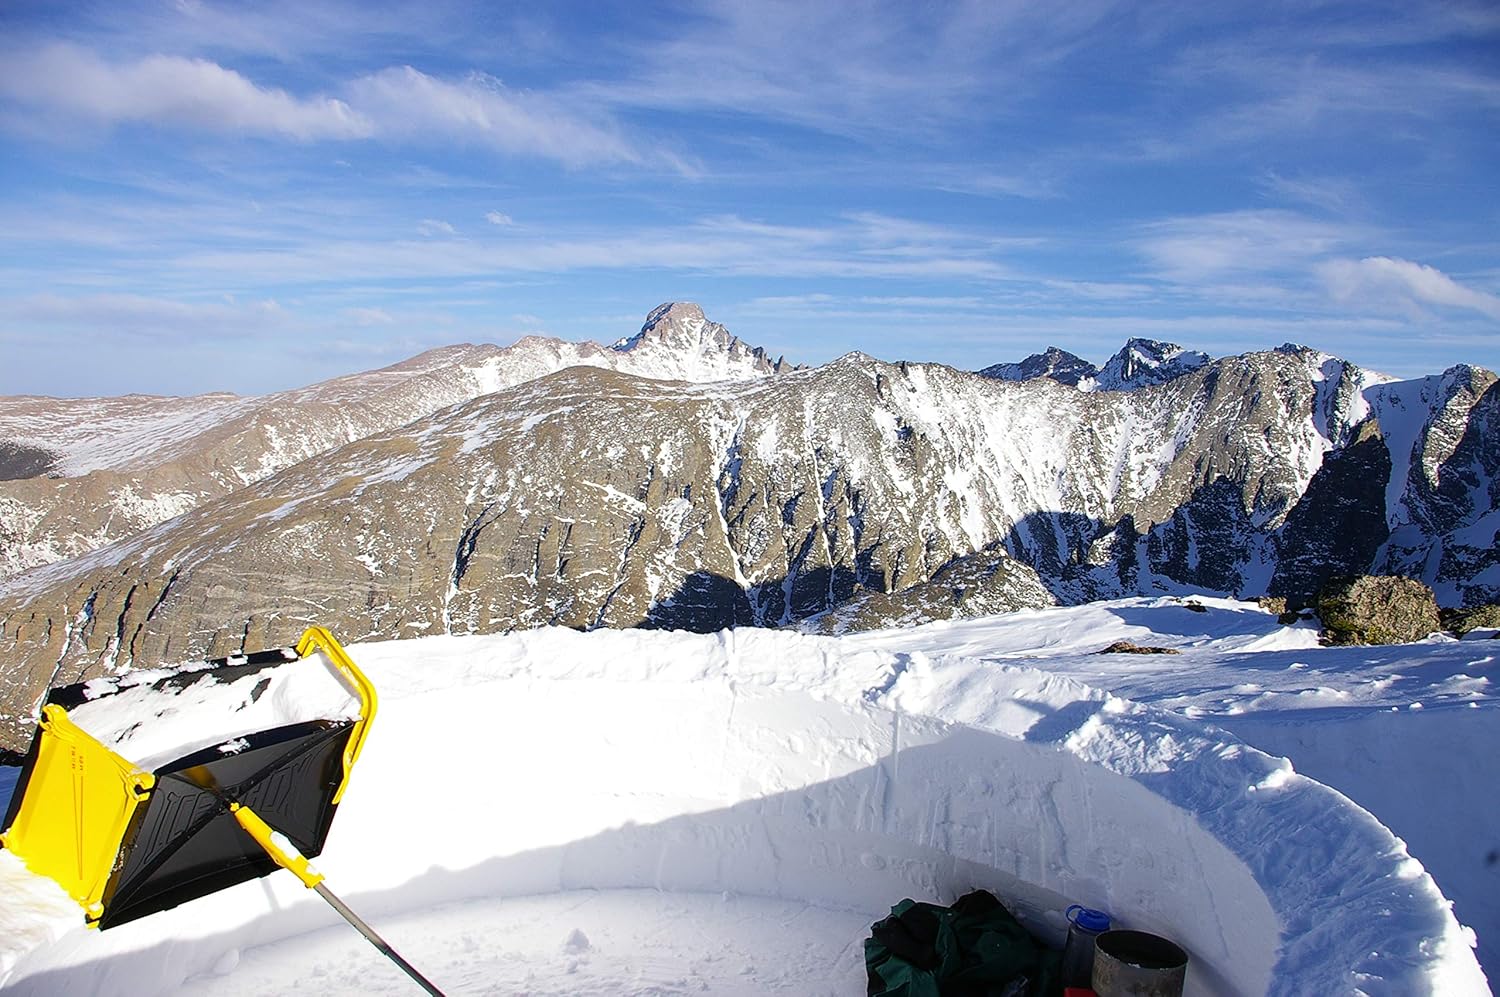
Figure 3: An igloo in progress, demonstrating the use of the ICE BOX tool to form snow blocks for the dome structure.

Figure 4: A team of individuals working together to construct an igloo, showcasing the collaborative effort involved in using the ICE BOX tool.

Figure 5: A fully constructed igloo illuminated from within at night, demonstrating the shelter's completed form and potential for warmth.
Maintenance
Proper maintenance ensures the longevity and performance of your ICE BOX Igloo Building Tool:
- Cleaning: After each use, thoroughly clean all snow and ice from the slip form, pole, and pivot stake. Use warm water if necessary, but avoid harsh chemicals.
- Drying: Ensure all components are completely dry before storage to prevent ice buildup or corrosion, especially on the aluminum pole.
- Storage: Store the tool in a cool, dry place, away from direct sunlight and extreme temperatures. The tool is designed to pack compactly for storage and transport.
- Inspection: Periodically inspect the clamps, pole connections, and the plastic form for any signs of wear, cracks, or damage.
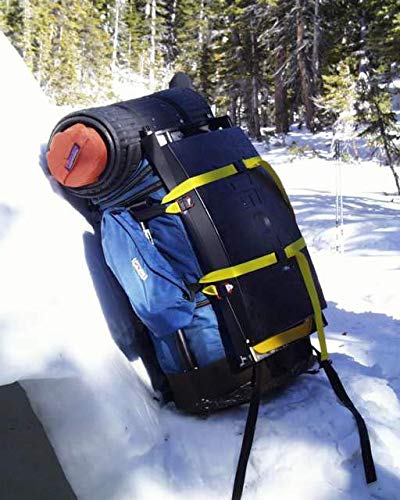
Figure 6: The ICE BOX Igloo Building Tool compactly strapped to a backpack, illustrating its portability for backcountry use.
Troubleshooting
Here are some common issues and their potential solutions:
| Problem | Possible Cause | Solution |
|---|---|---|
| Snow blocks crumble or don't hold shape. | Snow is too dry, too wet, or not packed firmly enough. | Ensure snow has good consistency (packs like a snowball). Pack snow more firmly into the form. If snow is too dry, try adding a small amount of water if feasible, or find an area with better snow. |
| Igloo is not perfectly circular. | Pivot stake moved or pole not consistently centered. | Ensure the pivot stake is firmly anchored. Verify the pole is always attached to the pivot stake and rotates smoothly around it. |
| Difficulty sliding the form after packing. | Snow is sticking to the form; form is not unclamped properly. | Ensure clamps are fully released. A light tap on the form might help release the block. Keep the form clean. |
| Pole adjustments are stiff. | Ice or snow buildup in the pole sections. | Clear any ice or snow from the pole adjustment mechanisms. Lubricate with a non-freezing, outdoor-safe lubricant if necessary. |
Specifications
| Feature | Detail |
|---|---|
| Brand | ICE BOX (by Grand Shelters) |
| Model Name | Igloo Building Tool |
| ASIN | B002OI418S |
| Recommended Use | Camping & Hiking, Winter Shelter Construction |
| Occupancy (Igloo) | Typically 2 Person (can vary based on size built) |
| Seasons | Winter |
| Included Components | Slip Form, Adjustable Pole, Pivot Stake |
| Special Feature | Lightweight, Packable |
| Material | Aluminum (pole), Durable Plastic (form) |
| Item Weight | Approximately 2.92 kg (6.44 lbs) |
| Item Dimensions (LxWxH) | 66 x 35.6 x 10.2 cm (26 x 14 x 4 inches) |
| Pole Adjustments | 8 settings for different igloo layers |
Warranty and Support
For information regarding warranty coverage, product support, or replacement parts, please contact Grand Shelters directly. Refer to the contact information provided with your original purchase documentation or visit the official Grand Shelters website.
Always provide your product model (Igloo Building Tool) and ASIN (B002OI418S) when seeking support.


