
1. Introduction
Thank you for choosing the ASD 2x2 LED Flat Panel Light Standard Series. This manual provides essential information for the safe installation, operation, and maintenance of your new LED panel light. Please read this manual thoroughly before installation and retain it for future reference.

Image 1.1: ASD 2x2 LED Flat Panel Light Standard Series, showing the product in its packaging.
2. Safety Information
To reduce the risk of death, personal injury, or property damage from fire, electric shock, falling parts, cuts/abrasions, and other hazards, please read all warnings and instructions included with and on the fixture box and all fixture labels.
- Installation must be performed by a qualified electrician in accordance with the National Electrical Code and local codes.
- Disconnect power at the fuse or circuit breaker before installation or servicing.
- Ensure the supply voltage is correct by comparing it with the luminaire label information.
- Do not install in areas where the operating temperature exceeds the fixture's rated ambient temperature.
- This fixture is suitable for damp locations. Do not use in direct contact with water.
- Do not handle energized fixture with wet hands.
3. Product Overview and Specifications
The ASD 2x2 LED Flat Panel Light is designed for efficient and uniform illumination in commercial and indoor settings. It features a durable construction and advanced LED technology.
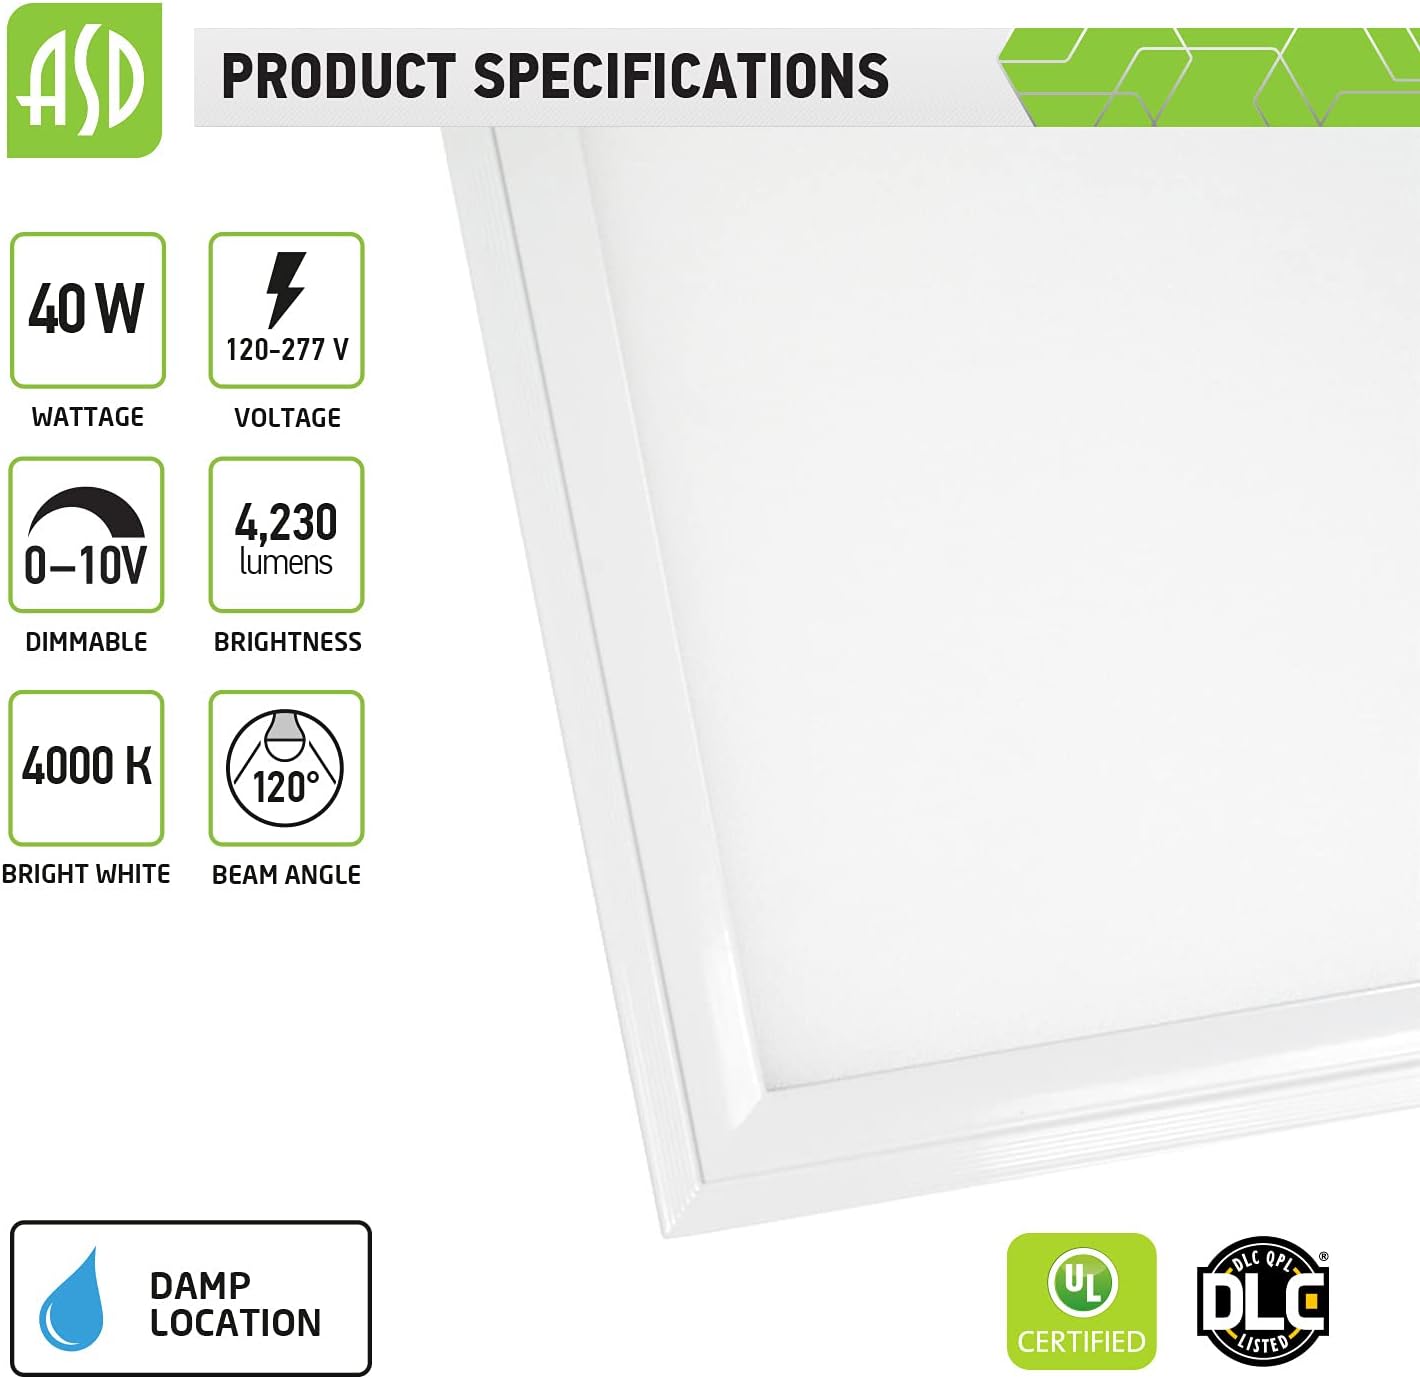
Image 3.1: Detailed product specifications including wattage, voltage, lumens, and color temperature.
3.1. Technical Specifications
| Specification | Value |
|---|---|
| Wattage | 40W |
| Voltage | 120-277V |
| Lumen Output | 4230 Lumens |
| Color Temperature | 4000K (Bright White) |
| Dimmable | 0-10V |
| Beam Angle | 120° |
| Certifications | cULus Listed, DLC Certified |
| Location Rating | Damp Location |
3.2. Dimensions
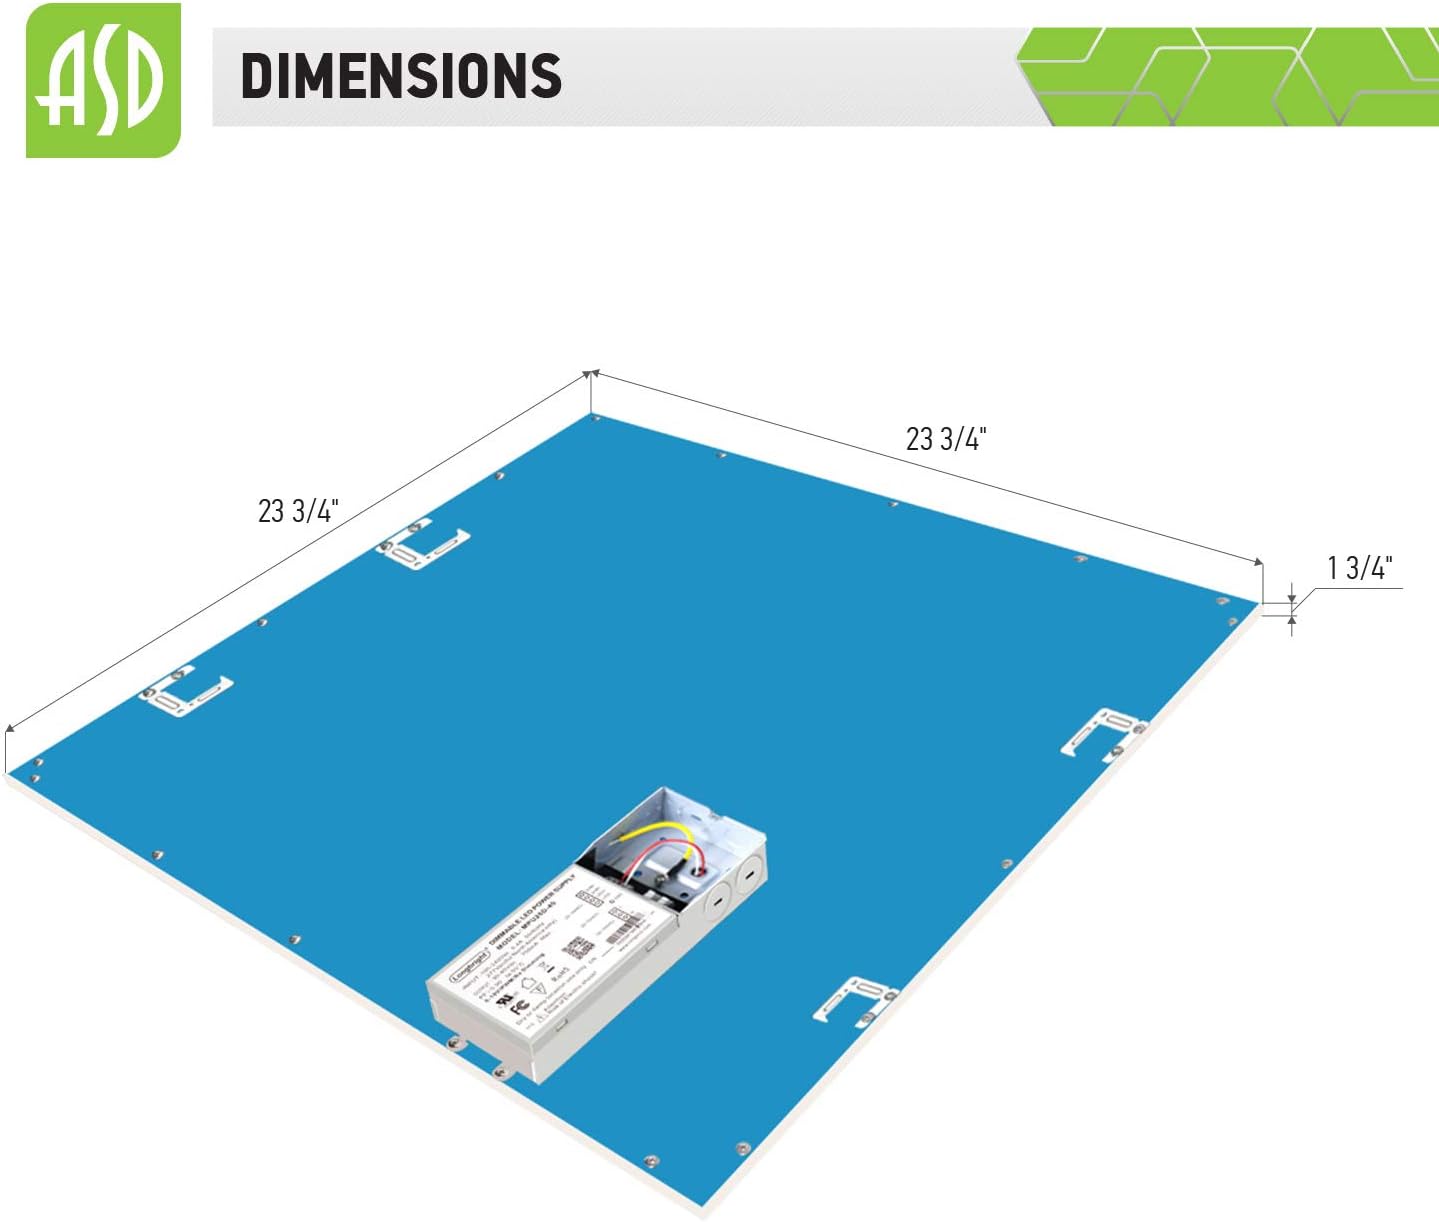
Image 3.2: Diagram showing the physical dimensions of the 2x2 LED panel light.
The panel measures approximately 23 3/4 inches by 23 3/4 inches, with a thickness of 1 3/4 inches.
3.3. Features

Image 3.3: Visual representation of key features including diffuser and frame material.
- Non-Yellowing PC Diffuser: Provides uniform light distribution with no glare.
- Anti-Corrosion Aluminum Frame: Designed for fast heat dissipation and durability.
- 0-10V Dimmable Driver: Includes circuit overload and low-voltage protection.
3.4. Available Sizes and Finish
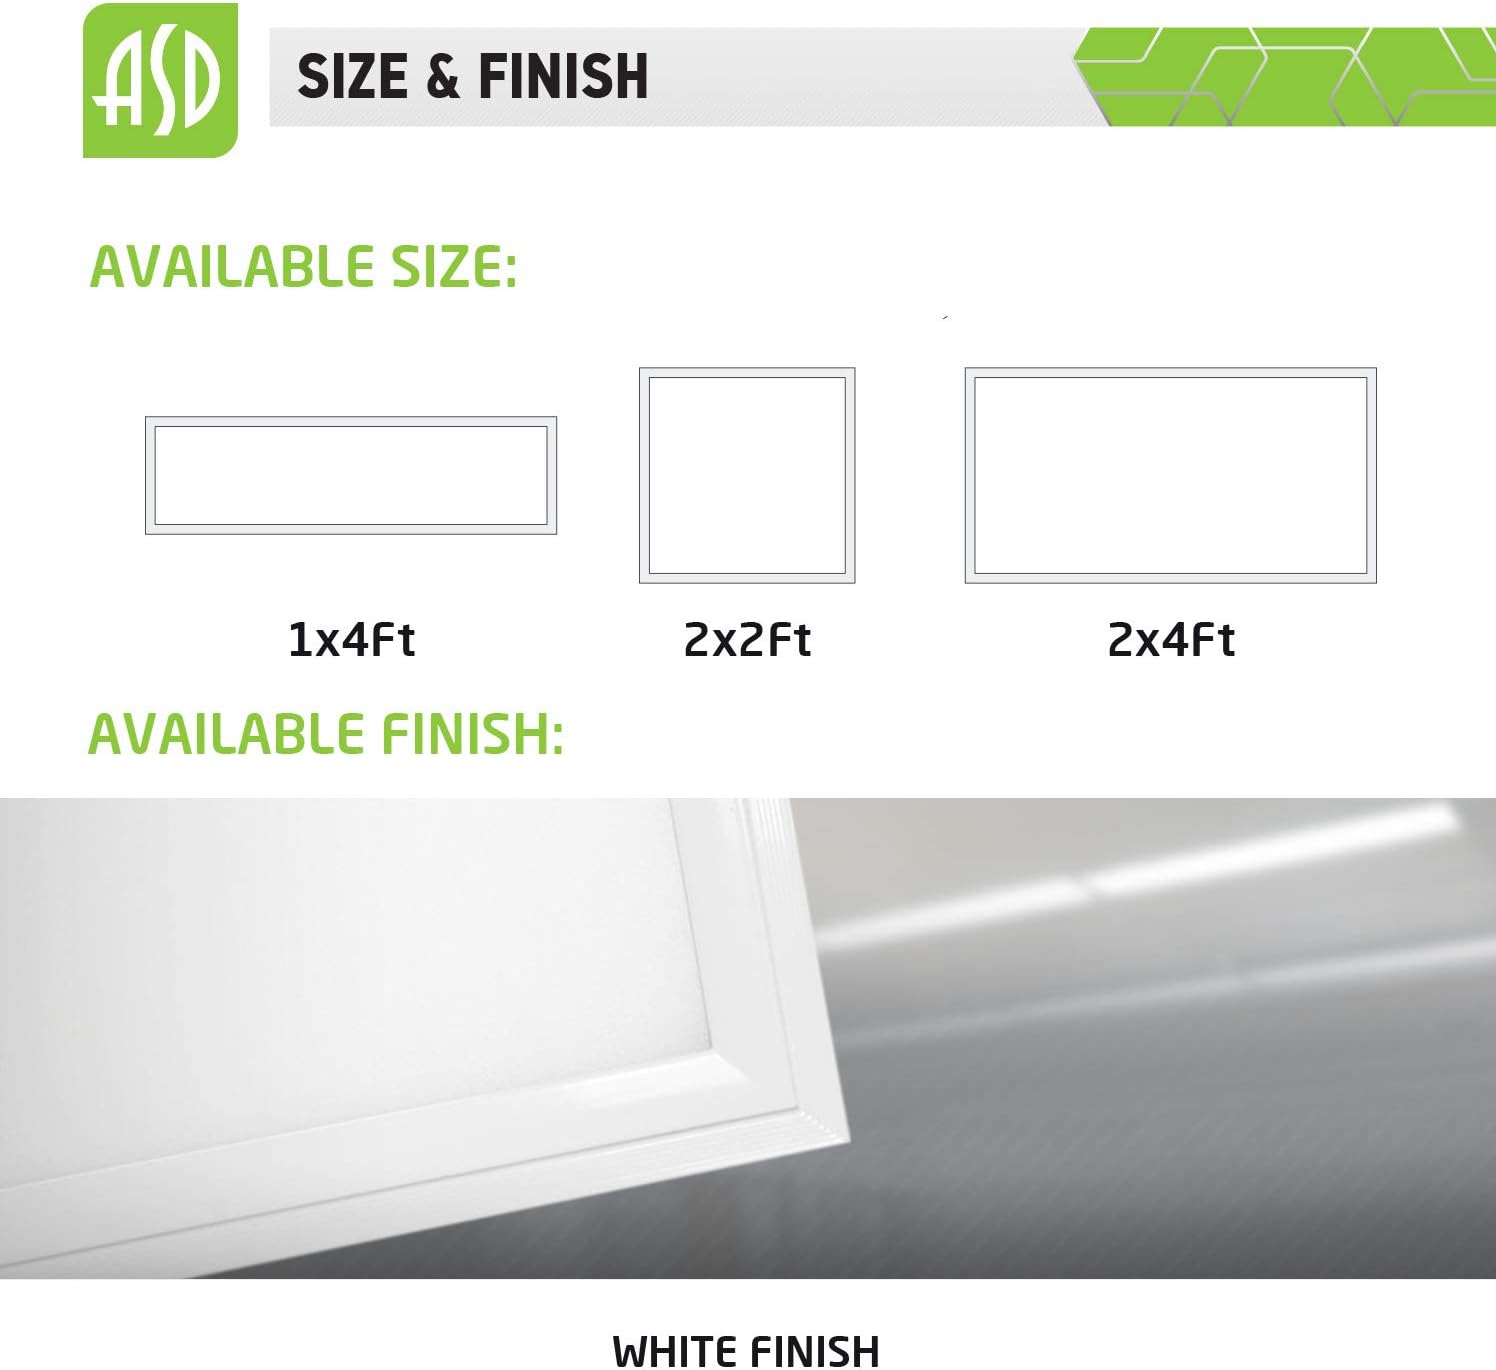
Image 3.4: Illustration of various available panel sizes and the standard white finish.
This product series is available in multiple sizes, including 1x4Ft, 2x2Ft (this model), and 2x4Ft. All models feature a clean white finish.
4. Installation
Before beginning installation, ensure power is disconnected at the circuit breaker. Follow the instructions carefully for your specific mounting type.
4.1. Recessed Mount Installation

Image 4.1: Step-by-step guide for installing the LED panel light into a recessed ceiling grid.
- Step 1: Choose the ceiling panel where you want to install the product and remove it. For convenience, move adjacent ceiling tiles. Fix the LED panel into the ceiling: raise up the product above the grid, then place it on T-bars. Bend points for all four tabs.
- Step 2: Secure the panel with the grid as shown in the picture. Ensure the tab is securely attached to the grid. Connect the wires into the junction box of the panel matching colors N, L, and G using nuts.
- Step 3: Return the adjacent ceiling tiles to their places. Turn on the main power. Installation is finished.
4.2. Surface Mount Installation
For surface mount installation, a separate surface mount kit (ASD-FELP22-L, ASD-FELP24-L) is required and sold separately.
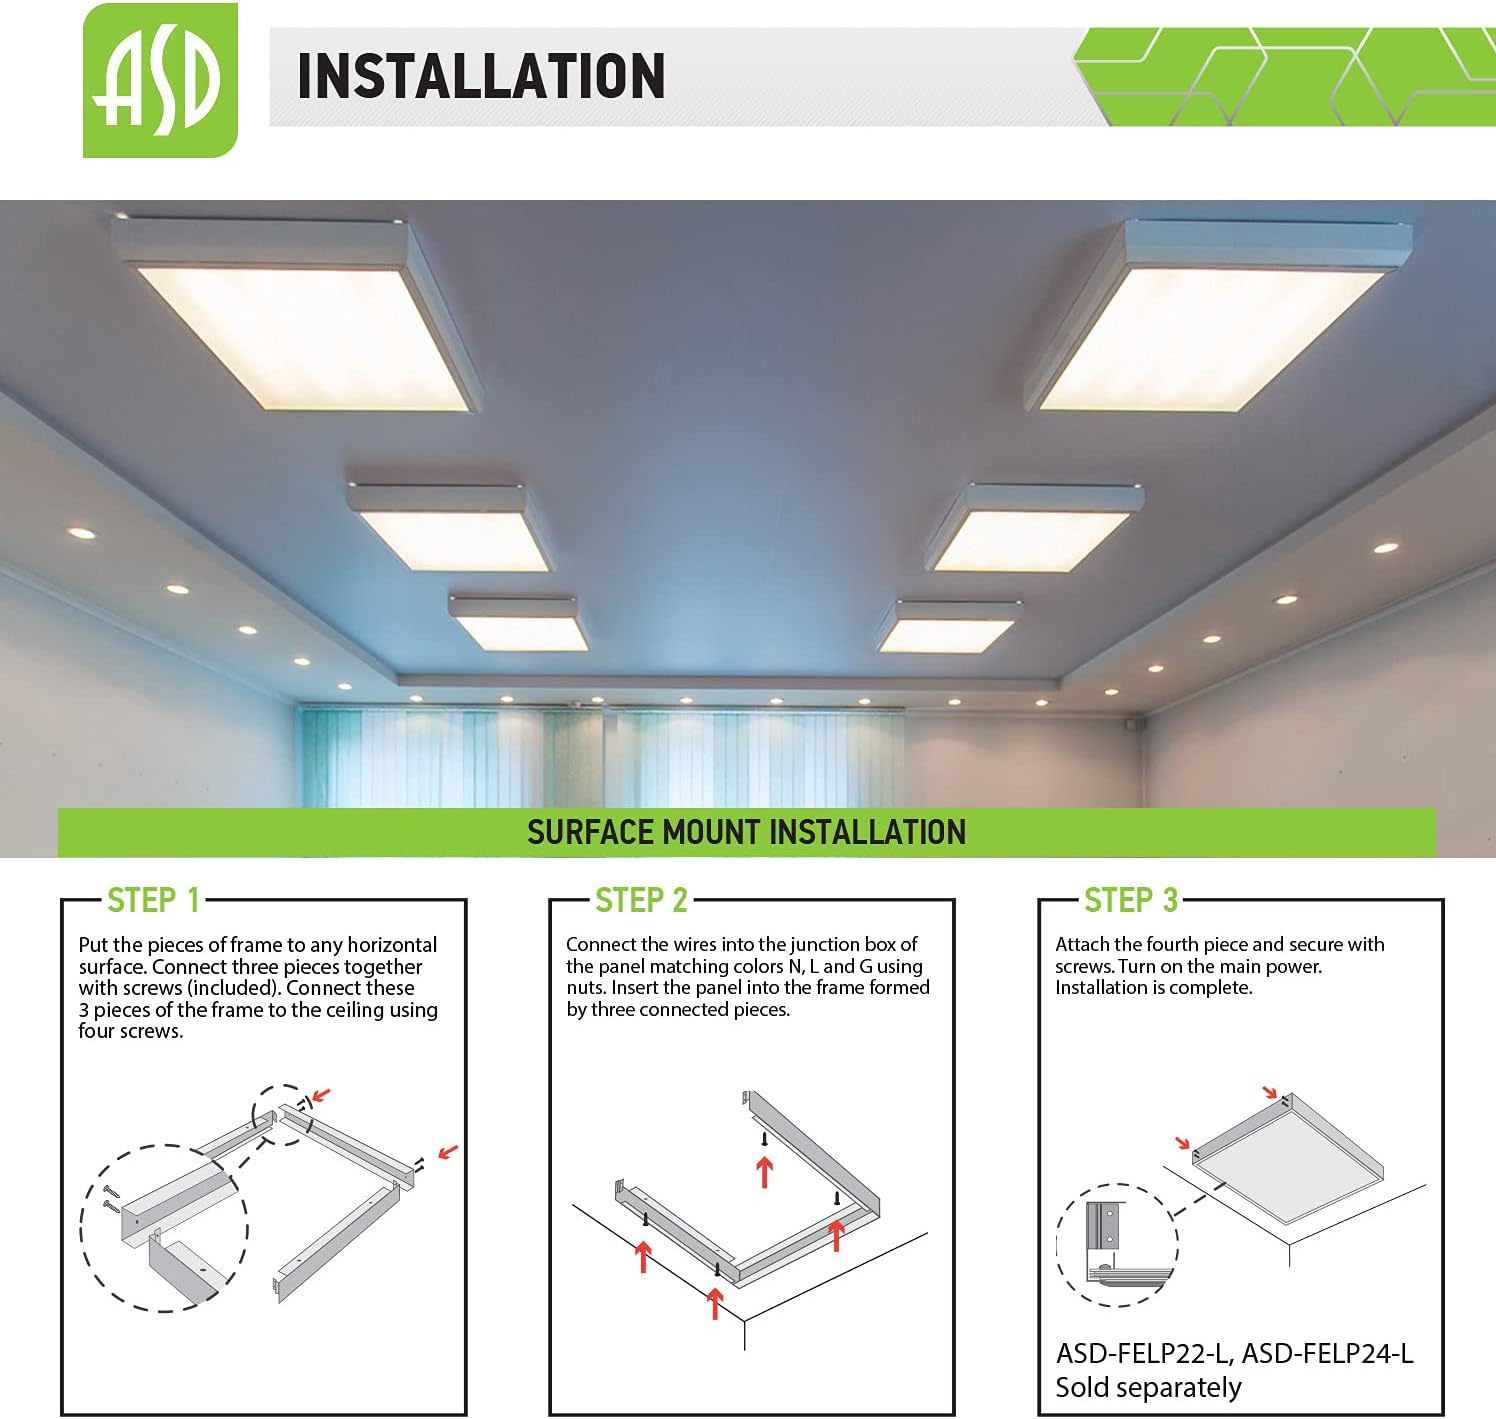
Image 4.2: Step-by-step guide for surface mounting the LED panel light using an external frame kit.
- Step 1: Put the pieces of frame to any horizontal surface. Connect three pieces together with screws (included). Connect these 3 pieces of the frame to the ceiling using four screws.
- Step 2: Connect the wires into the junction box of the panel matching colors N, L, and G using nuts. Insert the panel into the frame formed by three connected pieces.
- Step 3: Attach the fourth piece and secure with screws. Turn on the main power. Installation is complete.
5. Operating Instructions
Once properly installed, the ASD LED Flat Panel Light operates like any standard lighting fixture. Ensure the power supply is connected and the wall switch is in the 'ON' position.
5.1. Dimming Functionality
This fixture supports 0-10V dimming. To utilize the dimming feature, connect the fixture to a compatible 0-10V dimmer switch (sold separately). Follow the dimmer manufacturer's instructions for wiring and operation. The light output will adjust smoothly from 100% down to 10% or lower, depending on the dimmer's capabilities.
6. Maintenance
The ASD LED Flat Panel Light requires minimal maintenance. Regular cleaning will help maintain its appearance and light output.
- Cleaning: Ensure the power is off before cleaning. Use a soft, dry, or slightly damp cloth to wipe the surface of the panel. Do not use abrasive cleaners, solvents, or cleaners containing alcohol, as these may damage the finish or diffuser.
- No User-Serviceable Parts: The LED components and driver are integrated and not designed for user servicing. Do not attempt to open or repair the fixture.
7. Troubleshooting
If you experience issues with your LED panel light, refer to the following common problems and solutions:
| Problem | Possible Cause | Solution |
|---|---|---|
| Light does not turn on. | No power supply; loose wiring; faulty switch or circuit breaker. | Check power supply at the circuit breaker. Verify all wire connections are secure. Test the switch. |
| Light flickers or dims inconsistently. | Incompatible dimmer; loose dimming wires; voltage fluctuations. | Ensure a 0-10V compatible dimmer is used. Check dimming wire connections. Consult an electrician for voltage issues. |
| Light output is lower than expected. | Dimmer set too low; dust accumulation on diffuser. | Adjust dimmer to maximum setting. Clean the diffuser surface. |
8. Application
The ASD 2x2 LED Flat Panel Light is versatile and suitable for a wide range of indoor commercial and residential applications, providing bright and even illumination.
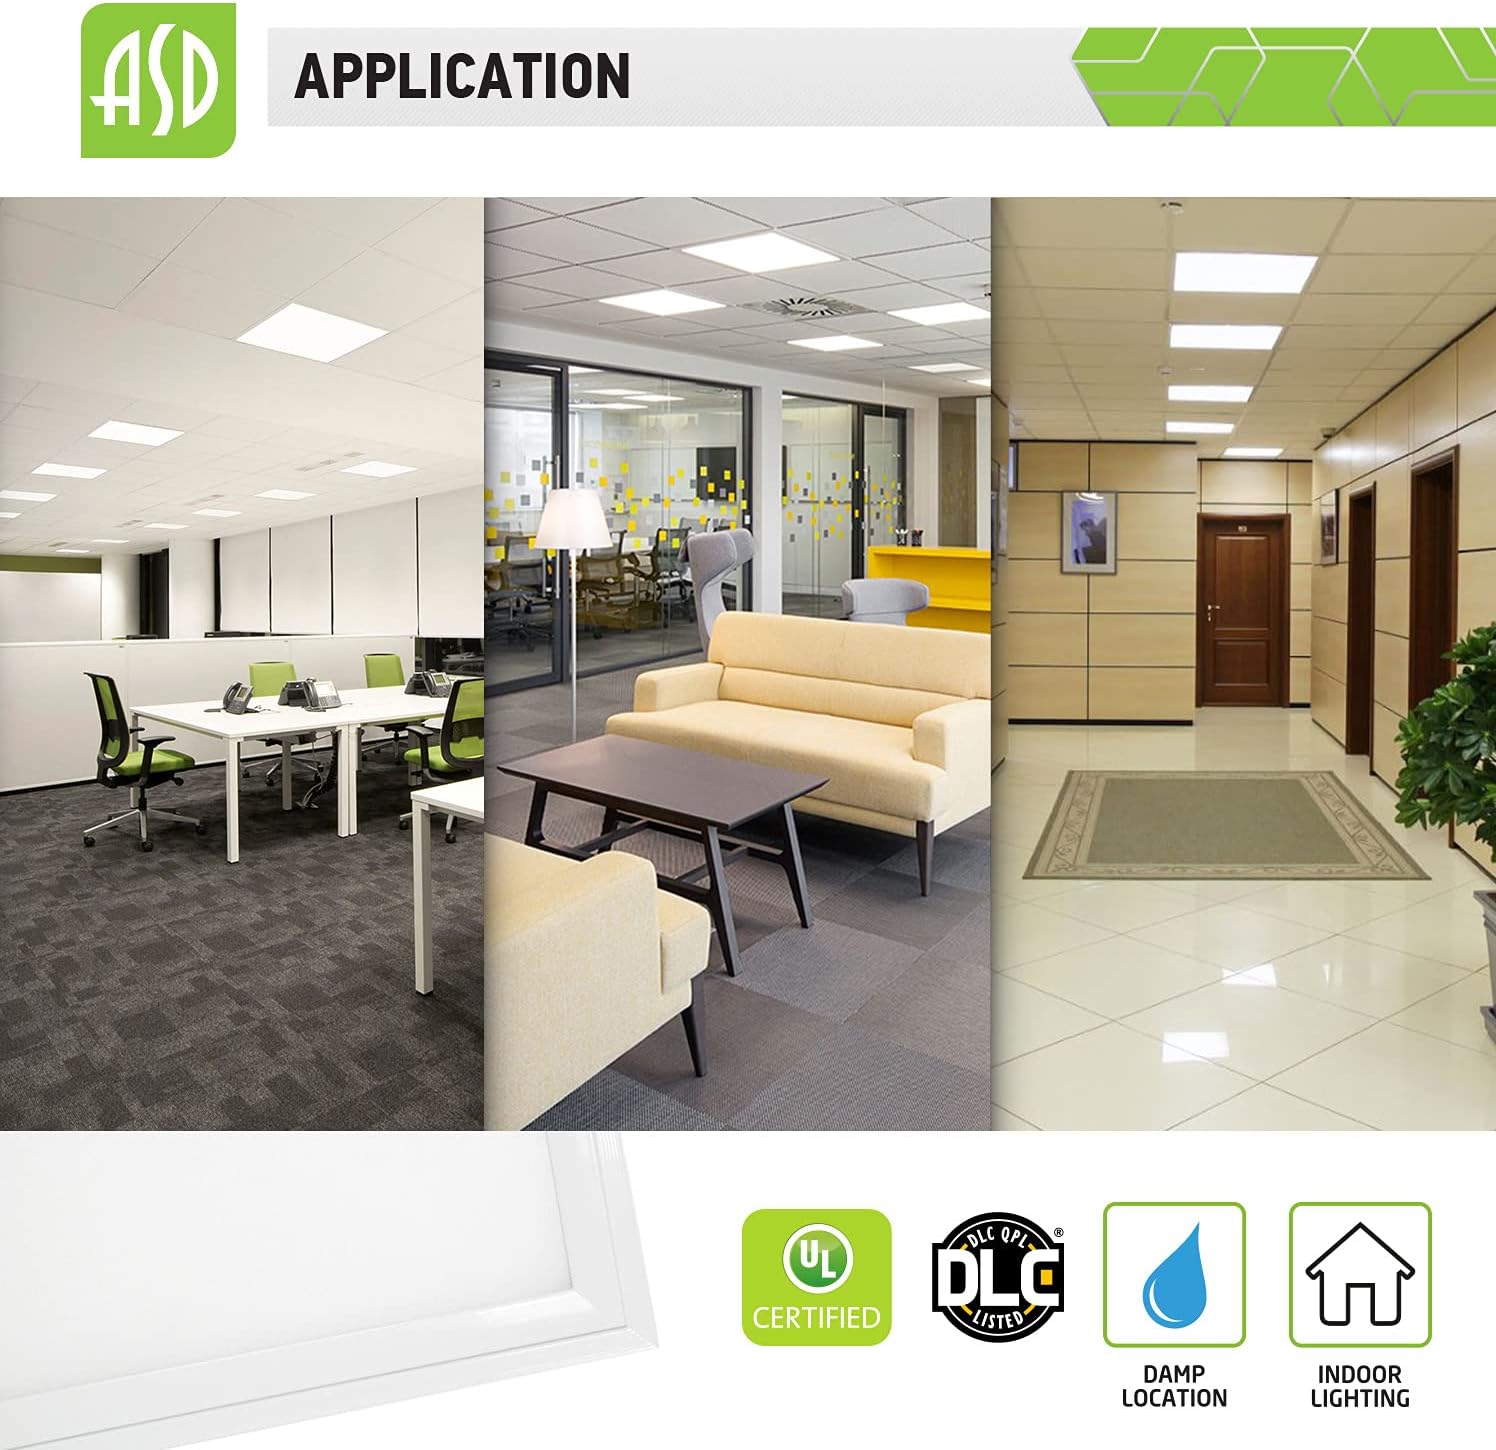
Image 8.1: Various indoor settings where the LED panel light can be effectively used, such as offices, hallways, and common areas.
9. Warranty and Support
ASD is committed to providing high-quality products and excellent customer service.

Image 9.1: Information regarding product certifications, warranty period, and company origin.
- Warranty: ASD provides a 5-year warranty on this product, guaranteeing top quality and safety.
- Certifications: This product is UL and DLC Standard certified, ensuring compliance with industry safety and performance standards.
- Rebates: Top US certifications may allow participation in rebates. Please check the rebate programs available in your state.
- Customer Service: As an American company, ASD offers exceptional customer service. For support, please visit the ASD Lighting Corporation store on Amazon or contact their customer service directly.


