
Cooler Master MCB-NR200-KNNN-S00
Cooler Master NR200 Mini-ITX PC Case User Manual
Model: MCB-NR200-KNNN-S00
Introduction
This manual provides comprehensive instructions for the setup, operation, and maintenance of your Cooler Master NR200 Mini-ITX PC Case. Please read this manual thoroughly before beginning assembly to ensure proper installation and optimal performance.
The Cooler Master NR200 is a compact small form factor chassis designed for high-performance Mini-ITX systems. It offers extensive cooling capabilities and flexible component compatibility within its efficient design.
Product Overview
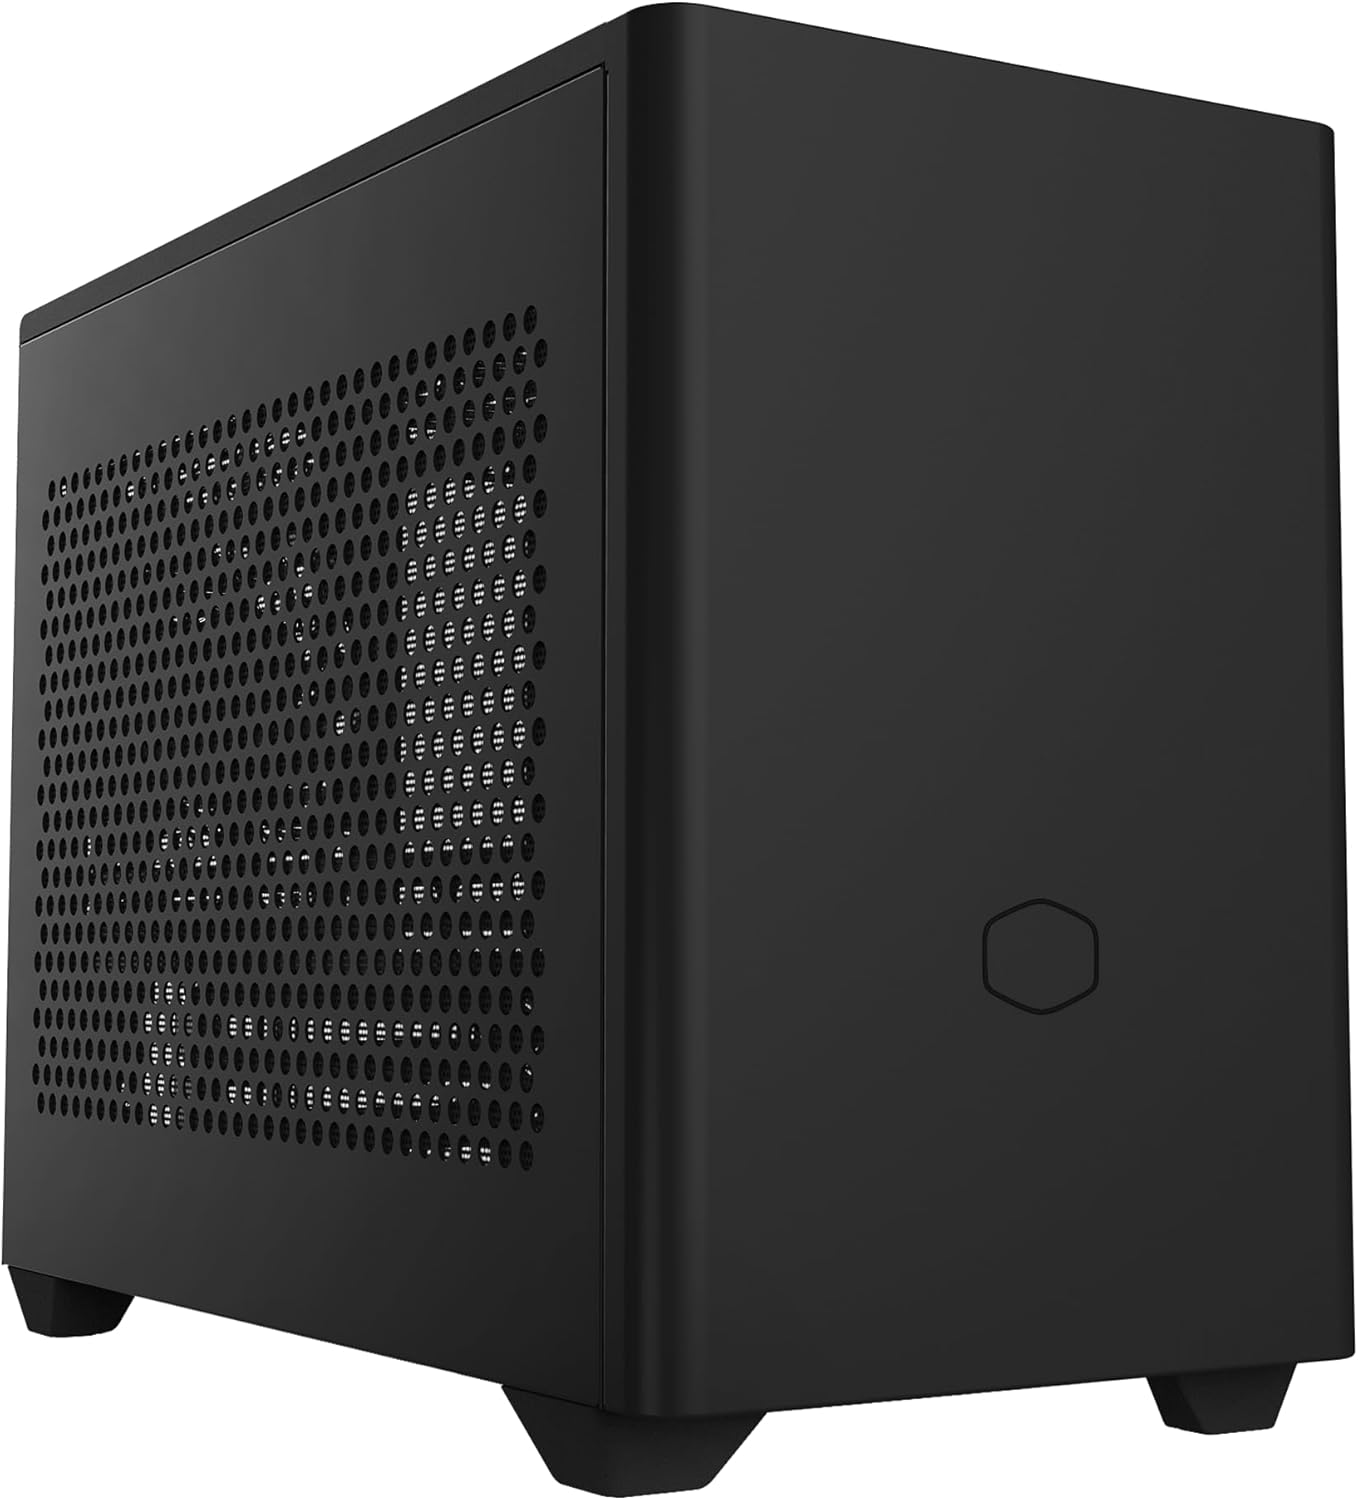
The Cooler Master NR200 Mini-ITX PC Case in black, showcasing its compact design and vented side panels.

Compact ITX Design: The NR200 is specifically designed for Mini-ITX motherboards, offering a sleek 18.25L footprint. Dimensions: 14.80 x 7.28 x 11.49 inches.
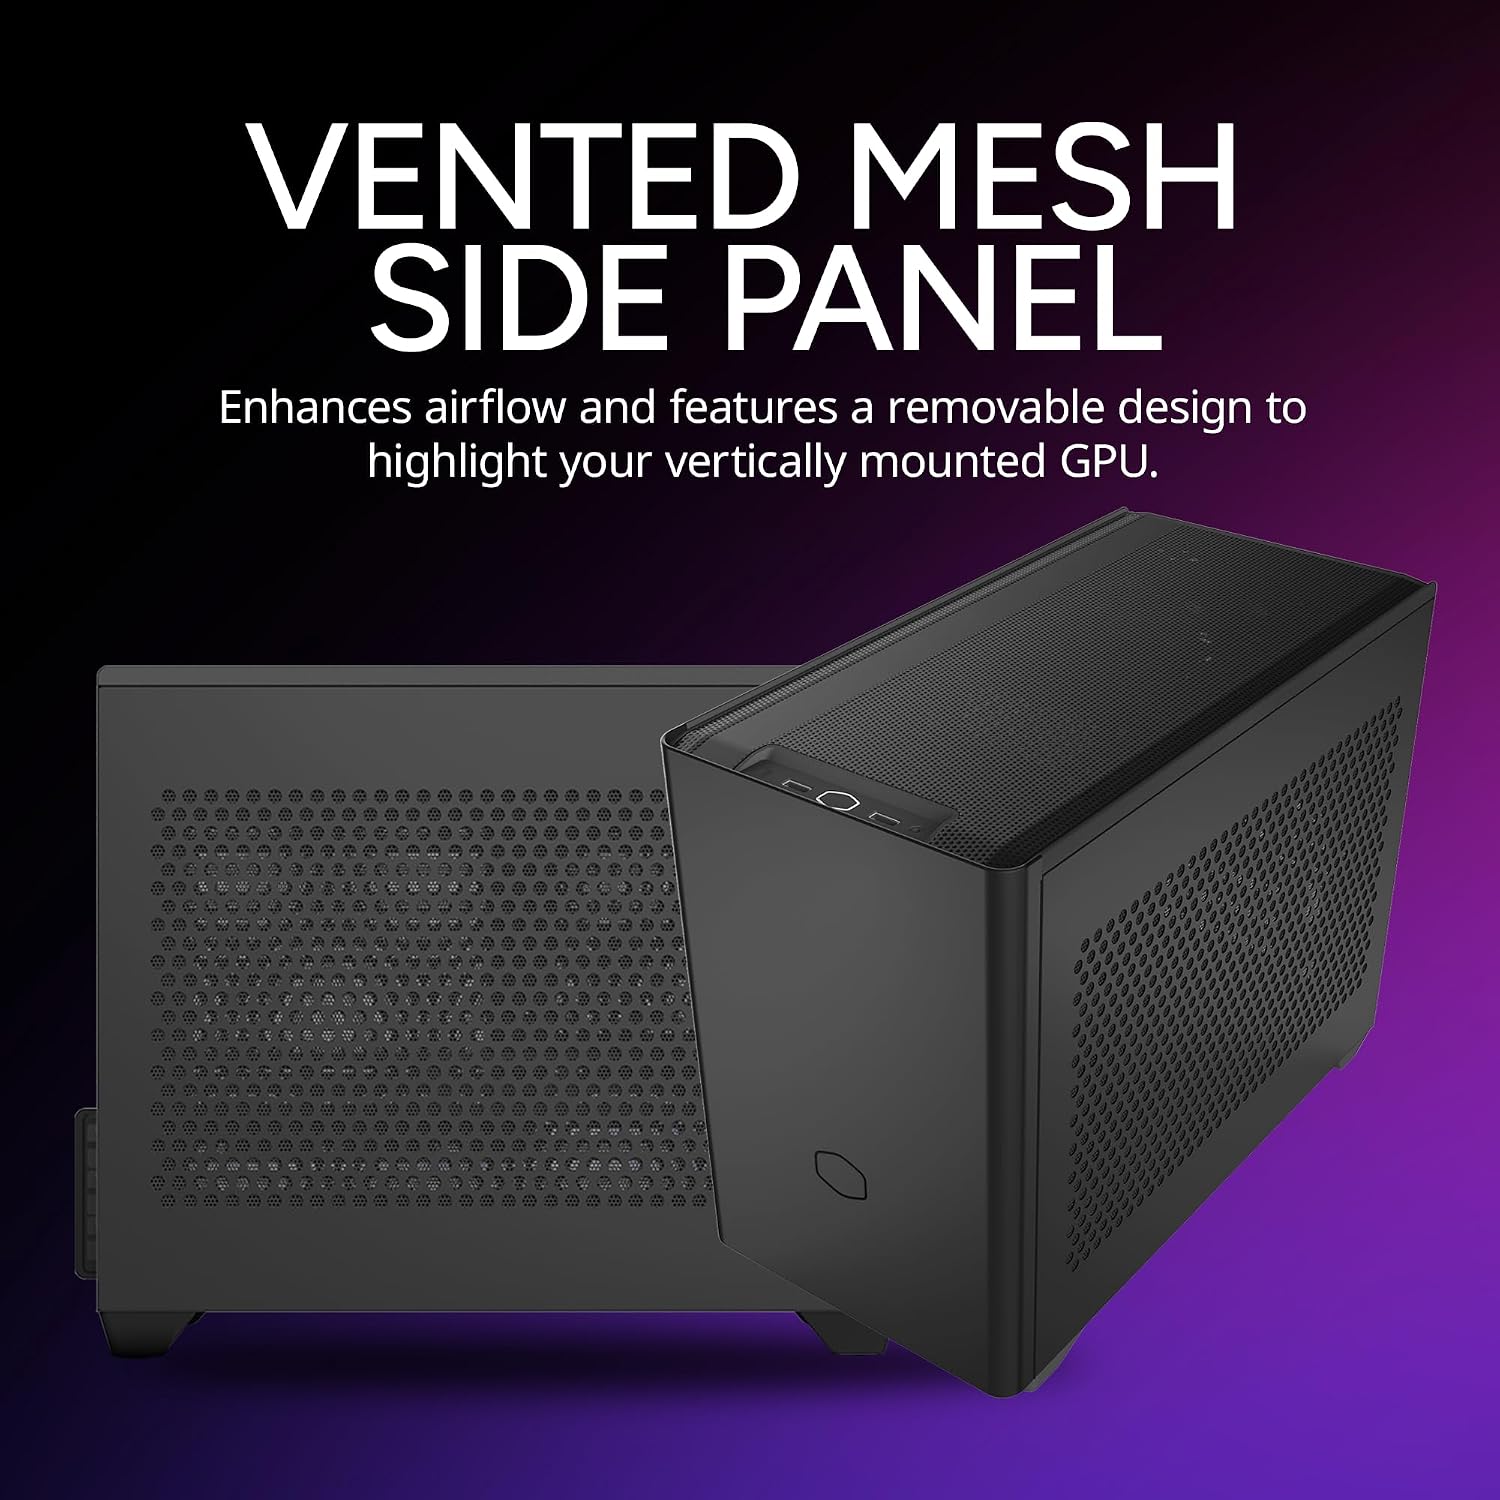
The NR200 features vented steel panels to ensure unrestricted airflow for optimal cooling performance.
Setup and Installation
Component Compatibility
- Motherboard: Mini-ITX/DTX
- GPU: Up to 330mm in length, triple-slot horizontal mount.
- PSU: SFX power supplies, up to 130mm in length.
- CPU Cooler: Up to 165mm in height.
- Radiator Support: Side-mounted support for 240mm or 280mm radiators.
- Fan Support: Up to 6 fans (120mm/140mm).
Disassembly and Accessibility
The NR200 is designed for 360-degree accessibility, allowing for easy disassembly of panels and the frame to facilitate component installation and cable management.

Exploded view demonstrating the modular design of the NR200 for full access to internal components.
- Panel Removal: Gently pull to detach the top, side, and front panels. They are secured with tool-less clips.
- Frame Disassembly: The internal frame can be further disassembled by removing screws as indicated in the detailed user manual (refer to the PDF link for diagrams).
GPU Installation
The case supports horizontal triple-slot GPU mounting up to 330mm in length.

The NR200 supports high-end GPUs up to 330mm for horizontal mounting.
- Ensure the PCI-e riser cable (if included with your specific model) is properly installed for vertical GPU mounting, or use the standard horizontal slots.
- Carefully insert the GPU into the PCI-e slot on the motherboard.
- Secure the GPU with the provided screws.
Power Supply Installation
The NR200 accommodates SFX power supplies up to 130mm in length.

The compact design supports SFX power supplies up to 130mm in length.
- Mount the SFX PSU to the designated bracket.
- Install the bracket with the PSU into the case, typically at the front or top, depending on the configuration.
- Connect all necessary power cables to your components.
Cooling System Installation
The case supports various cooling configurations, including liquid cooling and multiple fans.

Removable side bracket allows for fast 240mm or 280mm radiator or fan setup, maximizing cooling potential.

Maximize airflow with support for 165mm CPU coolers and up to 6 fans for efficient thermal management.
- Install CPU coolers up to 165mm in height.
- Mount fans (120mm or 140mm) in designated positions (top, bottom, side, rear) for optimal airflow.
- For liquid cooling, attach radiators to the side bracket.
Operating Instructions
Initial Power-On
- Ensure all components are securely installed and all cables are properly connected.
- Connect the power cable to the PSU and a wall outlet.
- Press the power button located on the front I/O panel.
- Verify that all fans are spinning and components are receiving power.
Front I/O Panel
The front I/O panel provides convenient access to essential ports.

The front I/O panel includes USB 3.0 ports, USB 2.0 ports, and audio jacks for easy connectivity.
- USB 3.0 Ports: 2 ports for high-speed data transfer.
- USB 2.0 Ports: 2 ports for standard peripheral connections.
- Audio Jacks: Headphone and microphone jacks.
- Power Button: To turn the system on/off.
Maintenance
Regular maintenance ensures the longevity and optimal performance of your PC case and components.
- Dust Cleaning: Periodically clean dust filters and internal components using compressed air or a soft brush. The vented panels are designed to be easily removable for cleaning.
- Cable Management: Ensure cables are neatly routed to prevent obstruction of airflow.
- Fan Inspection: Check fans regularly for dust buildup and ensure they are spinning freely.
Troubleshooting
Common Issues and Solutions
| Problem | Possible Cause | Solution |
|---|---|---|
| System does not power on. | Loose power connections, faulty PSU, front panel header not connected. | Check all power cables (PSU to wall, PSU to motherboard/components). Ensure front panel power switch header is correctly connected to the motherboard. Test PSU if possible. |
| Overheating components. | Insufficient airflow, dust buildup, improperly seated CPU cooler. | Clean dust filters and internal components. Ensure fans are installed correctly and spinning. Verify CPU cooler is properly seated and thermal paste is applied. Consider adding more fans or upgrading cooling. |
| GPU not detected or displaying video. | GPU not fully seated, power cables not connected, faulty PCI-e riser cable. | Reseat the GPU in its slot. Ensure all necessary PCI-e power cables are connected from the PSU to the GPU. If using a riser cable, ensure it is fully connected and not damaged. |
For more detailed troubleshooting, please refer to the full user manual available on the Cooler Master website or the provided PDF document.
Specifications
| Feature | Detail |
|---|---|
| Brand | Cooler Master |
| Model Name | NR200 Black |
| Item Model Number | MCB-NR200-KNNN-S00 |
| Case Type | Mini-Tower |
| Motherboard Compatibility | Mini-ITX/DTX |
| Color | Black |
| Material | Steel, Plastic, Mesh |
| Product Dimensions (LxWxH) | 14.76 x 7.28 x 11.49 inches |
| Item Weight | 10.56 pounds |
| Number of USB 3.0 Ports | 2 |
| Number of USB 2.0 Ports | 2 |
| Power Supply Mounting Type | Top Mount (SFX up to 130mm) |
| Cooling Method | Air (supports liquid cooling) |
| Fan Size Support | 120 Millimeters, 140 Millimeters |
| Max CPU Cooler Height | 165mm |
| Max GPU Length | 330mm (horizontal triple-slot) |
Warranty and Support
Cooler Master products are designed for durability and performance. For specific warranty terms and conditions, please refer to the official Cooler Master website or the warranty card included with your product.
For technical support, product registration, or to download the full user manual (PDF), please visit the official Cooler Master support page or contact their customer service.
Official User Manual (PDF): Download PDF
Cooler Master Official Website: www.coolermaster.com
Related documentsMCB-NR200-KNNN-S00

Ask a question about this manual
Ask about setup, troubleshooting, compatibility, parts, safety, or missing instructions. Manuals+ will review the question and use this page’s manual context to help answer it.