
1. Introduction
Thank you for purchasing the Design House Dane 3-Light Vanity Light. This fixture features a polished chrome finish and frosted cylindrical glass shades, designed for bathroom and vanity applications. This manual provides detailed instructions for safe installation, operation, and maintenance of your new lighting fixture.
Package Contents:
- Dane 3-Light Vanity Light Fixture
- Frosted Glass Shades (3)
- Mounting Hardware Kit
- Instruction Manual
Note: Bulbs are not included and must be purchased separately.

Figure 1: Design House Dane 3-Light Vanity Light, Polished Chrome Finish.
2. Safety Information
WARNING: RISK OF ELECTRIC SHOCK. Ensure power is turned off at the main circuit breaker or fuse box before beginning installation or performing any maintenance.
- Read all instructions carefully before installation.
- All electrical connections must be in accordance with local codes, ordinances, or the National Electric Code (NEC). Consult a qualified electrician if you are unfamiliar with electrical wiring.
- This fixture is designed for indoor, damp location use only. Do not install in areas exposed to direct water spray.
- Use only the specified bulb type and wattage. Exceeding the maximum wattage may cause overheating and damage to the fixture.
- Do not attempt to alter the fixture in any way.
- Keep combustible materials away from the light fixture.

Figure 2: The fixture is cETL/ETL listed for safety.
3. Setup & Installation
Tools Required (Not Included):
- Phillips Head Screwdriver
- Flathead Screwdriver
- Wire Strippers
- Electrical Tape
- Safety Glasses
- Ladder
Installation Steps:
- Turn Off Power: Locate the circuit breaker or fuse box and turn off the power to the electrical box where you will be installing the fixture.
- Prepare Mounting Plate: Attach the mounting plate to the electrical box using the screws provided. Ensure the plate is securely fastened.
- Make Electrical Connections: Connect the fixture's wires to the corresponding house wires using wire nuts. Connect the black (hot) wire from the fixture to the black (hot) wire from the electrical box. Connect the white (neutral) wire from the fixture to the white (neutral) wire from the electrical box. Connect the green or bare copper (ground) wire from the fixture to the green or bare copper (ground) wire from the electrical box. Secure all connections with electrical tape.
- Mount Fixture: Carefully align the fixture with the mounting plate and secure it with the provided screws. The large rectangular backplate is designed to cover existing paint lines, making it renovation-friendly.
- Install Glass Shades: Gently attach the frosted glass shades to the fixture.
- Install Bulbs: Screw in three 60-watt maximum medium base bulbs (E26) or LED equivalents (not included) into the sockets.
- Restore Power: Turn the power back on at the circuit breaker or fuse box.

Figure 3: Product Dimensions for planning installation.

Figure 4: Renovation-friendly design with a large backplate.

Figure 5: Mounting hardware is included for convenience.

Figure 6: Designed for easy installation.
Video 1: Overview of the Design House Dane Lighting Collection, showcasing various models and features relevant to installation and design.
4. Operating Instructions
Once installed and powered, the Design House Dane Vanity Light operates like any standard wall-mounted light fixture. It is controlled by your wall switch.
Dimmable Feature:
This fixture is fully dimmable when used with compatible dimmer switches (sold separately) and dimmable bulbs. Ensure that both your bulbs and dimmer switch are rated for dimming functionality to achieve adjustable light levels.
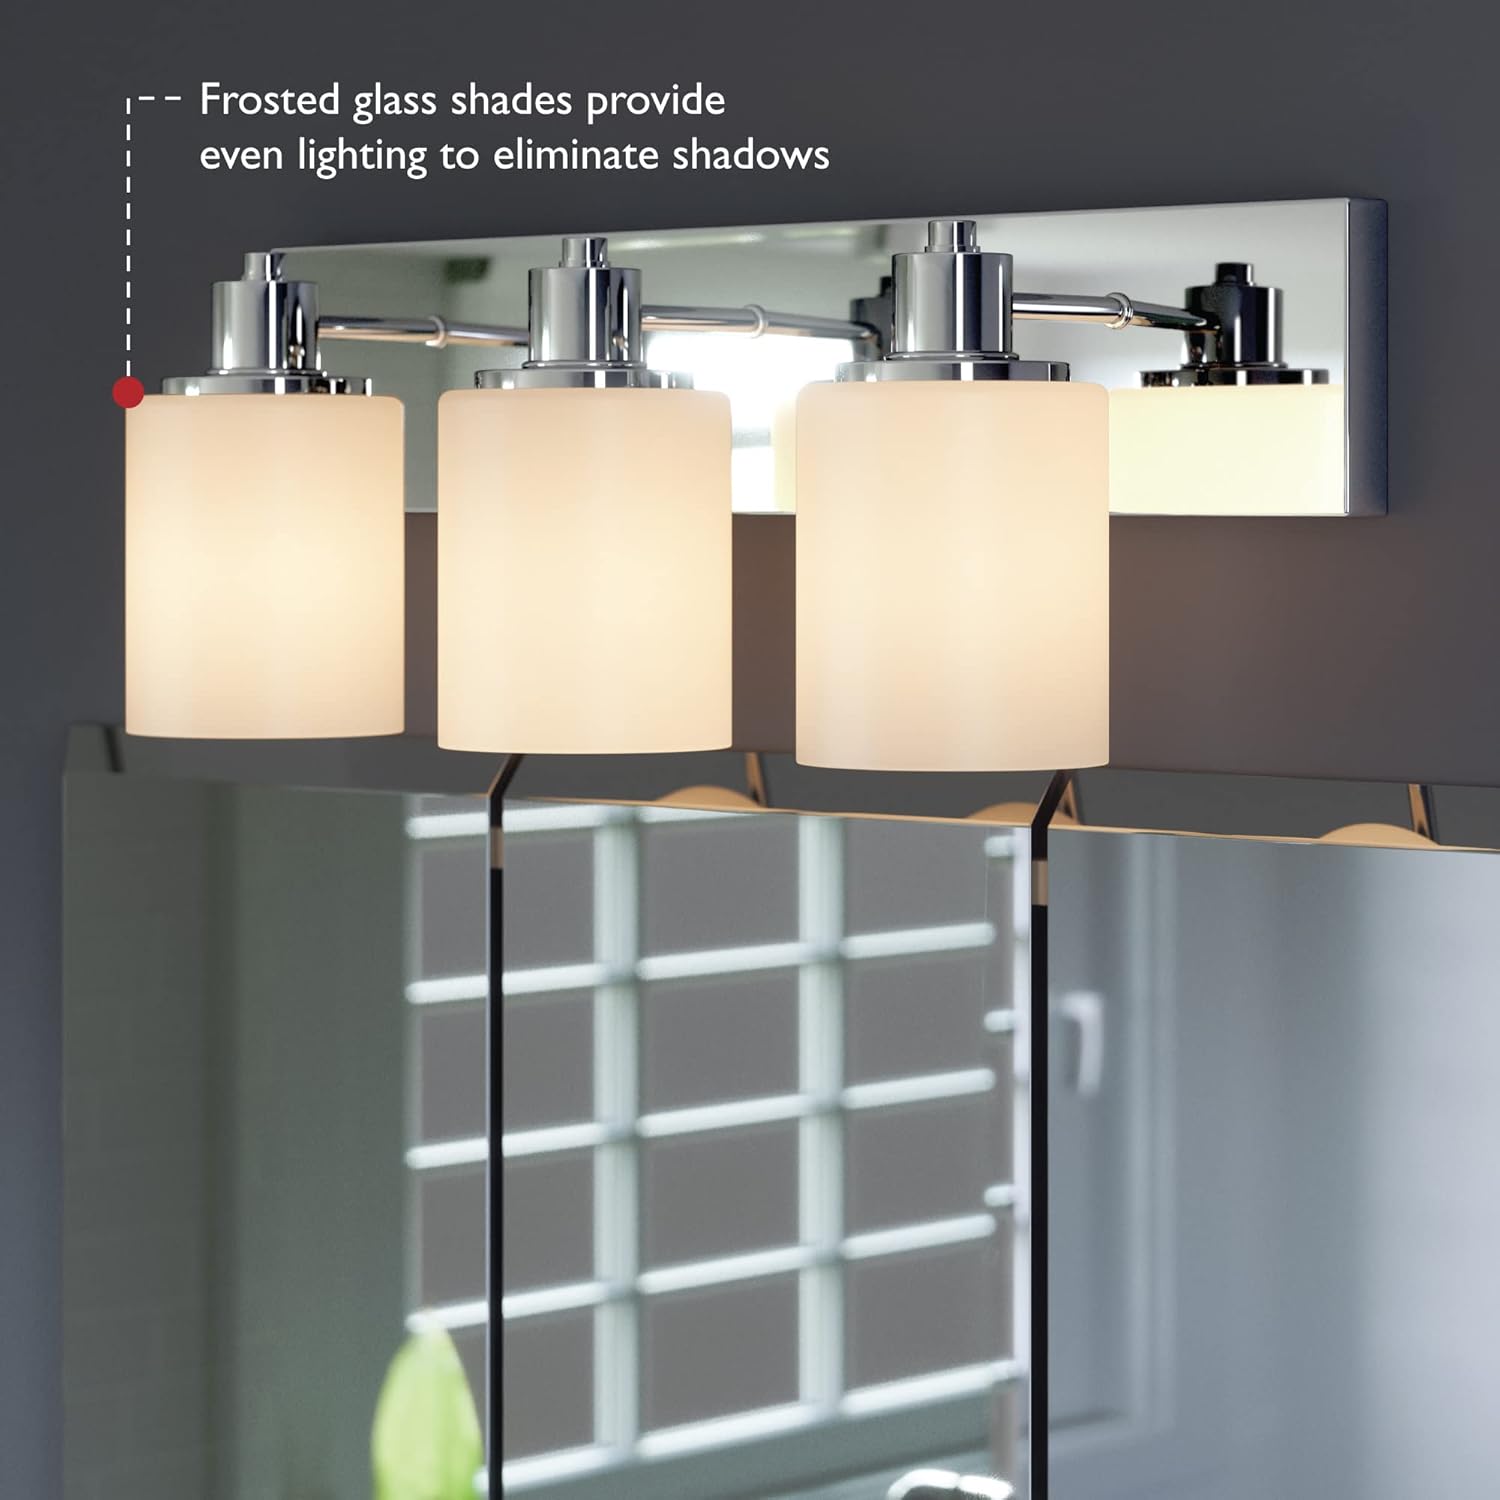
Figure 7: Frosted glass shades provide even lighting.

Figure 8: The fixture is dimmable with a compatible switch.

Figure 9: Uses three 60-watt medium base bulbs or LED equivalents.
5. Maintenance
Cleaning:
- Always turn off power to the fixture before cleaning.
- Wipe the fixture with a soft, dry cloth.
- Do not use abrasive cleaners, solvents, or polishes as they may damage the finish.
- For glass shades, remove them carefully and wash with mild soap and water, then rinse and dry thoroughly before reattaching.
Bulb Replacement:
- Ensure power is off at the circuit breaker before replacing bulbs.
- Allow bulbs to cool completely before touching them.
- Unscrew the old bulb and screw in a new 60-watt maximum medium base (E26) bulb or LED equivalent.
6. Troubleshooting
| Problem | Possible Cause | Solution |
|---|---|---|
| Light does not turn on. | No power to the fixture. | Check circuit breaker or fuse. Ensure wall switch is on. |
| Loose wire connections. | Turn off power, check all wire connections. | |
| Faulty bulb. | Replace bulb with a new one. | |
| Light flickers or dims improperly. | Incompatible dimmer switch or bulbs. | Ensure both dimmer switch and bulbs are rated for dimming. Replace if necessary. |
| Loose bulb. | Tighten bulb in socket. |
7. Specifications
| Feature | Detail |
|---|---|
| Brand | Design House |
| Model Number | 587477 |
| Color | Polished Chrome Finish |
| Material | Alloy Steel (Fixture), Glass (Shades) |
| Style | Dane |
| Light Fixture Form | Vanity |
| Indoor/Outdoor Usage | Indoor |
| Power Source | AC/DC |
| Number of Light Sources | 3 |
| Bulb Base | E26 (Medium Base) |
| Max Wattage per Bulb | 60 Watts |
| Dimmable | Yes (with compatible dimmer switch and bulbs) |
| Dimensions (L x W x H) | 24" x 7.63" x 6.5" |
| Item Weight | 4.8 Pounds |
| Certifications | cETL/ETL Listed for damp locations |
8. Warranty Information
This Design House Dane 3-Light Vanity Light is backed by a 10-year limited warranty. This warranty covers defects in materials and workmanship under normal use and service. Please retain your proof of purchase for warranty claims. For specific details regarding warranty coverage and claims, refer to the warranty documentation included with your product or contact Design House customer support.

Figure 10: The product comes with a 10-year limited warranty.
9. Customer Support
If you have any questions, require assistance with installation, or need to report a defect, please contact Design House customer support. Contact information can typically be found on the product packaging or the official Design House website.
For further assistance, please visit the Design House website or refer to the contact details provided with your purchase.


