1. Introduction
This manual provides essential instructions for the assembly, operation, and maintenance of your vidaXL Greenhouse, Model 48158. Designed to provide a sheltered environment for your plants, this greenhouse features a durable galvanized steel frame and a robust PE mesh fabric cover. Please read this manual thoroughly before beginning assembly or use to ensure proper setup and longevity of your product.
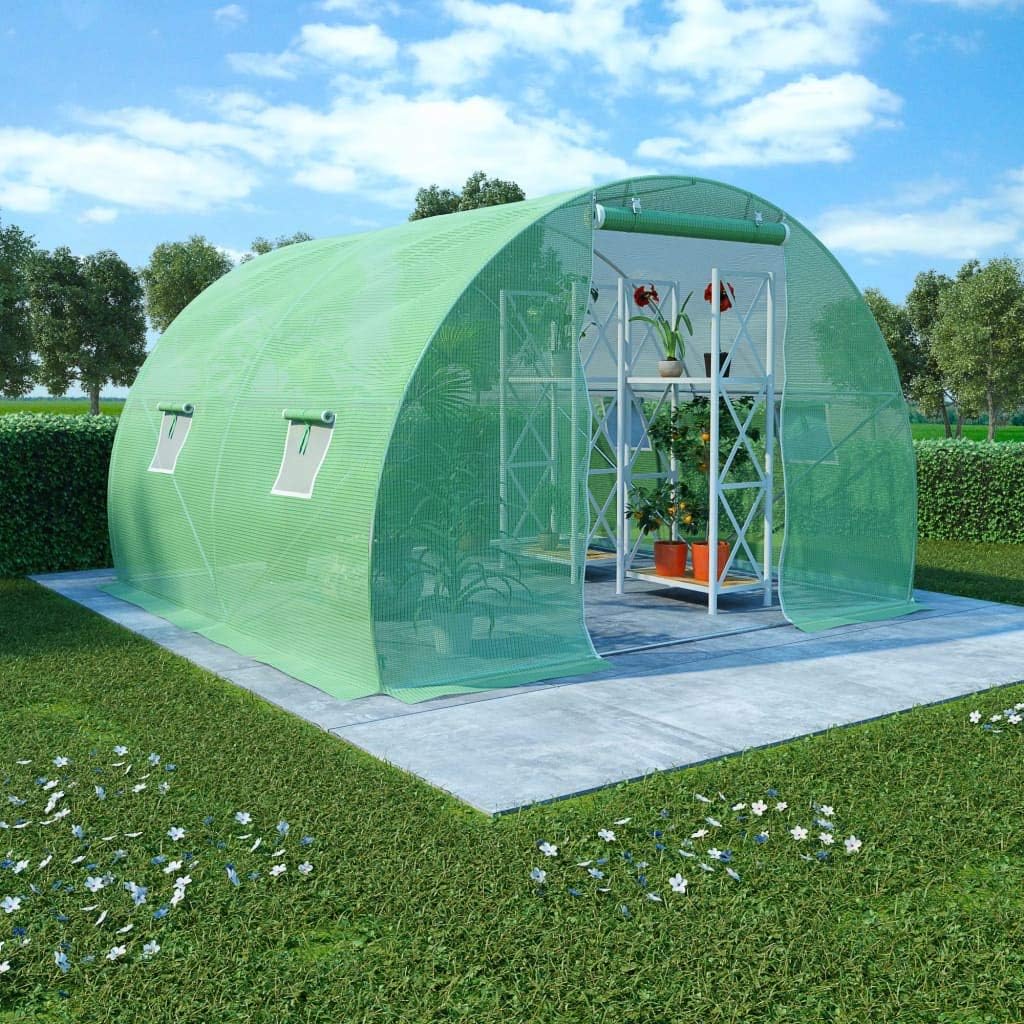
Image 1.1: Overview of the vidaXL Greenhouse.
2. Safety Information
- Warning: The roof of this greenhouse is not designed to withstand heavy snowfall. In areas prone to significant snow accumulation, it is recommended to dismantle the greenhouse or take measures to prevent snow buildup.
- Ensure the greenhouse is assembled on a level and stable surface to prevent tipping.
- Anchor the greenhouse securely to the ground to prevent wind damage.
- Keep children and pets away from the assembly area during installation.
- Do not use the greenhouse as a shelter during extreme weather conditions such as strong winds or severe storms.
3. Package Contents
Before beginning assembly, verify that all components are present and undamaged. If any parts are missing or damaged, please contact vidaXL customer support.
- PE Mesh Fabric Cover
- Galvanized Steel Frame Pipes (various lengths and shapes)
- Connectors and Joints
- Assembly Hardware (bolts, nuts, washers, etc.)
- Ground Anchors (if included)
- Instruction Manual
4. Setup and Assembly Instructions
Assembly of the vidaXL Greenhouse is designed to be straightforward. It is recommended that two people perform the assembly. An optional foundation can be used for added stability.
4.1. Prepare the Site
- Choose a level, well-drained area for your greenhouse.
- Clear the area of any debris, rocks, or sharp objects that could damage the cover.
- Ensure adequate space around the greenhouse for assembly and access.
4.2. Assemble the Frame
- Unpack all frame components and sort them by type and length.
- Begin by connecting the base frame pipes according to the diagram in the separate assembly sheet (not included in this document).
- Attach the vertical and arched frame pipes, securing them with the provided connectors and hardware. Ensure all connections are tight but do not overtighten until the entire frame is assembled.
- Gradually build the arched structure, ensuring symmetry and stability.

Image 4.1: Partial assembly of the greenhouse frame.

Image 4.2: Detail of a galvanized steel frame connection point.
4.3. Install the Cover
- Carefully unfold the PE mesh fabric cover.
- Drape the cover over the assembled frame, ensuring it is centered and evenly distributed.
- Secure the cover to the frame using the integrated ties or fasteners as indicated in the assembly sheet. Ensure the cover is taut to prevent flapping in the wind.
- Zip up the main door and secure the ventilation windows.
4.4. Anchor the Greenhouse
- Use the provided ground anchors to secure the base of the greenhouse firmly to the ground.
- For additional stability, especially in windy areas, consider using heavier-duty anchors or burying the base flaps of the cover with soil.
5. Operating Instructions
Proper operation ensures optimal growing conditions for your plants.
5.1. Door Operation
- The greenhouse features a large zippered door (approximately 39.4" x 72.8") for easy access.
- To open, unzip the door completely and roll it up, securing it with the attached ties to keep it open.
- To close, unroll the door and zip it securely to maintain internal temperature and humidity.
5.2. Ventilation Windows
- The greenhouse is equipped with four 15" x 15" side windows to ensure optimal air circulation.
- To open a window, unroll the cover flap and secure it in the open position using the ties.
- To close a window, unfasten the ties and roll the flap down, securing it to the window frame.
- Adjust the number of open windows based on external temperature and desired internal airflow.

Image 5.1: Detail of a ventilation window.
6. Maintenance
Regular maintenance will extend the life of your greenhouse.
- Cleaning: Clean the PE mesh fabric cover periodically with mild soap and water. Avoid harsh chemicals or abrasive cleaners that could damage the material. Rinse thoroughly.
- Frame Inspection: Regularly check all frame connections and hardware for tightness. Retighten any loose bolts or connectors. Inspect the galvanized steel frame for any signs of rust or damage.
- Cover Inspection: Inspect the cover for tears, punctures, or excessive wear. Small repairs can be made with appropriate repair tape.
- Winterization: In regions with heavy snowfall, it is strongly recommended to dismantle the greenhouse for the winter season to prevent structural damage. Store the cover and frame components in a dry, sheltered location.
7. Troubleshooting
- Greenhouse Instability: Ensure all frame connections are securely tightened. Verify that the greenhouse is properly anchored to the ground. Consider adding additional weight to the base or using stronger anchors in windy conditions.
- Cover Damage: Small tears in the PE mesh fabric can often be repaired with specialized greenhouse repair tape. For larger damage, replacement covers may be available from vidaXL.
- Poor Ventilation: Ensure all four side windows are fully open when maximum airflow is desired. Check that the door is rolled up and secured.
8. Specifications
| Feature | Detail |
|---|---|
| Model Number | 48158 |
| Product Dimensions (L x W x H) | 118.1" x 78.7" x 78.7" (300 x 200 x 200 cm) |
| Cover Material | 25% Heavier PE Mesh Fabric |
| Frame Material | Galvanized Steel |
| Number of Doors | 1 (39.4" x 72.8") |
| Number of Vents | 4 (15" x 15") |
| Item Weight | 35.2 pounds (16 kg) |
| Indoor/Outdoor Usage | Outdoor |
| Assembly Required | Yes |

Image 8.1: Dimensional diagram of the greenhouse.
9. Warranty and Support
For warranty information, product support, or to order replacement parts, please contact vidaXL customer service. Refer to your purchase documentation for specific warranty terms and contact details.
You can typically find support information on the official vidaXL website or through the retailer where you purchased the product.


