1. Introduction
Thank you for choosing Sunco Lighting. This manual provides detailed instructions for the safe installation, operation, and maintenance of your Sunco 6-Pack 6-Inch LED Flush Mount Disk Lights. Please read this manual thoroughly before installation and retain it for future reference.
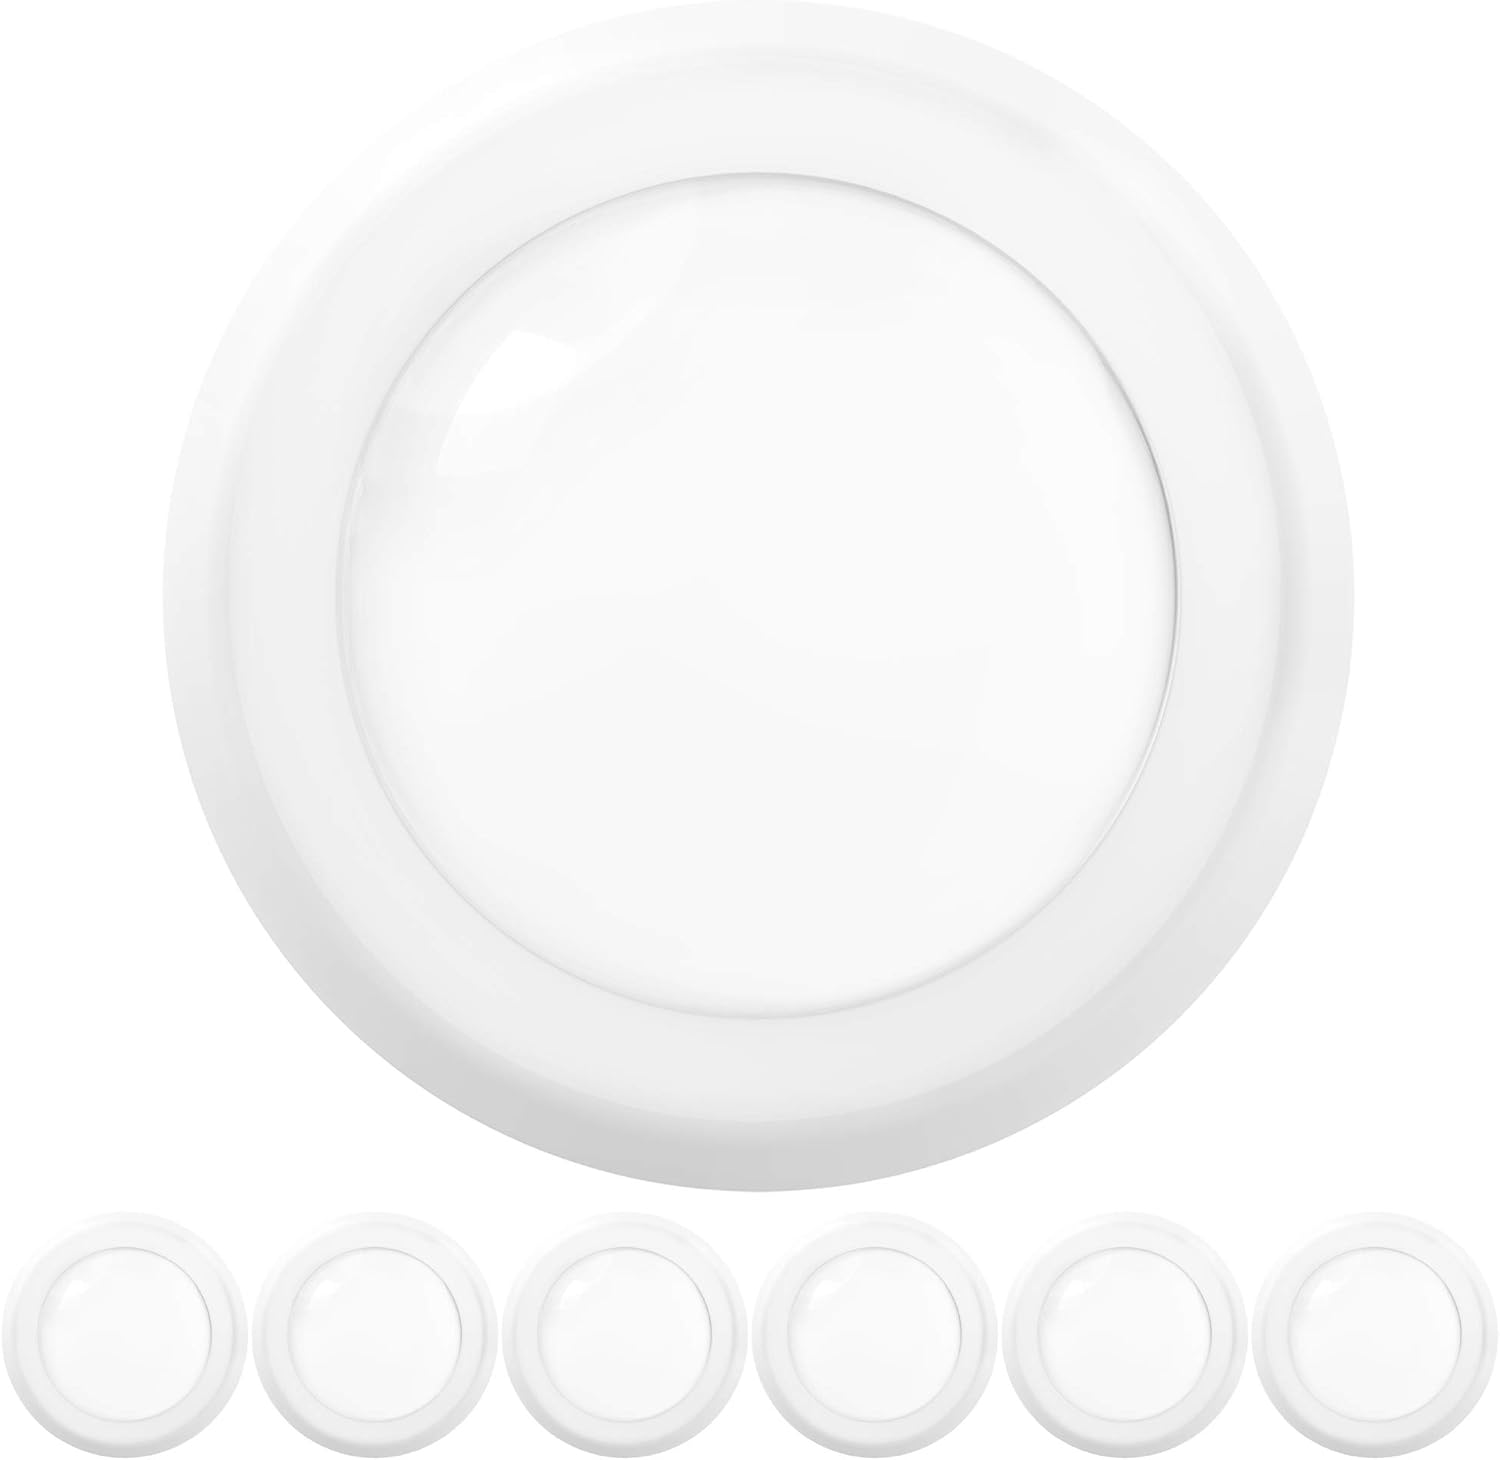
Image: Six Sunco 6-inch LED flush mount disk lights, showing their sleek, round design.
Video: An overview of the Sunco 5/6-inch LED Disk Light, demonstrating its features and installation methods.
2. Safety Information
WARNING: Risk of fire or electric shock. LED Retrofit Kit installation requires knowledge of luminaires electrical systems. If not qualified, do not attempt installation. Contact a qualified electrician.
- Disconnect power before installation or maintenance.
- Ensure the supply voltage is 120V AC.
- Do not make or alter any open holes in an enclosure of wiring or electrical components during kit installation.
- To prevent wiring damage or abrasion, do not expose wiring to edges of sheet metal or other sharp objects.
- This device is not intended for use with emergency exits.
- Suitable for damp locations.
3. Package Contents
Each pack includes:
- 6 x Sunco 6-Inch LED Flush Mount Disk Lights
- TP24 Connectors
- E26 Connectors
- Wire Nuts (for Junction Box installation)
- Spring Clips (pre-attached for Can Install)
- Mounting Screws
4. Specifications

Image: Key specifications of the LED Disk Light including 1050 Lumens, 110° Beam Angle, and 15W Wattage.

Image: The 3000K Warm White light output, designed for a pleasant ambiance.
| Feature | Specification |
|---|---|
| Brand | Sunco Lighting |
| Model Number | DL_DK56-15W-3K-6PK |
| Color Temperature | 3000K Warm White |
| Wattage | 15 Watts (75W Equivalent) |
| Brightness | 1050 Lumens |
| Voltage | 120 Volts |
| Dimmable | Yes (10%-100%) |
| CRI (Color Rendering Index) | 90+ |
| Product Dimensions | 7.5"L x 1"W x 7.5"H |
| Material | Alloy Steel, Polycarbonate |
| Installation Type | Flush Mount (Can or J-Box) |
| Certifications | ETL, Energy Star, FCC, RoHS |
| Lifetime | 50,000 Hours |
Image: Diagram showing the compact size of the disk light, with a 7.5-inch diameter and 2-inch height, along with installation accessories.
5. Installation Instructions
The Sunco LED Disk Lights offer versatile installation options for both existing recessed cans and direct wiring to a junction box.

Image: Visual guide illustrating three installation methods: Junction Box with wire nuts, TP24 Can Connection with spring clips, and E26 Can Connection with spring clips.
5.1. Option 1: Recessed Can Installation (TP24 or E26)
- Turn off power: Ensure power to the fixture is turned off at the circuit breaker.
- Remove existing trim and bulb: Carefully remove the old trim and unscrew the existing bulb from the recessed can.
- Connect adapter: Screw the appropriate adapter (TP24 or E26) into the socket of the recessed can.
- Connect disk light: Plug the disk light's connector into the adapter.
- Secure disk light: Gently push the disk light into the recessed can. The spring clips will hold it securely in place. Ensure the light is flush with the ceiling.
5.2. Option 2: Junction Box Installation
- Turn off power: Ensure power to the junction box is turned off at the circuit breaker.
- Prepare wires: Strip the ends of the house wiring (live, neutral, ground) if necessary.
- Connect wires: Use the provided wire nuts to connect the disk light's wires to the corresponding house wires (black to black, white to white, green/bare copper to ground).
- Mount disk light: Align the disk light with the junction box and secure it using the provided mounting screws. Ensure the light is flush with the ceiling.
6. Operating Instructions
Your Sunco LED Flush Mount Disk Light is designed for easy operation and features dimmable capabilities.
6.1. Power On/Off
Simply use your standard wall switch to turn the light on or off. For optimal performance and energy savings, ensure the light is off when not in use.
6.2. Dimming Functionality
This LED disk light is 10%-100% dimmable, allowing you to adjust the brightness to your desired level. To utilize the dimming feature, you must connect the light to a compatible LED dimmer switch (sold separately).

Image: Illustration of the 10% to 100% dimmable range of the LED disk light, controlled by a compatible dimmer switch.

Image: A living room scene demonstrating the adjustable brightness of the dimmable LED disk lights from 10% to 100% via a dimmer switch.
6.3. Compatible Dimmers
For optimal dimming performance, use one of the following recommended dimmer models:

Image: A table listing compatible dimmer models from brands like Lutron and Leviton.
Image: An extended table listing additional compatible dimmer models from various brands.
7. Maintenance
The Sunco LED Flush Mount Disk Light requires minimal maintenance.
- Cleaning: Ensure the power is off before cleaning. Wipe the light fixture with a soft, dry, or slightly damp cloth. Do not use harsh chemicals or abrasive cleaners, as they may damage the finish or electrical components.
- No Bulb Replacement: These LED fixtures have integrated LED chips and do not require bulb replacement.
- Inspection: Periodically inspect the fixture for any signs of damage or loose connections. If any issues are found, consult a qualified electrician.
8. Troubleshooting
If you encounter issues with your LED disk light, refer to the following common troubleshooting steps:
| Problem | Possible Cause | Solution |
|---|---|---|
| Light does not turn on | No power supply | Check circuit breaker and wall switch. Ensure connections are secure. |
| Light flickers or dims inconsistently | Incompatible dimmer switch or loose wiring | Ensure you are using a compatible LED dimmer (refer to Section 6.3). Check all wire connections for tightness. |
| Light is not as bright as expected | Dimmer setting too low or incorrect installation | Adjust dimmer to maximum brightness. Verify correct installation as per Section 5. |
| Buzzing noise from fixture | Incompatible dimmer or electrical interference | Replace dimmer with a recommended compatible model. Consult an electrician if noise persists. |
If these steps do not resolve the issue, please contact Sunco Lighting customer support.
9. Warranty and Support
Sunco Lighting stands behind the quality of its products.

Image: Sunco Lighting's commitment to quality, highlighting 7-year coverage, 45-year lifetime (based on 3 hours/day usage), and reliable customer support.
This product comes with a 7-Year Protection warranty. For warranty claims or technical assistance, please contact Sunco Lighting customer support directly. Our knowledgeable support specialists are available to assist you.
Contact Information: Please refer to the official Sunco Lighting website or your purchase documentation for the most current contact details.
10. About Sunco Lighting
Sunco Lighting is an American company dedicated to providing high-quality, energy-efficient lighting solutions. With over 25 years of expertise, we prioritize customer satisfaction by rigorously testing all products in-house and offering industry-leading warranties.
Video: A corporate overview of Sunco Lighting, detailing their commitment to quality, customer service, and product development.


