1. Introduction
This manual provides comprehensive instructions for the safe and efficient operation of your Moulinex Ultra Juice Cold Press Juicer, model ZU600110. This appliance is designed to extract juice from fruits and vegetables using a slow pressing method, which helps preserve nutrients and flavors.
Please read all instructions carefully before first use and retain this manual for future reference.
2. Safety Instructions
Important Safeguards:
- Always ensure the appliance is correctly assembled before use.
- Do not operate the juicer if any part is damaged. Contact customer service for repairs.
- Keep hands and utensils away from moving parts during operation to prevent injury. Always use the pusher provided.
- Unplug the appliance from the power outlet before cleaning, assembling, or disassembling.
- This appliance is for household use only. Do not use outdoors.
- Do not immerse the motor base in water or any other liquid.
- Ensure the voltage indicated on the appliance corresponds to your mains voltage before connecting.
- Supervise children to ensure they do not play with the appliance.
- Avoid processing frozen fruits or vegetables directly, as this can damage the auger and motor.
3. Product Components
Familiarize yourself with the parts of your Moulinex Ultra Juice Cold Press Juicer:
- Motor Base: Contains the motor and control switch.
- Juice Bowl: Collects the extracted juice and separates pulp.
- Auger (Pressing Screw): Slowly presses ingredients to extract juice.
- Filter: Fine mesh filter for juice extraction. An additional filter for ice cream is included.
- Lid with Feeding Chute: Features an 85mm extra-large opening for whole fruits and vegetables.
- Pusher: Used to guide ingredients into the feeding chute.
- Juice Carafe: For collecting the extracted juice.
- Pulp Container: For collecting discarded pulp.
- Portable Bottle (600 mL): For on-the-go juice consumption.
- Cleaning Brush: Aids in cleaning the filter and other components.

Image: The Moulinex Ultra Juice Cold Press Juicer fully assembled, showcasing its main unit, juice carafe, pulp container, and portable bottle.

Image: Exploded view of the Moulinex Ultra Juice Cold Press Juicer, showing the motor base, juice bowl, auger, filter, and lid separately.
4. Setup
- Unpack: Carefully remove all components from the packaging.
- Clean: Wash all detachable parts (juice bowl, auger, filter, lid, pusher, carafes, bottle) with warm soapy water and rinse thoroughly. Dry completely before assembly. The motor base should only be wiped with a damp cloth.
- Assemble:
- Place the juice bowl onto the motor base, ensuring it clicks into place securely.
- Insert the filter into the juice bowl.
- Place the auger into the center of the filter, rotating it until it sits firmly.
- Position the lid onto the juice bowl, aligning the arrows and rotating clockwise until it locks.
- Place the juice carafe under the juice spout and the pulp container under the pulp outlet.
- Connect Power: Plug the power cord into a suitable electrical outlet.
5. Operating Instructions
Preparation of Ingredients:
- Wash all fruits and vegetables thoroughly.
- For fruits with large seeds or hard pits (e.g., peaches, plums, mangoes), remove them before juicing.
- Remove thick or inedible skins (e.g., pineapple, melon, citrus fruits).
- The 85mm extra-large feeding chute allows for whole fruits and vegetables like apples, carrots, and cucumbers without pre-cutting. For very fibrous ingredients or those that don't fit, cut them into smaller pieces.
Juicing Process:
- Ensure the juicer is properly assembled and the juice carafe and pulp container are in place.
- Turn on the appliance using the control switch. The juicer has a single button for operation (Start/Reverse).
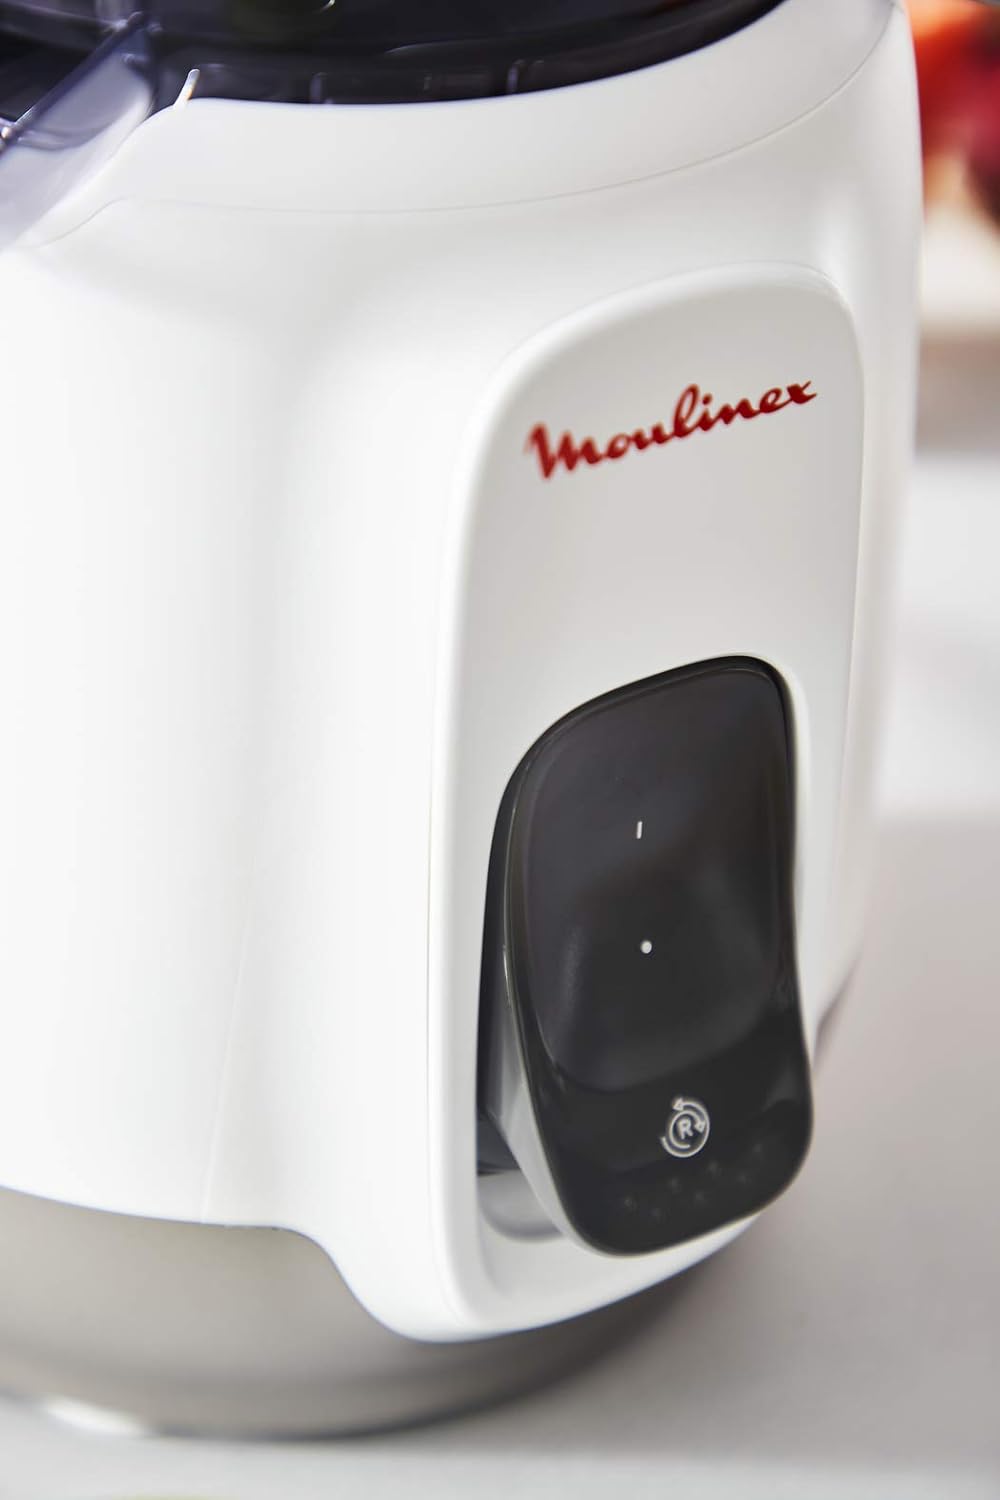
Image: Detail of the control switch on the motor base, showing the 'On' and 'Reverse' positions.

Image: A hand operating the control switch to start the juicer.
- Gradually feed ingredients into the feeding chute. Use the pusher only if necessary to gently guide ingredients. Do not force ingredients.

Image: An apple being placed into the extra-large feeding chute, demonstrating its capacity for whole fruits.
- The juicer will extract juice into the carafe and separate pulp into the pulp container.
- If ingredients become jammed, switch the control to the "Reverse" (R) position for a few seconds to clear the blockage, then return to the "On" (I) position.
- Once juicing is complete, turn off the appliance and unplug it.
Using the Portable Bottle:
The included 600 mL portable bottle is ideal for carrying your freshly made juice. Simply pour the juice from the carafe into the bottle and secure the lid.

Image: The 600 mL portable bottle filled with juice, shown in a lifestyle setting.
Recipe Book:
A "Zero Waste" recipe book is included to inspire various juice creations and provide ideas for utilizing leftover pulp.
6. Cleaning and Maintenance
Regular cleaning ensures optimal performance and longevity of your juicer.
- Disassembly: Unplug the appliance. Disassemble the juicer in reverse order of assembly: remove the lid, then the auger, filter, and juice bowl.
- Easy Clean Program: For preliminary cleaning, after juicing, pour a glass of water into the feeding chute while the juicer is running. This helps rinse the internal components.

Image: Demonstrating the Easy Clean function by pouring water into the juicer's feeding chute.
- Manual Cleaning:
- Wash all detachable parts (juice bowl, auger, filter, lid, pusher, carafes, bottle) with warm soapy water.
- Use the provided cleaning brush to thoroughly clean the filter mesh, as pulp can easily get trapped.
- Rinse all parts under running water.
- Wipe the motor base with a damp cloth. Never immerse it in water.
- Dry all parts completely before reassembling or storing.
- Storage: Store the assembled or disassembled juicer in a clean, dry place.
Note: While the "Easy Clean" program assists, a thorough manual cleaning is recommended after each use, especially for the filter, to prevent residue buildup and maintain juicer efficiency.
7. Troubleshooting
| Problem | Possible Cause | Solution |
|---|---|---|
| Juicer does not start. | Not properly assembled or plugged in. | Ensure all parts are correctly locked into place and the power cord is securely plugged into an outlet. |
| Motor stops during operation or struggles. | Overloaded with ingredients or blockage. | Switch to "Reverse" (R) for a few seconds to clear. Reduce the amount of ingredients fed at once. Cut very hard or fibrous ingredients into smaller pieces. |
| Excessive noise during operation. | Hard ingredients or improper assembly. | While the juicer is designed to be quiet, very hard ingredients can increase noise. Ensure all components are securely assembled. |
| Difficulty cleaning the filter. | Pulp dried onto the mesh. | Clean immediately after use. Use the provided cleaning brush and warm soapy water to scrub the mesh thoroughly. The "Easy Clean" function can help prevent drying. |
| Low juice yield or wet pulp. | Filter clogged or ingredients too soft/overripe. | Ensure the filter is clean. Process a mix of hard and soft ingredients for best results. |
If the problem persists after attempting these solutions, please contact Moulinex customer support.
8. Specifications
| Feature | Detail |
|---|---|
| Model Number | ZU600110 |
| Brand | Moulinex |
| Type | Cold Press Juicer |
| Power | 200 Watts |
| Voltage | 200V (Standard for EU, check local voltage) |
| Dimensions (L x W x H) | 24.3 x 21.1 x 55.8 cm |
| Weight | 5.39 kg |
| Juice Carafe Capacity | 600 Milliliters |
| Portable Bottle Capacity | 600 Milliliters |
| Feeding Chute Diameter | 85 mm (Extra-large) |
| Material | Plastic |
| Number of Speeds | 1 |
| Special Features | Automatic program, Easy Clean, Reverse function |
| Care Instructions | Hand wash only for detachable parts |
9. Warranty and Support
Warranty:
This Moulinex Ultra Juice Cold Press Juicer comes with a 2-year manufacturer's warranty from the date of purchase, covering defects in materials and workmanship under normal household use. Please retain your proof of purchase for warranty claims.
Repairability:
Moulinex is committed to product longevity. This appliance is designed for 10 years of repairability. Spare parts are generally available for this period. For repair services, please contact an authorized Moulinex service center.
Customer Support:
For further assistance, troubleshooting, or to locate an authorized service center, please visit the official Moulinex website or contact their customer service department. Contact details can typically be found on the product packaging or the brand's official website.


