
1. Introduction
The Blink Add-On Sync Module 2 is a central hub designed to enhance the functionality and management of your Blink smart home security devices. It allows for convenient control of multiple Blink cameras and devices directly from the Blink Home Monitor app.
A key feature of the Sync Module 2 is its support for local video storage. By inserting a USB flash drive (sold separately) into the module, you can record and store motion clips from up to 10 compatible Blink Outdoor, Indoor, Video Doorbell, and Mini devices without requiring a cloud subscription.

2. Setup and Installation
Setting up your Blink Sync Module 2 is a straightforward process designed to integrate seamlessly with your existing Blink devices.
2.1. Initial Power-Up
- Unpack: Carefully remove the Sync Module 2 from its packaging.
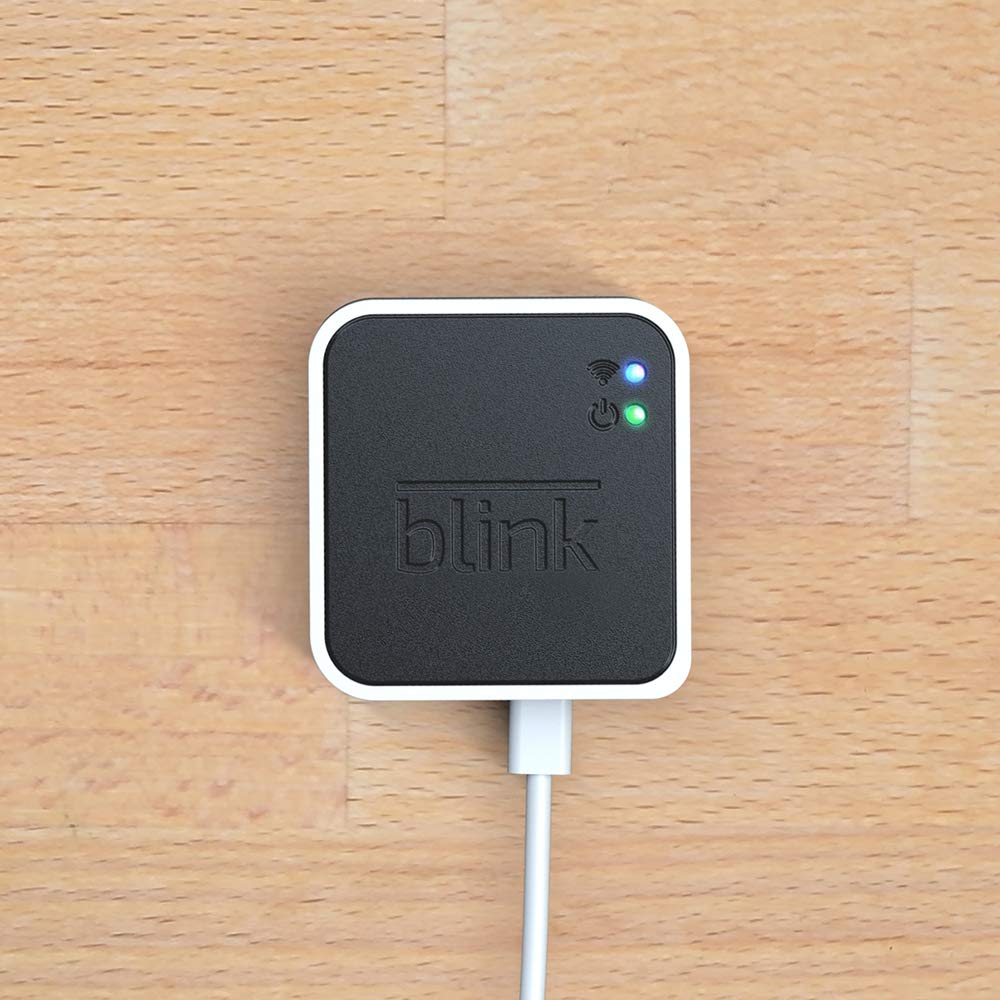
- Connect Power: Plug the provided power adapter into the Sync Module 2 and then into a standard wall outlet. The module will power on automatically.
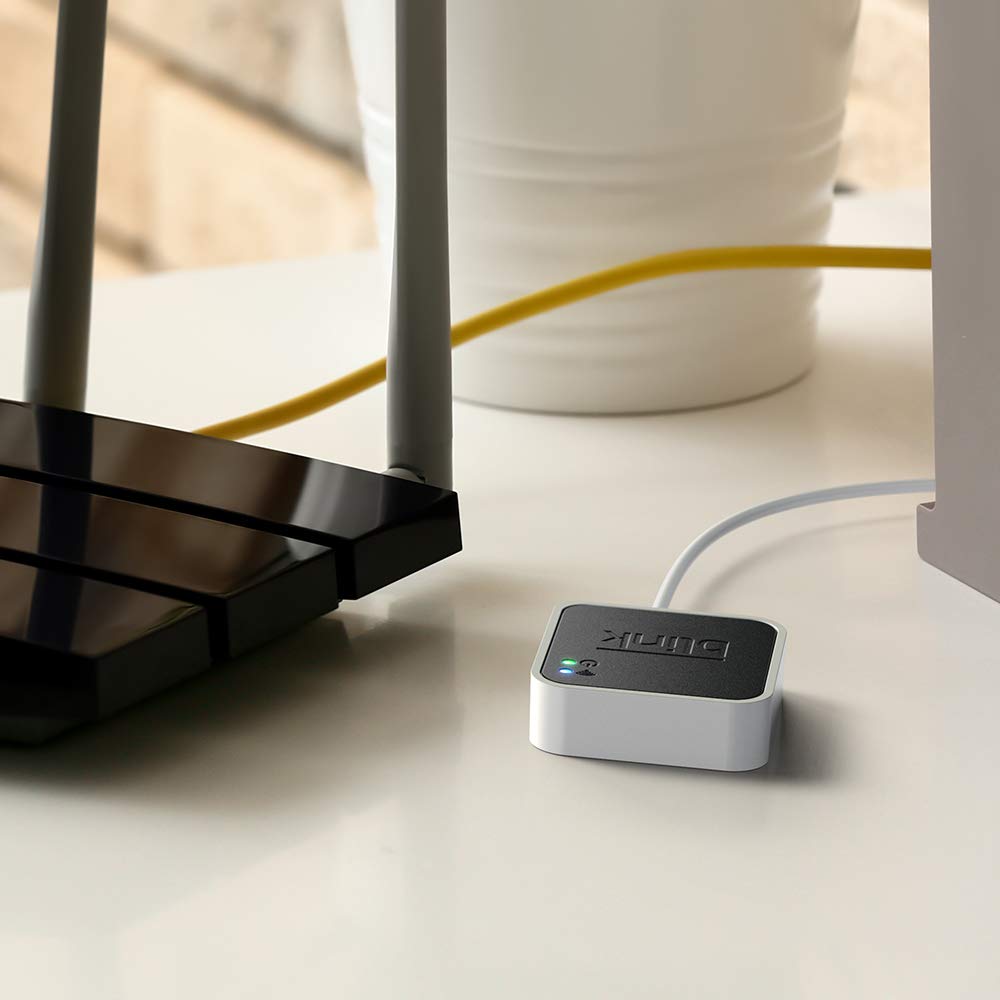
- Placement: Place the Sync Module 2 in a central location within your home, ideally equidistant from your Blink cameras and your Wi-Fi router, to ensure optimal signal strength.
2.2. Connecting to the Blink Home Monitor App
- Download App: If you haven't already, download the Blink Home Monitor app from your device's app store.
- Create Account: Open the app and create a Blink account or log in to your existing account.
- Add Device: Follow the in-app instructions to add a new device. Select "Sync Module" and scan the QR code located on the back of your Sync Module 2.
- Wi-Fi Connection: The app will guide you through connecting the Sync Module 2 to your home Wi-Fi network.
2.3. Connecting Blink Devices
The Sync Module 2 can connect up to 10 Blink devices, including Blink Indoor, Blink Outdoor, XT2, XT, and Video Doorbell. Blink Mini devices do not require a Sync Module for operation but can be added to a system for unified control.
- Add Camera: Within the Blink Home Monitor app, select your Sync Module system and choose to add a new camera.
- Follow Prompts: Follow the app's instructions to connect each individual Blink camera or device to your Sync Module system.
2.4. Local Storage Setup (Optional)
To utilize local video storage, you will need a USB flash drive (up to 256 GB, sold separately).
- Insert USB Drive: Insert the USB flash drive into the USB port on the side of the Sync Module 2.
- Format (if prompted): The Blink app may prompt you to format the USB drive. Follow the on-screen instructions to prepare the drive for local storage.
- Compatibility Note: Local video storage functionality is not compatible with Blink XT2, XT, and 1st generation Indoor cameras.

3. Operation
Once set up, the Sync Module 2 facilitates the operation of your Blink security system.
3.1. System Control via Blink App
- Arm/Disarm: Use the Blink Home Monitor app to arm or disarm your entire system, controlling when motion detection and recording are active for connected cameras.
- Live View: Access live views from your connected cameras through the app.
- Two-Way Audio: For compatible devices like the Video Doorbell, engage in two-way audio communication directly from the app.
3.2. Accessing Local Storage
The Sync Module 2 allows you to manage and access locally stored video clips.
- In-App Access: View, share, and download locally stored motion alerts directly from the Blink Home Monitor app.
- Direct USB Access: For larger transfers or viewing on a computer, you can remove the USB flash drive from the Sync Module 2 and plug it into a computer.
- No Monthly Fees: Utilizing the local video storage functionality does not require any recurring monthly fees.
4. Maintenance
Proper maintenance ensures the longevity and optimal performance of your Blink Sync Module 2.
- Cleaning: Gently wipe the exterior of the Sync Module 2 with a soft, dry cloth. Avoid using liquid cleaners or abrasive materials.
- Ventilation: Ensure the module is placed in an area with adequate airflow to prevent overheating. Do not cover the device.
- Firmware Updates: The Blink app will automatically notify you of any available firmware updates for the Sync Module 2. It is recommended to install these updates to ensure the best performance and access to new features.
- USB Drive Management: Periodically check the storage capacity of your USB flash drive. If it becomes full, you may need to transfer or delete old clips to free up space.
5. Troubleshooting
If you encounter issues with your Blink Sync Module 2, refer to the following common troubleshooting steps:
| Problem | Possible Cause | Solution |
|---|---|---|
| Sync Module is Offline |
|
|
| Videos Not Recording to USB |
|
|
| Difficulty with Initial Setup |
|
|
For further assistance, refer to the support section or the Blink Home Monitor app's help resources.
6. Specifications
| Feature | Detail |
|---|---|
| Model Name | Blink Add-On Sync Module 2 |
| Brand | Blink |
| Connectivity | Wi-Fi (2.4 GHz) |
| Device Capacity | Connects up to 10 Blink devices (Indoor, Outdoor, XT2, XT, Video Doorbell, Mini) |
| Local Storage | USB port for flash drive (up to 256 GB, sold separately) |
| Local Storage Compatibility | Supports Outdoor, Indoor, Video Doorbell, and Mini devices. Not compatible with Blink XT2, XT, and 1st generation Indoor cameras for local storage. |
| Power | Standard wall outlet via included power adapter |
7. Warranty Information
Specific warranty details for the Blink Add-On Sync Module 2 are typically provided at the point of purchase or within the product packaging. Please refer to the documentation included with your device or visit the official Blink support website for the most current warranty information.
8. Customer Support
For technical assistance, troubleshooting, or general inquiries regarding your Blink Add-On Sync Module 2, please visit the official Blink support website or contact their customer service. Support contact information can usually be found on the Blink website or within the Blink Home Monitor app.
You can also find helpful resources, FAQs, and community forums on the Blink Store on Amazon.


