
STANLEY SM16-B3
STANLEY 10" (254mm) Miter Saw SM16 User Manual
Model: SM16-B3
1. Introduction
This manual provides essential information for the safe and effective operation, maintenance, and troubleshooting of your STANLEY 10" (254mm) Miter Saw, model SM16-B3. This powerful tool is designed for precise cross-cutting and miter cutting of wood, plastic, and non-ferrous metals with the appropriate blade. Please read this manual thoroughly before initial use to ensure proper handling and to maximize the lifespan of your tool.

Figure 1: Overall view of the STANLEY 10" Miter Saw SM16, showing its compact design and main components.
2. Safety Information
Always observe basic safety precautions to reduce the risk of fire, electric shock, and personal injury. Keep this manual for future reference.
General Safety Rules:
- Work Area Safety: Keep the work area clean and well-lit. Cluttered or dark areas invite accidents. Do not operate power tools in explosive atmospheres, such as in the presence of flammable liquids, gases, or dust.
- Electrical Safety: Power tool plugs must match the outlet. Never modify the plug in any way. Do not abuse the cord. Never use the cord for carrying, pulling, or unplugging the power tool. Keep cord away from heat, oil, sharp edges, or moving parts.
- Personal Safety: Always wear eye protection (safety glasses or goggles) and hearing protection. Use a dust mask if operating in dusty conditions. Dress properly; avoid loose clothing, jewelry, or long hair that can be caught in moving parts.
- Tool Use and Care: Do not force the power tool. Use the correct power tool for your application. Disconnect the plug from the power source before making any adjustments, changing accessories, or storing power tools.
- Specific Miter Saw Safety:
- Ensure the blade guard is always in place and functioning correctly.
- Secure the workpiece firmly with clamps or a vise before cutting.
- Never attempt to cut freehand.
- Allow the blade to reach full speed before beginning a cut.
- Keep hands clear of the blade path.
3. Components and Features
Familiarize yourself with the various parts of your STANLEY Miter Saw for safe and efficient operation.

Figure 2: Front view of the miter saw, highlighting key components such as the blade, guard, fence, and base.
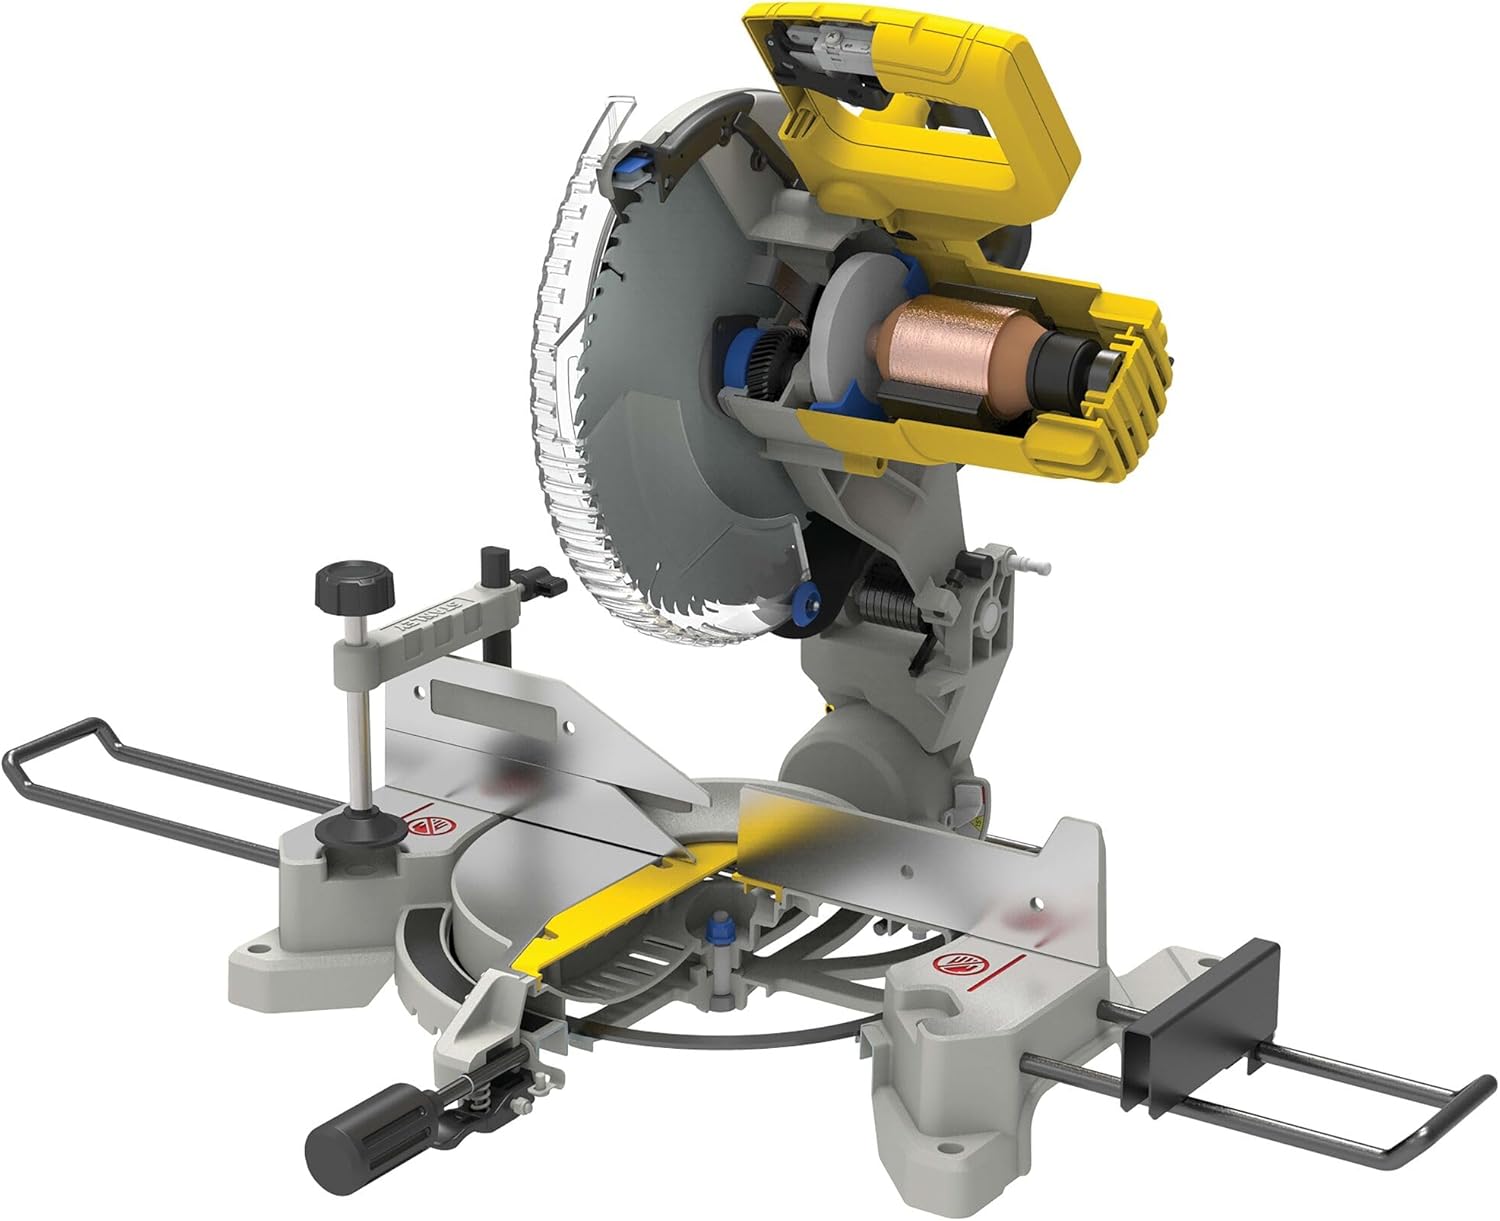
Figure 3: Side view of the miter saw, showing the motor housing and handle assembly.

Figure 4: Close-up view of the blade and guard assembly, showing the spindle lock and blade bolt area.
Key Components:
| Component | Description |
|---|---|
| Blade Guard | Retracts automatically during cutting to expose the blade and covers it when the saw head is raised. |
| Miter Scale | Indicates the angle of the miter cut. |
| Fence | Provides support for the workpiece and ensures accurate cuts. |
| Dust Bag | Collects sawdust during operation to maintain a cleaner work environment. |
| Workpiece Clamp | Secures the material being cut to the saw table. |
| Handle with Trigger Switch | Ergonomic handle for control, with a trigger to activate the motor. |
4. Setup and Assembly
Before operating the miter saw, ensure it is properly assembled and secured.
- Unpacking: Carefully remove all components from the packaging. Verify that all listed parts are present.
- Mounting the Saw: For stability and safety, it is highly recommended to bolt the miter saw to a sturdy workbench or a dedicated miter saw stand. Use the mounting holes provided in the base of the saw.
- Blade Installation (if not pre-installed):
- Ensure the saw is unplugged from the power source.
- Press the spindle lock button to prevent the blade from rotating.
- Use the provided wrench to loosen the blade bolt.
- Install the new blade, ensuring the teeth are pointing in the correct direction (downwards towards the fence).
- Tighten the blade bolt securely.
- Dust Bag Attachment: Slide the dust bag onto the dust port located at the rear of the blade guard assembly. Ensure it is securely fitted to maximize dust collection efficiency.
- Adjusting the Fence: The fence should be perpendicular to the blade for standard cuts. Adjust if necessary using the adjustment screws.
5. Operating Instructions
Follow these steps for safe and effective operation of your miter saw.
Basic Cutting Procedure:
- Prepare the Workpiece: Mark your desired cut line clearly on the material. Ensure the material is free of nails, screws, or other foreign objects.
- Position the Workpiece: Place the workpiece firmly against the fence and flat on the saw table. Use the workpiece clamp to secure it in place. Ensure your hands are a safe distance from the blade.
- Set the Miter Angle: Loosen the miter lock handle and pivot the saw table to the desired angle on the miter scale. Tighten the miter lock handle firmly.
- Start the Saw: Depress the trigger switch on the handle. Allow the blade to reach full operating speed before beginning the cut.
- Make the Cut: Slowly and steadily lower the saw head through the workpiece. Do not force the cut. Maintain a consistent feed rate.
- Complete the Cut: Once the cut is complete, release the trigger switch and allow the blade to come to a complete stop before raising the saw head.
- Remove Workpiece: Only remove the cut material after the blade has stopped rotating and the saw head is fully raised.

Figure 5: A user demonstrating the proper technique for operating the miter saw, ensuring the workpiece is secured and hands are clear.
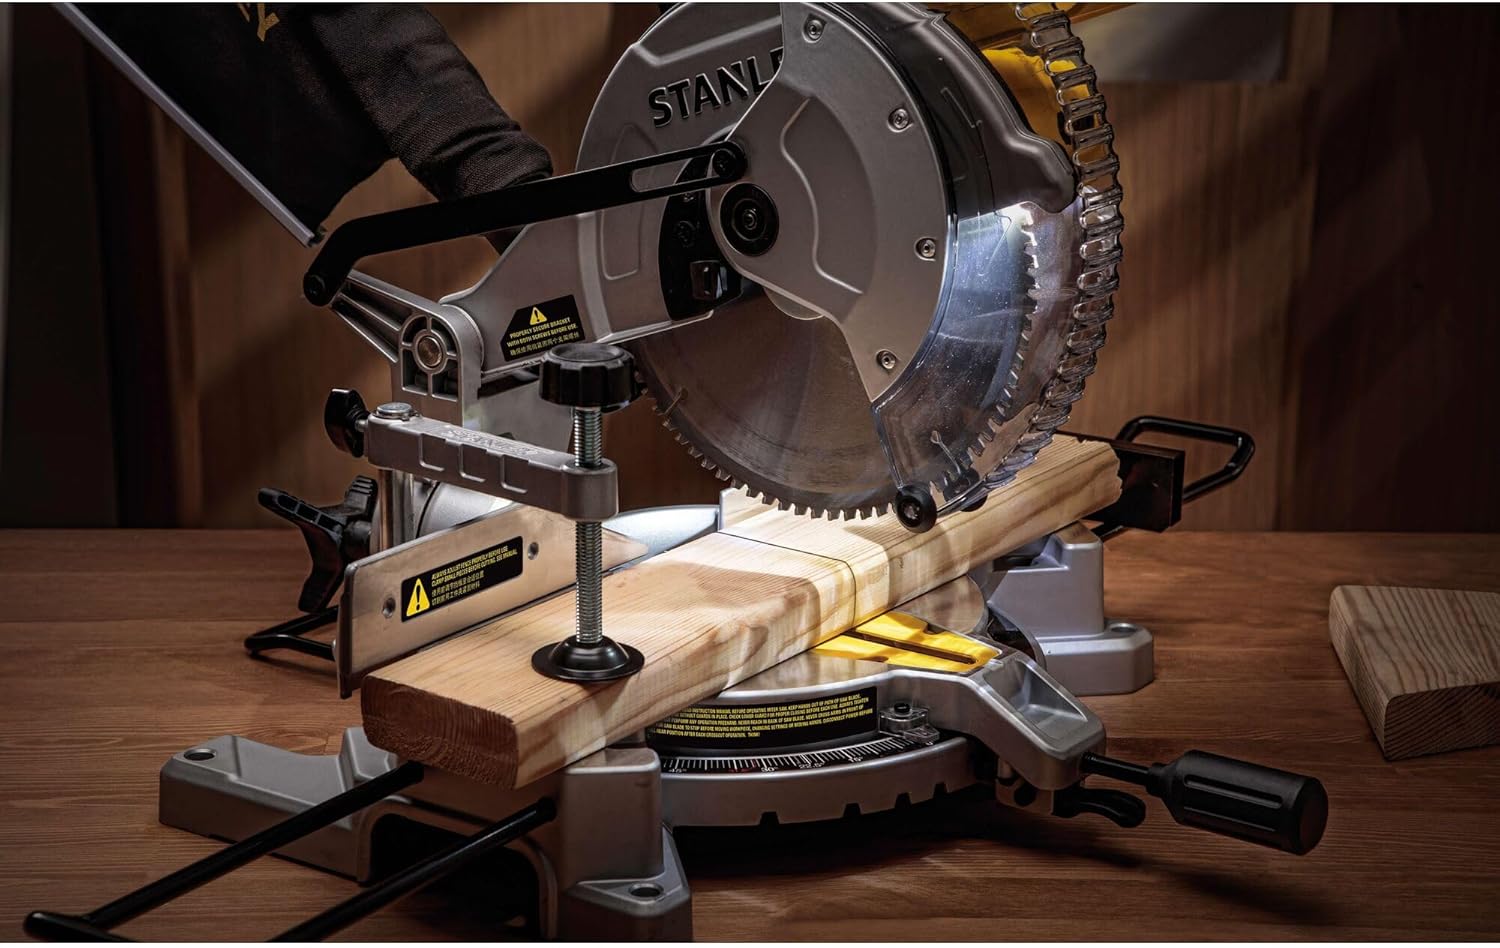
Figure 6: Detailed view of the blade engaging with a wooden workpiece during a cut, illustrating the precision of the tool.
Adjusting for Bevel Cuts:
The SM16-B3 allows for bevel cuts up to 45 degrees. To adjust the bevel angle:
- Loosen the bevel lock knob located at the rear of the saw.
- Tilt the saw head to the desired angle indicated on the bevel scale.
- Tighten the bevel lock knob securely before making the cut.
6. Maintenance
Regular maintenance ensures optimal performance and extends the life of your miter saw. Always unplug the tool before performing any maintenance.
- Cleaning: After each use, clean the saw thoroughly. Remove sawdust and debris from the blade guard, motor vents, and table using a brush or compressed air. Do not use solvents that could damage plastic parts.
- Blade Inspection and Replacement: Regularly inspect the blade for sharpness, cracks, or missing teeth. A dull or damaged blade can cause kickback and poor cut quality. Replace the blade as described in the "Setup and Assembly" section when necessary.
- Carbon Brushes: The motor's carbon brushes may need periodic inspection and replacement. Refer to the service diagram for location and replacement procedure. This task is often best performed by a qualified service technician.
- Lubrication: Moving parts and pivot points may require light lubrication periodically. Use a dry lubricant or silicone spray. Avoid excessive lubrication that could attract dust.
- Cord Inspection: Check the power cord for any signs of damage, cuts, or fraying. Replace a damaged cord immediately to prevent electrical hazards.
7. Troubleshooting
This section addresses common issues you might encounter with your miter saw.
| Problem | Possible Cause | Solution |
|---|---|---|
| Saw does not start | No power supply; Faulty switch; Worn carbon brushes. | Check power connection and circuit breaker; Contact service center for switch or brush replacement. |
| Blade not cutting cleanly / Burning wood | Dull or incorrect blade; Incorrect feed rate; Blade wobble. | Replace blade; Reduce feed rate; Check blade for proper installation and tightness. |
| Excessive vibration | Loose blade; Damaged blade; Loose mounting bolts. | Tighten blade bolt; Replace damaged blade; Tighten mounting bolts. |
| Dust collection ineffective | Dust bag full or improperly attached; Clogged dust port. | Empty and reattach dust bag; Clear dust port and blade guard of debris. |
If the problem persists after attempting these solutions, contact STANLEY customer support or an authorized service center.
8. Specifications
Technical specifications for the STANLEY 10" Miter Saw SM16-B3.
| Feature | Detail |
|---|---|
| Model Number | SM16-B3 |
| Power Input | 1650W |
| Voltage | 120 Volts |
| No-Load Speed | 5500 RPM |
| Blade Diameter | 10 inches (254mm) |
| Miter Capacity | Up to 45 degrees left and right |
| Bevel Capacity | Up to 45 degrees left |
| Weight | 17.46 kg (approximately 38.49 lbs) |
| Dimensions (L x W x H) | 60.8 x 48.8 x 43.8 cm |
| Power Source | Corded Electric |
| Included Components | 10" Blade (80-tooth for aluminum), Dust Bag, Clamp, Wrench |
9. Warranty and Support
STANLEY products are manufactured to high quality standards and are guaranteed for a period of 2 years from the date of purchase against manufacturing defects.
Warranty Information:
- This warranty covers defects in materials and workmanship.
- It does not cover damage caused by misuse, abuse, normal wear and tear, unauthorized repairs, or failure to follow operating instructions.
- Proof of purchase is required for all warranty claims.
Customer Support:
For technical assistance, warranty claims, or to locate an authorized service center, please visit the official STANLEY website or contact their customer service department. Refer to the contact information provided on the product packaging or the STANLEY official website.
Online Resources: www.stanleytools.com
Related documentsSM16-B3


Ask a question about this manual
Ask about setup, troubleshooting, compatibility, parts, safety, or missing instructions. Manuals+ will review the question and use this page’s manual context to help answer it.