1. Introduction and Overview
The STANLEY SM16 10-inch Miter Saw is a powerful and precise tool designed for cutting wood, MDF, and similar materials. Its 1650W motor and 10-inch (254mm) blade provide advanced capability for straight, angle, and bevel cuts. The reinforced base and adjustable guides ensure stability and accuracy for various carpentry and woodworking projects.
This manual provides essential information for the safe and effective operation, maintenance, and troubleshooting of your STANLEY SM16 Miter Saw. Please read it thoroughly before initial use and keep it for future reference.
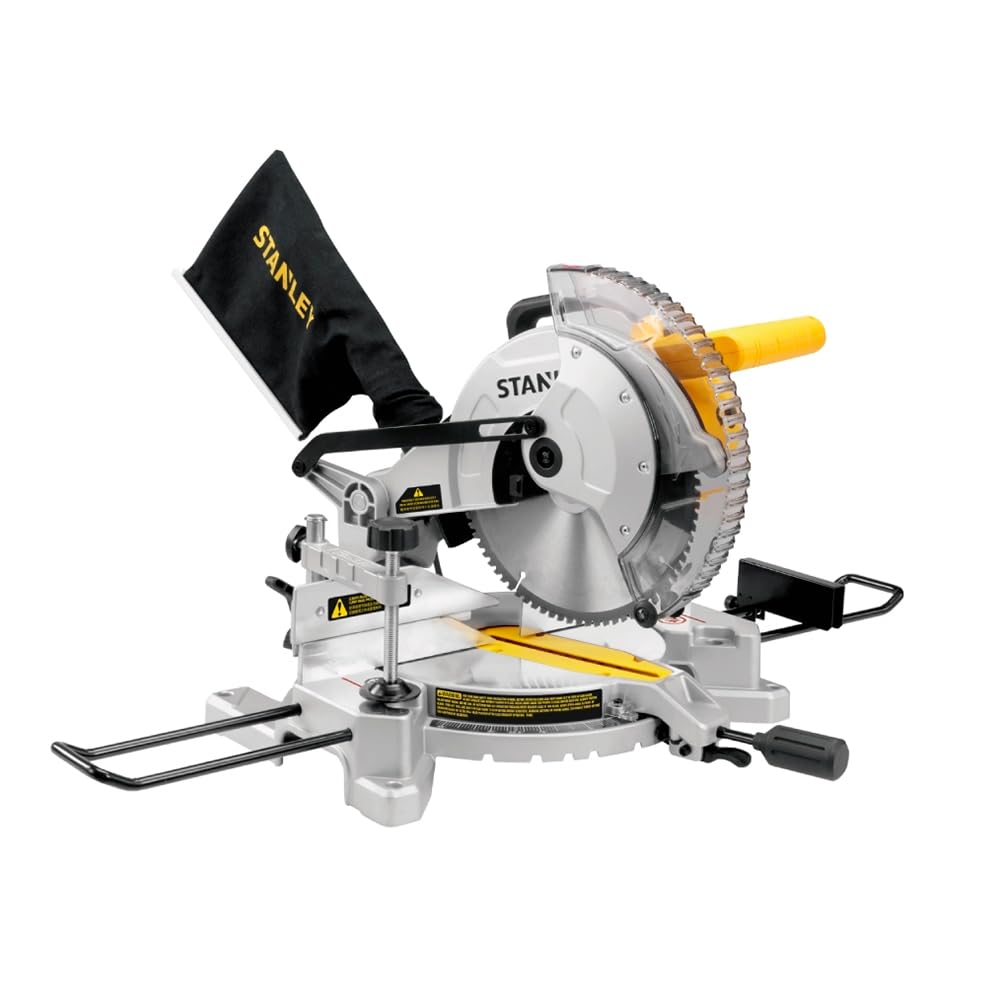
Figure 1: STANLEY SM16 10-inch Miter Saw, front-right view.
2. Safety Instructions
WARNING: Read all safety warnings, instructions, illustrations, and specifications provided with this power tool. Failure to follow all instructions listed below may result in electric shock, fire, and/or serious injury.
General Power Tool Safety Warnings:
- Work Area Safety: Keep work area clean and well-lit. Cluttered or dark areas invite accidents. Do not operate power tools in explosive atmospheres, such as in the presence of flammable liquids, gases, or dust.
- Electrical Safety: Power tool plugs must match the outlet. Never modify the plug in any way. Do not use any adapter plugs with earthed (grounded) power tools. Avoid body contact with earthed or grounded surfaces.
- Personal Safety: Always wear eye protection. Use hearing protection when operating the saw. Dress properly; avoid loose clothing or jewelry. Keep hair, clothing, and gloves away from moving parts.
- Power Tool Use and Care: Do not force the power tool. Use the correct power tool for your application. Disconnect the plug from the power source and/or remove the battery pack, if detachable, before making any adjustments, changing accessories, or storing power tools.
- Service: Have your power tool serviced by a qualified repair person using only identical replacement parts. This will ensure that the safety of the power tool is maintained.
Miter Saw Specific Safety Warnings:
- Always use the blade guard.
- Ensure the workpiece is securely clamped before cutting.
- Never reach into the blade area when the saw is running or connected to power.
- Keep hands clear of the cutting path.
- Use only blades recommended for your miter saw and for the material being cut.
- Ensure the saw is stable and securely mounted before operation.
3. Package Contents
Carefully unpack your STANLEY SM16 Miter Saw and check for the following components:
- 1 x STANLEY SM16 10-inch Miter Saw
- 1 x Vise (Workpiece Clamp)
- 1 x Dust Collector Bag
- 1 x 80-tooth Blade (pre-installed or separate)
- 1 x Instruction Manual
If any parts are missing or damaged, please contact your retailer or Stanley customer service immediately.
4. Setup
4.1 Unpacking and Assembly
- Remove all components from the packaging.
- Place the miter saw on a stable, level workbench. Ensure the non-slip base is firmly seated.
- Attach the dust collector bag to the dust port at the rear of the saw.
- Install the workpiece vise as instructed in the detailed assembly guide (if separate).
- Ensure the blade is correctly installed and secured. Refer to the blade changing section if necessary.
4.2 Power Connection
- Verify that the power supply voltage matches the rating on the saw's nameplate (220V for this model).
- Plug the power cord into a grounded electrical outlet.

Figure 2: Dust collection bag attached to the miter saw.
5. Operating Instructions
5.1 Adjusting Miter Angles
- Loosen the miter lock knob located at the front of the saw base.
- Rotate the turntable to the desired miter angle. The saw features 9 predefined cutting positions for common angles.
- Tighten the miter lock knob to secure the angle.
5.2 Adjusting Bevel Angles
- Loosen the bevel lock lever at the rear of the saw.
- Tilt the saw head to the desired bevel angle.
- Tighten the bevel lock lever to secure the angle.
5.3 Making a Cut
- Place the workpiece firmly against the fence and on the saw table.
- Secure the workpiece with the vise clamp to prevent movement during the cut.
- Lower the saw blade slowly into the workpiece, allowing the blade to reach full speed before engaging the material.
- Maintain a steady, controlled downward motion through the cut.
- Once the cut is complete, allow the blade to stop completely before raising the saw head.

Figure 3: Close-up of the saw blade making a precise cut.

Figure 4: User demonstrating proper operation of the miter saw.
6. Maintenance
6.1 Cleaning
- Always disconnect the saw from the power supply before cleaning.
- Regularly empty the dust collection bag.
- Use a brush or compressed air to remove sawdust and debris from the motor vents, blade guard, and table.
- Do not use solvents or harsh chemicals, as they may damage plastic parts.
6.2 Blade Replacement
When replacing the blade, ensure the saw is unplugged. Follow these general steps:
- Raise the blade guard and locate the blade retaining bolt.
- Use the provided wrench to loosen the bolt while holding the blade stationary (often with a spindle lock button).
- Carefully remove the old blade, noting its rotation direction.
- Install the new 10-inch blade, ensuring the teeth are oriented correctly for cutting.
- Tighten the blade retaining bolt securely.
- Lower the blade guard and test the saw briefly before making cuts.
6.3 Lubrication
Periodically apply a light machine oil to moving parts such as the pivot points and sliding mechanisms to ensure smooth operation.
7. Troubleshooting
| Problem | Possible Cause | Solution |
|---|---|---|
| Saw does not start | No power supply; Faulty switch; Overload protection triggered | Check power connection and circuit breaker; Contact service center if switch is faulty; Allow motor to cool down. |
| Blade not cutting smoothly or burning wood | Dull blade; Incorrect blade for material; Workpiece not clamped securely | Replace blade; Use appropriate blade; Secure workpiece firmly. |
| Excessive vibration | Loose blade; Damaged blade; Unstable mounting | Check blade tightness; Replace damaged blade; Ensure saw is securely mounted. |
| Dust collection ineffective | Dust bag full; Dust port clogged; Dust bag not properly attached | Empty dust bag; Clear dust port; Reattach dust bag securely. |
For issues not listed here, please contact Stanley customer service.
8. Specifications
| Feature | Specification |
|---|---|
| Manufacturer | STANLEY |
| Model Number | SM16-B2 |
| Power Source | Corded Electric |
| Voltage | 220V |
| Power Output | 1650W |
| Blade Diameter | 10 inches (254mm) |
| Included Blade | 80-tooth Blade |
| Miter Positions | 9 predefined cutting positions |
| Special Features | Non-slip base |
| Product Dimensions (L x W x H) | 55 x 40 x 45 cm |
| Weight | 10.5 kg (10500 Grams) |
| Blade Material | Stainless Steel |
| Handle Material | Plastic |
| GTIN / EAN | 0885911668385 |
9. Warranty and Support
Your STANLEY SM16 Miter Saw is manufactured to high-quality standards. For information regarding the product warranty, please refer to the warranty card included with your purchase or visit the official Stanley website. Keep your purchase receipt as proof of purchase for any warranty claims.
For technical assistance, spare parts, or service, please contact Stanley customer support. Contact details can typically be found on the product packaging or the official Stanley website.
Online Resources: For additional support, product registration, and FAQs, visit the official Stanley website: www.stanleytools.com


