1. Introduction
Thank you for choosing the Severin SM 3584 Electric Milk Frother. This appliance is designed to create perfect milk froth for a variety of coffee specialties, as well as to heat milk. Please read this instruction manual carefully before first use to ensure safe operation and optimal performance. Keep this manual for future reference.
2. Important Safety Instructions
When using electrical appliances, basic safety precautions should always be followed to reduce the risk of fire, electric shock, and/or injury to persons, including the following:
- Read all instructions before using the appliance.
- Do not immerse the base unit, cord, or plug in water or other liquids.
- This appliance is intended for household use only. Do not use outdoors.
- Close supervision is necessary when any appliance is used by or near children.
- Unplug from outlet when not in use and before cleaning. Allow to cool before putting on or taking off parts, and before cleaning the appliance.
- Do not operate any appliance with a damaged cord or plug or after the appliance malfunctions, or has been damaged in any manner.
- The use of accessory attachments not recommended by the appliance manufacturer may result in fire, electric shock, or injury to persons.
- Do not let cord hang over edge of table or counter, or touch hot surfaces.
- Do not place on or near a hot gas or electric burner, or in a heated oven.
- Always attach plug to appliance first, then plug cord into the wall outlet. To disconnect, turn any control to 'off', then remove plug from wall outlet.
- Do not use appliance for other than intended use.
- Extreme caution must be used when moving an appliance containing hot liquids.
- Avoid contact with moving parts.
- The milk container becomes hot during operation. Handle with care.
- Ensure the appliance is placed on a stable, level surface away from heat sources.
3. Product Overview
3.1 Components

Figure 1: The Severin SM 3584 Electric Milk Frother, showcasing its sleek stainless steel and matte black design with the control panel.
- Milk Container: High-quality stainless steel with non-stick coating for easy cleaning.
- Lid: Transparent lid with integrated whisk holder.
- Frothing Whisk: For creating milk foam.
- Heating Whisk (removable): For heating milk without frothing.
- Base Unit: Contains the heating element and control panel.
- Control Panel: Features a 'FUNCTION' button to select programs and an 'ON/OFF' button.

Figure 2: Exploded view showing the removable milk container, lid, whisk, and base unit of the frother.
3.2 Key Features
- Perfect milk froth with two milk foam programs for cold or warm frothing.
- Ability to heat milk without frothing.
- Removable stainless steel milk container with non-stick coating for easy cleaning.
- Automatic switch-off for safety and convenience.
- Overheating protection.
- 360° system: milk container can be placed from any direction on the base.
4. Setup and First Use
- Unpack: Carefully remove all packaging materials and dispose of them responsibly.
- Initial Cleaning: Before first use, clean the milk container, lid, and whisk thoroughly with warm water and a mild detergent. Rinse well and dry completely. Do not immerse the base unit in water.
- Placement: Place the base unit on a stable, level, heat-resistant surface, away from water sources.
- Assemble: Ensure the frothing whisk is correctly inserted into the milk container if you intend to froth. If only heating, remove the frothing whisk.
- Connect Power: Plug the power cord into a suitable wall outlet.
5. Operating Instructions
5.1 Preparing for Frothing/Heating
Ensure the correct whisk is in place for your desired function:
- For Frothing: Use the frothing whisk (with the coil).
- For Heating Only: Remove the frothing whisk.
Fill the milk container with cold milk. Observe the MIN and MAX fill lines inside the container:
- For Frothing: Do not exceed the lower MAX line (approx. 100 ml) to prevent overflow due to foam expansion.
- For Heating: Do not exceed the upper MAX line (approx. 200 ml).

Figure 3: The milk container showing the internal fill level indicators for frothing and heating milk.
5.2 Frothing Warm Milk
- Place the frothing whisk inside the milk container.
- Pour cold milk into the container, ensuring it is between the MIN and lower MAX (frothing) lines.
- Place the lid on the container and position the container onto the base unit.
- Press the 'FUNCTION' button once for warm frothing. The indicator light will illuminate.
- Press the 'ON/OFF' button to start the frothing process. The appliance will automatically stop when the milk is frothed and heated to the optimal temperature.
- Carefully remove the container from the base and pour the frothed milk.
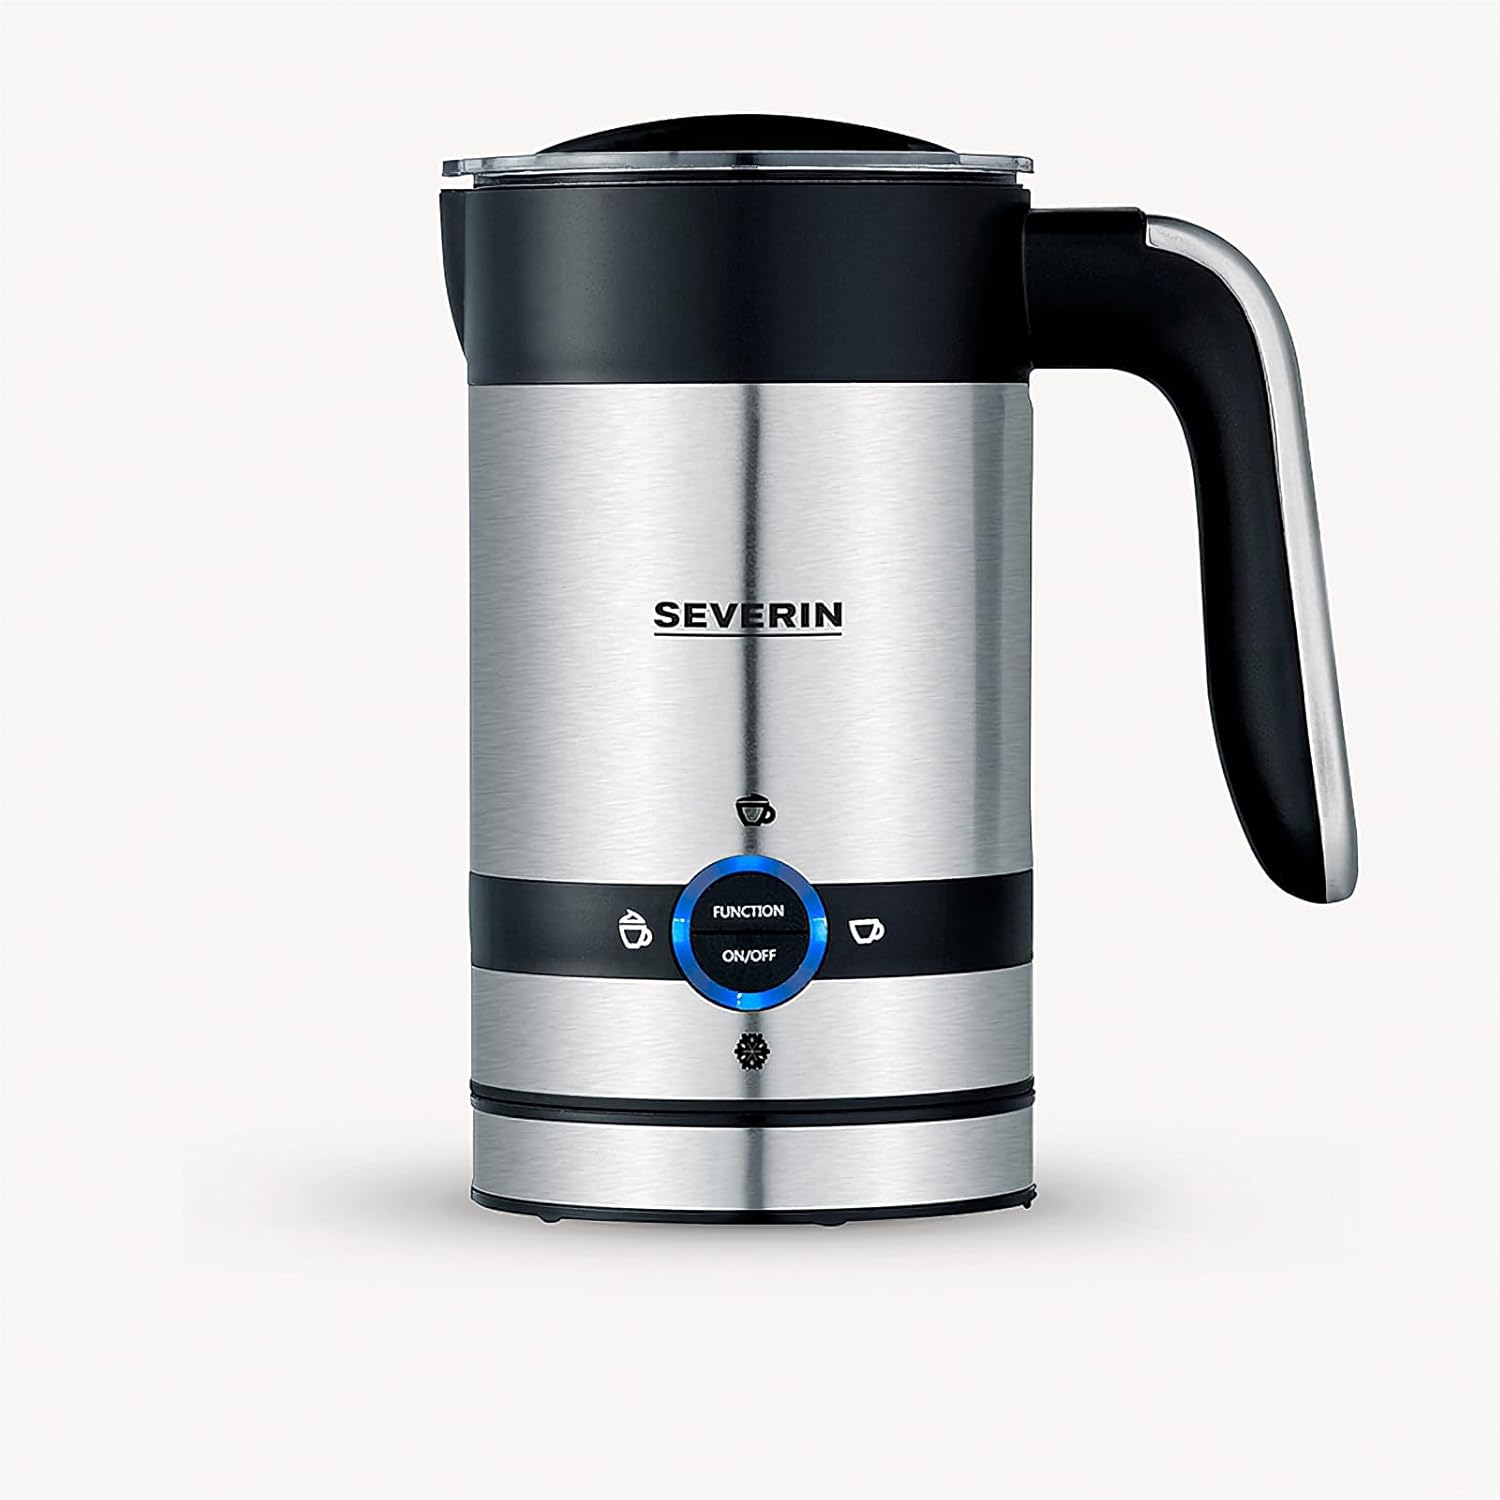
Figure 4: Close-up of the control panel with the 'FUNCTION' and 'ON/OFF' buttons, indicating the selected mode.
5.3 Frothing Cold Milk
- Place the frothing whisk inside the milk container.
- Pour cold milk into the container, ensuring it is between the MIN and lower MAX (frothing) lines.
- Place the lid on the container and position the container onto the base unit.
- Press the 'FUNCTION' button multiple times until the indicator light for cold frothing is selected.
- Press the 'ON/OFF' button to start the frothing process. The appliance will automatically stop when the milk is frothed.
- Carefully remove the container from the base and pour the frothed milk.
5.4 Heating Milk (No Froth)
- Remove the frothing whisk from the milk container.
- Pour cold milk into the container, ensuring it is between the MIN and upper MAX (heating) lines.
- Place the lid on the container and position the container onto the base unit.
- Press the 'FUNCTION' button multiple times until the indicator light for heating milk is selected.
- Press the 'ON/OFF' button to start the heating process. The appliance will automatically stop when the milk is heated to the optimal temperature.
- Carefully remove the container from the base and pour the heated milk.
5.5 After Use
The appliance features an automatic shut-off function once the program is complete. Always unplug the appliance from the power outlet after use and before cleaning.
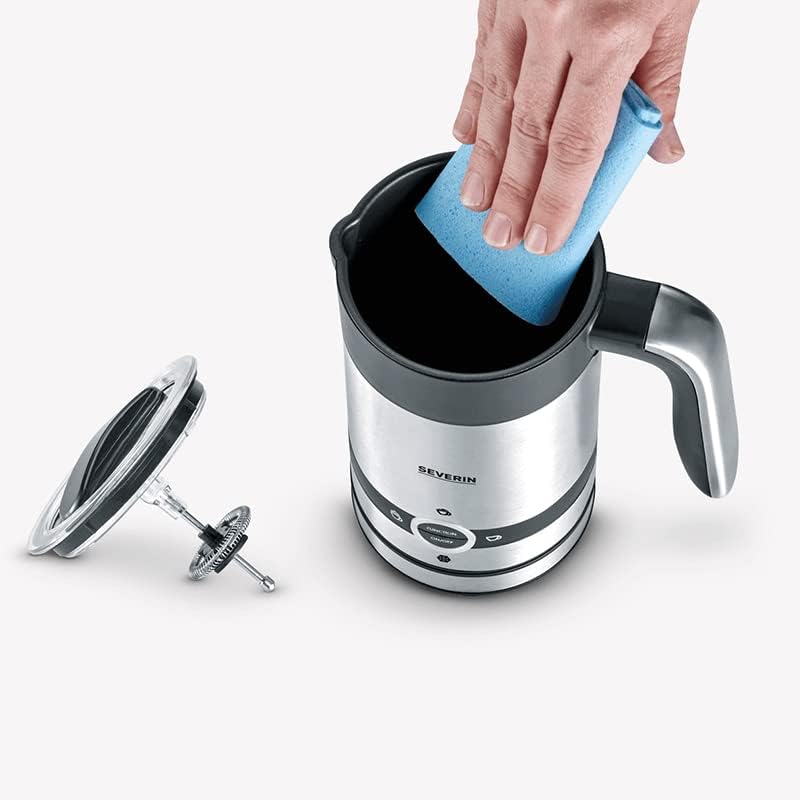
Figure 5: Perfectly frothed milk ready to be added to your favorite beverage.
6. Maintenance and Cleaning
Regular cleaning is essential to maintain the performance and longevity of your milk frother. Always ensure the appliance is unplugged and has cooled down before cleaning.
6.1 Cleaning the Milk Container
- Immediately after each use, rinse the milk container with warm water to prevent milk residue from drying.
- Add a small amount of mild dish soap and clean the interior with a soft sponge or cloth.
- Rinse thoroughly with clean water and dry completely.
- Important: The milk container is designed for hand washing only. Do not place it in a dishwasher.

Figure 6: A hand cleaning the non-stick interior of the milk container with a sponge.
6.2 Cleaning the Lid and Whisk
- Remove the lid and whisk from the container.
- Wash them under warm running water with a mild detergent.
- Ensure all milk residue is removed from the whisk coil.
- Dry thoroughly before reassembling or storing.
6.3 Cleaning the Base Unit
- Wipe the exterior of the base unit with a soft, damp cloth.
- Do not use abrasive cleaners or scouring pads.
- Never immerse the base unit in water or any other liquid.
7. Troubleshooting
If you encounter issues with your Severin Milk Frother, please consult the table below before contacting customer service.
| Problem | Possible Cause | Solution |
|---|---|---|
| Appliance does not turn on. | Not plugged in; power outlet malfunction; overheating protection activated. | Ensure plug is securely in outlet; test outlet with another appliance; allow appliance to cool down for several minutes. |
| Milk not frothing or foam is poor. | Incorrect whisk used; milk level too high/low; type of milk; whisk not properly inserted; container or whisk dirty. | Ensure frothing whisk is used; check milk levels (between MIN and lower MAX); use cold, fresh milk (dairy or suitable plant-based); ensure whisk is securely in place; clean container and whisk thoroughly. |
| Milk not heating. | Incorrect program selected; whisk not removed for heating only; overheating protection activated. | Select the correct heating program; remove the frothing whisk for heating only; allow appliance to cool down. |
| Milk overflows. | Too much milk added for frothing. | Do not exceed the lower MAX line when frothing milk. |
8. Specifications
| Feature | Detail |
|---|---|
| Brand | Severin |
| Model Name | SM 3584 |
| Type | Electric Milk Frother |
| Color | Brushed Stainless Steel / Matte Black |
| Material | Stainless Steel |
| Capacity (Frothing) | Approx. 100 ml |
| Capacity (Heating) | Approx. 200 ml |
| Power Source | Electric |
| Wattage | 450 Watts |
| Product Dimensions | 3.94"W x 7.48"H |
| Item Weight | 885 Grams (1.95 pounds) |
| Special Feature | Non-Stick Coating, Automatic Shut-off, Overheating Protection, 360° System |
9. Warranty and Support
This Severin appliance comes with a manufacturer's warranty. For detailed information regarding warranty terms, conditions, and duration, please refer to the warranty card included with your product or visit the official Severin website.
For technical support, spare parts, or service inquiries, please contact Severin customer service. Contact details can typically be found on the official Severin website or in the product packaging.
Online Resources: For additional information, FAQs, and product registration, please visit the official Severin website: www.severin.com


