1. Product Overview
Thank you for choosing the TOTAL Cordless Impact Driver. This powerful and versatile tool is designed for a wide range of fastening and loosening applications, from DIY projects to automotive repairs. Its robust brushless motor ensures long-lasting performance and efficiency. Please read this manual thoroughly before operation to ensure safe and effective use.

Image 1.1: The TOTAL Cordless Impact Driver kit, including the tool, two batteries, charger, sockets, and a carrying bag.
2. Safety Instructions
Always observe basic safety precautions to reduce the risk of fire, electric shock, and personal injury.
- Work Area Safety: Keep your work area clean and well-lit. Cluttered or dark areas invite accidents. Do not operate power tools in explosive atmospheres, such as in the presence of flammable liquids, gases, or dust.
- Electrical Safety: Avoid body contact with earthed or grounded surfaces (e.g., pipes, radiators, ranges, refrigerators). Do not expose power tools to rain or wet conditions.
- Personal Safety: Always wear eye protection. Use hearing protection when operating for extended periods. Dress properly; do not wear loose clothing or jewelry. Keep hair, clothing, and gloves away from moving parts.
- Tool Use and Care: Do not force the power tool. Use the correct tool for your application. Disconnect the battery pack from the power tool before making any adjustments, changing accessories, or storing power tools.
- Battery Pack Use and Care: Recharge only with the charger specified by the manufacturer. Do not use battery packs with any other power tools. Do not short-circuit a battery pack.
3. Package Contents
Verify that all items are present and in good condition upon opening the package:
- 1 x TOTAL Cordless Impact Driver
- 2 x 20V 2.0Ah Lithium-Ion Batteries
- 1 x Quick Charger
- 4 x Screw Bits (sockets)
- 1 x Canvas Carrying Bag
- 1 x User Manual
4. Product Features
- Brushless Motor: Ensures longer tool life, reduced wear, and increased efficiency compared to traditional brushed motors.
- High Torque Output: Delivers 300 NM of torque, suitable for demanding fastening and loosening tasks.
- Variable Speed Control: Speed ranges from 0 to 2300 RPM for precise control over various applications.
- 1/2" Hexagonal Chuck: Allows for quick and easy bit changes.
- Integrated LED Work Light: Illuminates the work area for improved visibility in low-light conditions.
- Battery Charge Indicator: Displays the remaining battery power level.
- Ergonomic and Lightweight Design: Provides comfortable handling and reduces user fatigue.
- Belt Hook: Conveniently attach the tool to your belt for easy access.
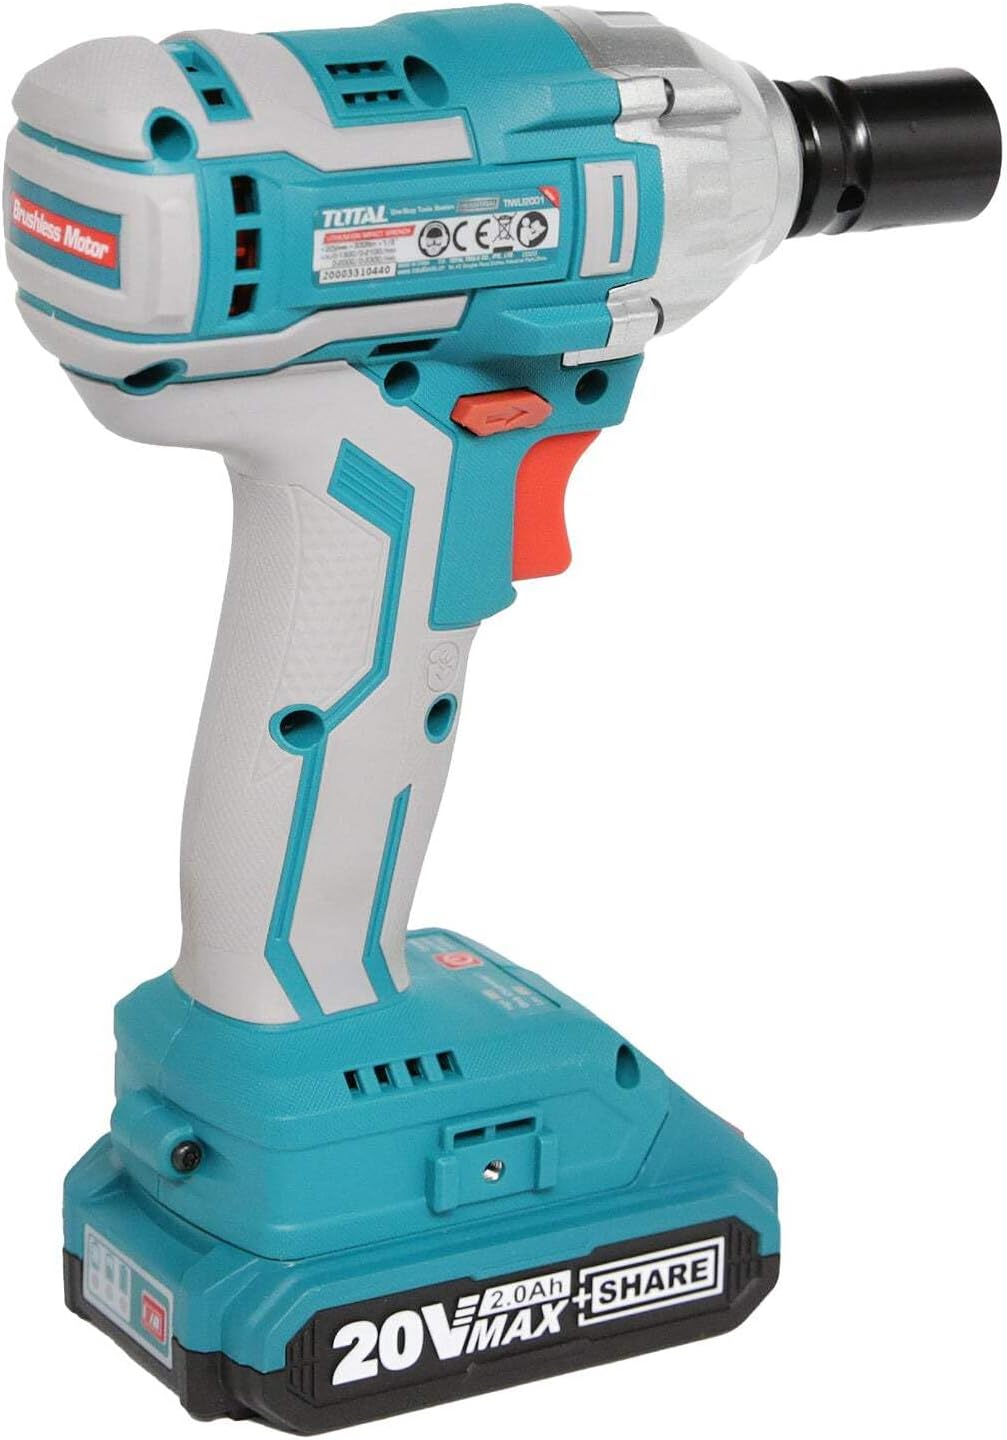
Image 4.1: Side view highlighting the brushless motor technology.

Image 4.2: Detail of the battery charge indicator and operational mode switch.

Image 4.3: The integrated belt hook for convenient carrying.
5. Specifications
| Specification | Value |
|---|---|
| Manufacturer | INECO |
| Model Number | TIWLI2001 |
| Dimensions (L x W x H) | 34.5 x 19 x 9.6 cm |
| Weight | 3.1 Kilograms |
| Battery Type | Lithium-ion |
| Battery Voltage | 20 V |
| Battery Capacity | 2.0 Ah |
| No-Load Speed | 0 - 2300 rpm |
| Max. Torque | 300 Newton-meters |
| Chuck Type | 1/2" Square Drive |
| Material | Stainless Steel |
6. Setup
6.1. Charging the Battery
- Connect the quick charger to a standard power outlet.
- Slide the battery pack onto the charger until it clicks into place.
- The charger indicator light will show the charging status. A full charge typically takes about one hour.
- Once fully charged, remove the battery from the charger.

Image 6.1: Charging the lithium-ion batteries using the quick charger.
6.2. Installing the Battery
- Align the charged battery pack with the battery port on the base of the impact driver handle.
- Slide the battery pack firmly into place until you hear a click, indicating it is securely locked.
- To remove the battery, press the release button(s) on the sides of the battery pack and slide it out.

Image 6.2: Proper installation of the battery pack into the tool.
6.3. Installing/Removing Accessories (Sockets/Bits)
- Ensure the tool is off and the battery is removed before installing or removing accessories.
- Push the desired 1/2" square drive socket or bit firmly onto the anvil of the impact driver until it locks into place.
- To remove, simply pull the socket or bit off the anvil.

Image 6.3: Attaching a socket to the impact driver's anvil.
7. Operating Instructions
7.1. Powering On/Off and Speed Control
- To turn the tool ON, press the trigger switch. The LED work light will illuminate.
- To turn the tool OFF, release the trigger switch.
- The tool features variable speed control. The further the trigger is pressed, the higher the speed.
7.2. Forward/Reverse Rotation
- The direction of rotation is controlled by the forward/reverse lever located above the trigger.
- For forward (tightening) rotation, push the lever to the left.
- For reverse (loosening) rotation, push the lever to the right.
- When the lever is in the center position, the trigger is locked, preventing accidental starting.
7.3. Using the Belt Hook
The integrated belt hook allows you to conveniently hang the tool from your belt or a sturdy surface when not in immediate use, keeping it within reach and freeing your hands.
8. Maintenance
8.1. Cleaning
- Always disconnect the battery pack before cleaning.
- Use a clean, damp cloth to wipe down the exterior of the tool. Do not use harsh chemicals or abrasive cleaners.
- Keep the ventilation openings clear of dust and debris to prevent overheating. Use compressed air if necessary.
8.2. Storage
- Store the tool and batteries in a cool, dry place, away from direct sunlight and extreme temperatures.
- Keep out of reach of children.
- For long-term storage, ensure batteries are partially charged (around 50%) to prolong their lifespan.

Image 8.1: Ensure ventilation openings are clear for proper tool maintenance.
9. Troubleshooting
| Problem | Possible Cause | Solution |
|---|---|---|
| Tool does not start | Battery not charged or not properly installed. Forward/reverse lever in center (locked) position. | Charge battery and ensure it is clicked into place. Move lever to forward or reverse position. |
| Reduced power/torque | Low battery charge. Overheating. | Recharge battery. Allow tool to cool down. |
| Excessive vibration/noise | Loose accessory. Damaged internal components. | Ensure accessory is securely attached. If problem persists, contact customer support. |
| Battery not charging | Charger not plugged in. Faulty battery or charger. | Check power connection. Try another battery if available. Contact customer support if issues persist. |
10. Warranty and Support
TOTAL products are manufactured to high-quality standards. While specific warranty details may vary by region, we are committed to providing reliable tools. For any questions, technical assistance, or warranty claims, please contact your local TOTAL distributor or the point of purchase. Keep your purchase receipt as proof of purchase.
For further information, you may visit the official TOTAL tools website or contact their customer service department.


