
1. Introduction
Thank you for choosing the AICOK Centrifugal Juicer. This appliance is designed to efficiently extract fresh, healthy juice from a variety of fruits and vegetables, providing up to 30% more juice and 40% more vitamins and minerals compared to other juicers. Its food-contact materials are FDA and BPA-free, ensuring your health and safety. With its user-friendly design, you can enjoy a delicious, pulp-free, foam-free cup of your favorite juice in seconds.
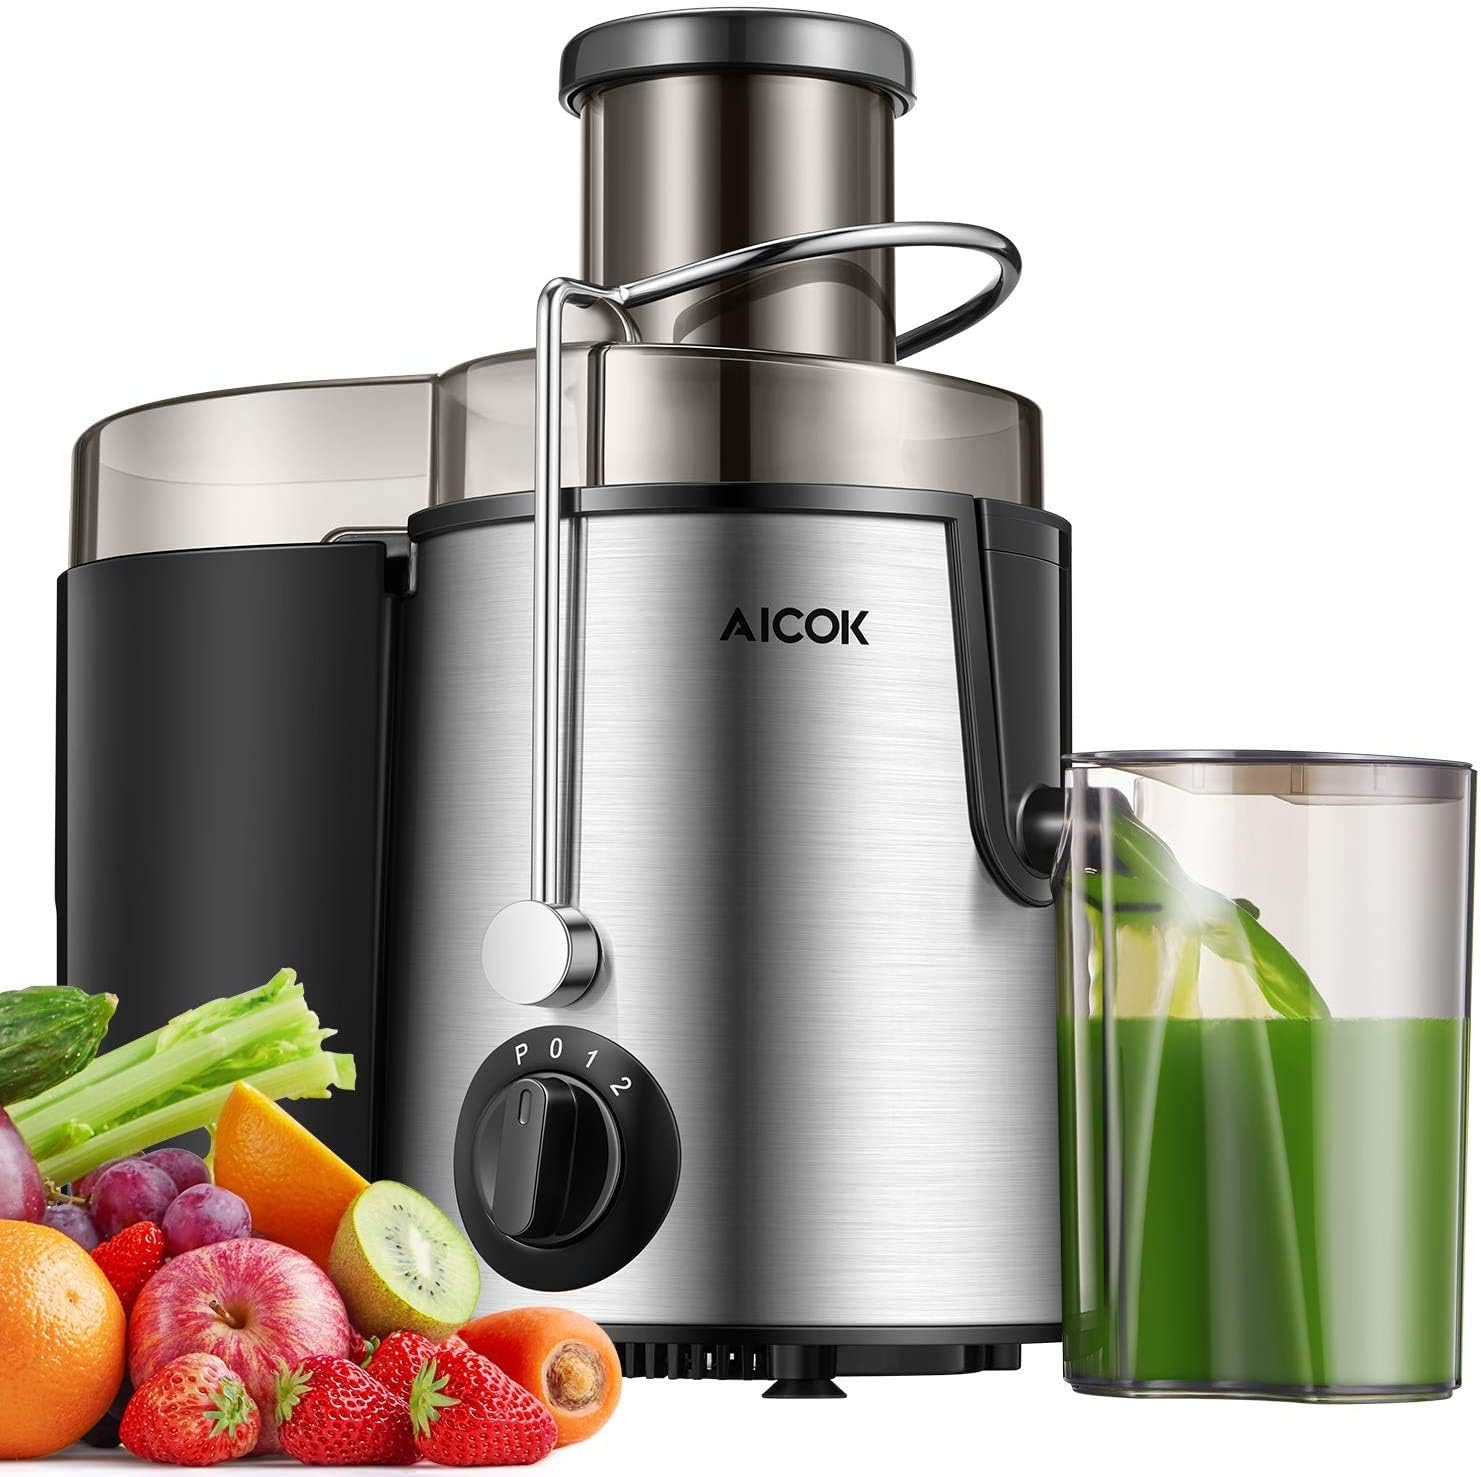
Image: The AICOK Centrifugal Juicer, a sleek stainless steel appliance, is shown alongside a vibrant assortment of fresh fruits and vegetables, and a glass of green juice, highlighting its purpose.
2. Important Safety Instructions
When using electrical appliances, basic safety precautions should always be followed to reduce the risk of fire, electric shock, and/or injury to persons, including the following:
- Read all instructions before operating the juicer.
- Do not immerse the motor base in water or other liquids.
- Ensure the safety locking arm is securely in place before operation. The juicer will not operate if the arm is not locked.
- This appliance is equipped with an overload protection system that will automatically shut off the juicer in case of overheating or empty operation to prevent damage.
- Always unplug the juicer from the power outlet when not in use, before assembling or disassembling parts, and before cleaning.
- Do not operate any appliance with a damaged cord or plug, or after the appliance malfunctions or has been damaged in any manner.
- Keep hands and utensils out of the feeder chute during operation to prevent injury. Use the food pusher provided.
- Do not use attachments not recommended or sold by the manufacturer.
- This appliance is for household use only.
3. Parts and Features
Familiarize yourself with the components of your AICOK Centrifugal Juicer:

Image: A detailed diagram of the AICOK Centrifugal Juicer highlighting its key features: 65mm Wide Mouth Feeder Chute, 400W Power Motor, 360° Stainless Steel Precision Filter, 100% Juice Visualize, 3 Adjustable Speeds, 450ML Juicer Jug, 1600ML Pulp Collector, and 304 Stainless Steel construction.
- Food Pusher: Used to guide fruits and vegetables into the feeder chute.
- Feeder Chute (65mm Wide): Allows for processing whole fruits and vegetables without extensive pre-cutting.
- Cover: Transparent cover that sits over the filter basket.
- Stainless Steel Filter Basket: Fine mesh filter for efficient juice extraction. Features 304 stainless steel construction and 80° chopping blades for high juice yield.
- Pulp Collector (1600ml): Collects the extracted pulp.
- Juicer Spout with Anti-Drip Function: Directs juice into the jug and prevents drips.
- Motor Base (400W): Contains the motor and control dial. Features an overheat protector and anti-slip base.
- Control Dial: For selecting speed settings (P, 0, 1, 2).
- Safety Locking Arm: Secures the cover and filter basket to the motor base.
- Juicer Jug (450ml): Collects the fresh juice.
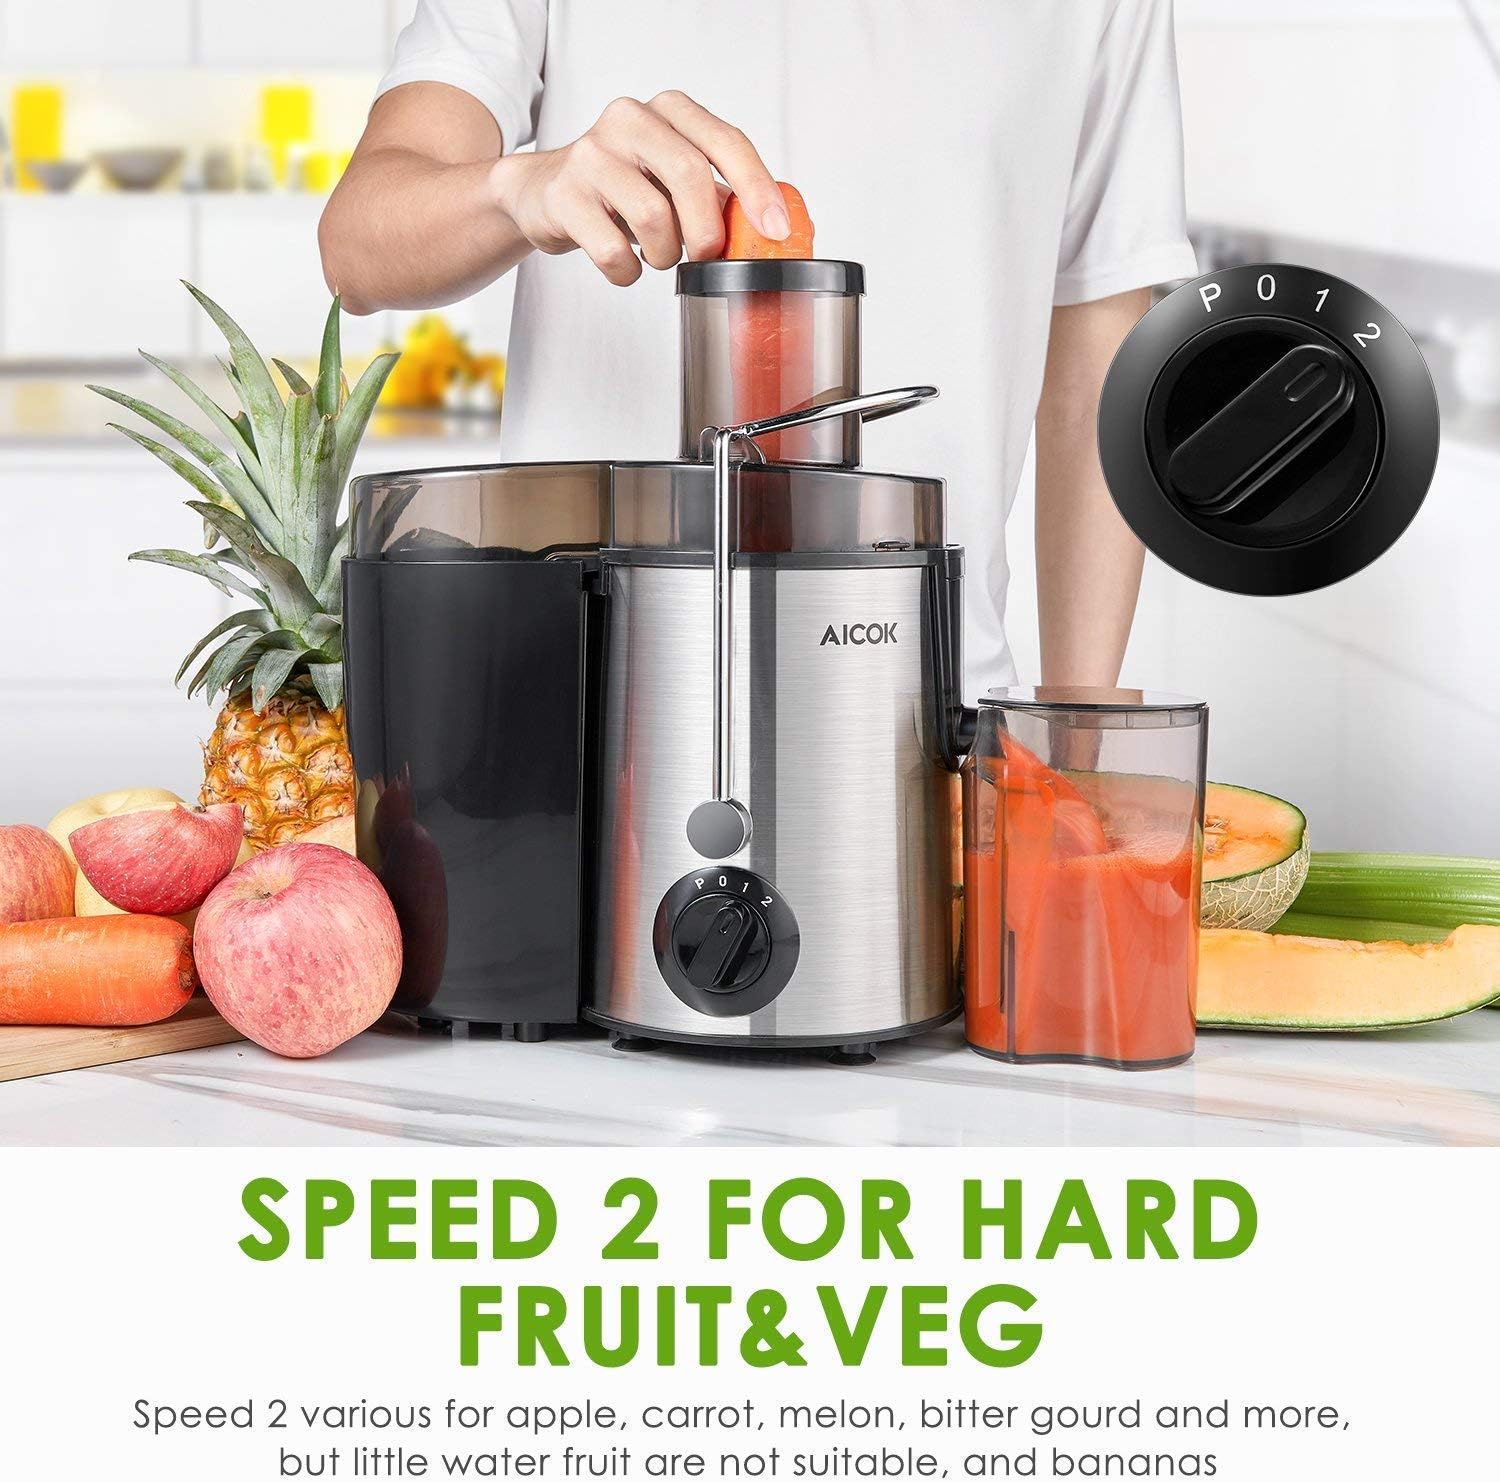
Image: Close-up views of the juicer's 65mm wide feeder chute, the safety locking arm ensuring operation only when in place, and the overheat protector located on the base, designed to protect the motor.
4. Setup and Assembly
Follow these steps to assemble your juicer before first use:
- Place the motor base on a stable, flat, and dry surface.
- Insert the pulp collector into its designated slot on the motor base.
- Place the stainless steel filter basket securely onto the motor base. Ensure it clicks into place.
- Position the juicer cover over the filter basket and pulp collector, aligning it correctly.
- Lift the safety locking arm and secure it into the grooves on the cover. Ensure it is firmly locked.
- Place the juicer jug under the juice spout.

Image: A four-panel visual guide demonstrating the assembly process: 1. Combining all parts, 2. Locking the safety arm, 3. Inserting fruit/vegetable and pushing with the rod, and 4. Easy cleaning after use.
5. Operating Instructions
Prepare your fruits and vegetables and begin juicing:
- Wash fruits and vegetables thoroughly. For most items, peeling is not necessary due to the efficient filter. Remove large seeds or pits (e.g., from peaches, plums).
- Ensure the juicer is properly assembled and the juice jug is in place.
- Plug the juicer into a power outlet.
- Turn the control dial to the desired speed setting:
- Speed 1 (I): Ideal for soft fruits and vegetables such as watermelon, celery, kiwi, orange, cucumber, strawberry, peeled pineapple, and more.
- Speed 2 (II): Suitable for harder fruits and vegetables like apples, carrots, melons, bitter gourds, and more. Note: Fruits with very little water content are not suitable (e.g., bananas).
- Pulse (P): Provides a quick burst of power, useful for stubborn ingredients or for a quick clean.
- Gradually feed the prepared fruits and vegetables into the feeder chute using the food pusher. Do not force ingredients down.
- Once juicing is complete, turn the control dial to '0' (Off) and unplug the appliance.

Image: A person is shown operating the juicer on Speed 1, feeding soft fruits like watermelon and oranges into the wide chute, with a glass of green juice collected.

Image: A person is shown operating the juicer on Speed 2, feeding hard fruits like apples and carrots into the wide chute, with a glass of orange juice collected.
6. Maintenance and Cleaning
Regular cleaning ensures the longevity and hygiene of your juicer:
- Always unplug the juicer before cleaning.
- Disassemble all removable parts: food pusher, cover, filter basket, pulp collector, and juicer jug.
- All removable parts, except the motor base, are dishwasher safe. For manual cleaning, rinse them under running water immediately after use to prevent pulp from drying.
- Use the provided cleaning brush to thoroughly clean the stainless steel filter basket. Pay special attention to the mesh to remove all pulp residue.
- Wipe the motor base with a damp cloth. Never immerse the motor base in water or any other liquid.
- Dry all parts completely before reassembling or storing.
7. Troubleshooting
If you encounter issues with your juicer, refer to the following common problems and solutions:
| Problem | Possible Cause | Solution |
|---|---|---|
| Juicer does not turn on. | Not plugged in; Safety locking arm not engaged; Overload protector activated. | Ensure plug is firmly in outlet; Securely lock the safety arm; Unplug, wait 15-20 minutes for motor to cool, then try again. |
| Motor stops during operation. | Overload protector activated due to too much load or hard ingredients. | Turn off, unplug, remove excess ingredients, wait for motor to cool, then restart. Cut ingredients into smaller pieces. |
| Low juice yield or excessive pulp. | Filter basket clogged; Incorrect speed setting for ingredients. | Clean the filter basket thoroughly; Use appropriate speed (Speed 2 for harder produce). |
| Juicer vibrates excessively. | Filter basket not properly seated or damaged. | Ensure filter basket is securely in place; Inspect for damage and replace if necessary. |
8. Specifications
| Specification | Detail |
|---|---|
| Brand | AICOK |
| Model Number | B07Y9GP55M |
| Dimensions (Package) | 34.29 x 31.8 x 19.9 cm |
| Item Weight | 2.68 kg (5.91 lbs) |
| Juicer Jug Capacity | 450 Milliliters |
| Pulp Collector Capacity | 1600 Milliliters |
| Noise Level | 35 dB |
| Power | 400W |
| Speeds | 3 (P, 1, 2) |
| Feeder Chute Diameter | 65 mm |
| Material | Stainless Steel (BPA-Free) |
| UPC | 726962971072 |
9. Warranty and Support
AICOK is committed to providing excellent customer service. This product comes with a lifetime customer support and technical consultation service, available 24 hours a day. For any inquiries, technical assistance, or support needs, please contact our customer service team.