
1. Introduction
Thank you for purchasing the ELECTROPRIME Digital Voice Recorder. This device is designed for high-quality audio recording and playback, functioning as both a dictaphone and an MP3 music player. Please read this manual carefully to ensure proper use and optimal performance.
Package Contents:
- ELECTROPRIME Digital Voice Recorder (Model: ASHA20BEBUBEB16153)
- USB Cable
- User Manual
2. Product Overview
Familiarize yourself with the device's components and controls.
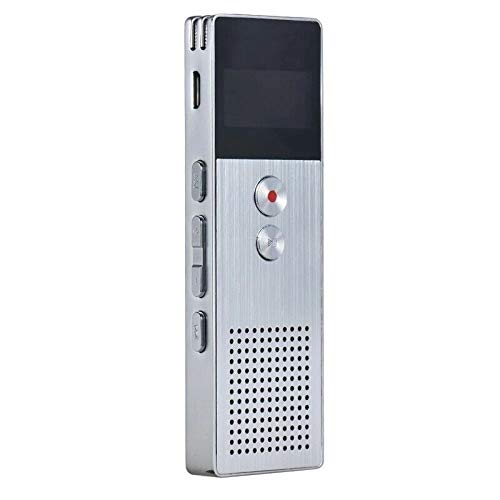
Image 2.1: Front view of the ELECTROPRIME Digital Voice Recorder. This image displays the device's screen, the prominent red record button, and other control buttons on the front panel, along with the speaker grille at the bottom.
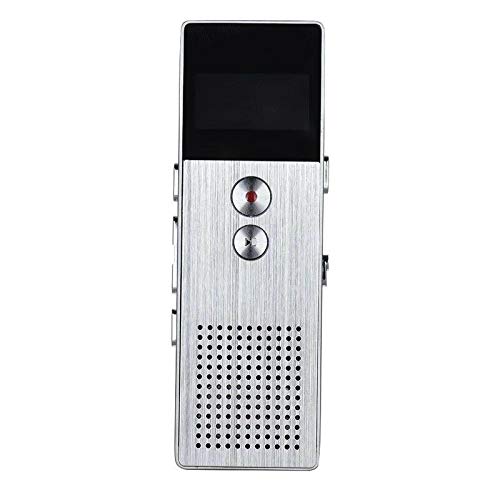
Image 2.2: Side view of the ELECTROPRIME Digital Voice Recorder. This image highlights the side controls, including the power switch, volume buttons, and the USB charging/data transfer port. The device's compact design is visible.
Device Components:
- Display Screen: Shows recording status, time, battery level, and menu options.
- Record Button: Initiates and stops audio recording.
- Play/Pause Button: Starts and pauses playback of audio files.
- Volume Buttons (+/-): Adjusts playback volume.
- Menu/Mode Button: Navigates through menus and switches operating modes.
- USB Port: For charging and data transfer to a computer.
- Microphone: Built-in stereo microphone for audio input.
- Speaker: For direct audio playback.
- Headphone Jack: For private listening.
- Power Switch: Turns the device on or off.
3. Setup
3.1 Charging the Device
Before first use, fully charge the device. Connect the recorder to a computer's USB port or a USB wall adapter (not included) using the provided USB cable. The battery indicator on the screen will show charging status. A full charge typically takes 2-3 hours.
3.2 Power On/Off
- To power on, slide the Power Switch to the ON position.
- To power off, slide the Power Switch to the OFF position.
3.3 Initial Settings
Upon first power-on or after a reset, you may need to set the date, time, and language. Use the navigation buttons to select options and confirm with the Play/Pause button.
4. Operating Instructions
4.1 Voice Recording
The device supports high-quality stereo recording in .WAV format, offering up to 23 hours of continuous recording with its 8GB internal memory.
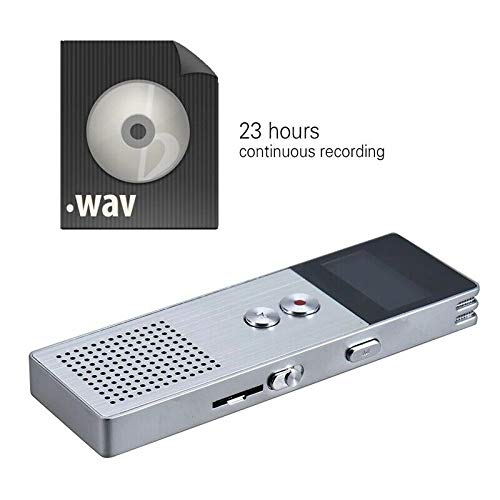
Image 4.1: The recorder's capability to record in .WAV format and its impressive 23-hour continuous recording capacity are highlighted in this image, alongside the device itself.
- Ensure the device is powered on.
- Press the Record Button (red circle) to start recording. The screen will display a recording indicator and elapsed time.
- To pause recording, press the Play/Pause Button. Press it again to resume.
- To stop recording and save the file, press the Record Button again. The file will be saved automatically.
Tip: For best recording quality, ensure the microphone is not obstructed and the device is placed on a stable surface.
4.2 Playback
- In the main menu, navigate to the "Recordings" or "Music" folder using the navigation buttons.
- Select the desired file and press the Play/Pause Button to start playback.
- During playback, use the Volume Buttons (+/-) to adjust the volume.
- Press the Play/Pause Button to pause playback, and again to resume.
- To stop playback, press the Stop Button (if available, otherwise navigate out of playback mode).
4.3 MP3 Music Player Functionality
The device can also function as an MP3 player. Transfer MP3 files to the device via USB connection to your computer.
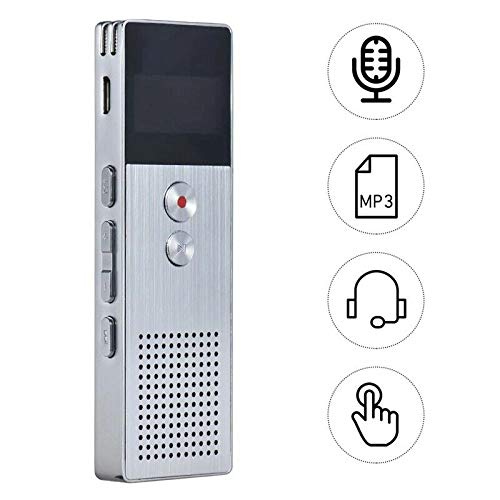
Image 4.2: This image illustrates the multi-functional capabilities of the device, including its use as a voice recorder (microphone icon), an MP3 player (MP3 icon), and its compatibility with headphones (headphone icon). The touch icon suggests ease of interaction.
- Connect the device to your computer using the USB cable.
- The device will appear as a removable disk. Copy your MP3 files into the "Music" folder on the device.
- Safely eject the device from your computer.
- On the recorder, navigate to the "Music" menu and select your desired MP3 file for playback.
4.4 File Management (Connecting to PC)
To transfer, delete, or organize files, connect the recorder to your computer using the USB cable. The device will be recognized as a mass storage device. You can then drag and drop files as you would with any USB drive.
5. Maintenance
- Keep the device dry. Moisture can damage internal circuits.
- Avoid extreme temperatures.
- Do not drop or subject the device to strong impacts.
- Clean the device with a soft, dry cloth. Do not use harsh chemicals or detergents.
- Regularly back up important recordings to your computer.
6. Troubleshooting
Device does not power on:
- Ensure the battery is charged. Connect to a power source and try again.
- Check if the Power Switch is in the ON position.
Cannot record:
- Check available memory. If full, transfer files to a computer and delete them from the device.
- Ensure the microphone is not covered.
- Verify the device is in recording mode.
No sound during playback:
- Adjust the volume using the Volume Buttons.
- Ensure headphones are properly connected if using them.
- Check if the audio file is corrupted.
Device not recognized by computer:
- Try a different USB port or USB cable.
- Ensure the device is powered on when connected.
- Restart your computer.
7. Specifications
| Brand | ELECTROPRIME |
| Model Number | ASHA20BEBUBEB16153 |
| Memory Storage | 8 GB |
| Recording Format | WAV |
| Playback Formats | MP3, WAV |
| Microphone | Stereo |
| Continuous Recording | Up to 23 hours |
| Connectivity | USB |
8. Warranty and Support
For warranty information or technical support, please refer to the product packaging or contact ELECTROPRIME customer service through their official website or the retailer where the product was purchased. Please have your model number (ASHA20BEBUBEB16153) and purchase details ready.