
1. Introduction
This manual provides detailed instructions for the installation, operation, and maintenance of your new AKKON Headlights and Tail Lights. These assemblies are designed to enhance the lighting performance and aesthetic of your vehicle. Please read this manual thoroughly before beginning installation or operation.
The product includes a pair of headlight assemblies with dual projectors, LED Daytime Running Lights (DRL), and switchback LED turn signals, along with a pair of LED tail light assemblies. Both feature a black housing with clear lenses.
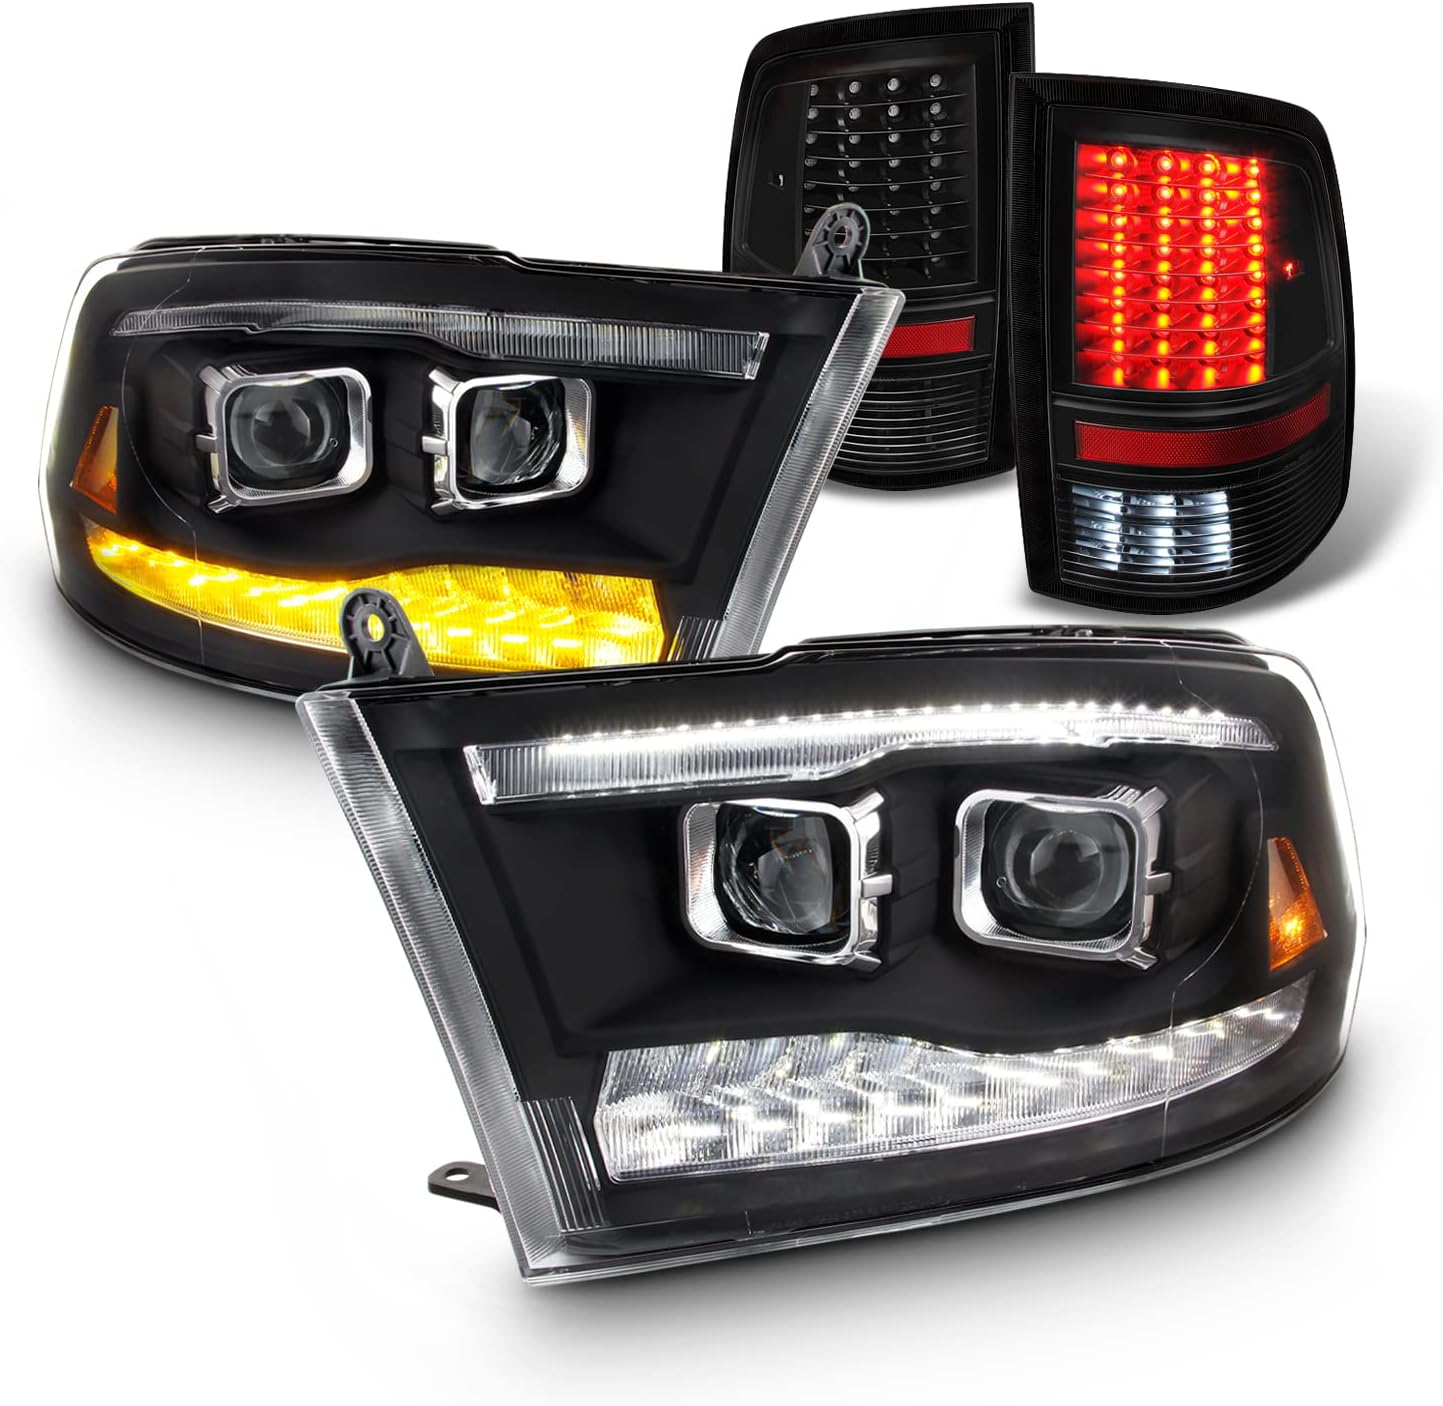
Image 1.1: Overview of AKKON Headlights and Tail Lights.
2. Safety Information
Always prioritize safety during installation and operation. Failure to follow these safety guidelines may result in injury or damage to your vehicle.
- Disconnect Battery: Always disconnect the vehicle's negative battery terminal before performing any electrical work.
- Professional Installation: If you are not confident in your ability to install these components, seek professional assistance.
- Eye Protection: Wear appropriate eye protection during installation.
- Proper Tools: Use only the correct tools for the job to prevent damage to fasteners and components.
- Wiring: Ensure all wiring connections are secure and properly insulated to prevent short circuits.
- Compatibility Check: Verify vehicle compatibility before installation.
3. Package Contents
Your AKKON Headlights and Tail Lights package includes the following components:
- 1x Driver Side Headlight Assembly (Black Housing, Clear Lens)
- 1x Passenger Side Headlight Assembly (Black Housing, Clear Lens)
- 1x Driver Side Tail Light Assembly (Black Housing, Clear Lens)
- 1x Passenger Side Tail Light Assembly (Black Housing, Clear Lens)
All necessary bulbs and wiring harnesses for installation are integrated into the complete assemblies.
4. Compatibility
These headlight and tail light assemblies are compatible with the following vehicle models:
- 2009-2018 Dodge Ram 1500
- 2010-2018 Dodge Ram 2500/3500
- 2019-2023 Dodge Ram 1500 Classic
Important Compatibility Notes:
- NOT Compatible on models with factory projector headlights.
- NOT Compatible on 2013-2023 models with OEM LED Tail Lights.
5. Setup (Installation)
The installation process involves removing your vehicle's existing headlight and tail light assemblies and replacing them with the new AKKON units. This guide provides general steps; consult your vehicle's service manual for specific panel removal and fastener locations.
5.1 Headlight Installation
- Prepare Vehicle: Park the vehicle on a level surface, engage the parking brake, and turn off the engine. Open the hood.
- Disconnect Battery: Locate the vehicle battery and disconnect the negative (-) terminal to prevent electrical shorts.
- Access Headlights: Depending on your Ram model, you may need to remove the grille, bumper fascia, or fender liners to access the headlight mounting bolts. Carefully remove any clips, screws, or bolts securing these components.
- Remove Old Headlights: Locate and remove the mounting bolts or clips holding the factory headlight assembly in place. Gently pull the assembly forward to detach it.
- Disconnect Wiring: Disconnect all electrical connectors from the back of the factory headlight assembly.
- Install New Headlights: Connect the wiring harness of the new AKKON headlight assembly to the vehicle's corresponding connectors. Ensure all connections are secure.
- Mount New Headlights: Carefully position the new headlight assembly into the vehicle's headlight opening. Secure it with the factory mounting bolts or clips.
- Reassemble: Reinstall any removed grille, bumper fascia, or fender liner components.
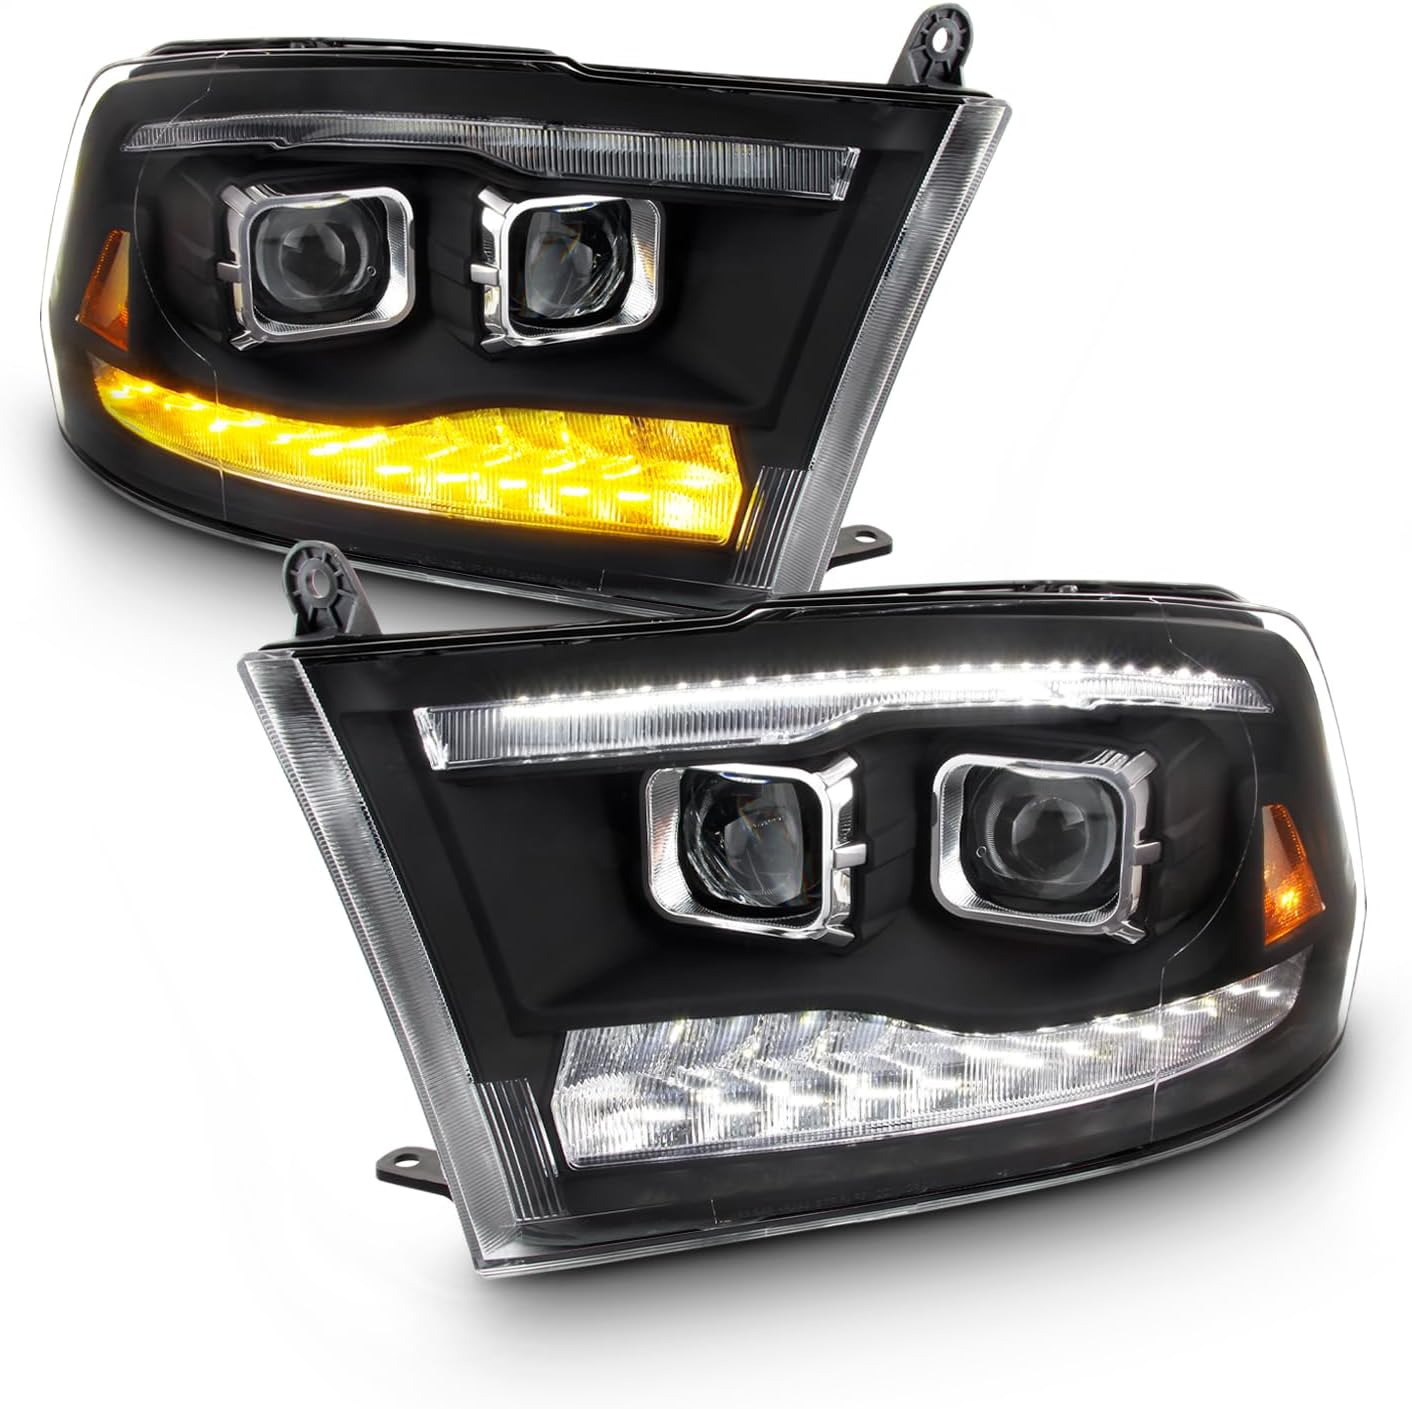
Image 5.1: AKKON Headlight Assemblies.

Image 5.2: Rear view of Headlight Assembly with wiring.
5.2 Tail Light Installation
- Prepare Vehicle: Ensure the vehicle is off and the parking brake is engaged.
- Disconnect Battery: If not already done, disconnect the negative (-) battery terminal.
- Access Tail Lights: Open the tailgate. Locate the screws or fasteners on the inside edge of the tail light assembly. Remove these fasteners.
- Remove Old Tail Lights: Gently pull the tail light assembly straight back from the vehicle. It may be held by alignment pins or clips.
- Disconnect Wiring: Disconnect the electrical connectors from the back of the factory tail light assembly.
- Install New Tail Lights: Connect the wiring harness of the new AKKON tail light assembly to the vehicle's corresponding connectors. Ensure all connections are secure.
- Mount New Tail Lights: Carefully align the new tail light assembly with the mounting holes and push it into place until it seats securely. Reinstall the screws or fasteners.

Image 5.3: AKKON Tail Light Assemblies.

Image 5.4: Rear view of Tail Light Assembly with wiring.
5.3 Post-Installation
- Reconnect Battery: Reconnect the negative (-) battery terminal.
- Test Lights: Turn on the vehicle and test all lighting functions: low beams, high beams, DRLs, turn signals, parking lights, and brake lights.
- Headlight Aiming: For optimal visibility and to avoid blinding oncoming traffic, it is recommended to properly aim your new headlights. Consult your vehicle's service manual or a professional for correct aiming procedures.
6. Operating Instructions
Your AKKON Headlights and Tail Lights are designed to function with your vehicle's existing lighting controls.
- Low Beams: Activated via your vehicle's standard headlight switch. The dual projector design provides a focused beam pattern.
- High Beams: Activated via your vehicle's standard high beam switch. The projector high beam offers enhanced illumination.
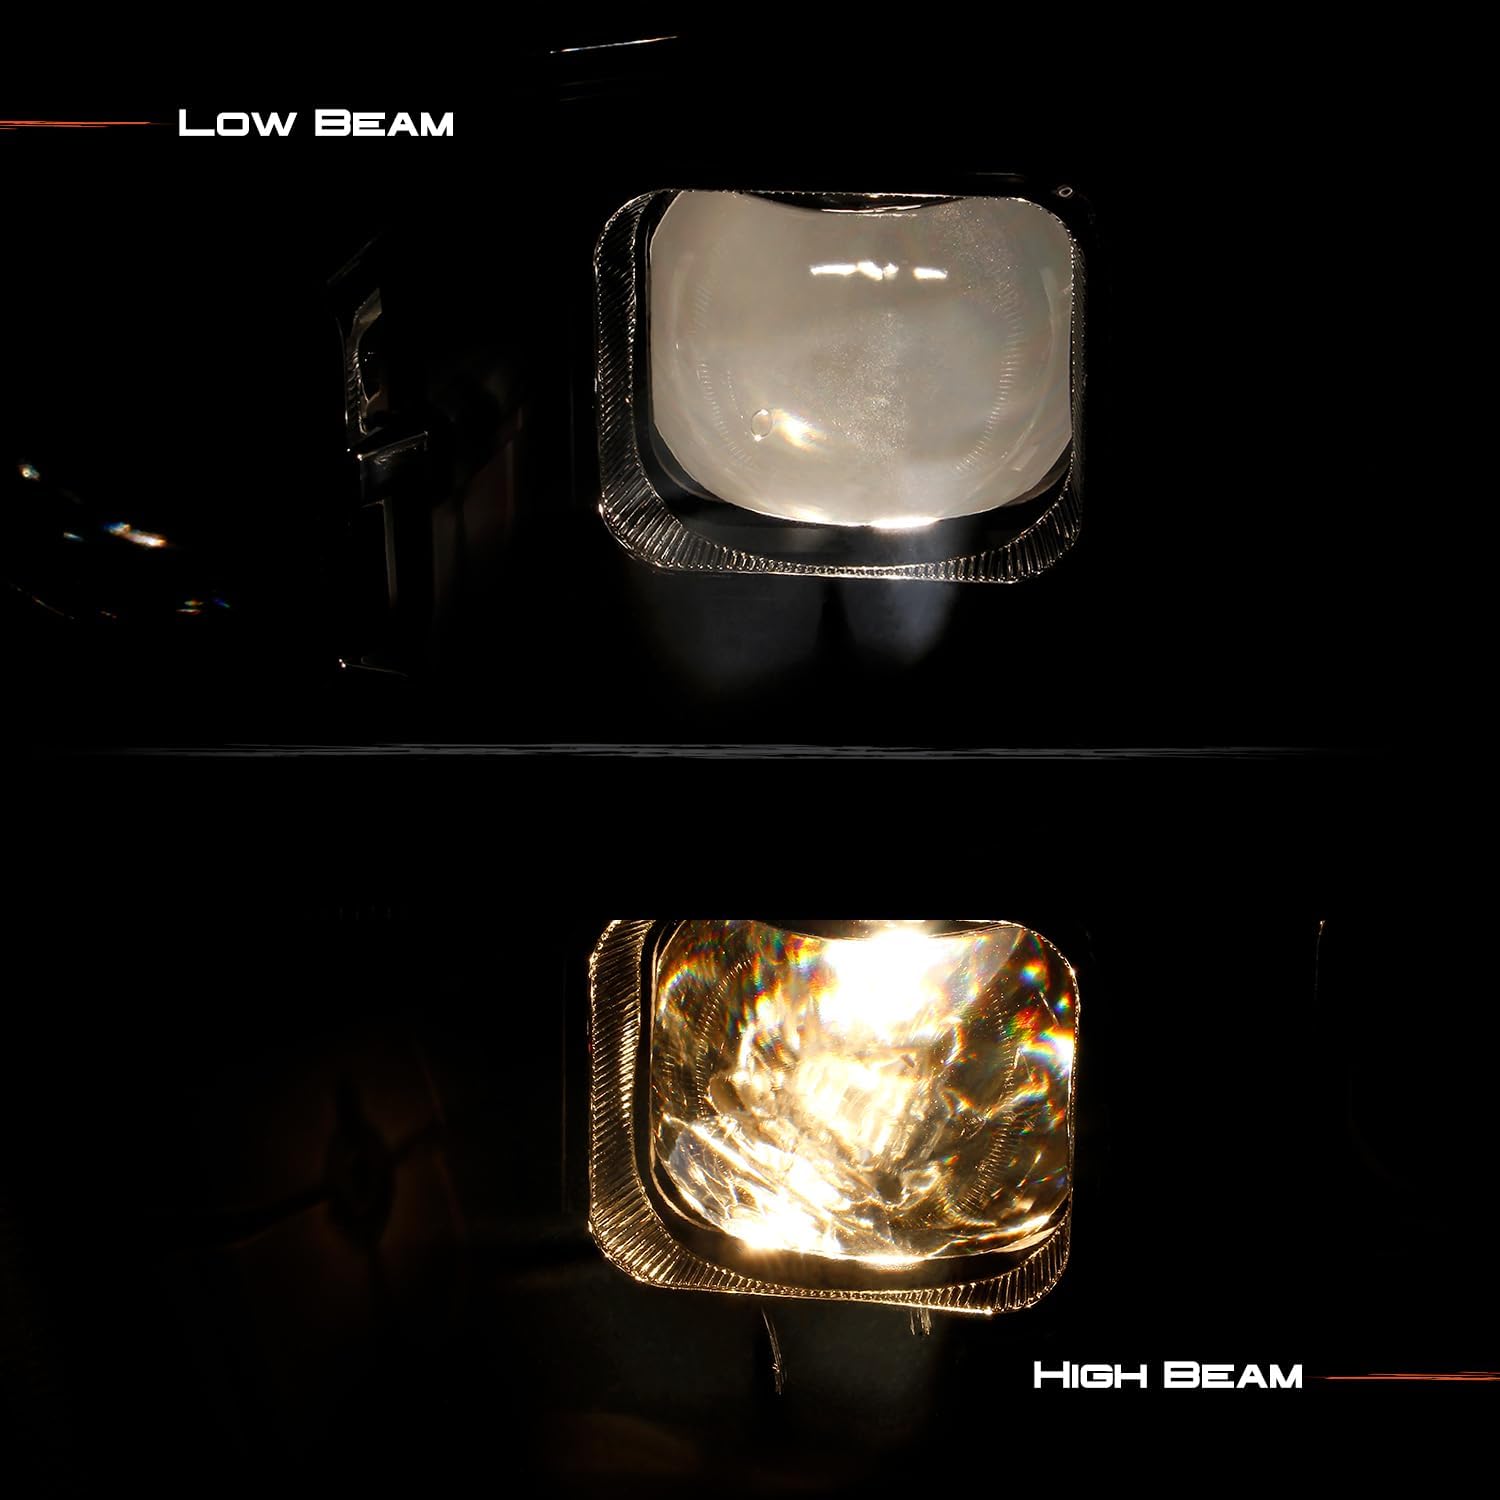
Image 6.1: Low Beam vs. High Beam comparison.
- Daytime Running Lights (DRL): The integrated LED DRL bar will illuminate automatically when the vehicle is running, providing increased daytime visibility.
- Switchback LED Turn Signals: The LED DRL bar will switch from white to amber and flash when the turn signal is activated, then return to white DRL mode when the signal is off.
- Tail Lights: The LED tail lights will illuminate with your vehicle's parking lights and brake lights, providing bright and efficient rear illumination.

Image 6.2: Detail of LED elements in Tail Light.
7. Maintenance
Proper maintenance will ensure the longevity and optimal performance of your AKKON lighting assemblies.
- Cleaning: Clean the outer lenses regularly with a soft cloth and mild automotive soap or glass cleaner. Avoid abrasive cleaners or harsh chemicals that could damage the lens material.
- Inspection: Periodically inspect the assemblies for any signs of damage, cracks, or loose connections. Ensure all lights are functioning correctly.
- Waterproof Seal: The units are designed to be waterproof. If you notice moisture inside the housing, inspect the seals and ensure proper installation.
8. Troubleshooting
If you encounter issues with your AKKON Headlights or Tail Lights, refer to the following common troubleshooting steps:
| Problem | Possible Cause | Solution |
|---|---|---|
| Lights not illuminating | Loose electrical connection, blown fuse, incorrect wiring. | Check all wiring connections for tightness. Inspect vehicle fuses related to lighting. Verify wiring against vehicle's electrical diagram. |
| Flickering lights | Loose connection, voltage fluctuation. | Ensure all connections are secure. Check vehicle's charging system for stable voltage. |
| Moisture inside lens | Improper seal, condensation. | Small amounts of condensation may dissipate. If persistent or excessive, inspect the housing for cracks or improper sealing. Ensure vent caps are clear. |
| Turn signal not switching back | Wiring issue, module malfunction. | Recheck turn signal wiring connections. If issue persists, contact support. |
If these steps do not resolve the issue, please contact AKKON customer support.
9. Specifications
| Feature | Detail |
|---|---|
| Brand | AKKON |
| Model Number | 9-P1DRA09G2BK-A1DRA09BK |
| Housing Color | Black |
| Lens Color | Clear |
| Light Source Type | LED (Headlights: Projector, DRL, Switchback Signal; Tail Lights: LED) |
| Lens Material | Polycarbonate |
| Special Feature | Waterproof |
| Wattage | 110 watts (total) |
| Certifications | DOT (Department of Transportation) & SAE (Society of Automotive Engineers) Approved |
| Assembly Required | Yes (installation into vehicle) |
| Unit Count | 2.0 Count (per pair) |
10. Warranty
AKKON provides a 90-day warranty on these headlight and tail light assemblies from the date of purchase. This warranty covers manufacturing defects. It does not cover damage due to improper installation, accident, misuse, or normal wear and tear. Please retain your proof of purchase for warranty claims.
11. Support
For technical assistance, troubleshooting not covered in this manual, or warranty inquiries, please contact AKKON customer support through the retailer where the product was purchased or visit the official AKKON brand store online.
AKKON Brand Store: https://www.amazon.com/stores/AKKON/page/0714BB19-53EB-4203-BEC7-C0D1EFF2DD83