
Introduction
This manual provides essential information for the safe operation, maintenance, and troubleshooting of your SMARTGYRO Speedway v3.0 Electric Scooter. Please read it thoroughly before your first ride to ensure proper usage and to maximize the lifespan of your device.
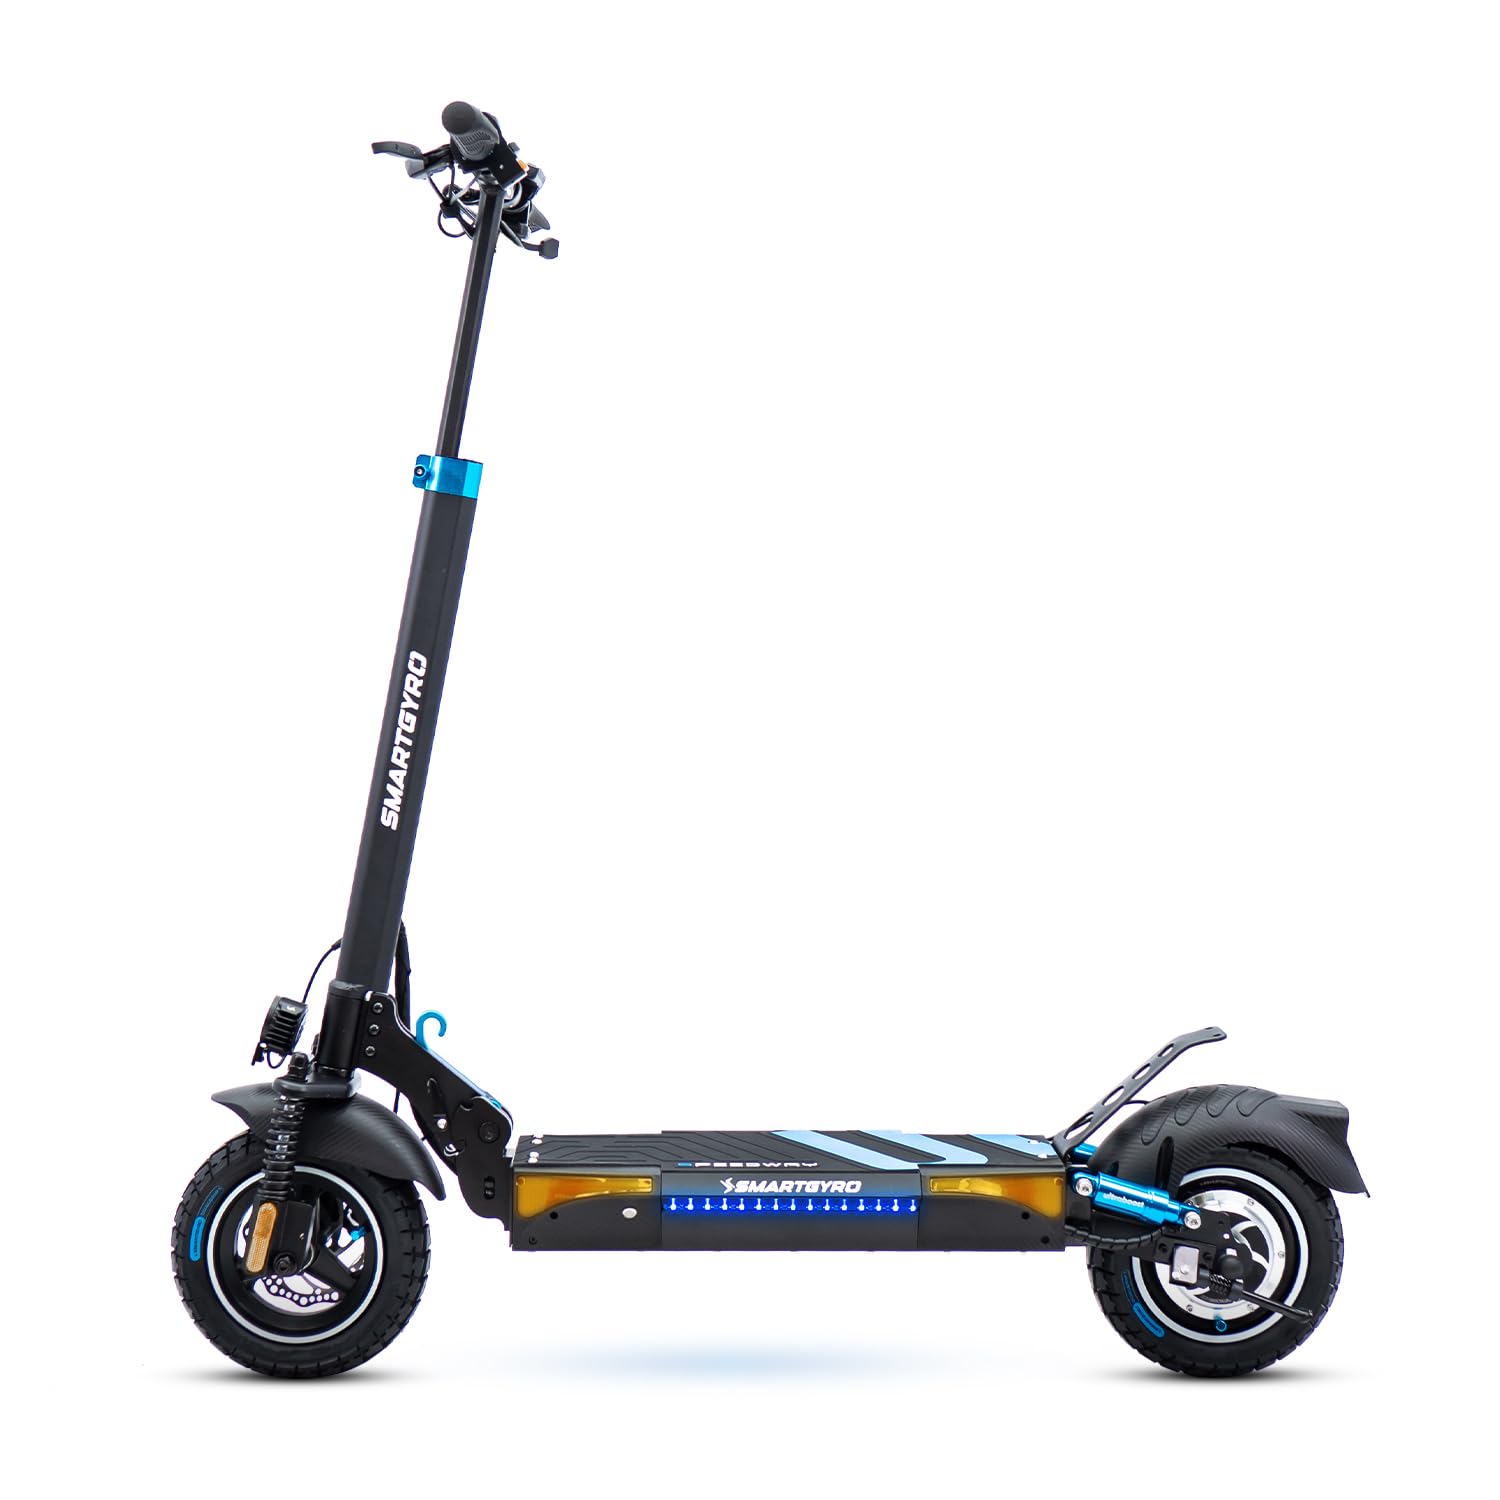
Image: The SMARTGYRO Speedway v3.0 Electric Scooter, showcasing its sleek design and robust build.
1. Setup and Initial Configuration
Before your first ride, follow these steps to prepare your scooter:
- Unboxing and Assembly: Carefully remove the scooter from its packaging. Ensure all components listed in the 'What's in the Box' section are present.
- Unfolding the Scooter: Locate the folding mechanism on the stem. Release the latch and carefully raise the handlebar stem until it locks securely into place. Ensure it is fully locked before use.
- Handlebar Adjustment: Adjust the handlebar height to a comfortable position and secure it.
- Initial Charge: Fully charge the scooter's battery before its first use. Connect the charger to the charging port and then to a power outlet. The indicator light on the charger will change when charging is complete. Charging time is approximately 7 hours.
- App Configuration: Download the official Smartgyro application to your mobile device. Follow the in-app instructions to complete the initial setup, securely pair your scooter, and ensure all functions are operational.

Image: A visual guide indicating the initial configuration process, emphasizing the use of the Smartgyro mobile application for setup and pairing.

Image: A close-up view of the scooter's folding mechanism, showing the secure latch and pin for compact storage and transport.
2. Operating Instructions
Familiarize yourself with the scooter's controls and features for a safe and enjoyable ride.
2.1 Controls and Display
- Power Button: Press and hold to turn the scooter on or off.
- Accelerator: Use the thumb throttle to control your speed.
- Brake Levers: Located on the handlebars, these activate the triple braking system.
- Display Screen: Shows current speed, battery level, riding mode, and odometer.
- Mode Selector: Cycle through riding modes (Eco, Comfort, Sport) using the dedicated button.

Image: A close-up of the handlebar display, showing speed, battery indicator, and control buttons for power and mode selection.

Image: An overview of the scooter's handlebars, highlighting the ergonomic dual-grip handles, brake levers, and integrated display unit.
2.2 Riding Modes
The Speedway v3.0 offers three riding modes:
- Eco Mode: For maximum range and energy efficiency, suitable for longer journeys at lower speeds.
- Comfort Mode: A balanced mode offering a good mix of speed and battery life for daily commutes.
- Sport Mode: Provides maximum power and speed for dynamic riding, ideal for climbing inclines and faster travel.
2.3 Braking System
Your scooter is equipped with a triple braking system for enhanced safety:
- Front Disc Brake: Provides strong stopping power.
- Rear Disc Brake: Works in conjunction with the front brake for balanced deceleration.
- Regenerative Braking: Recovers energy during braking, extending battery life.

Image: A detailed view of the front wheel, showcasing the robust pneumatic tire and the efficient disc brake system.
2.4 Lighting System
The scooter features a comprehensive LED lighting system for visibility and safety:
- High-Brightness Front Headlight: Illuminates your path.
- Front Turn Signals: Indicate your turning intentions.
- Ambient LEDs on Base: Enhance visibility and style.
- Rear Brake Light: Activates upon braking to alert others.

Image: The rear view of the scooter, clearly showing the integrated red brake light for improved safety and visibility.
2.5 Suspension System
Experience a smooth ride thanks to the dual suspension system:
- Front Suspension: Absorbs shocks from uneven surfaces.
- Rear Suspension (Ultraboost): Provides additional comfort and stability, especially over rough terrain.

Image: A close-up of the blue 'Ultraboost' rear suspension component, highlighting its robust construction designed for shock absorption.
3. Maintenance
Regular maintenance ensures the longevity and optimal performance of your SMARTGYRO Speedway v3.0.
- Battery Care: Always charge the battery fully after each use. Avoid completely draining the battery. Store the scooter in a cool, dry place when not in use for extended periods, ensuring the battery has at least a 50% charge.
- Tire Pressure: Regularly check the pressure of the 10-inch pneumatic tubeless tires. Maintain recommended pressure levels for optimal performance and to prevent punctures.
- Brake System: Inspect brake pads and discs periodically for wear. Adjust brake tension as needed to ensure responsive braking. If you notice any unusual noises or reduced braking efficiency, have the system checked by a qualified technician.
- Tightening Components: Periodically check and tighten all bolts and screws, especially those on the handlebar stem and folding mechanism, to prevent looseness from vibrations during rides.
- Cleaning: Clean the scooter regularly with a damp cloth. Avoid using high-pressure water jets or harsh chemicals, which can damage electronic components.
4. Troubleshooting
This section addresses common issues you might encounter with your scooter.
- Scooter Not Powering On:
- Ensure the battery is charged. Connect the charger and check the charging indicator.
- Press and hold the power button for a few seconds. - Reduced Range or Power:
- Check battery charge level. Cold weather can temporarily reduce battery performance.
- Ensure tires are properly inflated. Low tire pressure increases resistance.
- Riding in Sport mode or on steep inclines will consume more battery. - Error Code E10:
- This code typically indicates a communication error. It may be due to a loose or pinched cable. Inspect all visible cables for damage or disconnections. If the issue persists, contact customer support. - Brake Noise:
- New brakes may make some noise initially. If noise persists or braking performance is affected, inspect brake pads and discs for wear or misalignment. Cleaning the discs can sometimes help. - Loose Handlebar Stem:
- If the handlebar stem feels loose, check the locking mechanism and any adjustable clamps. Tighten them according to the assembly instructions. If the issue persists, professional inspection is recommended.
For issues not covered here, please refer to the Warranty & Support section for assistance.
5. Specifications
Detailed technical specifications for the SMARTGYRO Speedway v3.0 Electric Scooter.
| Feature | Specification |
|---|---|
| Brand | SMARTGYRO |
| Model Name | Smartgyro Speedway v3.0 |
| Model Number | SG27-152 |
| Color | Black |
| Age Range (Description) | Adult |
| Special Feature | Foldable |
| Weight Limit | 120 Kilograms |
| Product Dimensions (L x W x H) | 119L x 60W x 130H Centimeters |
| Item Weight | 25 Kilograms |
| Number of Wheels | 2 |
| Wheel Material | Aluminum |
| Frame Material | Metal |
| Handlebar Type | Adjustable |
| Wheel Type | Pneumatic |
| Suspension Type | Dual Suspension |
| Handle Type | Dual Grip |
| Brake Type | Triple Disc Braking (Front, Rear, Regenerative) |
| Charging Time | 7 hours |
| Maximum Distance (Range) | 45 Kilometers |
| Battery Capacity | 13000 Milliampere-hour (mAh) |
| Motor Power | 500W Nominal, 800W Max |
| Included Components | 1X Electric Scooter |
6. Warranty & Support
Your SMARTGYRO Speedway v3.0 Electric Scooter comes with a 3-year warranty against manufacturing defects. This warranty covers defects in materials and workmanship under normal use.
For warranty claims, technical support, or any questions regarding your scooter, please contact SMARTGYRO customer service through their official website or the retailer where you purchased the product. Please have your model number (SG27-152) and proof of purchase ready when contacting support.


