
Introduction
This instruction manual provides detailed guidance for the proper use and maintenance of your Vikye TL866II Plus USB Programmer. This device is designed for programming various integrated circuits, including EEPROM, Flash, BIOS, 8051, AVR, MCU, GAL, and PIC microcontrollers. Please read this manual thoroughly before operating the programmer to ensure optimal performance and safety.
Key Features
- High-Speed Programming: Equipped with a high-performance MCU and a 12Mbps USB interface for efficient data transfer.
- Ultra-Low Power Consumption: Operates solely via the USB interface, eliminating the need for an external power supply.
- Portable Design: Compact dimensions (approximately 10CM x 6CM x 2.5CM) for easy transport.
- Programmable Voltage Control: Independent program-controlled VCC (1.8V to 6.5V) and VPP (1.8V to 18V) programming voltages with multi-stage LC filter for stable power.
- Advanced Protection: Features Grade 3 overcurrent protection for VCC/VPP power supplies and VPP overvoltage protection on each of the 40 pins, safeguarding both the programmer and the programmed chip.
- Wide Chip Support: Supports over 15,000 chips, including serial and parallel series 40/44/48PIN large capacity FLASH.
- Universal 40-Pin ZIF Socket: Designed for convenient chip insertion without requiring specific orientation adjustments.
- Unique Serial ICSP Interface: Supports serial download and high-speed parallel high-voltage programming.
- Logic IC Testing: Capable of functional tests for 54/74F/LS/HC CMOS4000 series ICs to identify logic gate errors.
- Self-Testing Function: Allows the programmer to test its own VPP, VDD, GND, and I/O pins, including internal short-circuit tests.
- Firmware Upgradability: Built-in hardware firmware upgrade function ensures the programmer stays current with the latest chip support.
- Automatic Serial Numbering: Supports various automatic numbering functions and custom algorithms via DLL for unique chip identification in mass production.
- RC Calibration: Original chip encryption operation on AVR microcontrollers with internal RC Calibration byte.

Figure 1: Conceptual diagram highlighting the programmer's key benefits: batch burning, compact size, and high-speed operation.
Package Contents
Upon opening your package, please verify that all the following items are included:
- Vikye TL866II Plus USB Programmer Unit
- USB Connection Cable
- IC Extractor Tool
- Various Adapters for different chip packages (e.g., SOP8, PLCC32, PLCC44, etc.)
- Pin Headers

Figure 2: Overview of the Vikye TL866II Plus USB Programmer and its included accessories.

Figure 3: Detailed view of the programmer unit and its comprehensive set of adapters and tools.
Setup Guide
1. Software and Driver Installation
- Download Software: Obtain the latest programming software and drivers from the official Vikye manufacturer website. Ensure you download the version compatible with your operating system (e.g., Windows 10).
- Install Drivers: Follow the on-screen instructions to install the necessary USB drivers for the programmer. It is recommended to install drivers before connecting the device.
- Install Programming Software: Install the programming application. This software will allow you to select chip types, load firmware files, and initiate programming operations.
2. Connecting the Programmer
- Connect USB Cable: Plug one end of the provided USB cable into the USB port on the Vikye TL866II Plus programmer.
- Connect to Computer: Connect the other end of the USB cable to an available USB port on your computer. The programmer will draw power directly from the USB port.
- Verify Connection: Open the installed programming software. The software should detect the connected programmer. If not, check device manager for proper driver installation.

Figure 4: The USB port on the Vikye TL866II Plus programmer for computer connection.
Operating Instructions
1. Preparing the Chip for Programming
- Identify Chip Type: Determine the exact model and package type of the integrated circuit you intend to program.
- Select Adapter (if necessary): If your chip is not a standard DIP package, select the appropriate adapter from the included accessories. For example, use a SOP8 adapter for SOP8 chips or a PLCC adapter for PLCC chips.
- Insert Chip into Adapter/ZIF Socket:
- For DIP chips, lift the lever on the ZIF (Zero Insertion Force) socket of the programmer. Carefully align the chip's Pin 1 with the corresponding marking on the socket (usually indicated by a notch or dot). Insert the chip gently and then lower the lever to secure it.
- For other package types, insert the chip into the selected adapter first, ensuring correct orientation. Then, insert the adapter into the ZIF socket of the programmer, aligning Pin 1.
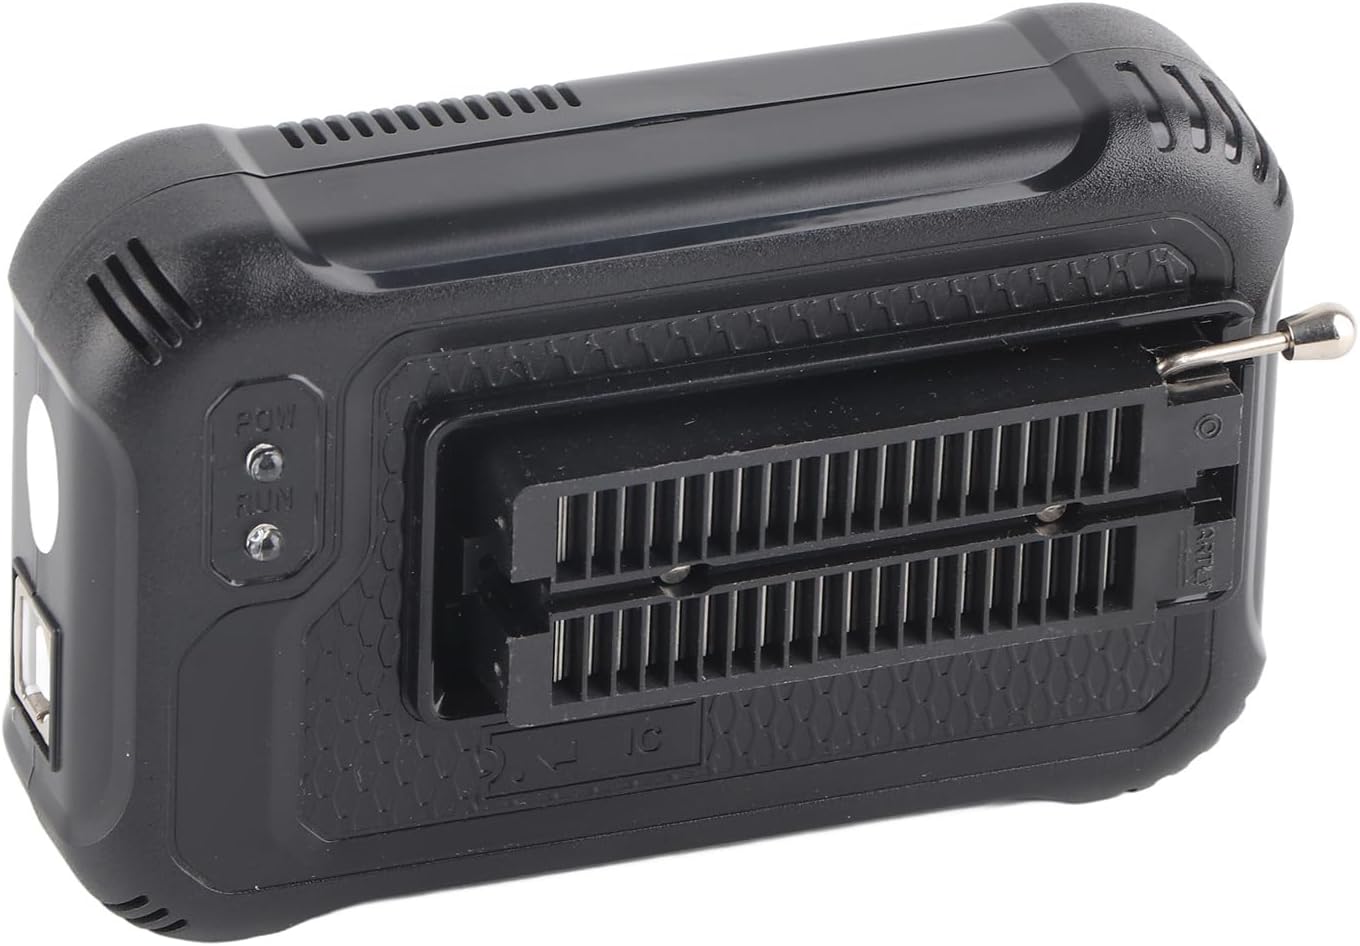
Figure 5: The ZIF socket on the programmer for chip insertion.

Figure 6: Assortment of chip adapters for various IC packages.
2. Using the Programming Software
- Launch Software: Open the Vikye programming application on your computer.
- Select Chip: In the software interface, navigate to the chip selection menu and choose the exact model of the chip you have inserted. The software will display the correct pinout and programming parameters.
- Load Data File: Load the firmware or data file (e.g., .hex, .bin) that you wish to write to the chip.
- Perform Operations: The software typically offers several operations:
- Read: Reads the current data from the chip into the software.
- Erase: Erases the existing data on the chip. This is often required before writing new data.
- Blank Check: Verifies if the chip is completely erased.
- Program/Write: Writes the loaded data file to the chip.
- Verify: Compares the data on the chip with the loaded data file to ensure successful programming.
- ICSP Programming: For chips supporting In-Circuit Serial Programming (ICSP), connect the ICSP cable (not always included, may need to be purchased separately) to the dedicated ICSP port on the programmer and to the target circuit board. Follow the software's instructions for ICSP operations.
- Logic IC Testing: Utilize the software's logic IC test function for 54/74F/LS/HC CMOS4000 series chips. This feature helps identify faulty logic gates.
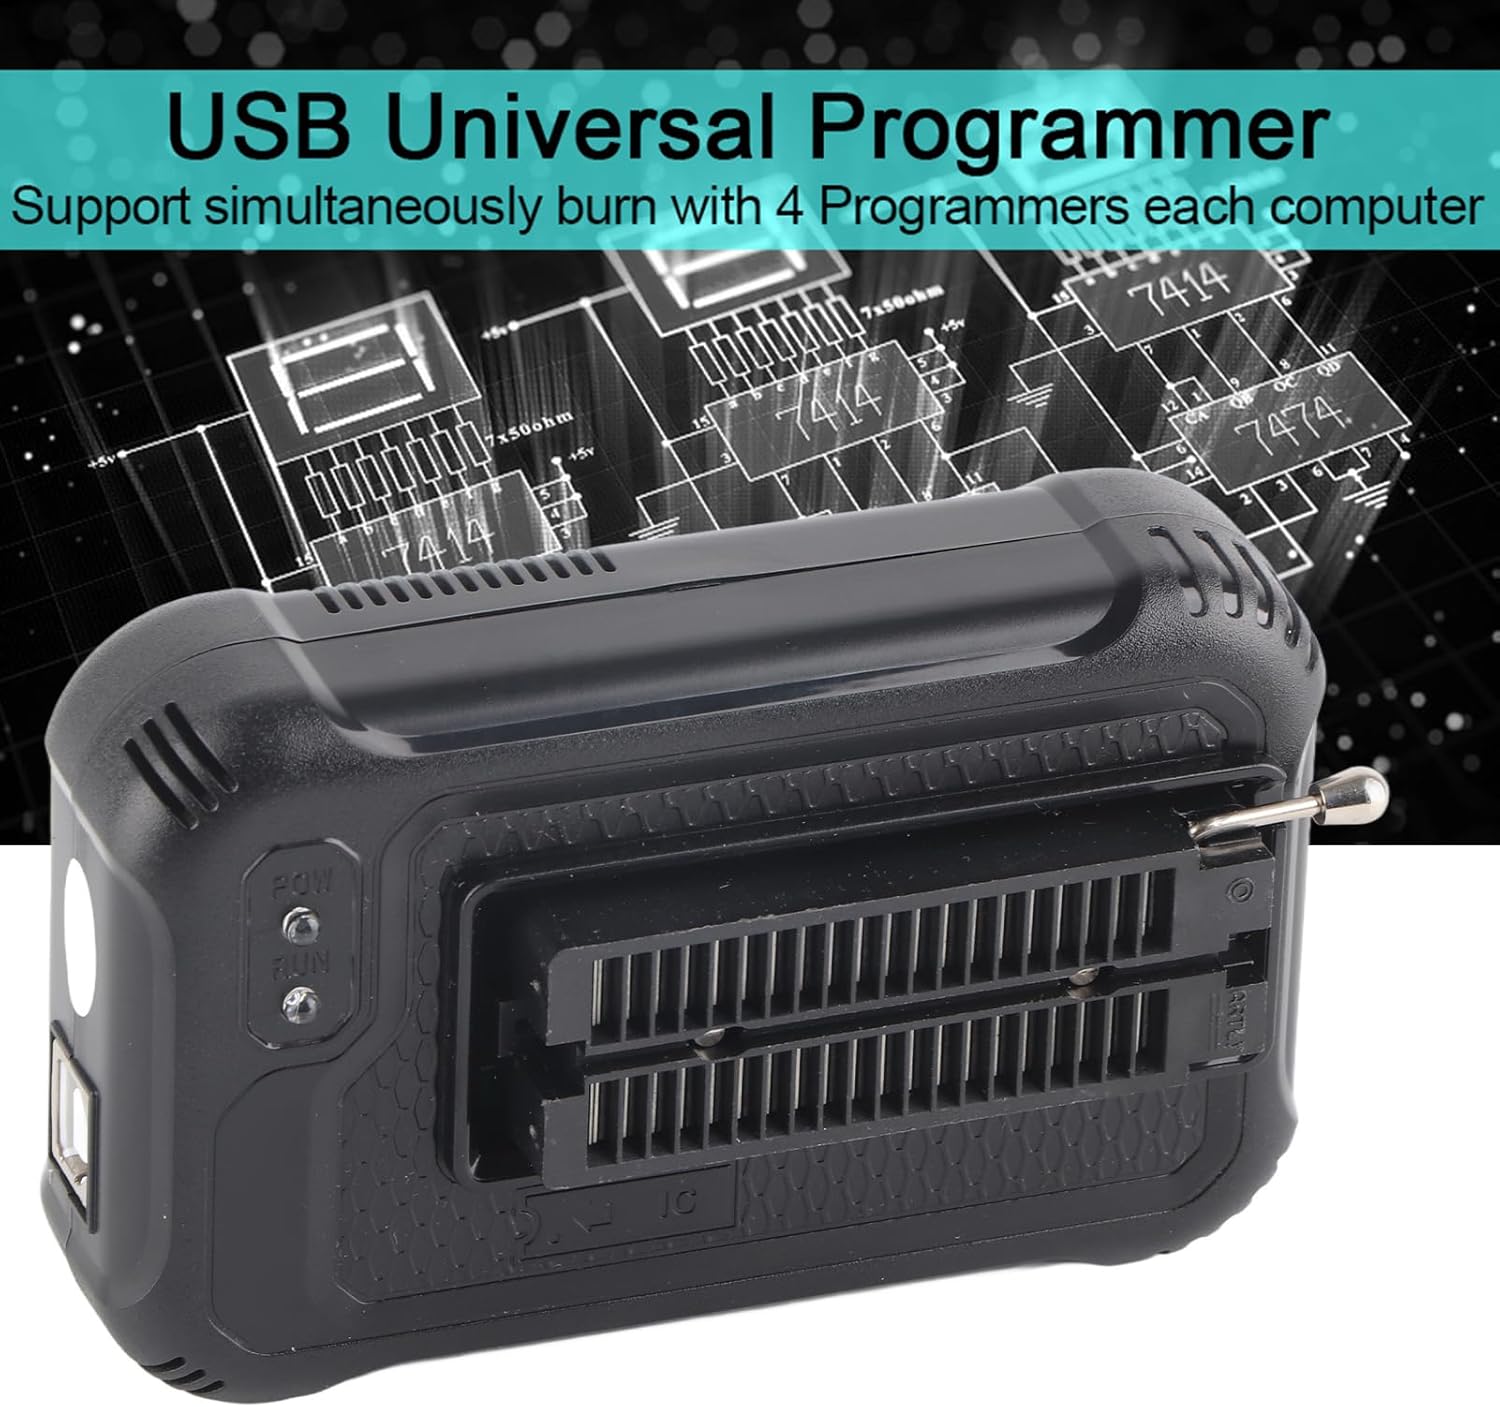
Figure 7: The programmer unit, highlighting its compact design and ZIF socket.
Maintenance
- Cleaning: Keep the programmer unit clean and free from dust. Use a soft, dry cloth for cleaning. Avoid liquid cleaners.
- Storage: Store the programmer and its adapters in a dry, cool place, away from direct sunlight and extreme temperatures.
- Handle with Care: The ZIF socket and adapters contain delicate pins. Handle them carefully to prevent bending or damage. Use the provided IC extractor tool for safe chip removal.
- Software Updates: Regularly check the manufacturer's website for software and firmware updates to ensure compatibility with new chips and improved functionality.
Troubleshooting
| Problem | Possible Cause | Solution |
|---|---|---|
| Programmer not detected by computer/software. |
|
|
| Chip programming fails or verification errors. |
|
|
| Programmer shuts down or resets during operation. |
|
|
| Adapters appear faulty or pins are bent. |
|
|
Technical Specifications
| Feature | Detail |
|---|---|
| Model | TL866II Plus |
| Dimensions (L x W x H) | 3.94 x 2.36 x 1.18 inches (10 x 6 x 2.5 cm) |
| Item Weight | 12.7 ounces |
| Interface | USB (12Mbps) |
| Power Supply | USB Powered (no external power required) |
| Programmable VCC | 1.8V - 6.5V |
| Programmable VPP | 1.8V - 18V |
| Chip Support | 15,000+ (EEPROM, Flash, BIOS, 8051, AVR, MCU, GAL, PIC, etc.) |
| Socket Type | 40-pin ZIF (Zero Insertion Force) |
| Operating System Compatibility | Windows (specific versions depend on software/driver) |
Warranty and Support
For warranty information, technical support, and the latest software/firmware updates, please refer to the official Vikye manufacturer website or contact your point of purchase. Keep your purchase receipt as proof of purchase for any warranty claims.

Figure 8: Vikye brand logo.