
1. Product Overview
The NVX VADM4v2 is a powerful and compact 4-channel Class D amplifier designed for a wide range of applications including car, marine, UTV, and motorcycle audio systems. It delivers robust audio performance with advanced features for optimal sound customization.
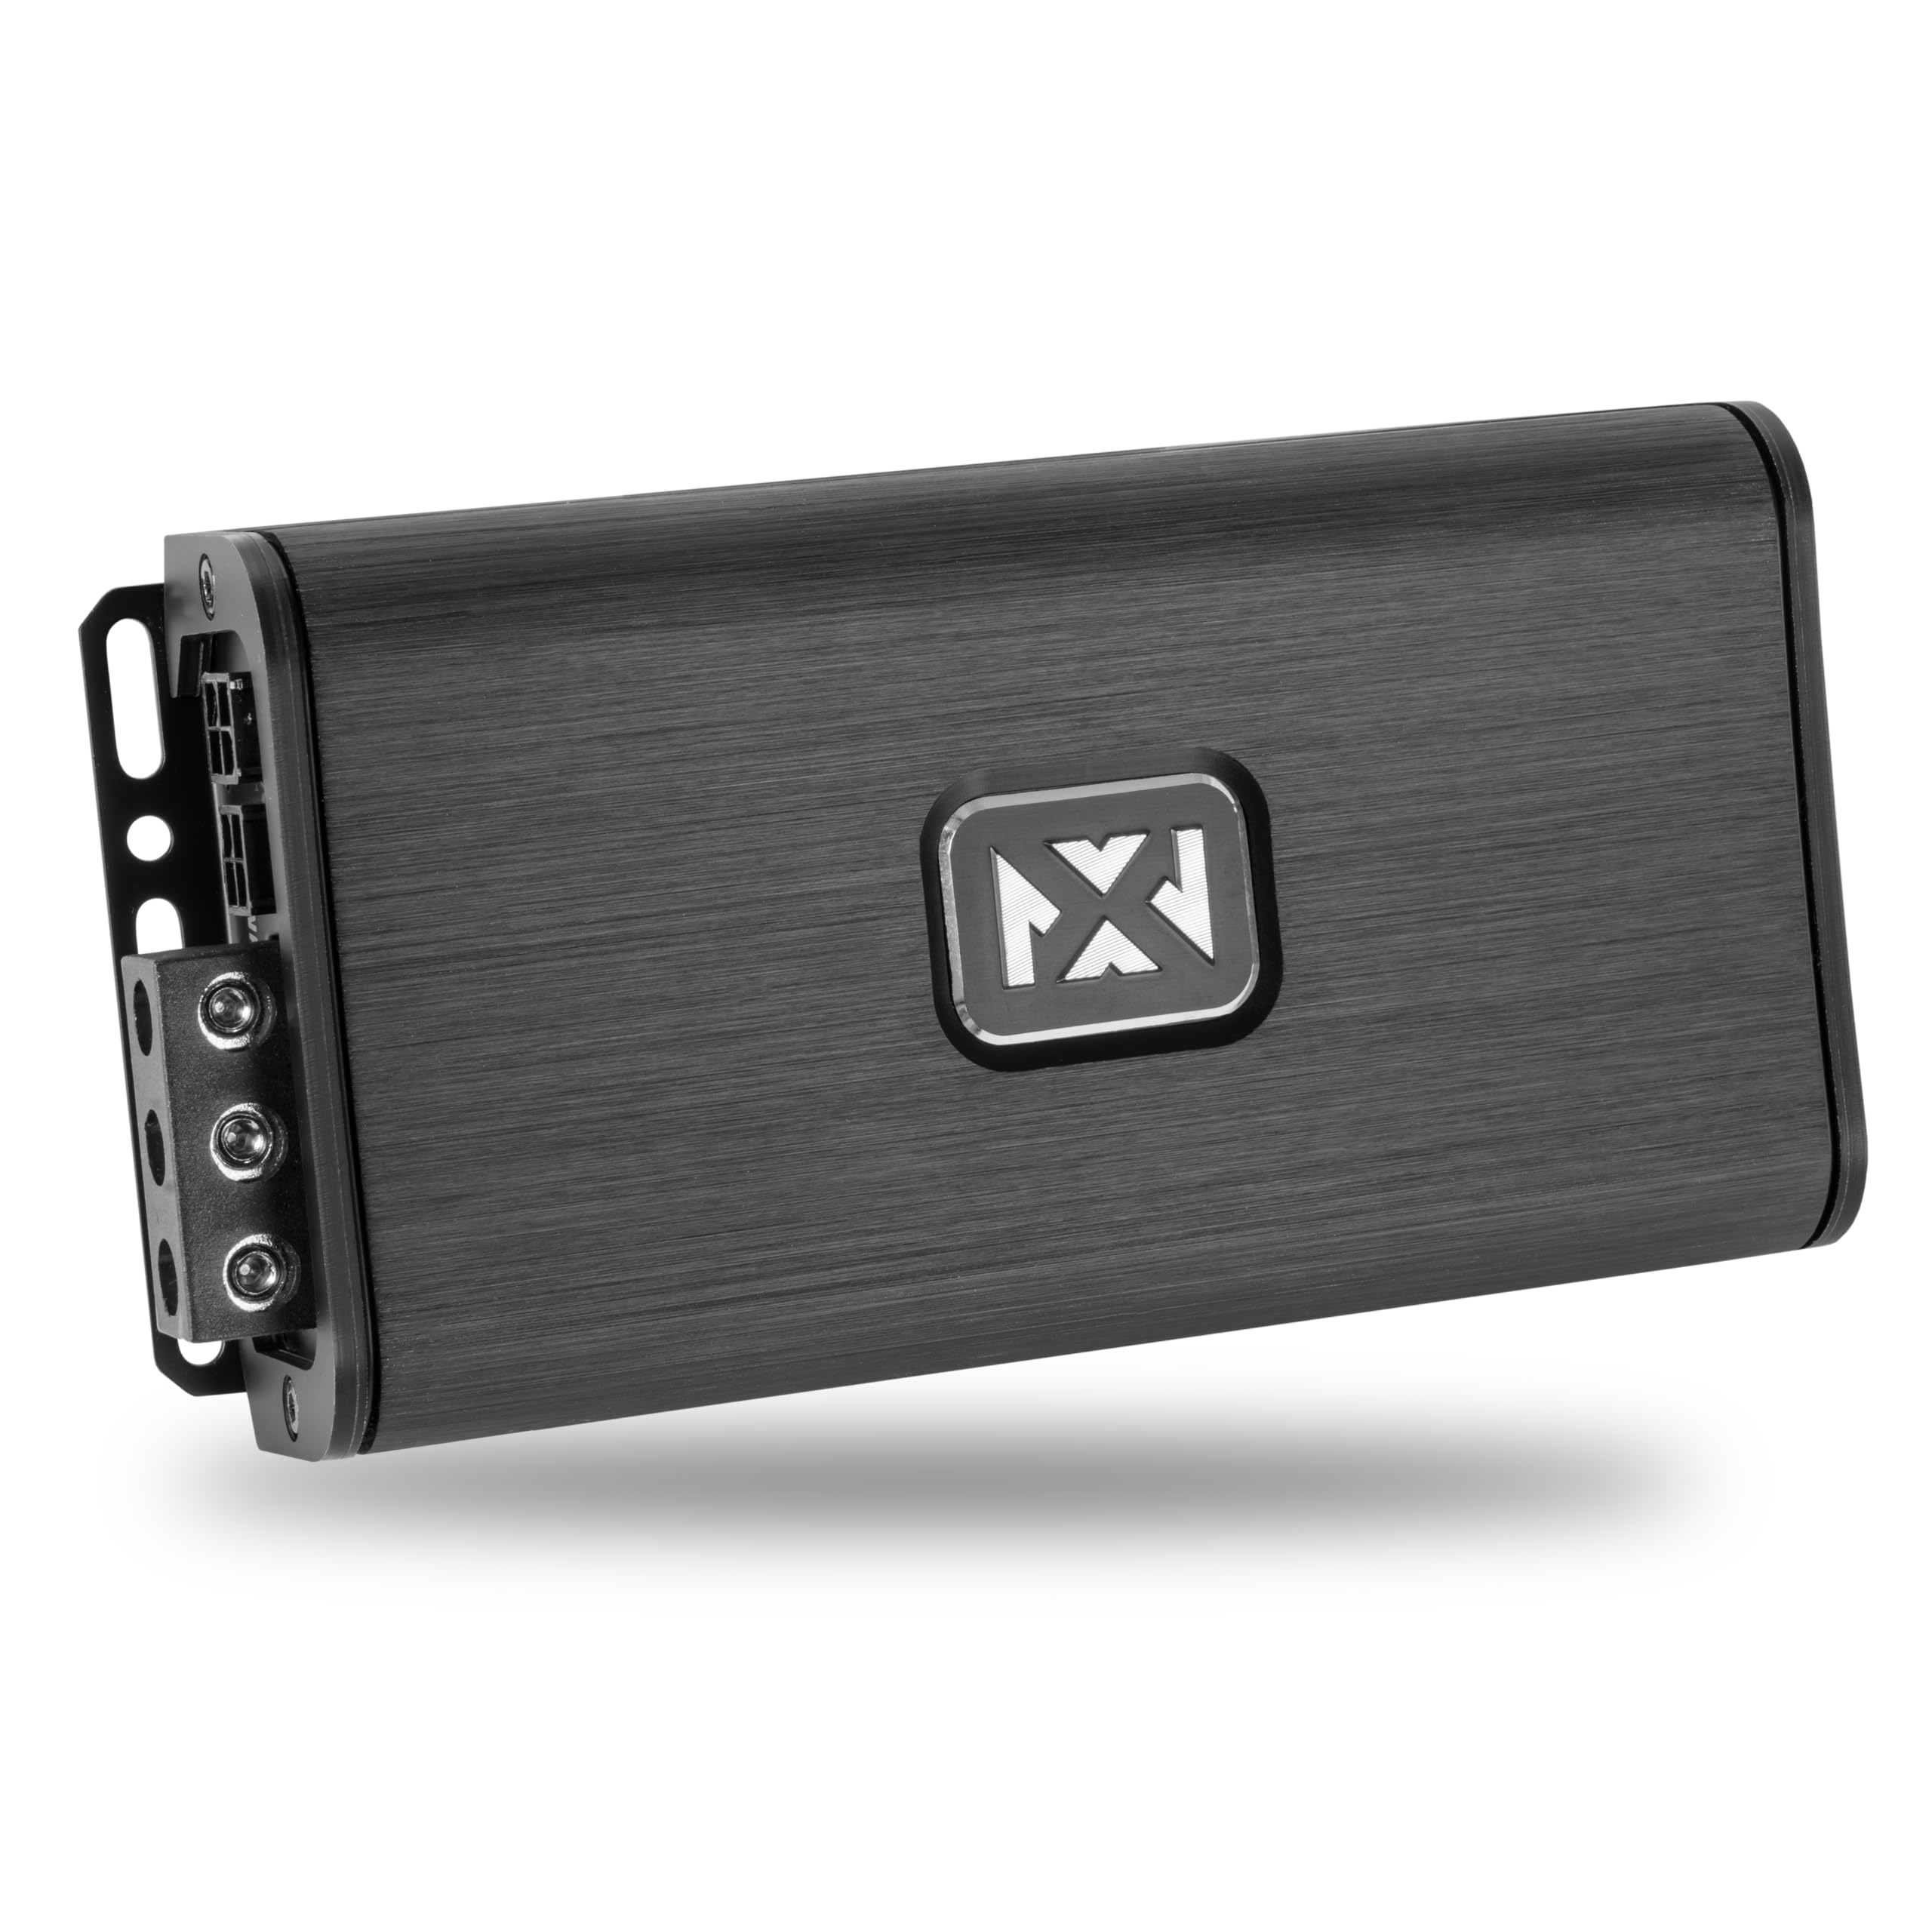
Figure 1: NVX VADM4v2 4-Channel Class D Amplifier. This image shows the top-down view of the amplifier, highlighting its compact design and NVX branding.
Key Features:
- Powerful Performance: Peak power rating of 800 Watts and RMS power output ranging from 80 watts x 4 channels at 4 ohms to 125 watts x 4 channels at 2 ohms.
- Compact Design: Utilizes Micro Class D technology for an extremely compact form factor, measuring just 6.49" L x 3.3" W x 1.48" H.
- Marine Certified Durability: Built with a conformal coated marine-grade circuit board to withstand harsh marine environments.
- Advanced Features: LED power and protect indicators, 4-way protection circuitry (thermal, overload, speaker short protection, and DC offset), balanced differential inputs, and low-level RCA inputs.
- Versatile Audio Customization: Selectable crossover modes (FULL, HPF, LPF), variable high-pass and low-pass filters (40-400 Hz), and a wide frequency range of 20-20,000 Hz.

Figure 2: The NVX VADM4v2 amplifier is suitable for various applications including cars, trucks, SUVs, motorcycles, UTVs, ATVs, and marine vessels.
2. Safety Information
Always observe the following safety precautions during installation and operation:
- Disconnect the vehicle's battery before starting any electrical work.
- Ensure proper grounding to prevent electrical hazards.
- Use appropriate gauge wiring for power and speaker connections.
- Mount the amplifier securely in a well-ventilated area to prevent overheating.
- Avoid exposing the amplifier to extreme temperatures or direct sunlight.
- Do not attempt to open or modify the amplifier. Refer servicing to qualified personnel.
3. Package Contents
Verify that all items are present in the package:
- NVX VADM4v2 4-Channel Class D Amplifier
- Wiring Harnesses (Power, Speaker, RCA inputs)
- Mounting Hardware
- Instruction Manual

Figure 3: Included wiring harnesses and RCA cables for the NVX VADM4v2 amplifier, facilitating easy connection to your audio system.
4. Setup and Installation
4.1 Mounting the Amplifier
Choose a secure, well-ventilated location for mounting the amplifier. Ensure it is protected from direct moisture and excessive heat. Use the provided mounting hardware to secure the amplifier.

Figure 4: Side view of the NVX VADM4v2 amplifier, showing its compact profile suitable for various mounting locations.
4.2 Wiring Connections
Refer to the wiring diagrams below for proper connections. Ensure all connections are secure and insulated.

Figure 5: Close-up view of the power input and speaker output terminals on the NVX VADM4v2 amplifier. Connections include GND (Ground), REM (Remote Turn-On), +12V (Power), and speaker outputs for CH1-CH4.
- Power (BATT +12V): Connect to the positive terminal of the vehicle's battery via an appropriate fuse.
- Ground (GND): Connect to a solid, clean metal point on the vehicle's chassis.
- Remote Turn-On (REM): Connect to the remote output of your head unit or an ignition-switched 12V source.
- Speaker Outputs (CH1-CH4): Connect your speakers to the corresponding channels. Ensure correct polarity and impedance matching (2-4 ohms stable).
- Input Mode: Select between 2CH or 4CH input mode based on your head unit's output.

Figure 6: Control panel of the NVX VADM4v2 amplifier, showing gain controls, crossover switches (LPF/HPF/FULL), and input mode selection.
4.3 Input Signal Connection
The VADM4v2 supports both low-level (RCA) and high-level inputs.
- Low-Level Input (RCA): Connect RCA cables from your head unit's pre-outs to the amplifier's RCA inputs.
- High-Level Input: If your head unit does not have RCA outputs, use the provided high-level input harnesses to connect directly to your head unit's speaker outputs.
5. Operating the Amplifier
5.1 Gain Adjustment
Adjust the GAIN knobs for each channel to match the output voltage of your head unit. Start with the gain at minimum and slowly increase until desired volume is achieved without distortion.
5.2 Crossover Settings
The VADM4v2 features selectable crossover modes and variable filters:

Figure 7: Detailed view of the crossover controls on the NVX VADM4v2 amplifier, including LPF/HPF/FULL switches and variable frequency knobs.
- FULL: Full-range output, no filtering applied.
- HPF (High-Pass Filter): Allows frequencies above the set point to pass through. Useful for full-range speakers to prevent distortion from low bass.
- LPF (Low-Pass Filter): Allows frequencies below the set point to pass through. Ideal for subwoofers.
- FREQ (Frequency Knob): Adjusts the cutoff frequency for HPF or LPF modes (40-400 Hz).
6. Maintenance
To ensure longevity and optimal performance of your NVX VADM4v2 amplifier:
- Keep the amplifier clean and free from dust and debris. Use a soft, dry cloth for cleaning.
- Ensure adequate airflow around the amplifier to prevent overheating.
- Regularly check all wiring connections for tightness and corrosion.
- Avoid exposing the amplifier to harsh chemicals or solvents.
7. Troubleshooting
| Problem | Possible Cause | Solution |
|---|---|---|
| No Power / Protect LED On | Blown fuse, poor power/ground connection, remote wire disconnected. | Check/replace fuse, verify power/ground connections, ensure remote wire is connected and receiving 12V. |
| No Sound Output | Incorrect input connections, speaker wires disconnected, gain too low. | Verify RCA/high-level inputs, check speaker connections and polarity, adjust gain settings. |
| Distorted Sound | Gain set too high, incorrect crossover settings, speaker impedance mismatch. | Lower gain, adjust crossover filters, ensure speakers match amplifier's impedance rating. |
| Amplifier Overheating | Insufficient ventilation, impedance too low, prolonged high-volume use. | Ensure proper airflow, check speaker impedance, reduce volume or allow cooling. |
8. Specifications
| Feature | Specification |
|---|---|
| Model Number | VADM4v2 |
| RMS Power (4 Ohms) | 80W x 4 Channels |
| RMS Power (2 Ohms) | 125W x 4 Channels |
| Peak Power | 800W |
| Number of Channels | 4 |
| Frequency Response | 20Hz - 20,000Hz |
| Crossover Modes | FULL / HPF / LPF |
| Variable Filters | 40-400 Hz |
| Dimensions (L x W x H) | 6.49" x 3.3" x 1.48" |
| Voltage | 12 Volts |
| Material | Electronic-Grade Circuit Board Material |
| Special Features | Marine-grade, 4-way protection circuitry (thermal, overload, speaker short, DC offset) |

Figure 8: The NVX VADM4v2 amplifier is 2-ohm stable, allowing for flexible speaker configurations.

Figure 9: The NVX VADM4v2 features a Pulse Width Modulated (PWM) MOSFET power supply and 4-way protection circuitry for enhanced reliability and performance.
9. Warranty Information
NVX products are designed and manufactured to the highest quality standards. This product is covered by a limited warranty against defects in materials and workmanship. Please refer to the official NVX website or your purchase documentation for specific warranty terms and conditions.
10. Support
For technical assistance, troubleshooting, or warranty inquiries, please contact NVX customer support through the official NVX website or your authorized dealer.
Related Videos:
V-Series Amplifiers From NVX
This video provides an overview of the NVX V-Series amplifiers, showcasing their features and design, including models like the VADM4v2.
NVX V-Series Car/Marine/Powersports Amplifier
A brief video highlighting the versatility and robust construction of the NVX V-Series amplifiers for car, marine, and powersports applications.


